MSI MEG B550 UNIFY Motherboard Review
A Closer Look
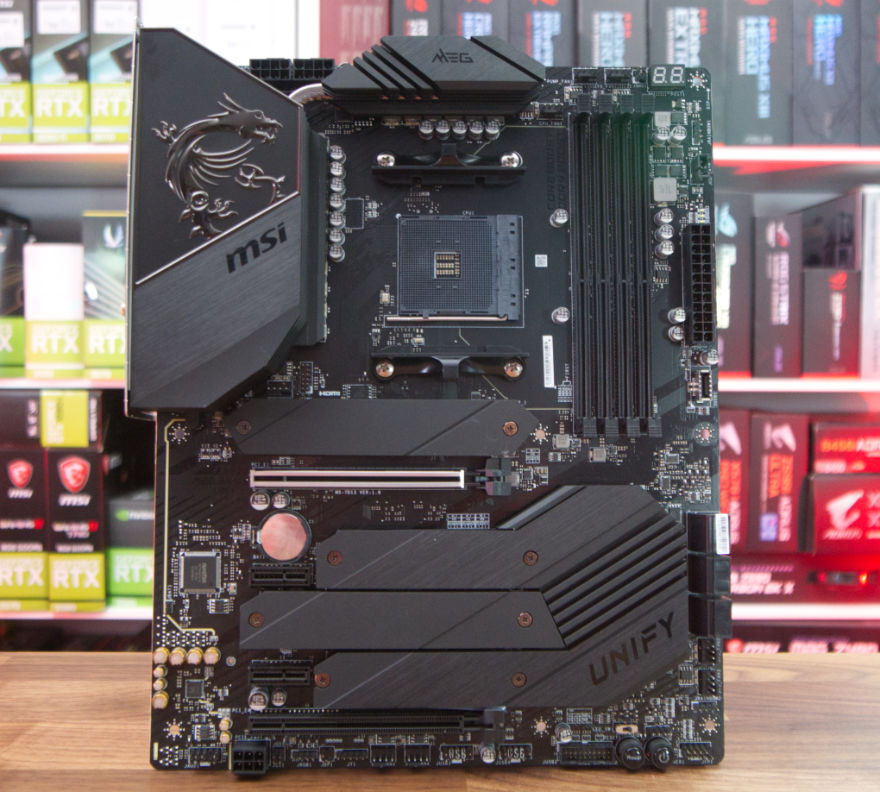
Getting this beast out of the box, and as you can see, not a single RGB LED to be found anywhere! While I do personally like RGB, it is also great to see options that come without it! There is nothing like a clean white build or an all-black stealth build and not a single LED in sight!
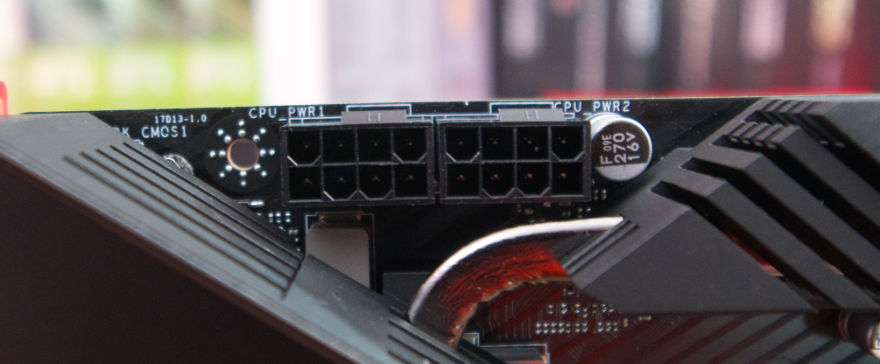
So, even though this is B550, it is designed for overclocking and as such, has quite a bit of ‘extra’ power connectors. For 8-pin power connectors, which supply power to the CPU, MSI has gone with dual 8-pin connectors! This should be more than enough for their MEG B550 UNIFY board, even during those crazy intense overclocking sessions.
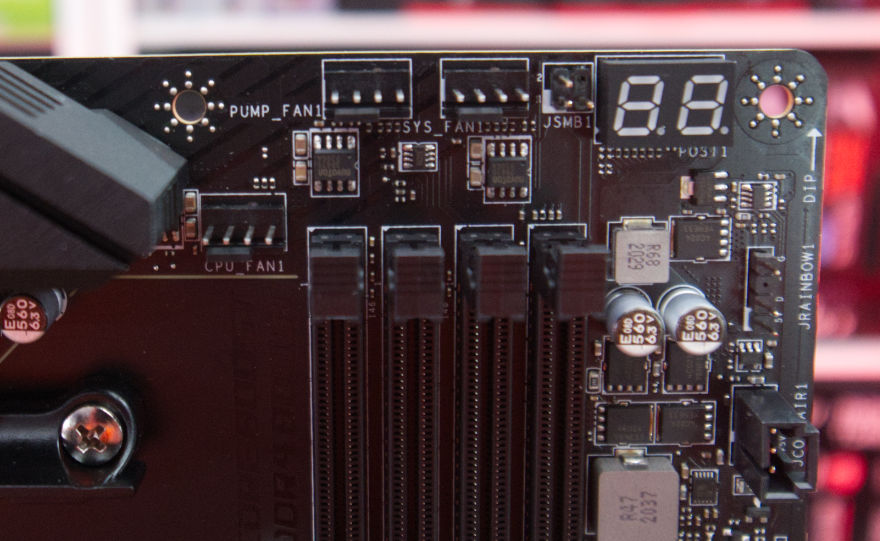
With all that power and overclocking potential, you are surely going to need plenty of fans to keep the airflow going and keep things cool. MSI has you covered with plenty of fan headers, and as we can see in the top righthand side of the board, we have our CPU and SYS FAN headers as well as a PUMP FAN header which is generally used for an AIO PUMP. We can also see the LED Debug display and a dirty, dirty RGB header! Jokes aside, as we saw the board doesn’t have RGB, adding a couple of RGB headers for those who want to like up their PC like a rainbow is only fair.
MSI’s MEG B550 UNIFY comes with a 14+2 Power Delivery system with 90A Power Stage and Titanium Choke III to make sure your PC runs as stable as possible no matter the task at hand. This board was definitely designed for overclockers, and it really shows with things like the 90A Power Stages.
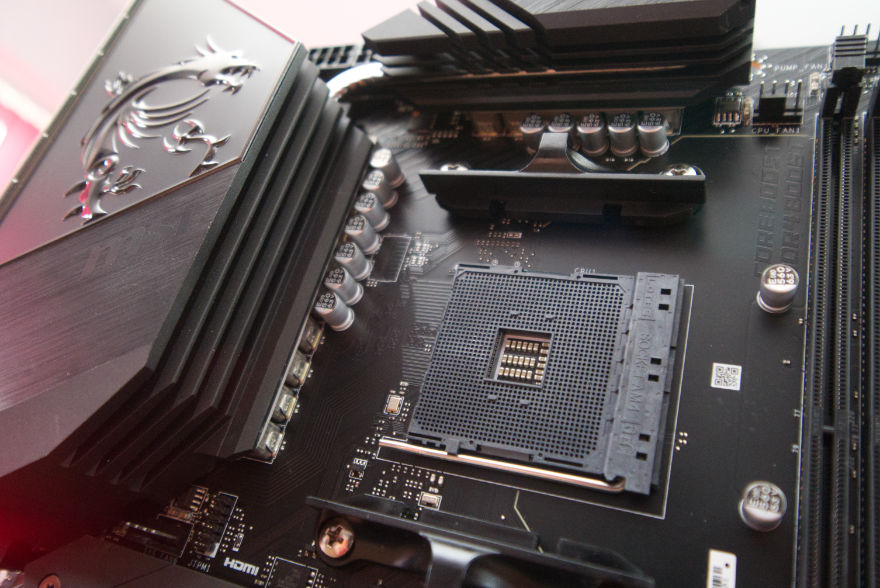
For the RAM, this board can support up to 5100MHz RAM with any supported CPU being used. However, some CPUs may allow you to push your ram to 5600+MHz where need be! There are not currently a lot of kits that are even rated for these speeds yet, so it will likely be overclockers hitting such speeds. Average everyday users will have no problems running their RAM at the more standard 3200-3600MHz speed.
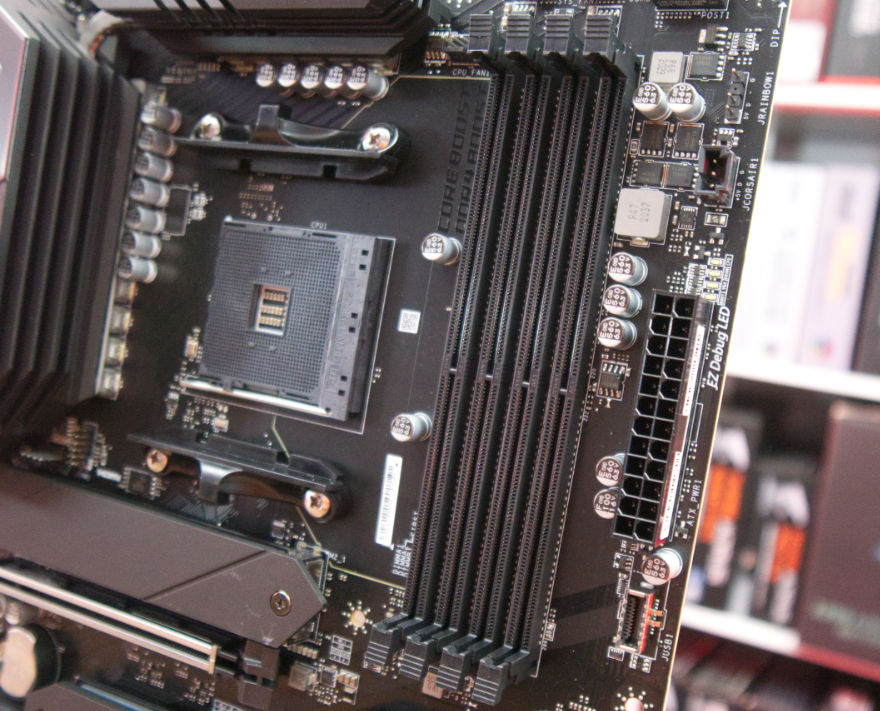
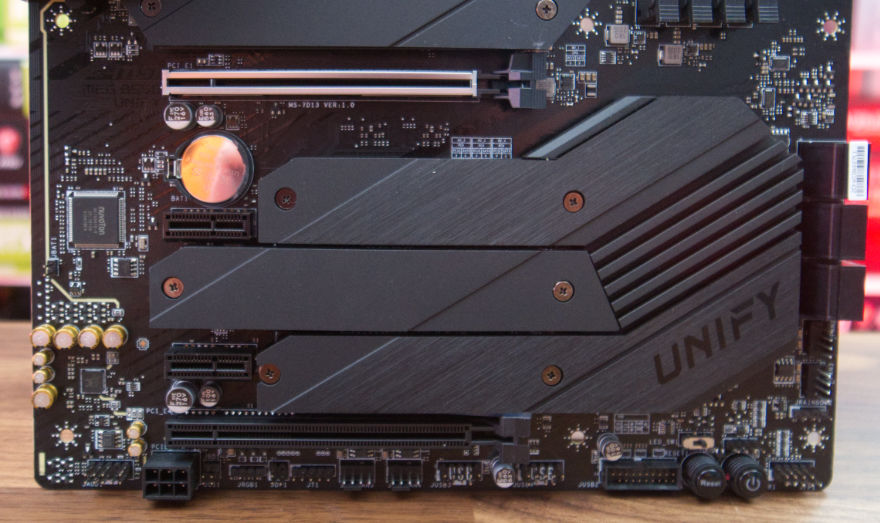
Looking at the bottom half and we can see quite a few screws on the heatsinks. This is because all four of the M.2 drive slots come with their own heatsinks, all of which can be individually removed as needed.
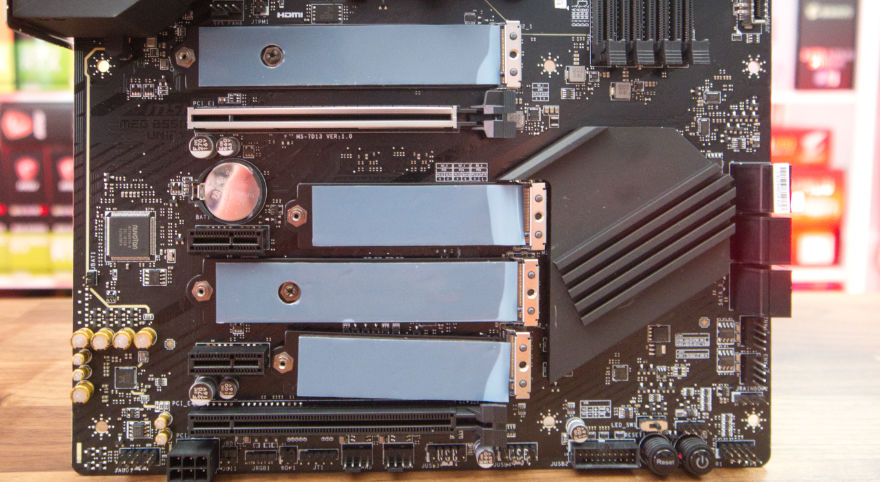
Taking all of the heatsinks off and we can see that we have different length M.2 slots. All of the slots support the standard 2280 length, but two of the slots also support the 22110 sized M.2, and while I have never personally seen one of these longer M.2 SSDs, knowing you have the support for them is always nice!
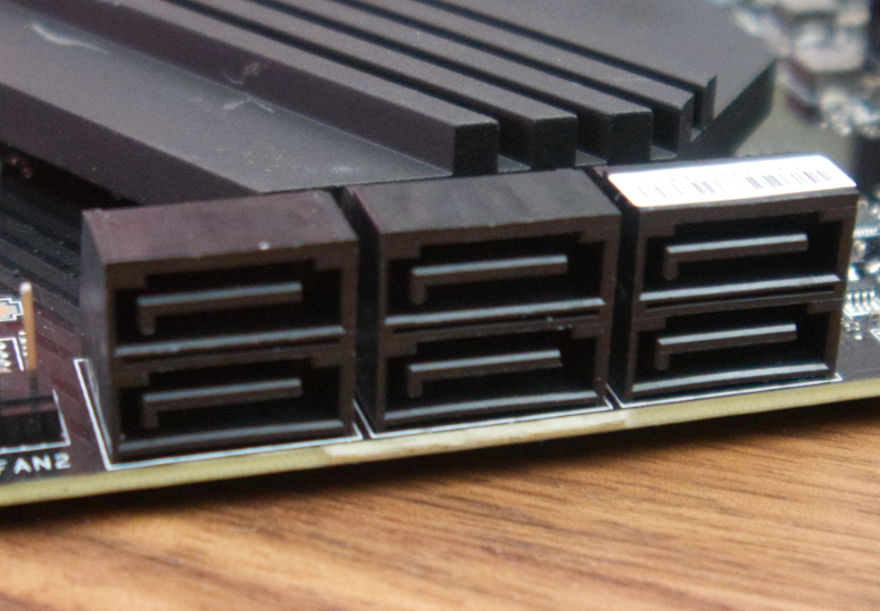
6We have what seems to be the new standard amount of SATA ports at the moment with six 6Gb/s ports. Ever since M.2 drive has become more mainstream, we have notice companies including fewer SATA ports which is just fine with us! The faster our storage is, the better and with four M.2 slots, do we really need standard SATA storage?
Across the bottom of the board, we have a fair few connectors and headers as per normal. We have the front audio header, a 6-pin power connector that will provide extra power to the PCI lanes for GPUs, a few random headers with an RGB header in the middle and then a pair of PWM Fan headers.

Moving along and we have a pair of USB2 headers, a single USB 3.0 header, reset and power buttons and lastly, our front panel power connectors.

Alongside a whole host of different USB connections, the rear IO actually has a couple of very useful buttons on it. The Flash BIOS Button is going to let you flash the BIOS without the need for a CPU in, and the Clear CMOS button is going to do just that, cleat the CMOS without the need for opening up your case!
- Clear CMOS Button
- Keyboard / Mouse
- USB 2.0 Ports
- 2.5G LAN
- Wi-Fi /Bluetooth
- HD Audio Connectors
- Flash BIOS Button
- USB 2.0 Ports
- HDMI 2.1 Port
- USB 3.2 Gen 2 10Gbps (Type-A)
- USB 3.2 Gen 2 10Gbps (Type-A+C)
- Optical S/PDIF-Out

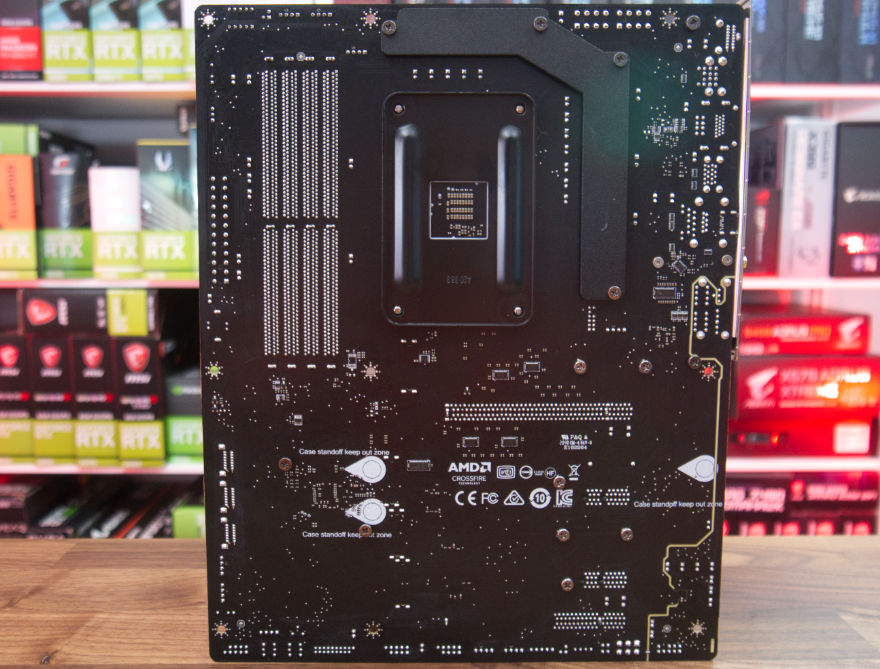
On the back of the board, we have a whole lot of nothing going on! Just as we would hope, though.
