MSI Z170A GAMING PRO CARBON (LGA1151) Review
John Williamson / 9 years ago
BIOS and Overclocking
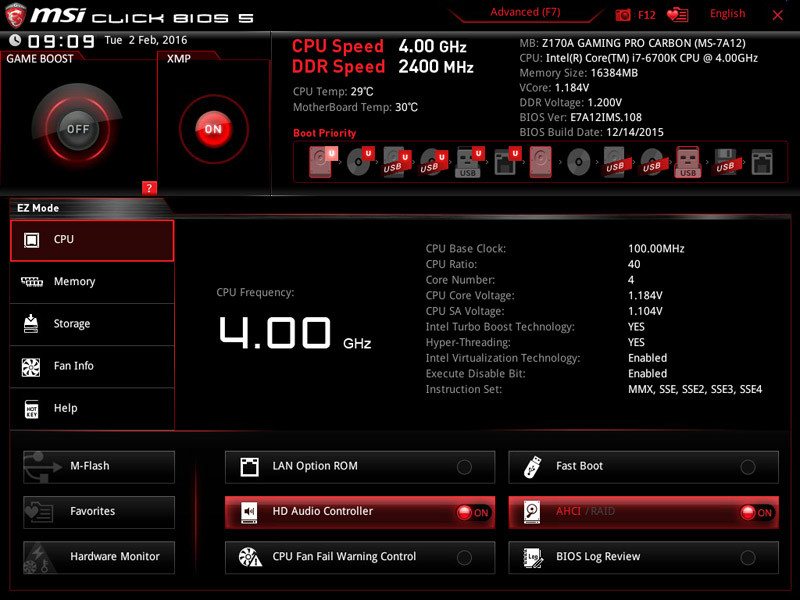
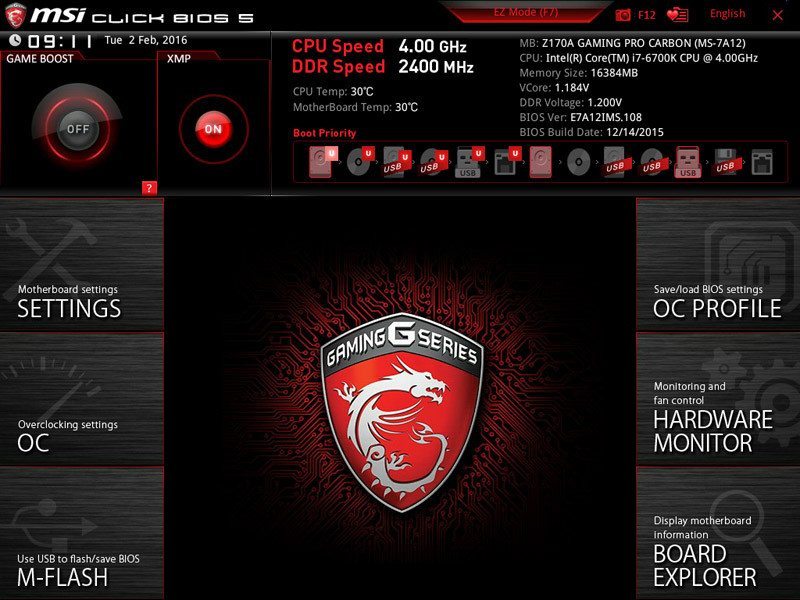
MSI’s Click BIOS 5 is beautifully presented to help novices navigate between tabs without any hassle and displays key system statistics on the front page. The BIOS is divided into two modes, a basic skin to alter common settings including XMP, and an advanced mode designed for extreme overclocking.

Even with the basic mode, it’s possible to monitor fan RPM values, create a custom curve and allow the BIOS to optimize your cooling apparatus.

Here we can see the advanced interface which separates various options into thematic categories. As a result, finding a specific setting only takes a matter of seconds and you adjust to the BIOS layout within a short period.

The settings menu outlines the BIOS version, connected SATA devices, RAM capacity and other essential information.

It’s also possible to tweak the boot order and choose between LEGACY, UEFI, or a combination of both.

Considering the amount of advanced functionality, it’s vital to set an administrator password if you share a system with other family members. Also, notice the really helpful tool tips on the right-hand side which explain what effect each setting will have.

Here, you can save changes, restore the default configuration and override the default boot order.

Despite already being in the advanced mode, MSI simplifies the overclocking process by hiding some of the more complicated variables. For the majority of users, I’d recommend keeping the OC Explore Mode on normal, because the Expert option is designed for professional overclockers.

Once the Expert setting is enabled, you can alter the CPU multiplier per core, and change the Base Clock Apply Mode. While some users might enjoy overclocking per core, it’s has a fairly niche usage. However, it’s great to see this level of flexibility for the more advanced users.

The overclocking section also contains a huge array of voltage settings, including SA, IO, ST PLL and PCH. In most scenarios, I’d stick with incremental changes on the core voltage, and perhaps some slight alterations with the system agent to maximize stability. The BIOS is an overclocker’s dream and designed to provide every possible setting to find the maximize potential of your CPU. If you want to overclock the memory, it’s important to set a manual voltage here instead of relying on the default XMP readings.

For those who want maximum control, it’s possible to disable or change the CPU’s characteristics. This ranges from the amount of active cores to altering power saving technologies. Once again, I wouldn’t even consider touching this, unless you have some very specific requirements. For example, perhaps disabling two cores to monitor the difference in temperatures at a huge frequency boost might be of some interest.

Further down this menu, we can see the memory overclocking settings, and option to modify the BCLK. The Memory Try It function is rather unique and offers enhanced stability if you know your memory’s vendor, such as Micron.

There’s another fine selection of variables to tweak memory timings, and manually insert your own optimized numbers.

The BIOS also has six overclocking profiles to store your custom settings, and it’s remarkably easy to switch between each configuration.

The M-Flash software is used to update the BIOS from a USB stick. This is relatively straight-forward and only takes a matter of seconds. Once the BIOS update is complete, your system will reboot back into the newly refreshed BIOS.

You can use the Hardware Monitor to analyse fan speed values, temperatures, and system voltages. The graph provides a fantastic visual indication of the current fan curve, and outlines the RPM percentage at different thermal thresholds.

One of the my favourite inclusions is the Board Explorer which informs the user when certain slots are populated and even provides a description of its running speed.

In a similar fashion, this feature can be used to quickly glance at the rear I/O and see where devices have been connected.

Overclocking
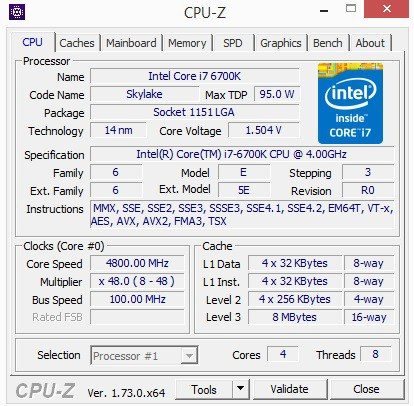
The overclocking procedure on Intel’s LGA1151 platform involves a few minor tweaks and small time investment to determine the maximum potential of your CPU. Originally, our i7-6700K sample was capable of attaining 4.8GHz with a voltage reading of around 1.45V. However, over time, the CPU’s stability requires an increased core voltage of 1.504V to complete a system stability test. Despite this, the CPU’s operating temperatures remain within thermal limitations and I found it extremely easy to dial in the overclocked settings via MSI’s comprehensive BIOS. Of course, your results may vary due to the silicon lottery, but it shouldn’t be too difficult to attain 4.5GHz-4.7GHz with the appropriate cooling hardware.


