MSI Z77 Motherboard Preview
Chris Hadley / 13 years ago
To top of the lineup that we have here you today is the Z77A-GD65. Naturally out of the 3 this board packs the most features and slightly better specifications, yet even still MSI have managed to keep the board within standard ATX dimensions. This board is the one that we will be expecting the most from in terms of performance, but until we get the chips on and the NDAs lifted we cannot say how much of gain is to be had here.

If it wasn’t for the GD65 sticker below the socket, everything around the CPU area looks like business as usual. There are more SFCs and Hi-c Caps for providing a better power flow through to the CPU itself and the same space for 4 sticks of DDR3 memory as the lower spec models.

Like the other two boards, the expansion slot configuration is the same, however we do note that the PCI-e lock on the bottom slot is the same as the other two slots rather than the tag that moves sideways to release the card from its slot.

The front panel headers here further more to what we see on the GD45 and GD55 also include a header for a case mounted IEEE 1394 firewire port.

Even though the GD65 is one of the higher level boards, the chipset cooler is still the same as featured in the lower spec boards. Below the heatsink we can see the MultiBIOS II with debug LED and is as such a feature that is unique the the GD65.

Up on the side of the board, the SATA and USB configuration is very similar to that of the GD55 in that there is a USB3.0 header at the top with the white SATAII and black SATAII ports to its side. The addition on this board comes with a further two SATAIII ports in the space that we saw had been left on the GD55. The main difference here is that these further two SATA ports are driven by a ASMedia ASM1061 3rd party controller instead of the

Moving up to the top of the board everything is pretty much the same as the GD55 with the Easy Button 3 setup including the OC Genie II button, the addition here lies in the voltage check points. Whereas the GD55 has a set of solder topped points, the GD65 has a blue set of headers for connecting a multimeter to the board rather than simply touching the check points.

Power connection wise, we still see a single 8-pin AUX connection next to the passive heatsinks.

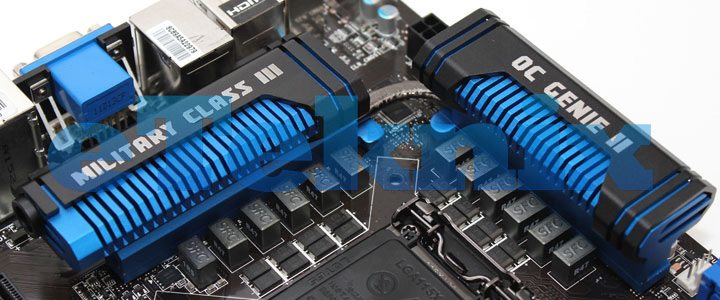
Around the CPU area, the GD65’s heatsinks are the same size and design as the GD55, including the same subtle pistol design. The main design change here lies in the heatpipe that connects the two together for better cooling efficiency.

As we can see the rear I/O panel is still the same as the other two boards, however as we’ve seen before, there is still plenty of connectivity options to chose from.


