MSI Z97A Gaming 6 LGA 1150 Motherboard Review
Rikki Wright / 9 years ago
BIOS and Overclocking
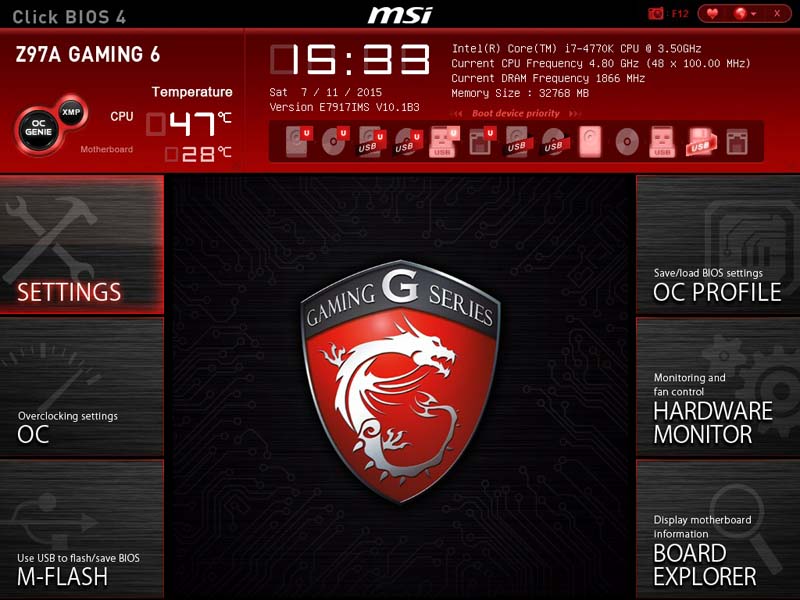
The UEFI BIOS has been around for some time now. Offering a more aesthetically pleasing version of the old school legacy BIOS. MSi have given this BIOS the Gaming branding throughout with the updated Click BIOS 4.
Upon entering the BIOS, a very simple landing page for you to choose what you need to enter. In the top left we have the XMP and OC Genie buttons for simple overclocking of the RAM and/ or CPU.
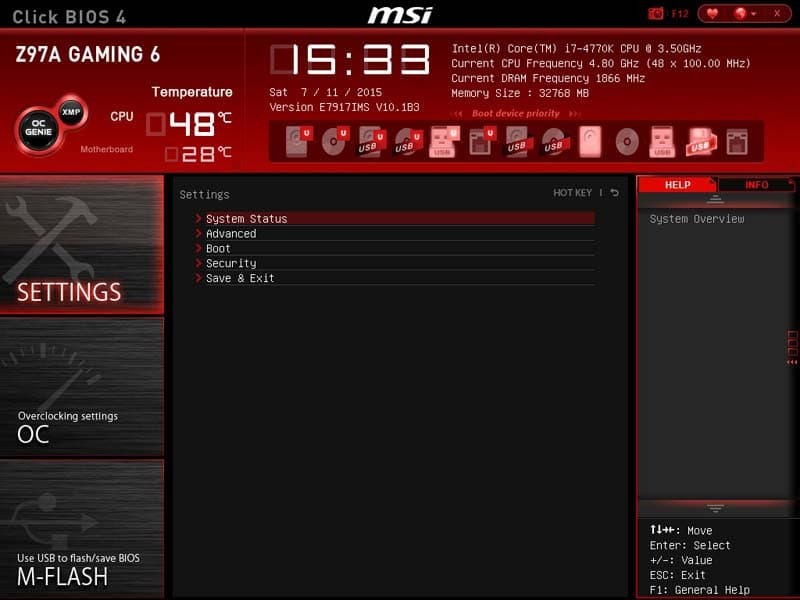
Entering the Settings tab opens up the motherboard settings. Contained within are the usual settings you would expect to see from this section of the motherboard.
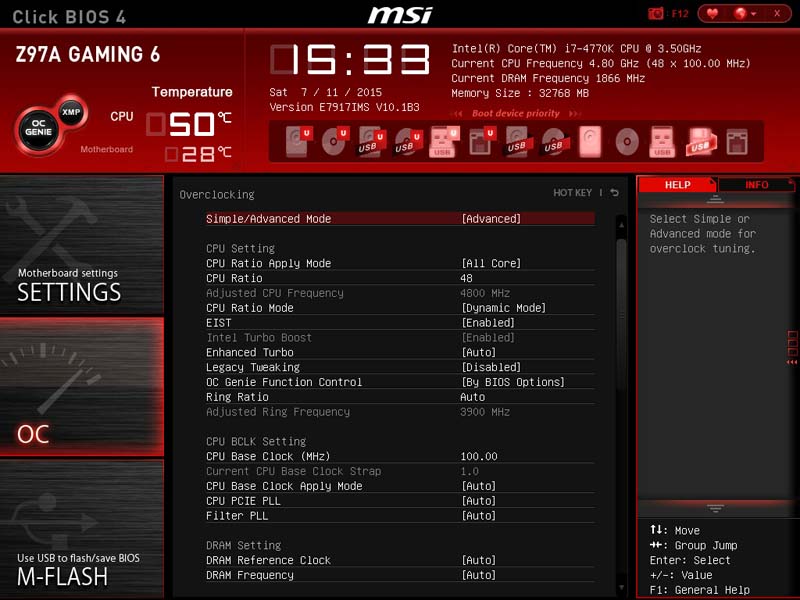
To the Overclocking (OC) section opens up a vast amount of settings related to overclocking your system. A very in-depth, yet simple approach to what is normally a complicated process.
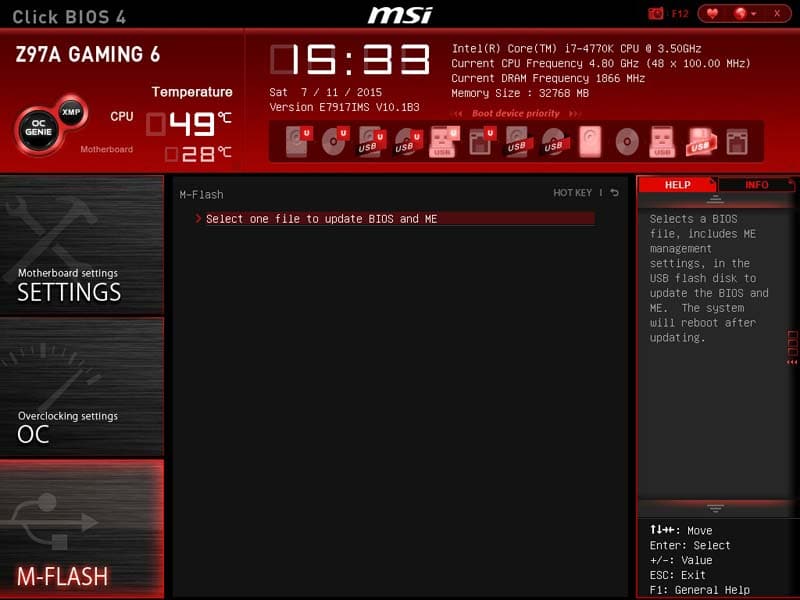
M-Flash is unique to MSi, although other manufacturers have their specific versions. This allows you to flash the BIOS from an applicable USB drive and USB port.
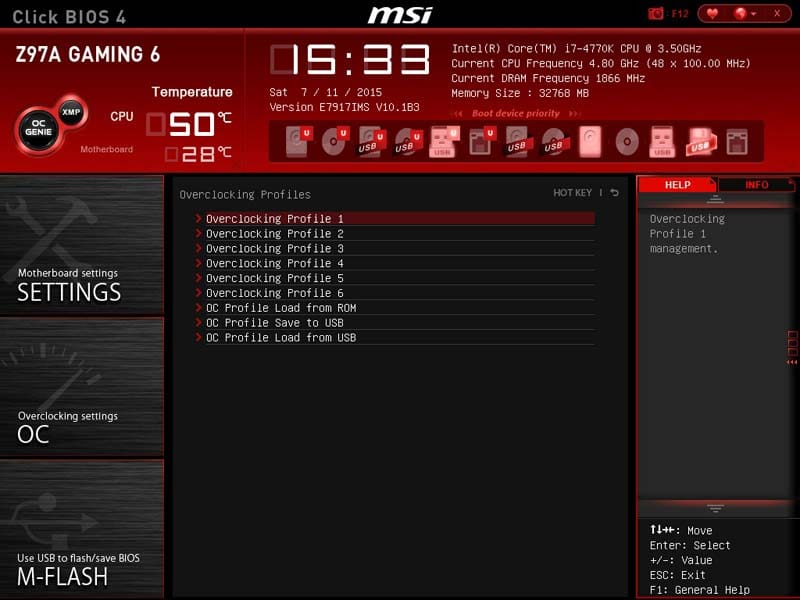
Onto the second column to Overclock Profiles. If you are like me, I like to have a different number of profiles for my system to run at; be it general work, gaming or even underclocked state for acting as a media centre.
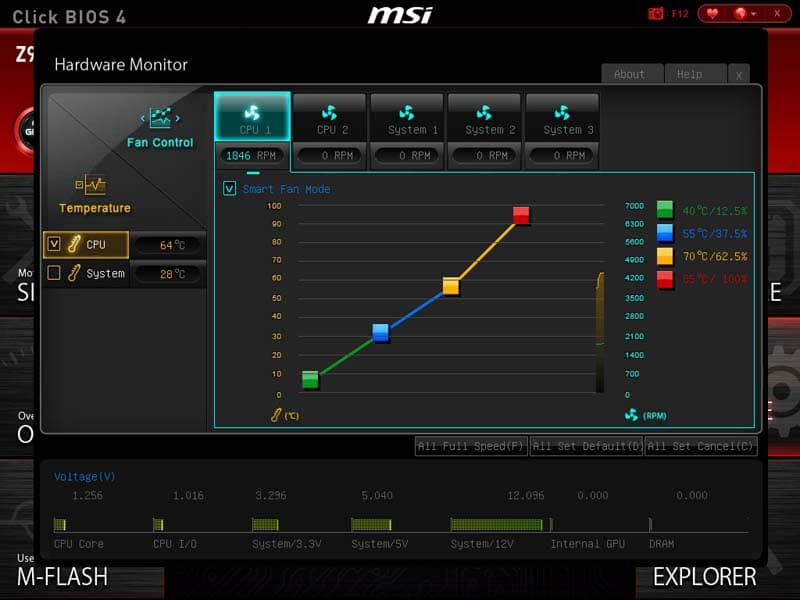
Into the Hardware Monitor. This gives you the look into what the system is doing visually. You can adjust the fans through drag and drop settings on the chart, monitor the voltage from the PSU and even system temperatures.
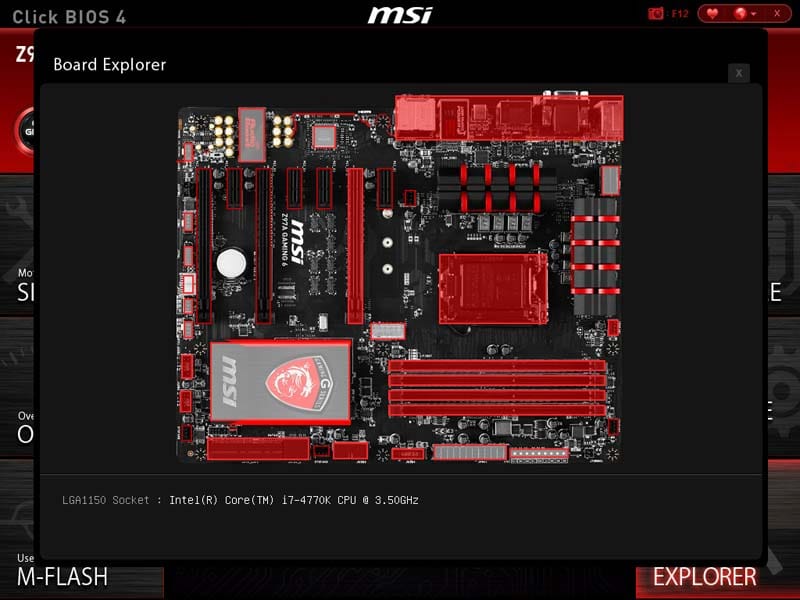
Finally we have the Board Explorer. This is a relatively new tool to the world of enthusiast technology, allowing you to see what is plugged in and to where. On this particular version, it tells you the CPU make and model if you hover over the CPU socket.
Overclocking
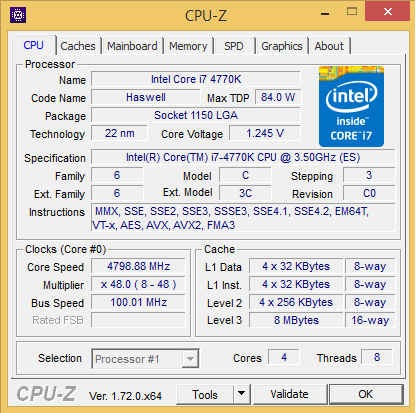
Overclocking on this motherboard, as with any Z97 motherboard; was a breeze. A simple BIOS tweak to the multiplier allowed an easy and stable 48GHz overclock.
