MyDigitalSSD M2X Portable M.2 NVMe Enclosure Review
Bohs Hansen / 6 years ago
A Closer Look and Assembly
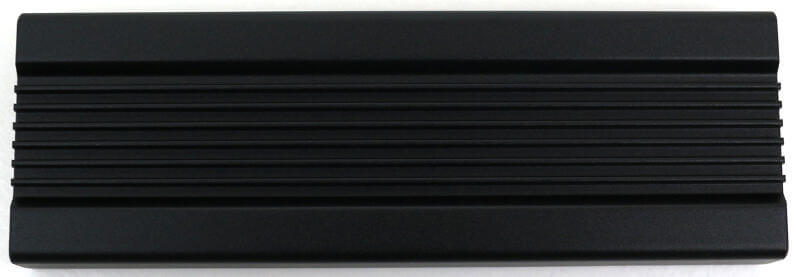
The MyDigitalSSD M2X enclosure is quite simple in itself. The one-piece body is smooth on one side while the other features a set of fins. The aluminium it is made of together with the fin-design help with the heat dissipation of installed drives. There’s also a thermal pad included which increases the effect.
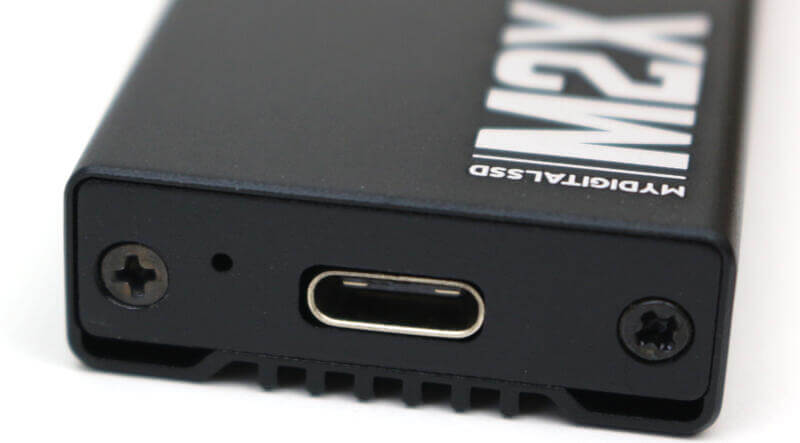
One end of the drive features the USB-C Gen.2 10Gbps port as well as a pinhole for the LED light.
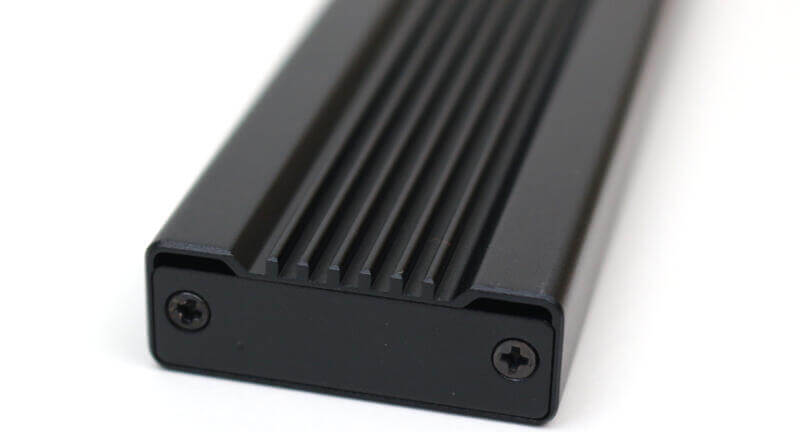
The other end of it has no distinguishable features, only two screws.
Taking it apart for SSD installation is quick an easy. Once you removed the end piece, you can slide out the PCB.
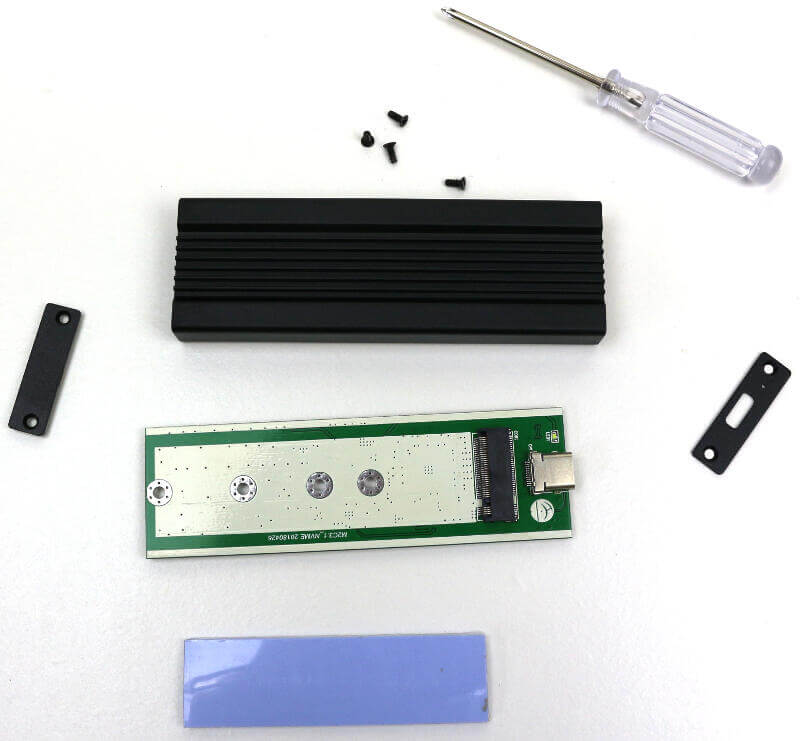
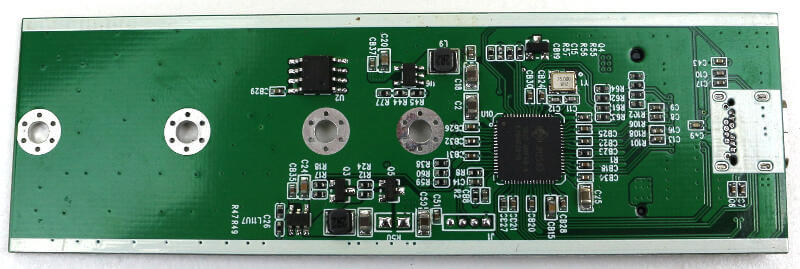
The internal PCB allows for the installation of 2242 to 2280 modules and in itself, it’s quite simplistic.

The bottom side has the bridge controller which handles most parts of the bus adapting and connection.
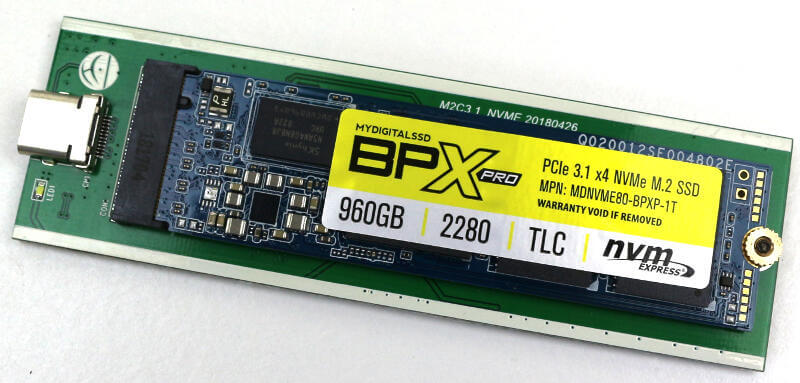
Once you’ve installed your drive, it will look something like this. I used the BPX Pro from MyDisgitalSSD which we also just reviewed. It’s a good match.
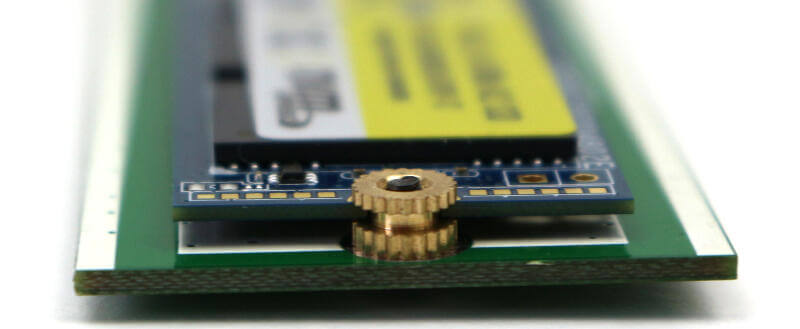
The mounting system is quick and easy to use. Push the ring in around the end of your SSD and secure it with a screw through the bottom PCB hole.
That’s it, you’re almost ready to use your new and speed portable storage drive. If you apply the thermal pad to the SSD, then it might get a bit tricky to insert the whole thing into the enclosure. However, if you’re having trouble with that, just try stretching the pad a little.


