NETGEAR Nighthawk Pro Gaming SX10 Switch Review
Bohs Hansen / 7 years ago
A Closer Look and Specifications
Power Supply Unit
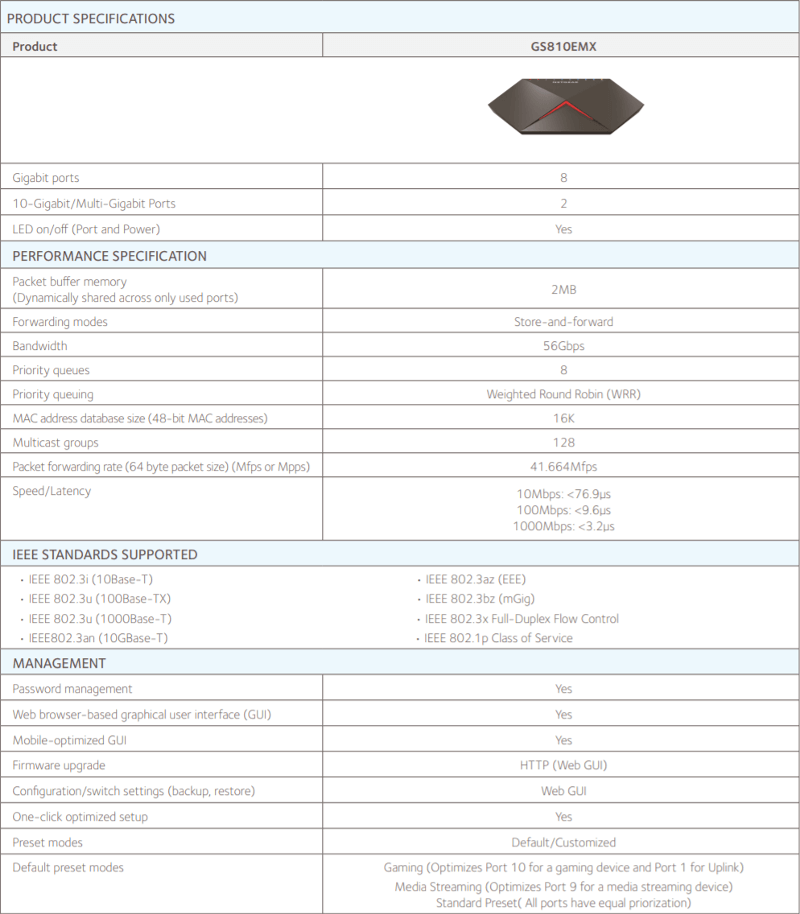
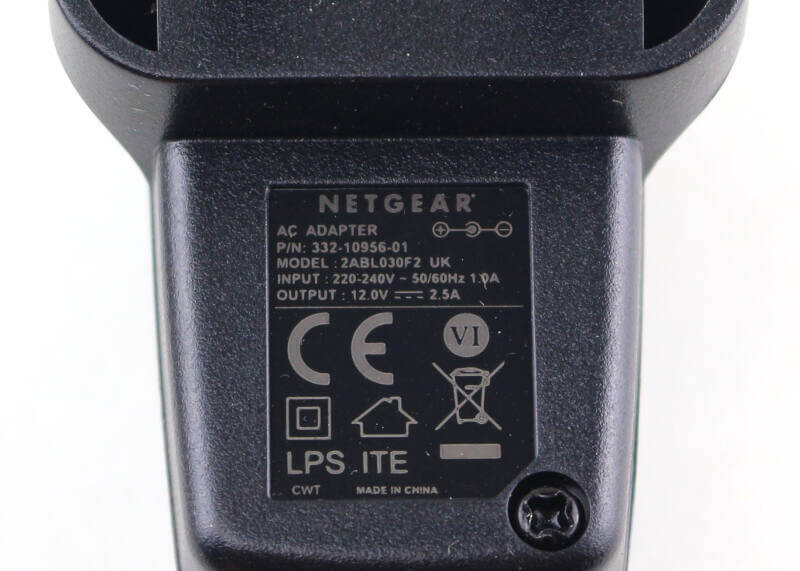
Before we get to the interesting parts, let’s get through the boring part: the power supply. The included power supply delivers up to 30W with its 12V and 2.5A.
Bottom Side of Things
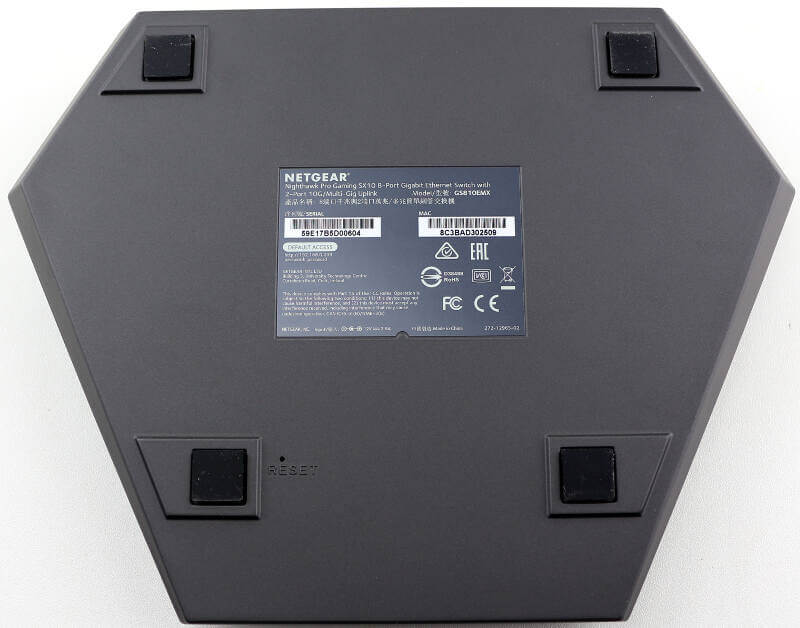
The bottom of the switch isn’t terribly exciting either. It has four rubber feet which make sure that it stays where you place it and a label with various information. That includes the serial, MAC address, and default login credentials.
There’s also a pinhole reset button for the event that you forget your password. Press it until all lights turn off, and the switch is reset to its factory defaults.
Rear Side
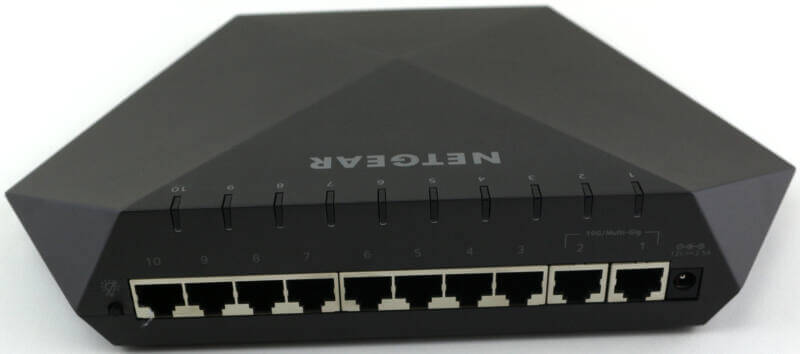
The rear is where all the ports are. Port 1 and 2 are the 10GbE ports, and 3 to 10 are 1GbE ports. Next to the 10th port is the switch to turn off all LEDs and the power connector is next to the first port.
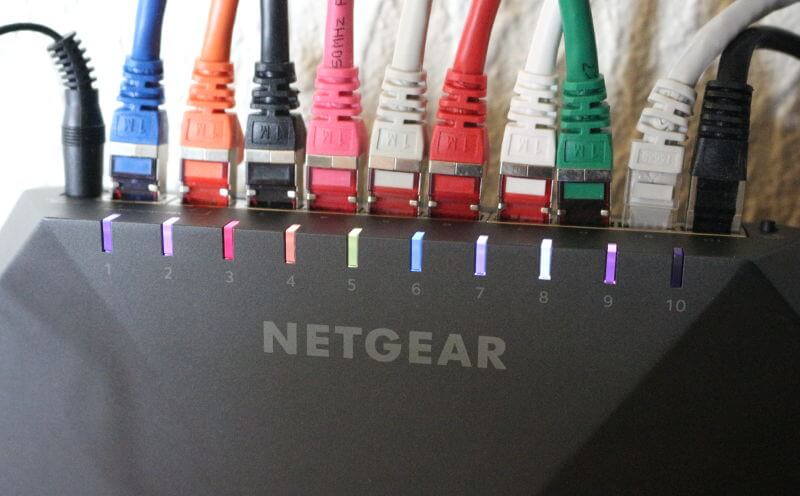
Above the ports are the activity and connectivity LEDs. They are visible from both the rear and the top.
Top View
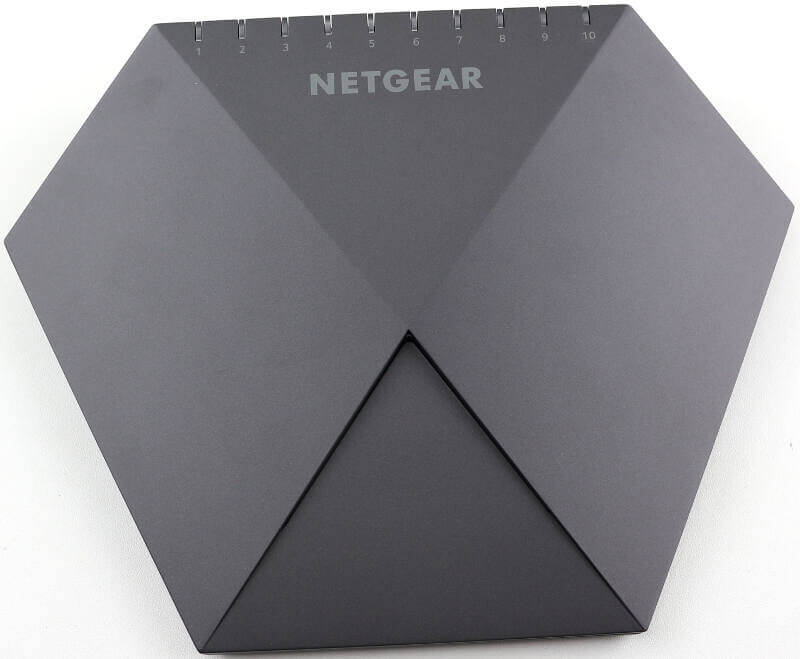
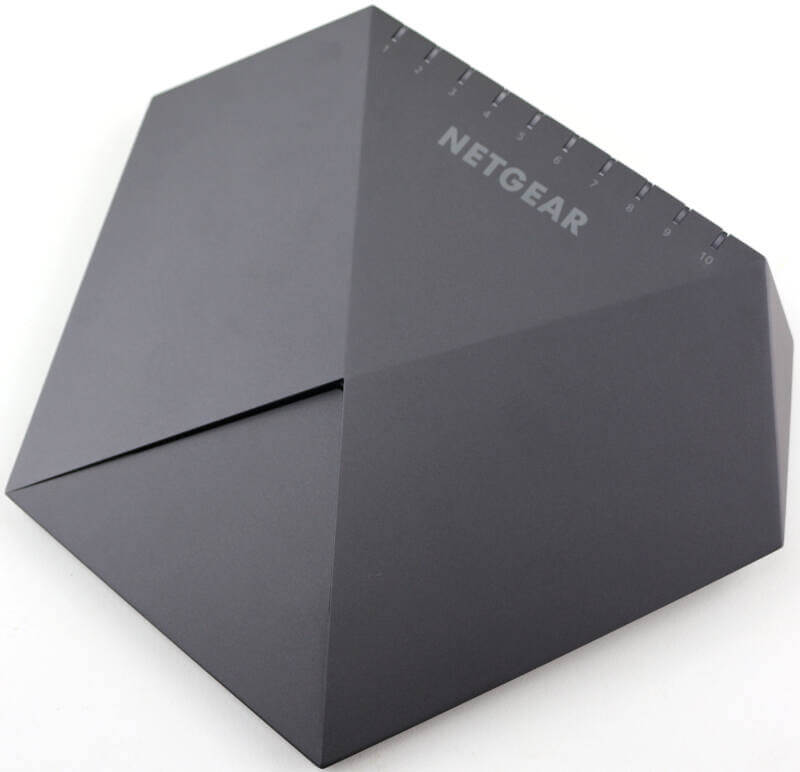
NETGEAR’s SX10 has a design which reminds me of a stealth bomber, and that’s probably no accident. The stealth-bomber is synonymous with power and stealth, and the SX10 delivers both of these features. 10Gbps speeds for performance and no fans for completely silent operation. With the ability to turn the LEDs off, it can go full-stealth too.
The LEDs are easily visible from the top and clearly labelled too. Below them is the NETGEAR logo clearly visible, but without being too pushy either. It all blends well.
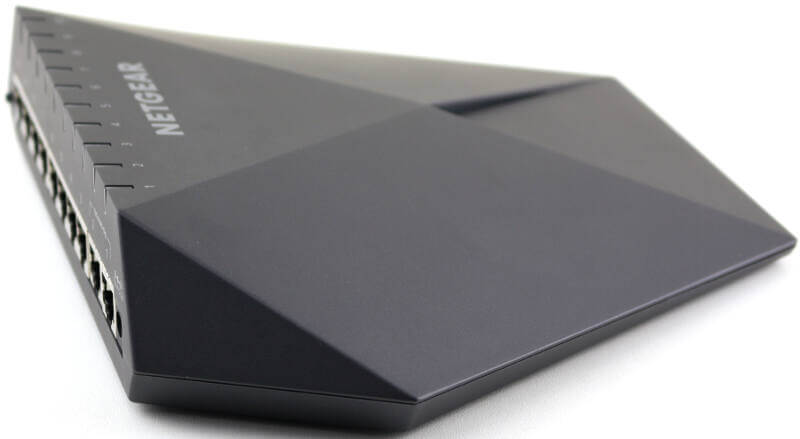
Angling the camera a bit and we get a better view at the descended part which holds the power-LED strip.
Side View
The sides don’t have any distinct features besides a few more edges.
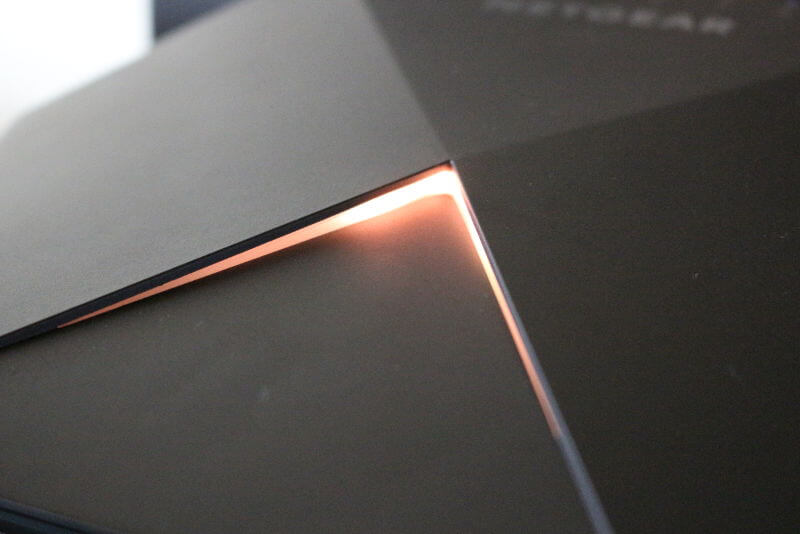
Once the power is plugged in, we see the power LED light up. The colour can be customised to match your overall setup as its all RGB.
All the network ports’ LEDs can be customised too. There are several colour options for each, allowing you to identify which speed they run at.
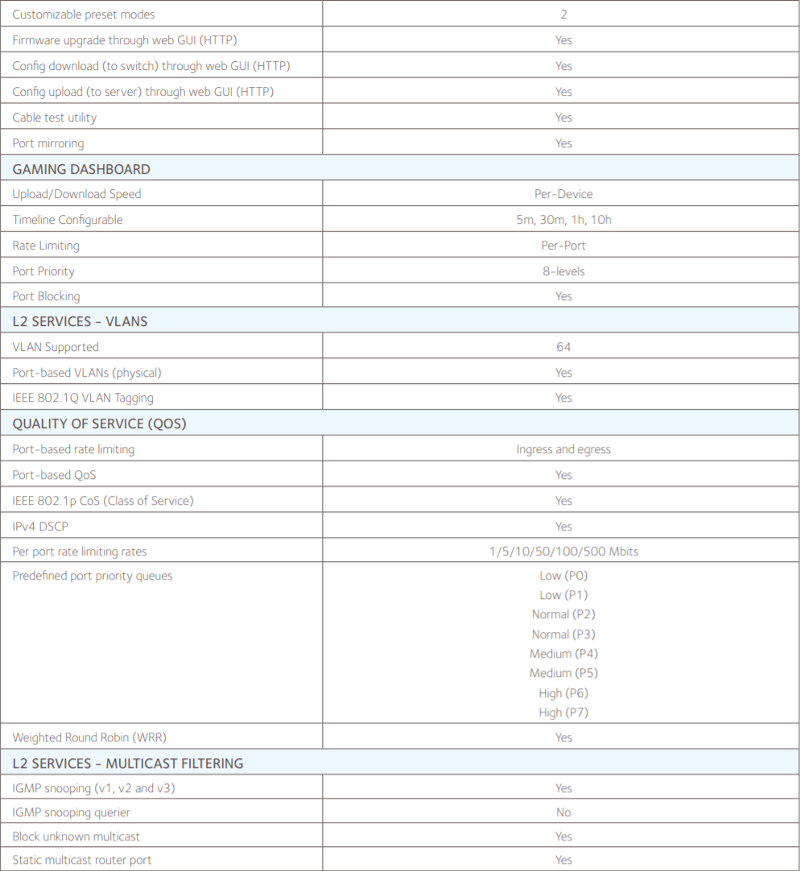
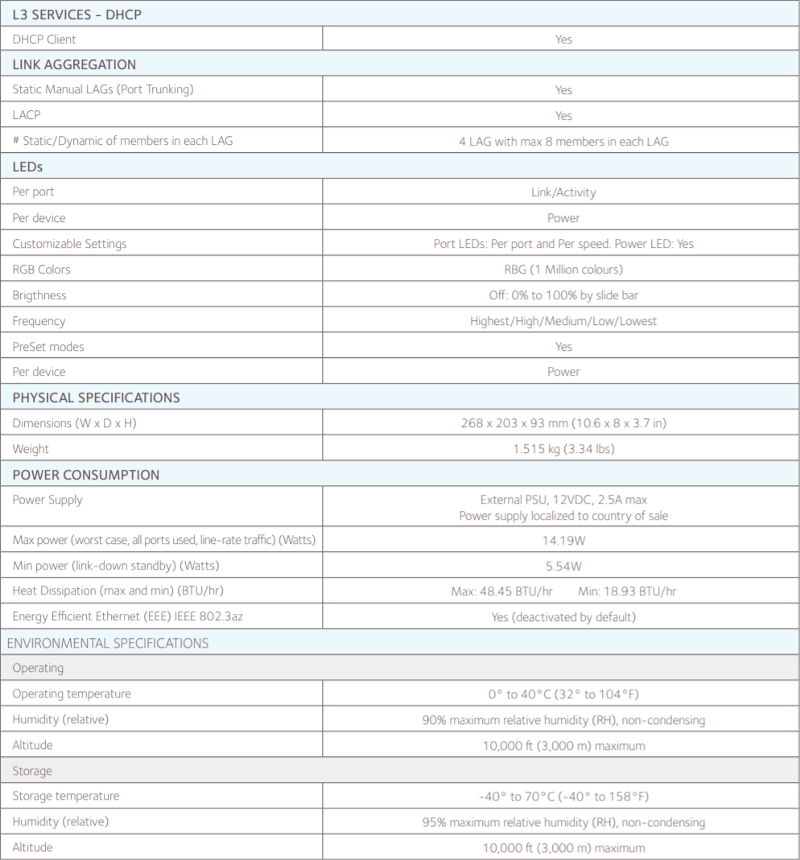
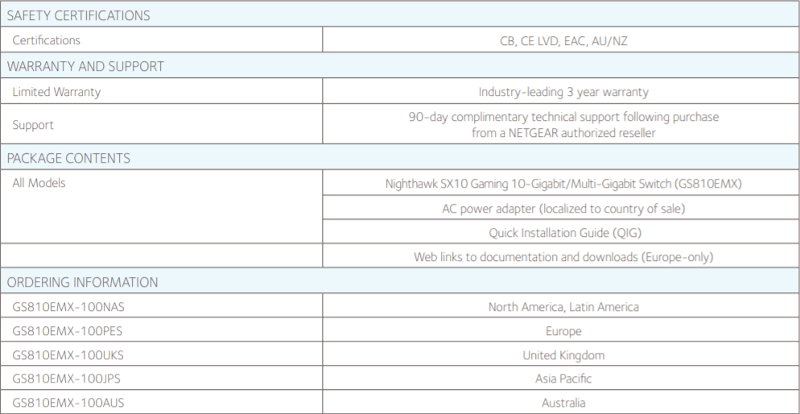
Specifications
