NETGEAR Nighthawk Pro Gaming XR500 WiFi Router Review
Bohs Hansen / 7 years ago
A Closer Look at the Hardware
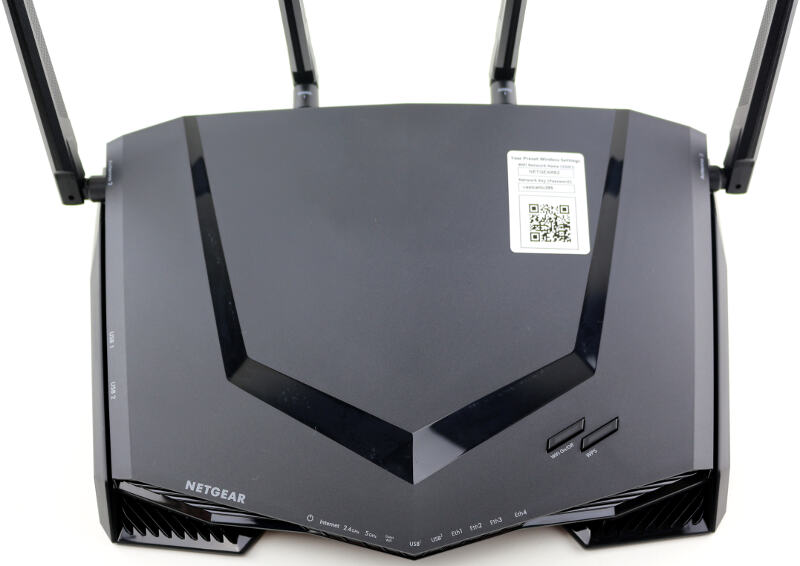
It is time to take a closer look at the router itself. The NETGEAR XR500 is a great looking device, there can be no doubt about that. Even when I personally prefer a minimalist look. The sharp edges and large vents give it an aggressive look and a look of power. And it has that in spades!
Front View
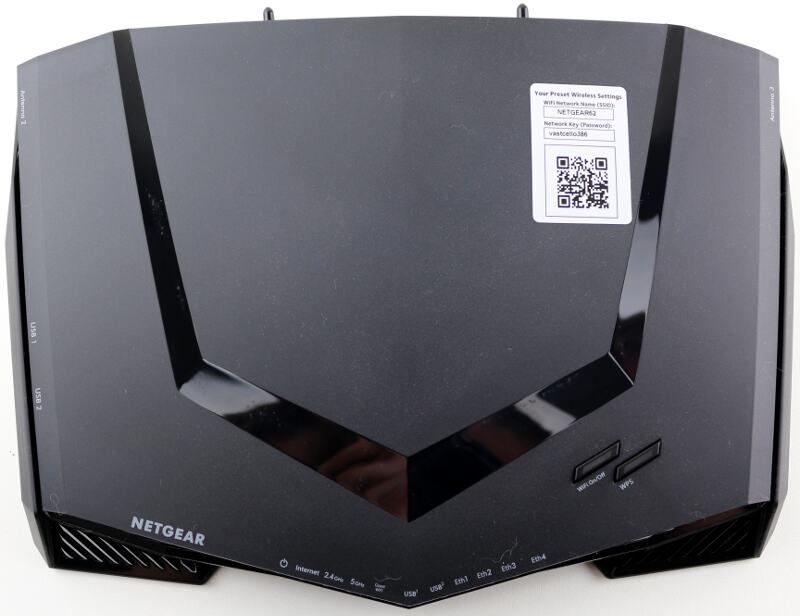
Let us start with the front as that’s one of the most prominent areas. The LEDs are all located in the centre of the router. Each of the bands has their own LED and there’s one for the guest Wi-Fi too. The two USB ports have separate LEDs and so do the four LAN and the WAN port. Further, there is one for the general power of the unit.
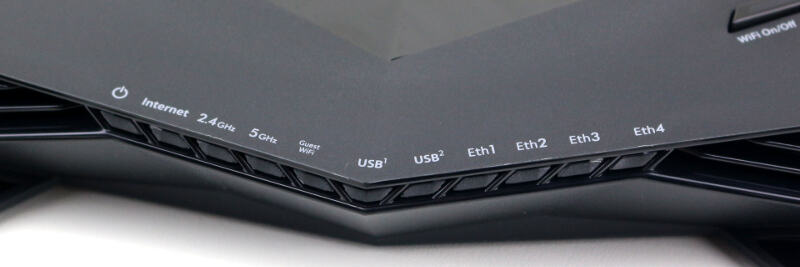
On both sides of the LEDs are large air vent areas, allowing the router to get plenty of fresh cool air to cool the components inside. On top of them is a WPS switch for easy one-click connection of devices and a button to turn the Wi-Fi completely on and off.
Rear View
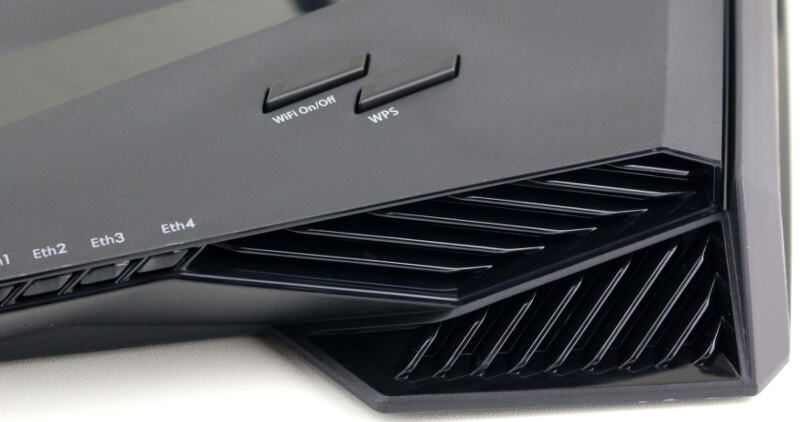
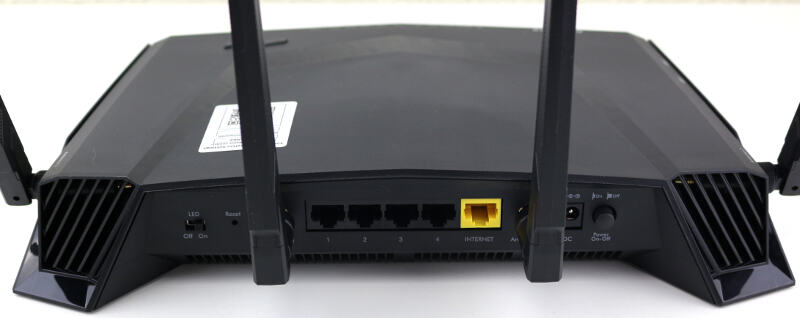
The rear side has two large air-vent holes too, one on each side. Just as there are on the front of the unit.
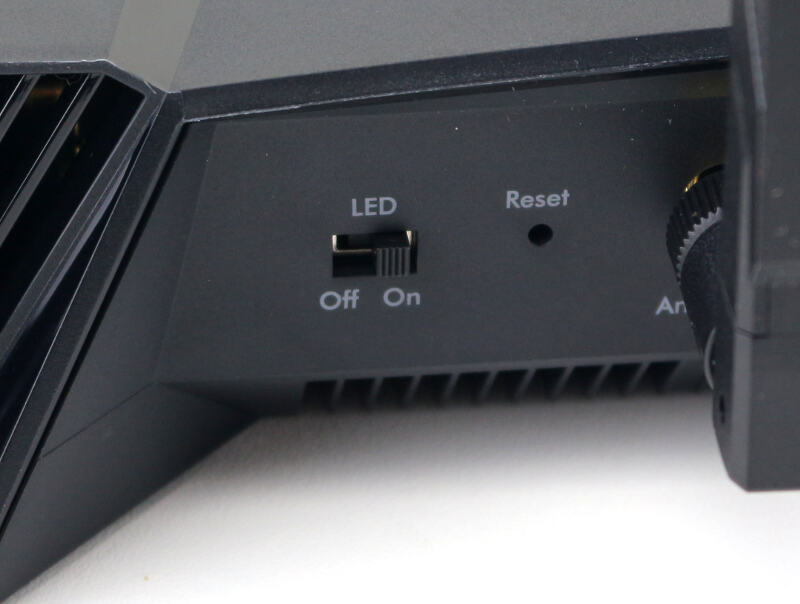
On the one side, you get a typical button-hole reset for the event that you forget your password and can’t get back into the interface – or you just generally mess up your configuration. Next to it is a neat switch to turn off all the LEDs. This can be particularly useful for places such as bedrooms where you don’t want flickering lights all night long. If the router is sitting next to your monitor or TV, the LEDs can be distracting too.
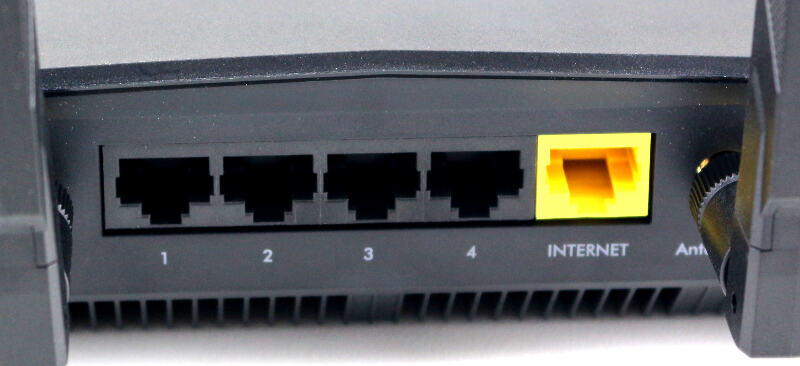
The 5 RJ45 ports, four for LAN and one for WAN, are locatd in the middle between two of the antennas.
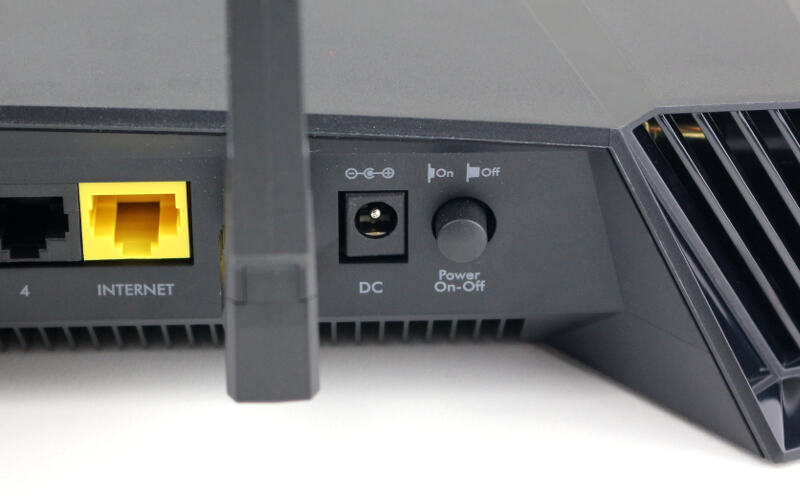
On the other side of the router is the power connector and a switch to turn the whole unit off.
Side view
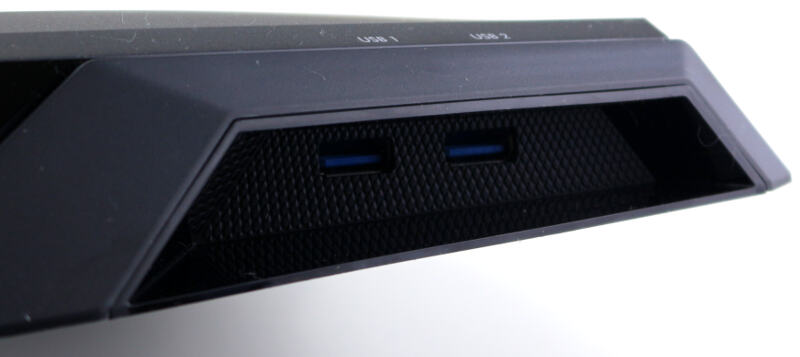
After having a look at the front and rear, you probably wonder: where are the two USB ports? Well, they are on the one side, hidden in the grove. There’s also a mount for one of the four antennas on each side and they’re labelled the same way the antennas are, so you know which to mount where.
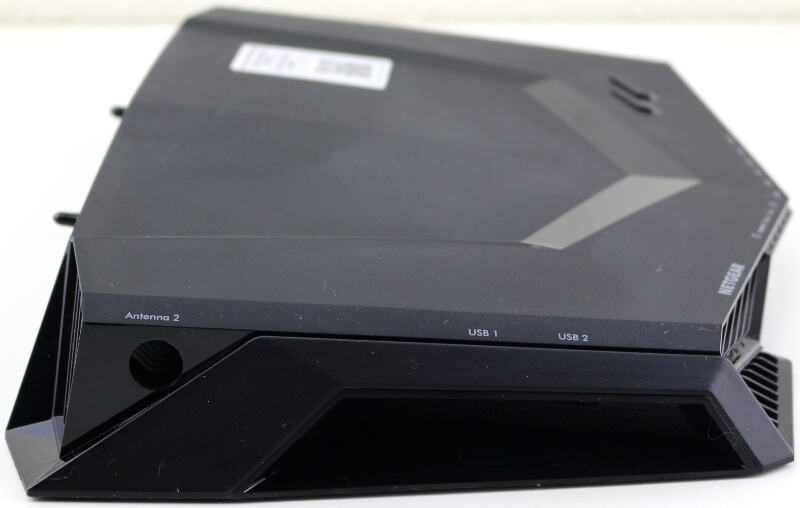
As you can see here, they’re neatly tucked away to prevent design interference, but with plenty of space for larger stick-drives.
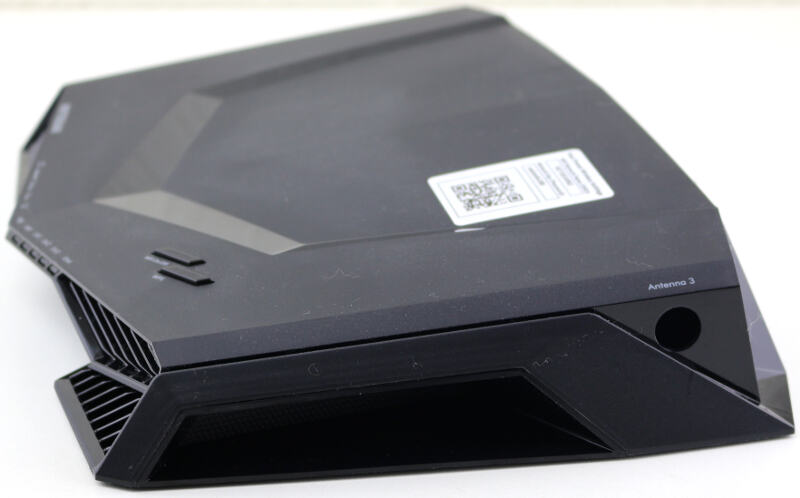
The other side only has an antenna connector.
Bottom View
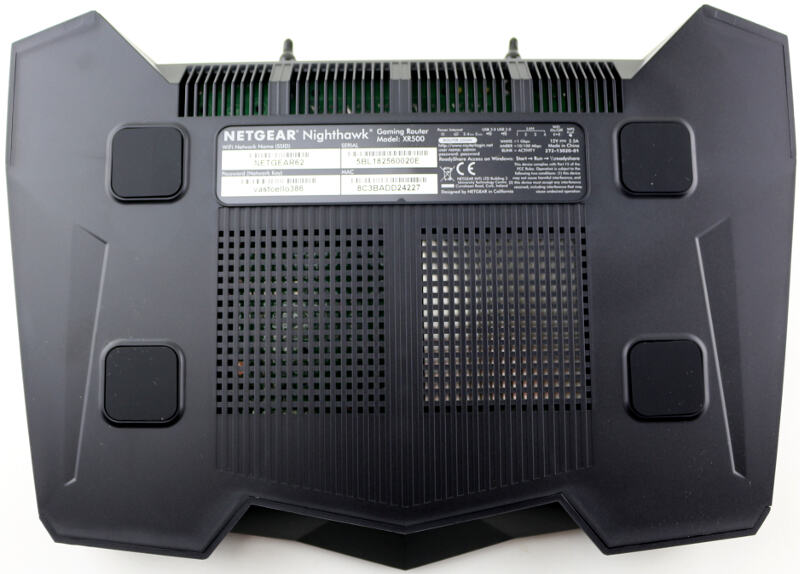
The bottom has even more air vents, so by now it’s clear that the router won’t have trouble breating fresh air. There are four large rubber feet which make sure it stays where you place it and the obligatory information sticker.
Top View
The top also has a small sticker which you probably are going to peel off. But it helps with the first initial setup and features a QR-core for reference.
Power Supplies
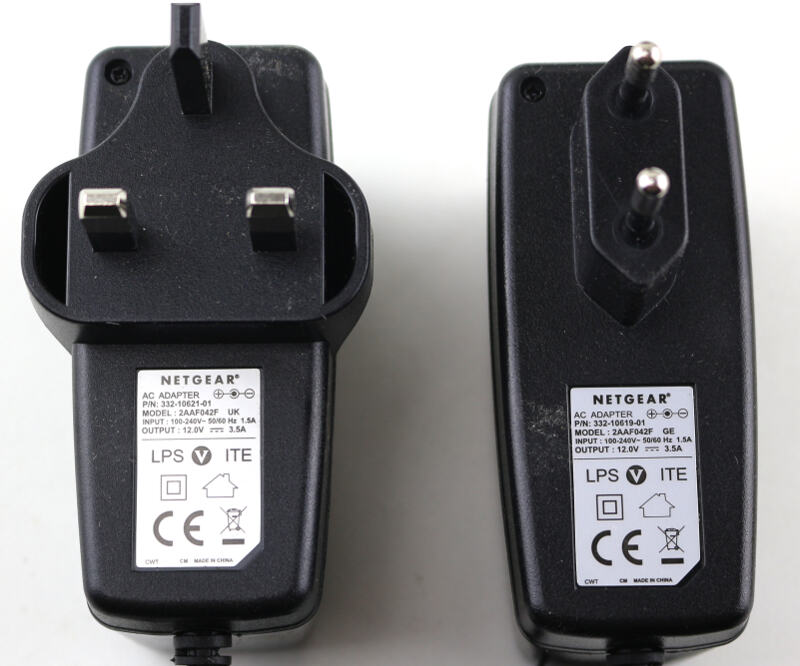
The two included power supplies have the same specifications, only the plug is different. With 12V and 3.5A, the PSUs can deliver 42 Watts.
The Antennas
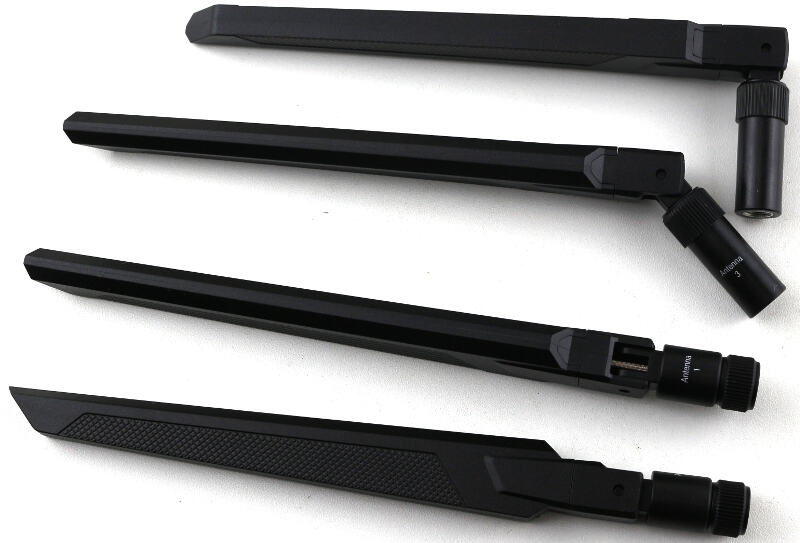
The four included antennas aren’t all the same. There are two which are labelled as Antenna 1 and those are for the rear side. The other two, Antenna 2 and 3, are for the two sides respectively. All four of them can be turned 360 degrees and angled at 45 and 90 degrees.
The difference between them is just how they’re angled, making sure that the router looks as good as it can.
