NETGEAR Nighthawk Pro Gaming XR500 WiFi Router Review
Bohs Hansen / 7 years ago
Interface: Settings Part 1
The traditional settings functions are found under the Advanced Settings menu point. There are quite a few, so I’ve split them into two pages. This is the first of them with the general setup, monitoring, and content filters.
Setup
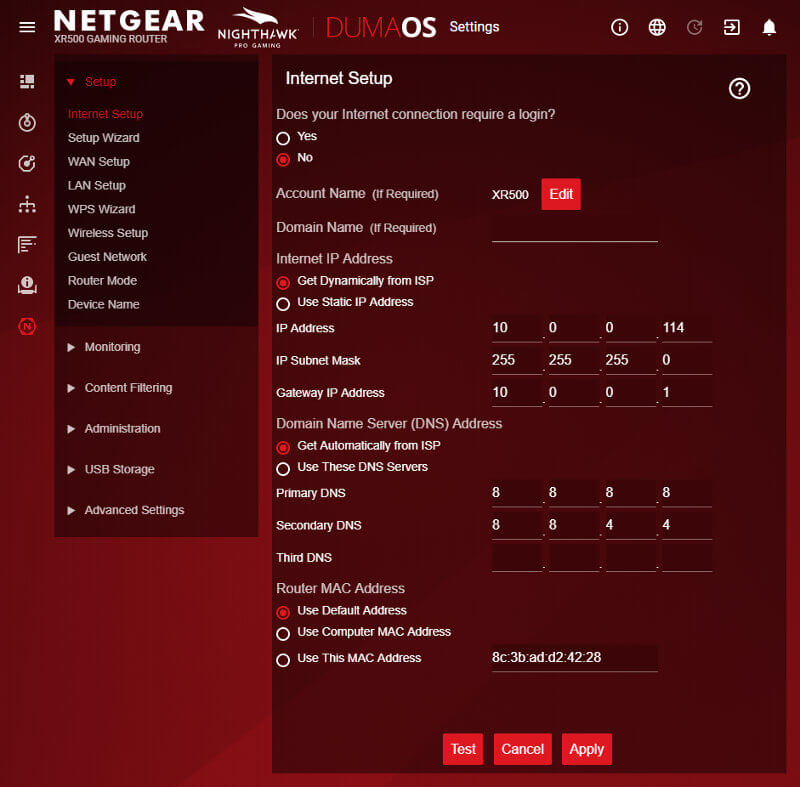
I’ll keep things short here, most things explain themselves based on the screenshots. The first setup page is for your internet. This should have been configured by the initial setup, but you may want to change something for various reasons.
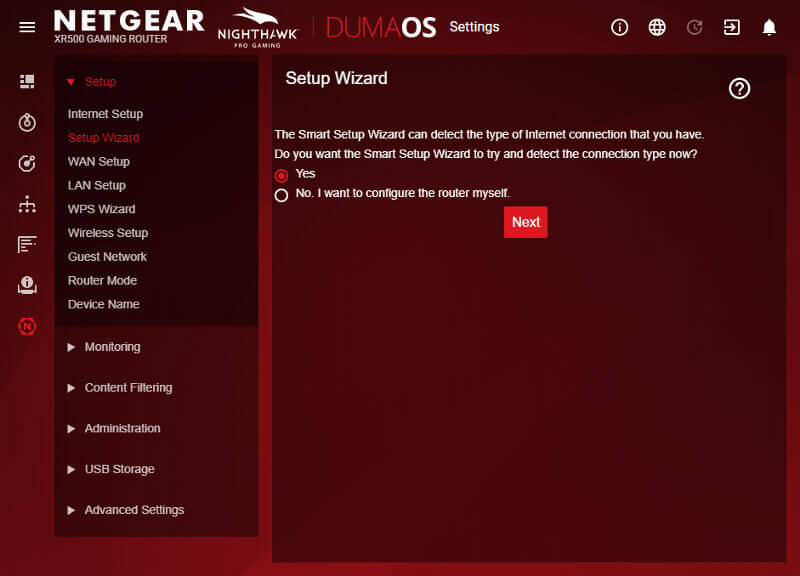
You can also launch the setup wizard again.
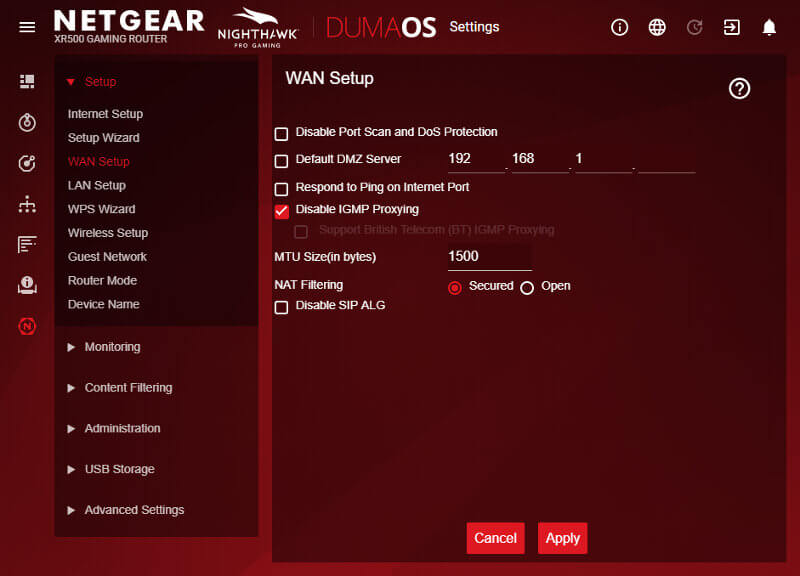
The WAN setup has a few more internet related setups, but specific to the port. For example, you might want to disable the port scan or DoS protection when testing various things.
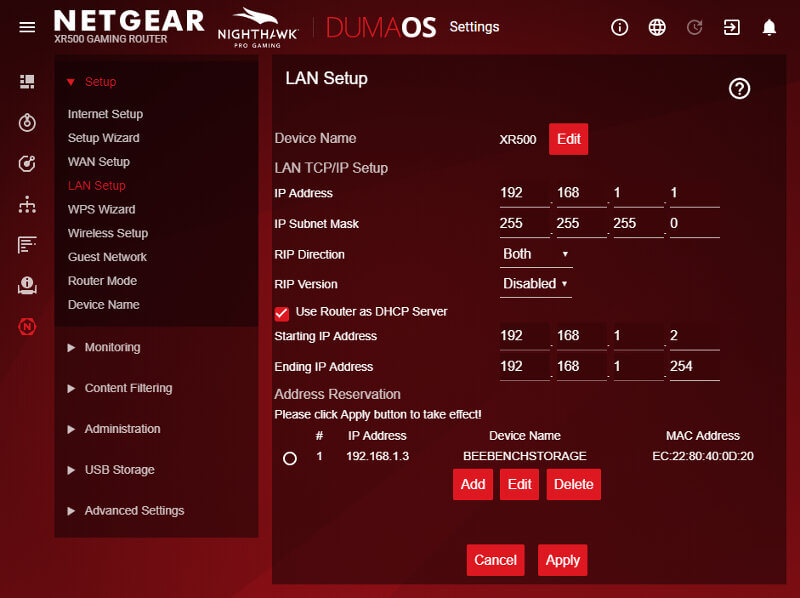
Within the LAN setup, you to set the IP range the router operates in as well as reserve IP addresses in the DHCP pool. The latter is easily achieved as you can pick and select from all connected systems.
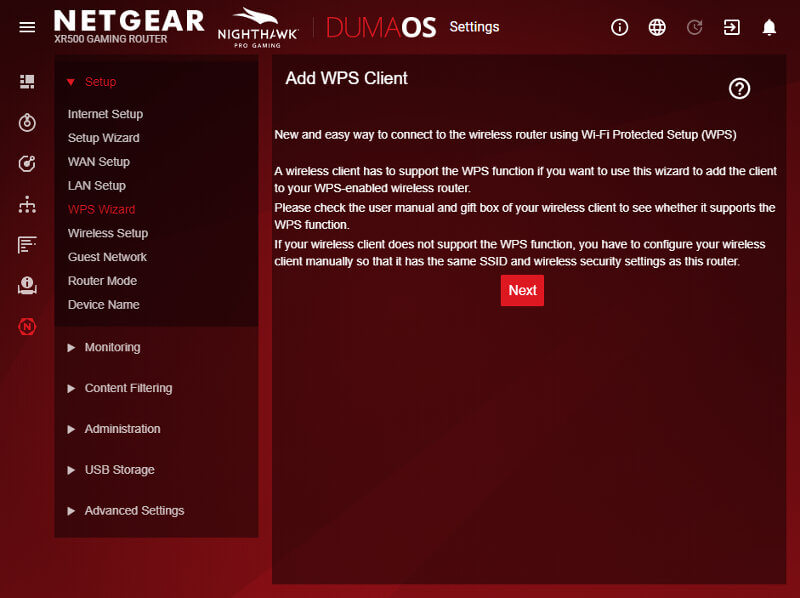
The next part is the WPS. With it, you don’t need complicated SSID names and passwords to connect a wireless device to the router.
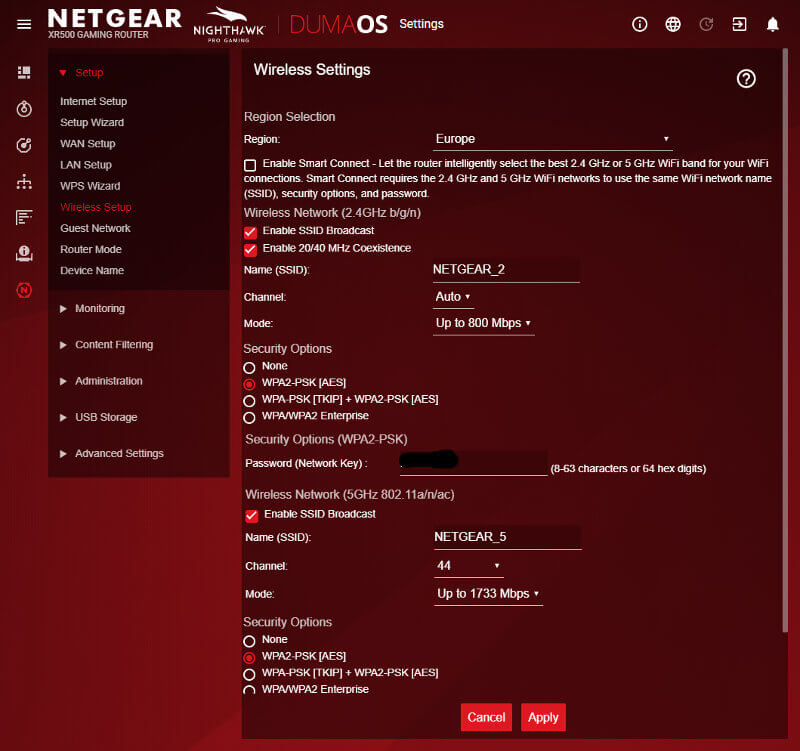
A section you might access more than the rest is the wireless setup. Change the name, speed, mode, and channel used for the different networks. All is possible here.
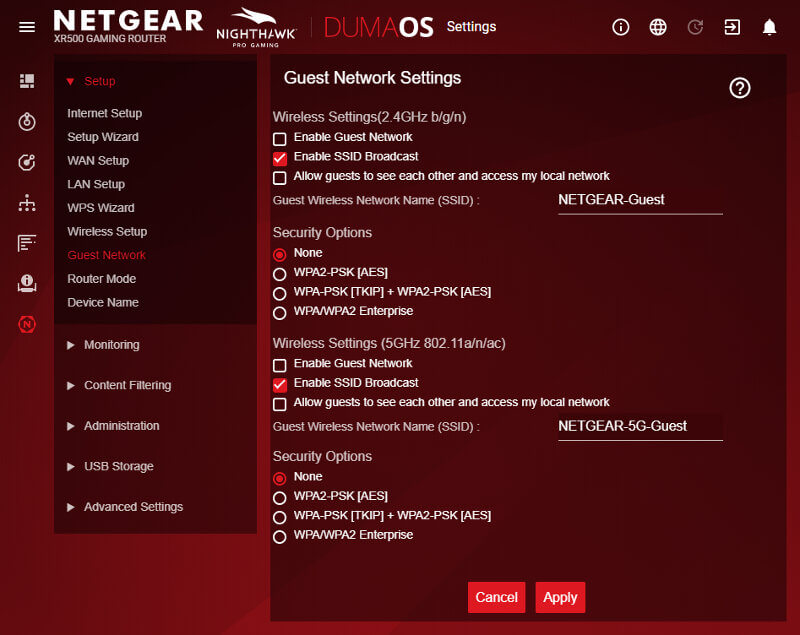
NETGEAR’s XR500 also comes with guest networking for both bands. With this feature, you don’t have to share your normal Wi-Fi details with friends and you keep them out of your own systems at the same time.
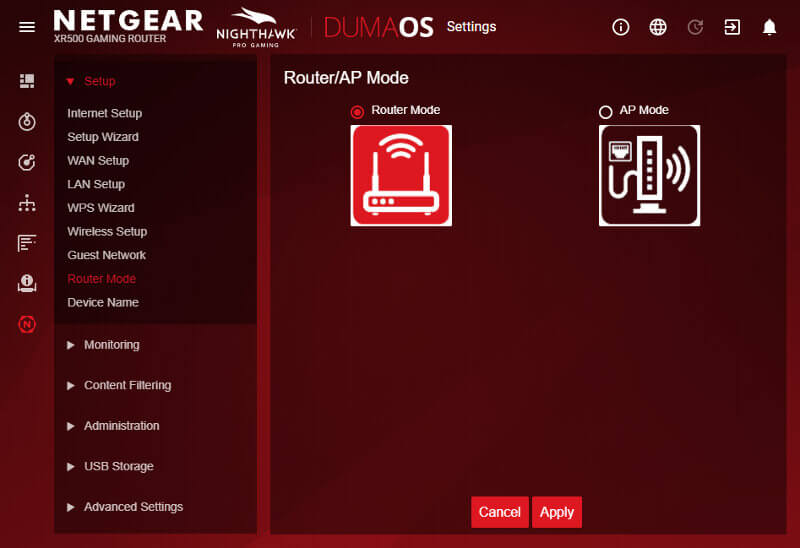
It’s doubtful that you’ll want to run such a powerful device as the XR500 in access point mode, but it is possible.
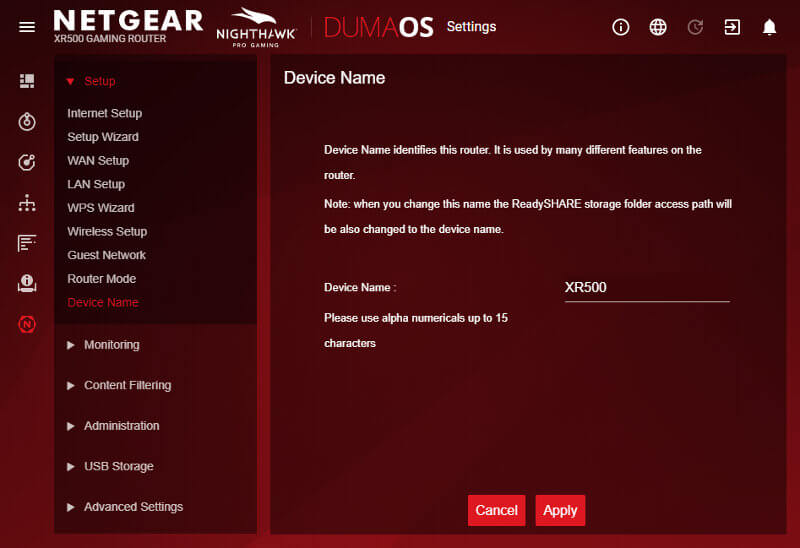
The last part of the basic setup is the device’s name. By default it’s XR500, but you might want to change that to something cooler.
Monitoring
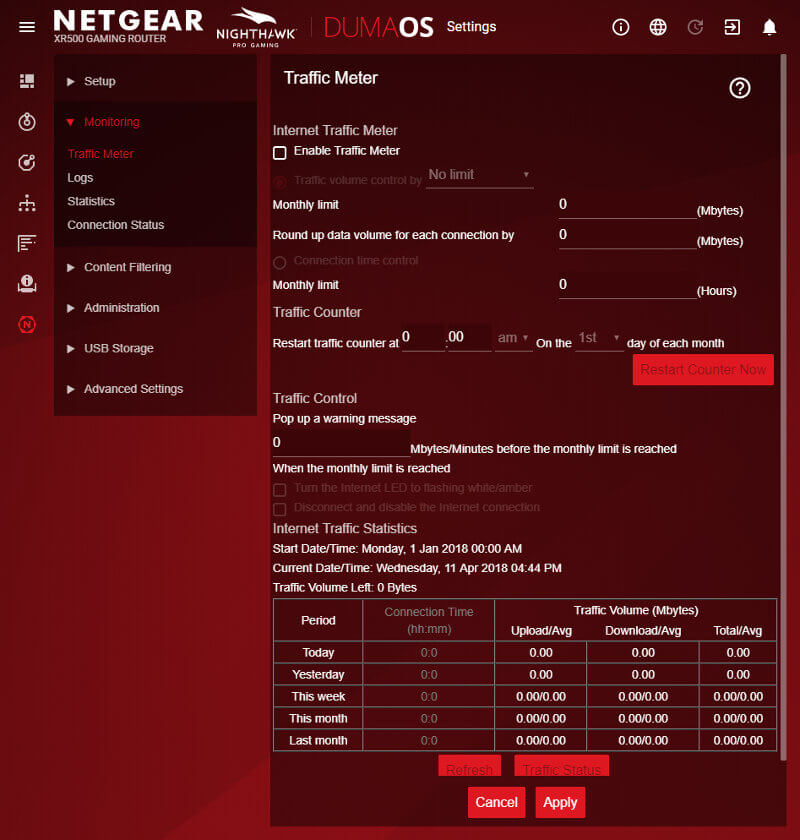
Traffic limited connects are rare these days, but NETGEAR made sure that you’re covered for that area too.
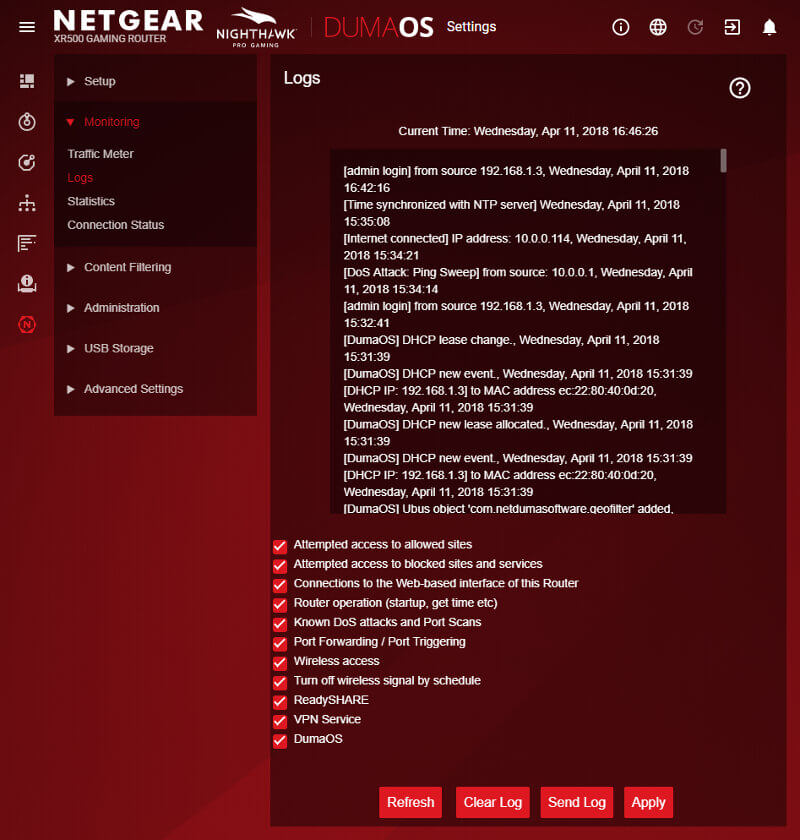
The logging function allows you to easily filter all the messages, allowing you to find what you’re looking for. From logins over time updates to attempted DoS attacks. There isn’t a lot that the XR500 won’t log.
You can keep track of your ports and WLAN statistics too.
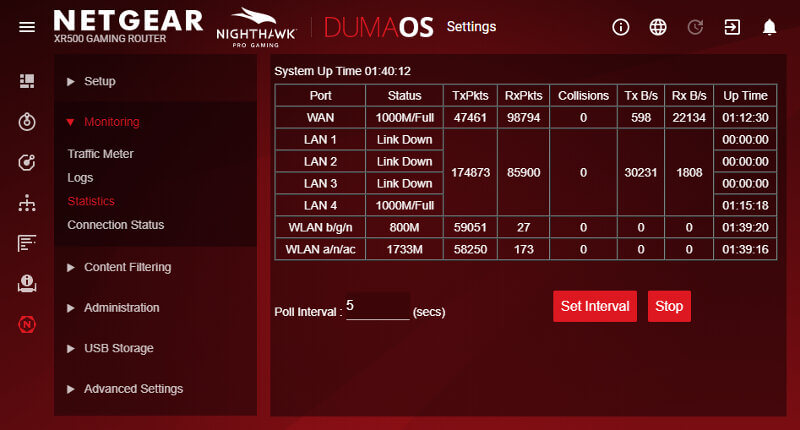
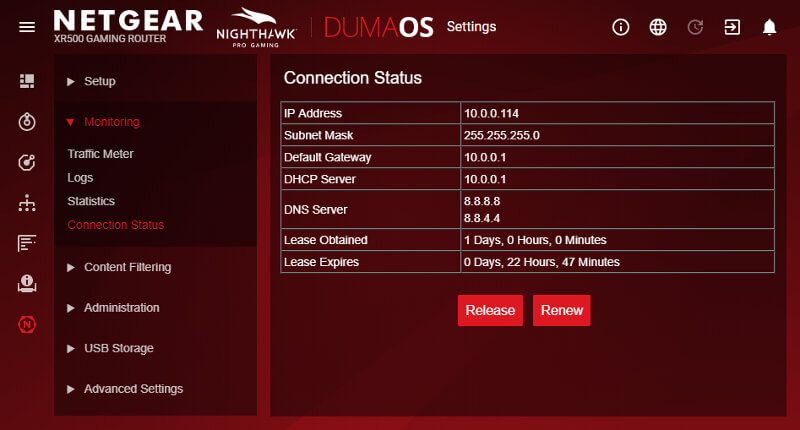
The last monitoring page is a general connection status.
Content Filtering
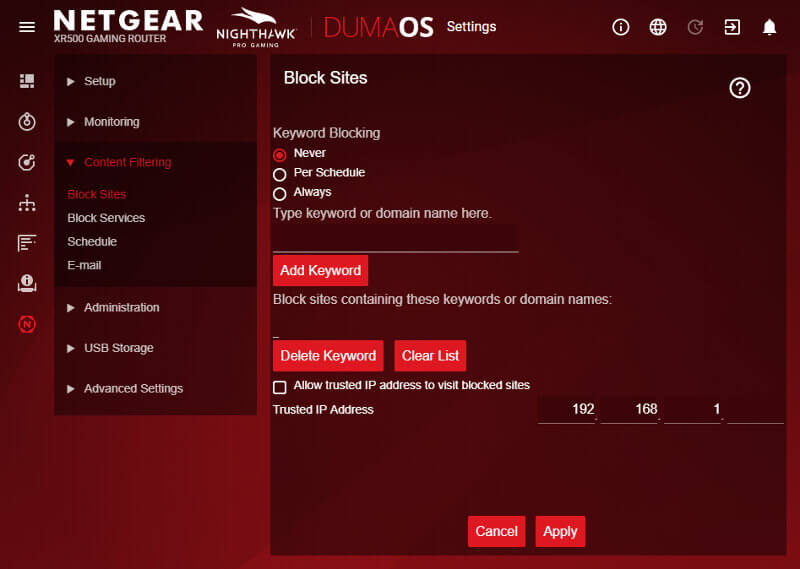
The content filtering could also just have been called blocking, as that’s what it’s all about. You can block sites by keywords, yet allow trusted IP addresses through the blocks. You might know what you’re doing, but you still want to protect kids or other people from harmful sites they shouldn’t have access to.
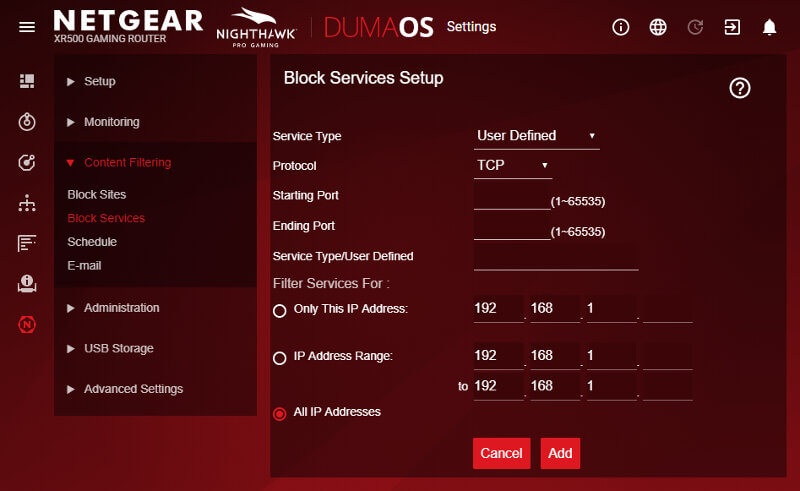
Services can also be blocked directly and generally.
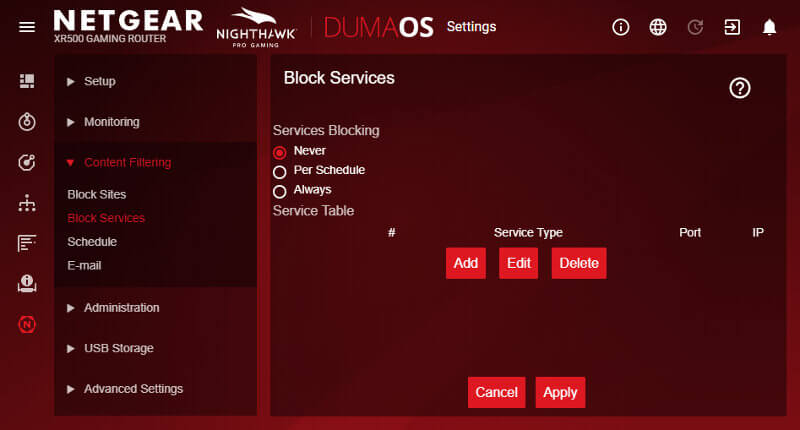
Adding a new service to block is quite easy, at least if you know what you want to block. You can enter it manually or pick a pre-configured service type.
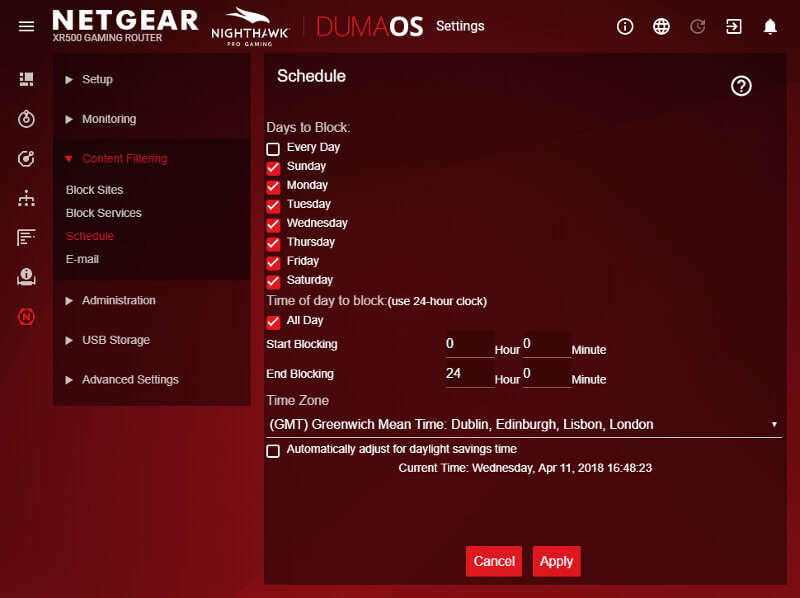
You can also set schedules for when these blocks should happen. This is probably the only place where I’d say this router’s OS is less advanced than other ones we’ve seen in the past. I’d like more options when it comes to scheduling times.
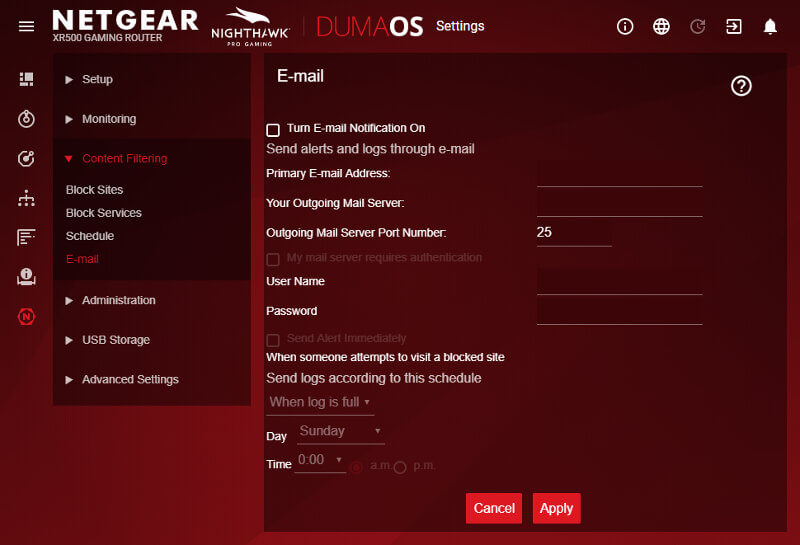
The email function allows you to get notifications of alerts and logs directly to your email account.
