Netgear Prosafe GS724TPS 24 Port Gigabit Smart Stackable PoE Switch Review
Chris Hadley / 12 years ago
Unlike the entry level switches that you would typically find in a home or SMB environment, managed switches have a whole back end with features and settings to play with to configure the switch to work in a particular way.
Logging into the UI we get a similar interface and style to what we saw when we looked at the WNDAP360 not too long ago. The first page that is seen, gives a run down on the systems information with some fields that can be altered such as system name and location.

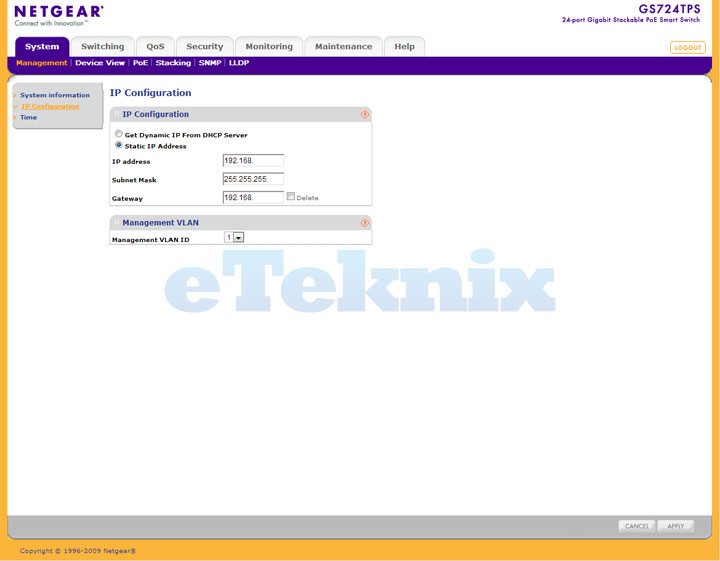
The next link down gives options to change to IP of the switch or to dynamically have one assigned from a DHCP server, although we would typically find this being set static.
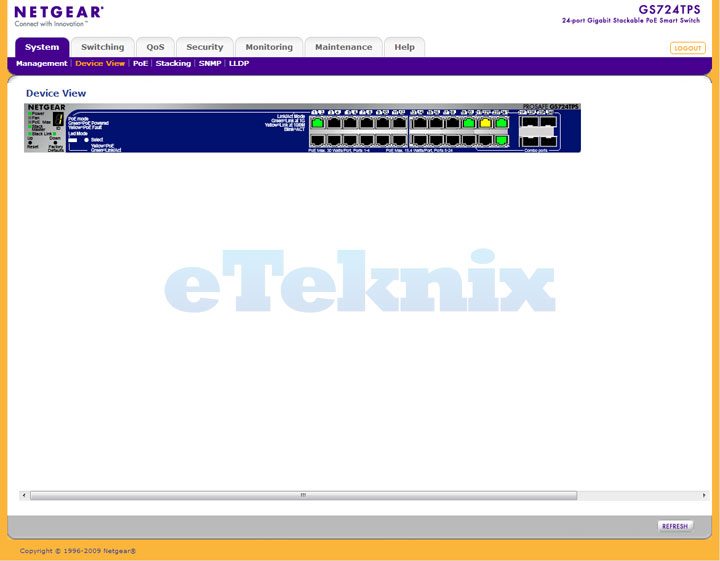
The device view tab is one that we particularly like and gives us a view on the status of each port on the switch and what the status panel to the left is showing. This is particularly useful when managing the switch from a distance and when its not direct to view.
The PoE tab further more gives a table showing a detailed power status of each port.

The stack feature is another feature that is handy in heavily populated installations. Each switch in the stack shows a number on the front display indicating its position in the stack. The config tab allows one particular switch to automatically assign itself as master or this can be forcefully set.

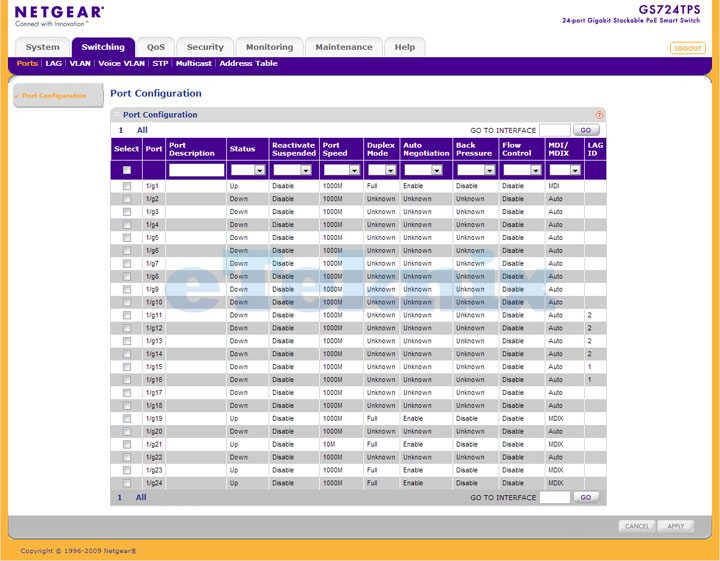
Moving to the switching tab, the Port config shows the set up of the switch on a quick easy to glance table.
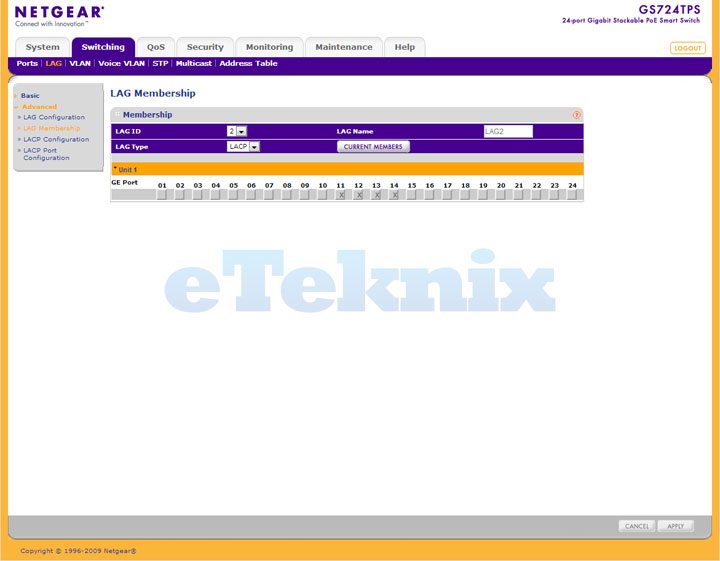
Moving over to LAG (link aggregation) the switch is capable to joining up to 8 ports in a single group and across multiple switches when stacked. Ports are grouped by clicking on the relevant port at which point its marked with a X.
The MAC address table identifies as one would guess the MAC address of each connected device, showing its port number and assigned VLAN ID.

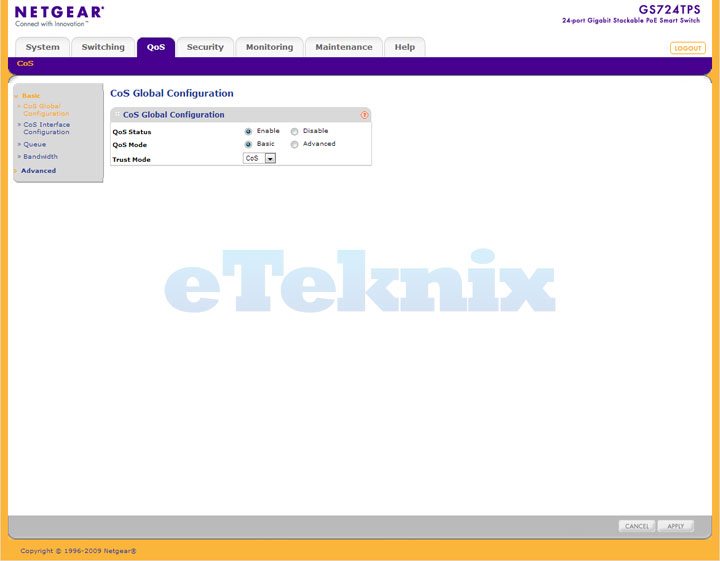
The QoS tab gives a range of options solely to deal with the Quality of Service feature that the switch supports – more information on QoS can be found on Wikipedia here for those that are unsure on its operation – Wiki QoS
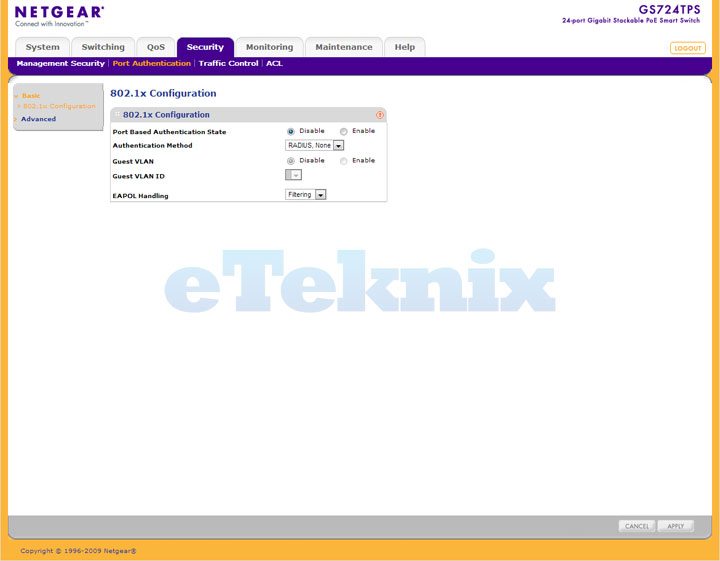
The Basic 802.1X Configuration screen allows network managers to configure network authentication parameters. In addition, the Guest VLAN option is enabled from the Basic 802.1X Configuration screen.
On top of all the other status pages that are available in the UI, the RMON statistics page gives a more in depth view on how much traffic is flowing through each port on the switch on a packet by packet basis.

In the same way that the Device View page is ideal for scenarios where the switch is remotely monitored, the device reboot page makes for easier administration (and also to save having to locate and pull out a power cable instead)

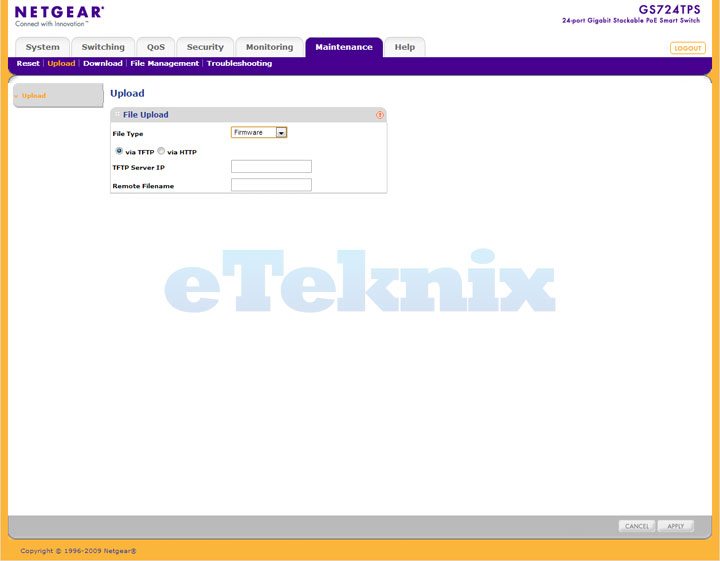
Anything with some form of control aspect will have firmware somewhere within its dimensions and this therefore means that from time to time we will find updated firmware that can be uploaded to the switch via this page.
Troubleshooting connections can be down to various reasons, however using the built in cable tester, any problematic cables will be indicated here.

Alongside the paper manuals that come with the unit, a full copy of the user guide is available online.
 Test system:
- Asus Maximus V Forumla
- Intel Core i7 3770k
- Corsair Vengeance 1866MHz 16GB
- AMD Radeon HD 7970
- Corsair H80
- Corsair HX1050W
- Kingston HyperX 240GB SSD
- 3 x AOC E2795VH
- Asus USB-N53 Wireless-N
- Dell XPS 15 Laptop with Intel Wireless-N 1030
- New iPad 16GB with Windows Network access support.
We would like to thank AOC, Asus, Corsair, Kingston and Lian Li for supplying us with our test system components. Many different software applications are also used to gain the broadest spectrum of results, which allows for the fairest testing possible. Software used:
- LAN Speed Test


