Noctua NH-D14 SE2011 CPU Cooler Review
Ryan Martin / 11 years ago
The fans come pre-fitted with clips and the other relevant parts. All you have to do is take them off to install the heatsink and then clip them back on when it’s done.

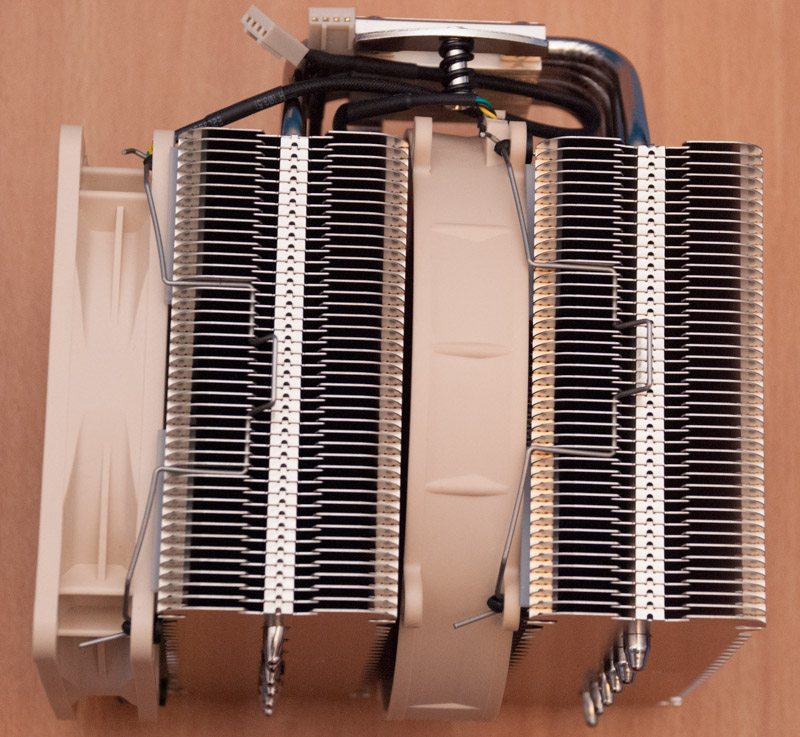
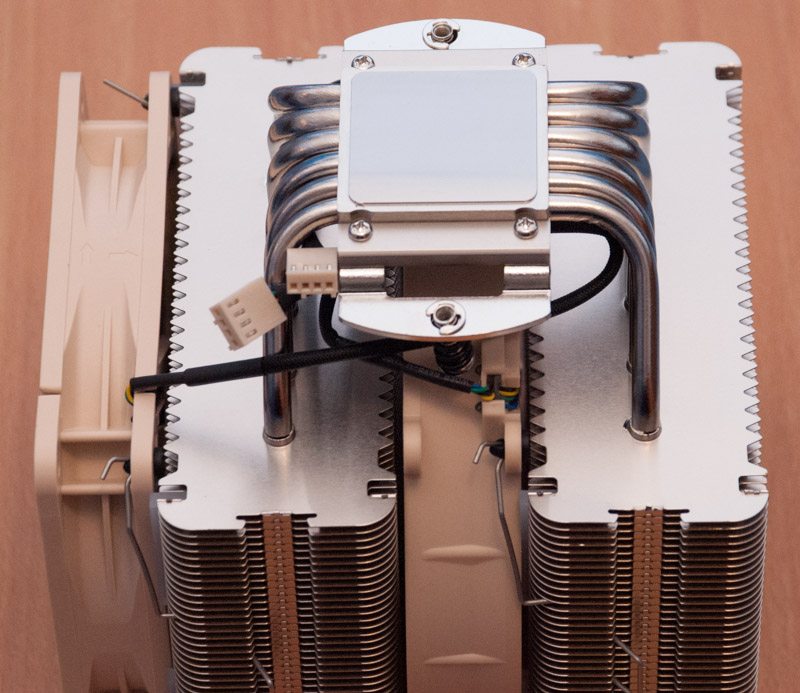
With the fans installed the Noctua NH-D14 is a true monster in size.


To begin the installation you need to insert the long screws into the relevant socket holes on the Intel backplate.

You then secure the backplate in with the relevant black spacers.

Next you need to attach the Intel brackets.
Here is what the backplate looks like. Ensure the grooved notches on the backplate line up with the Intel socket holes.

You have to then screw the pre-fitted bracket onto the threads on the Intel brackets.

The key is making sure you line the cooler and the brackets up depending on which way you want the fans to face (aka top-bottom or front-back of the motherboard).

RAM clearance is obstructed in all DIMM slots. You will need normal height RAM or low profile RAM. Anything with large heatsinks is a no go.

Here you can see RAM is a very snug fit.
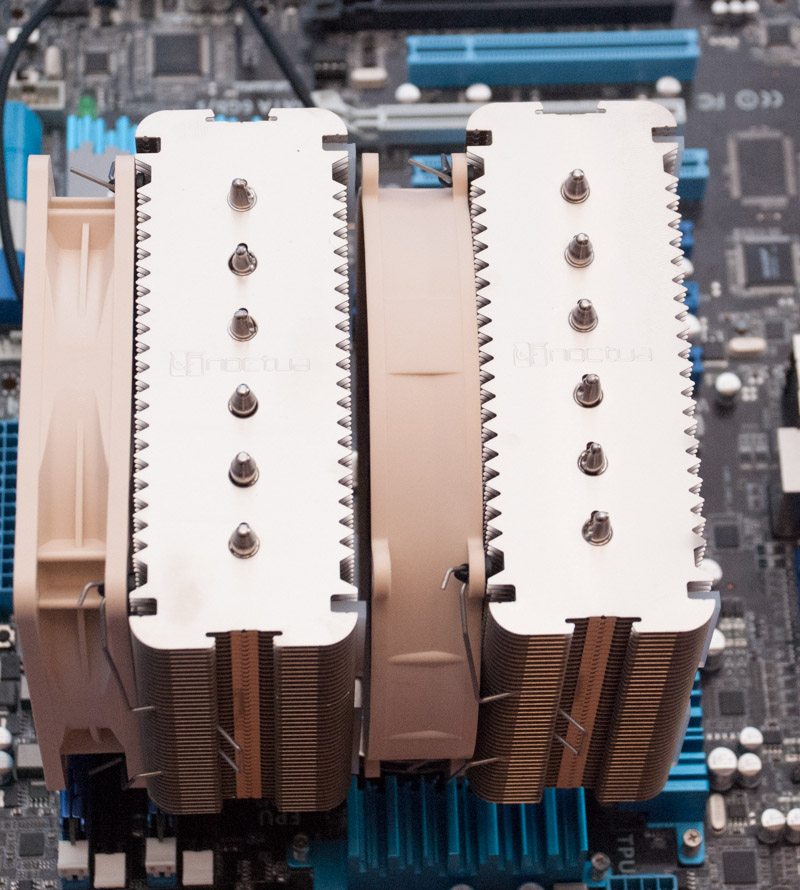
When installed the NH-D14 is an absolute monster and engulfs most of the motherboard.


