Noctua NH-D15S CPU Cooler Review
Peter Donnell / 9 years ago
Installation
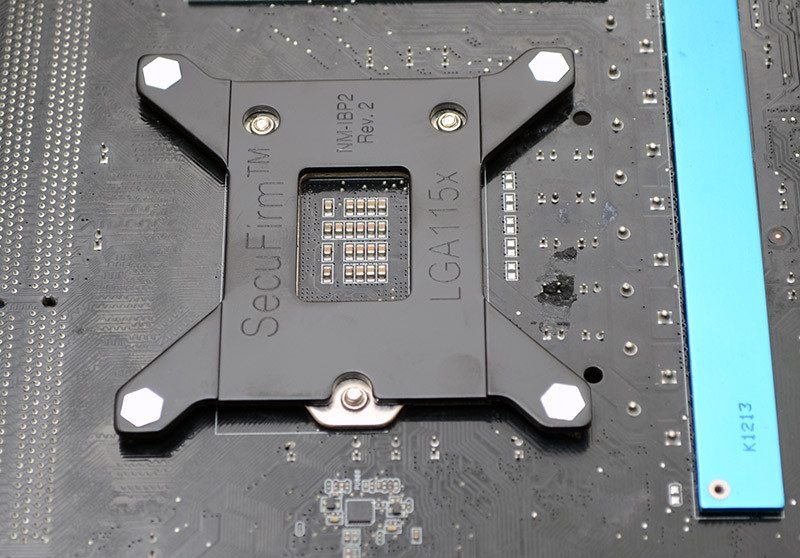
Noctua coolers have some of the best mounting kits in the business, as they’re very durable and usually very easy to install. Just pop the universal backplate on the back of the motherboard, which takes literally a second.
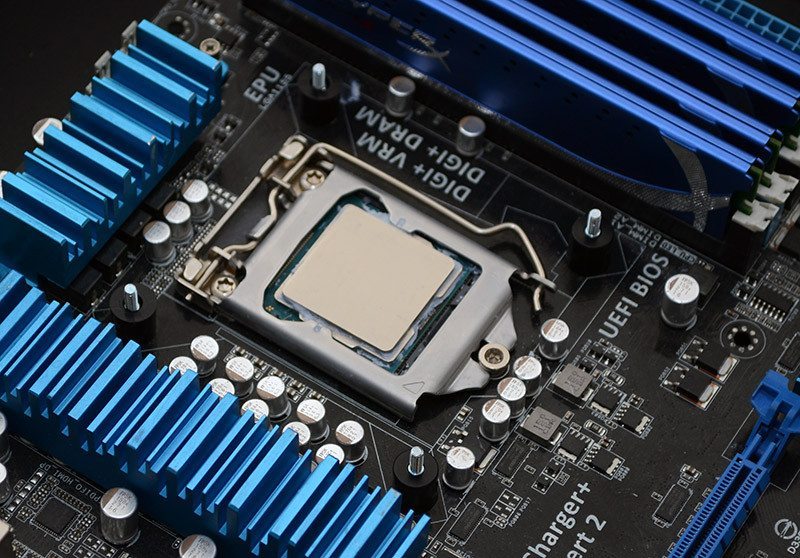
Add the four plastic spacers.
Place the Intel or AMD brackets on the top, then tighten then into place with the included thumbscrews.
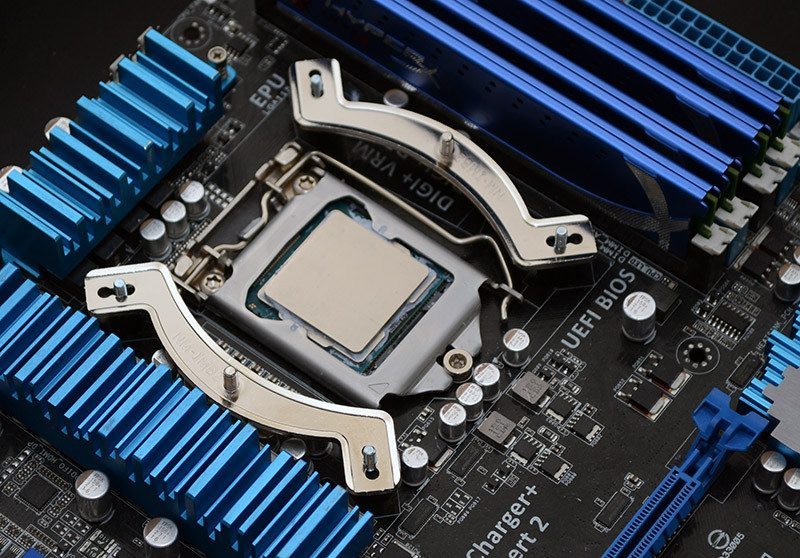
The cooling tower then screws down onto the bracket; the whole process takes just two or three minutes.
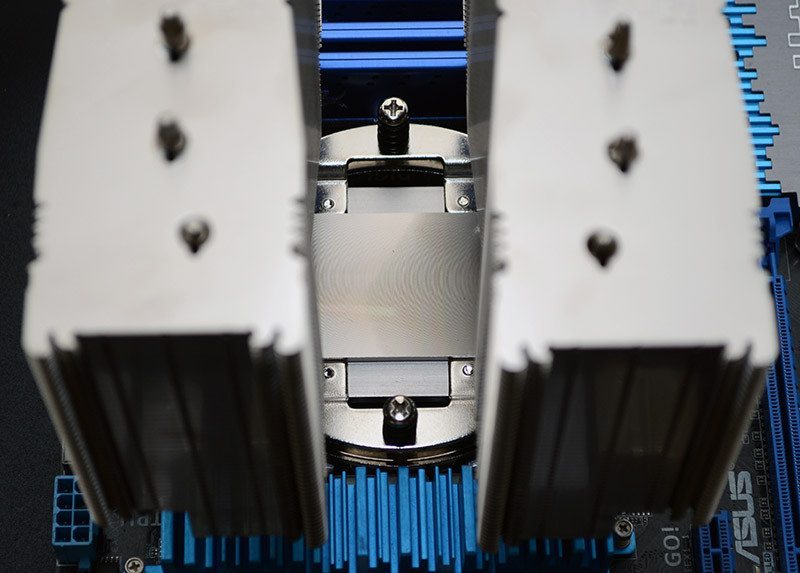
The fan clips in easily enough too, and once that’s done, you’re ready to rock. In this orientation, the cooler prevents any conflicts with the first PCI slot, which could be vital dependant on your motherboards configuration.
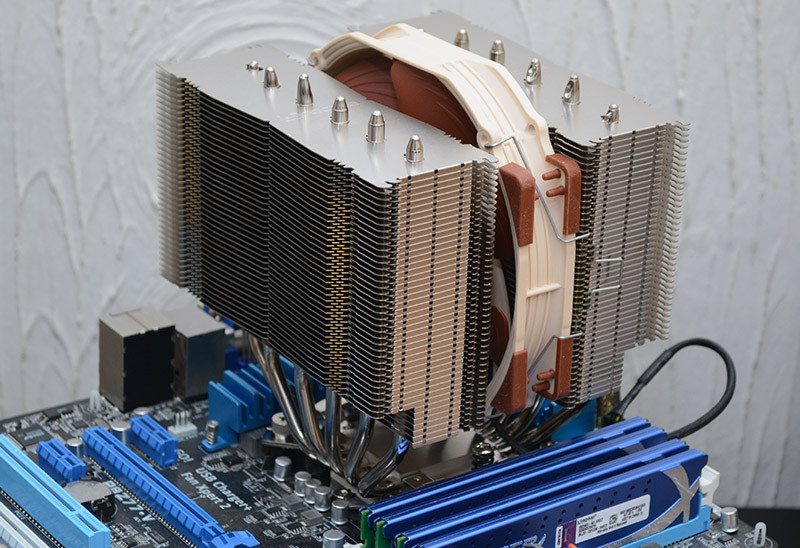
This way around, you get absolutely amazing ram clearance, so you really get a lot of choice on how you set up the cooler and the rest of your system.
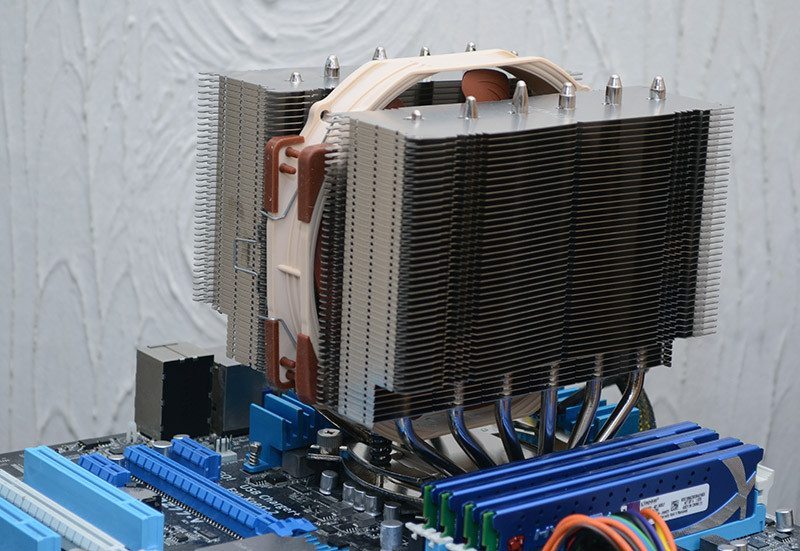
As you can see, that huge cutaway on the left and right sides is going to reap big benefits for those with tall RAM modules.