Noontec TerraMaster F2-220 2-Bay SMB Cloud Storage NAS Review
Bohs Hansen / 8 years ago
Setup – General Settings
There are a few more settings to take a look at before we get to the additional apps.
Region and Language
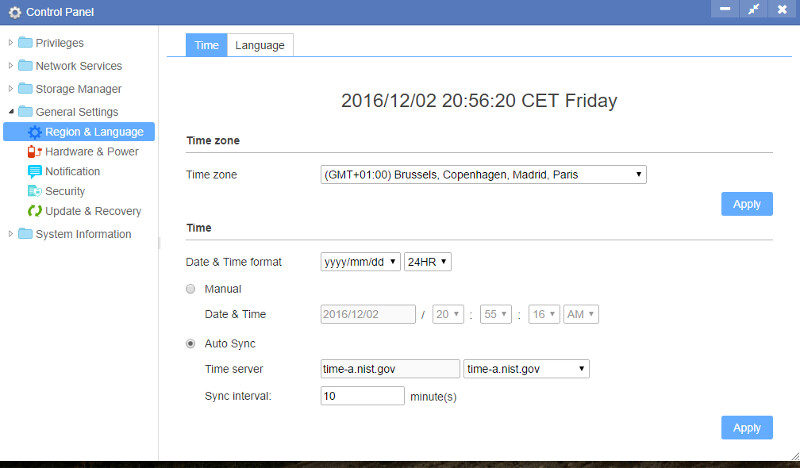
Naturally, we can change the time zone, update the date and time manually or via NTP servers.
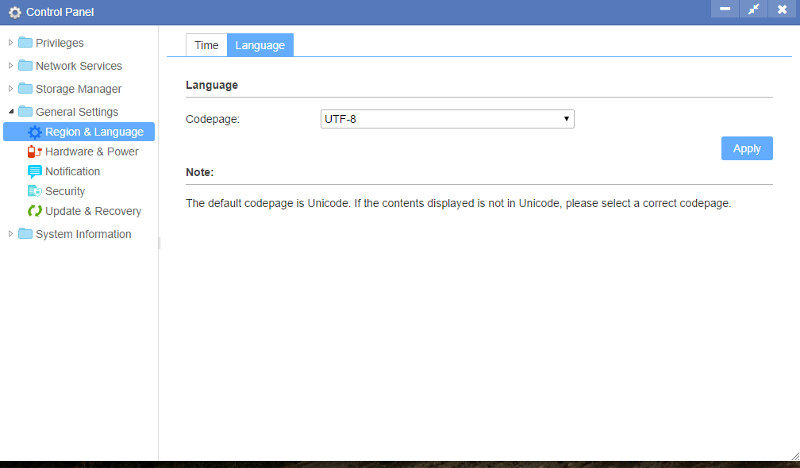
The language panel only contains the function to change the codepage. The default setting is Unicode for the broadest compatibility.
Hardware and Power
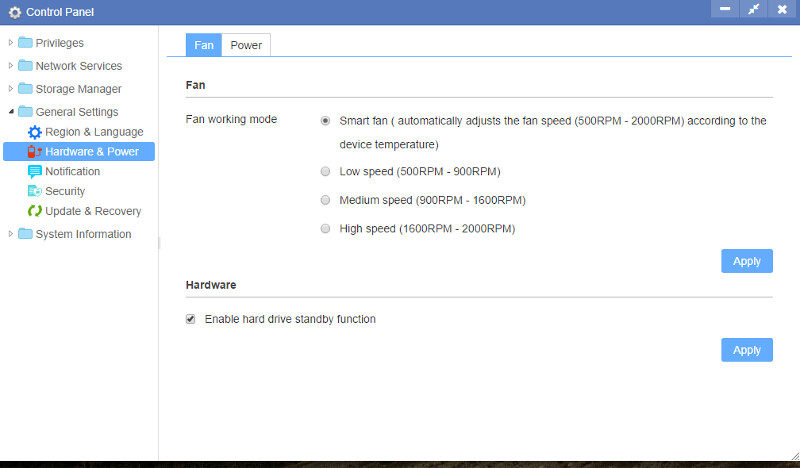
Within the hardware and power settings, we can set the fan speeds and enable the hard drive standby function when they’re idle. There is no customization on the time which always is 10 minutes here.
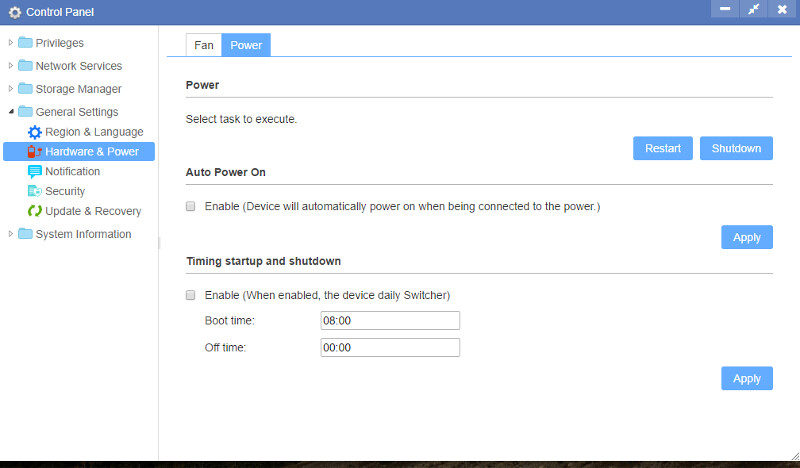
The power page allows you to shutdown or restart the NAS as well as set it to automatically power on when it is being connected to power. You can also schedule a daily off and boot time which comes in handy when it’s never used in a given period anyway. This can increase the lifetime of the hardware and save on the electricity bill too.
Notifications
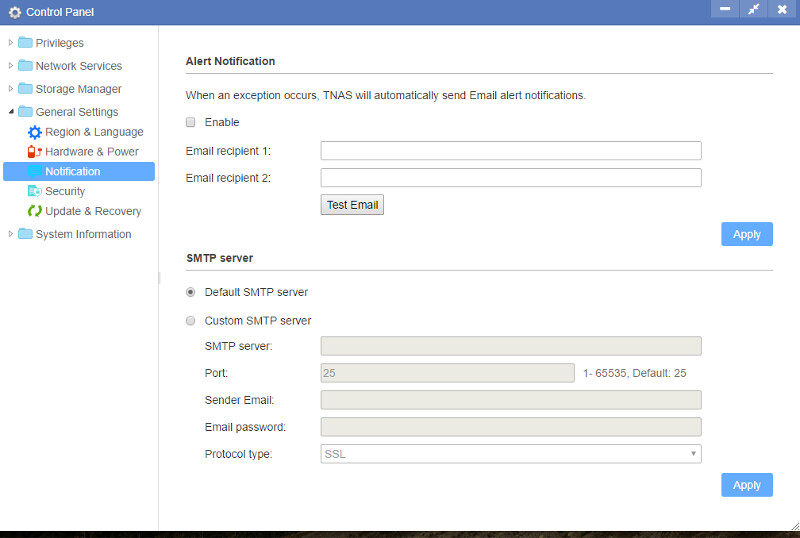
The notification features might be a good thing for anyone to set up and it will allow the NAS to send an email to up to two email addresses when there’s an alert. Naturally, if it’s the internet connection that’s gone, it can’t send anything – but that’s the same for any device. Just something to keep in mind.
Security
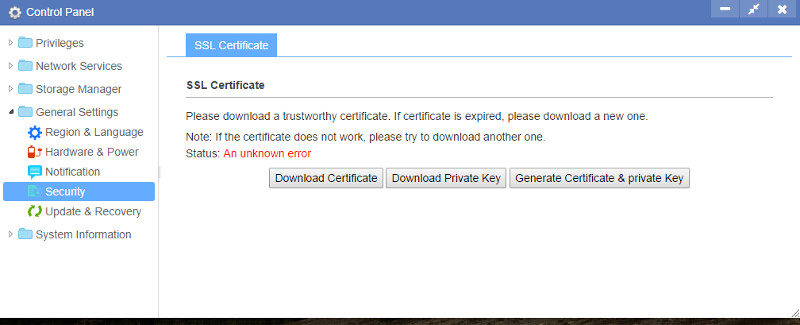
The security panel contains a single feature where you can download your SSL certificate or generate a new one.
Update and Recovery
Keeping your NAS up-to-date with the latest firmware doesn’t just offer you the most secure environment, it can also add new features that were developed since you got your NAS. I highly recommend keeping your NAS running with the latest firmware at any given time.
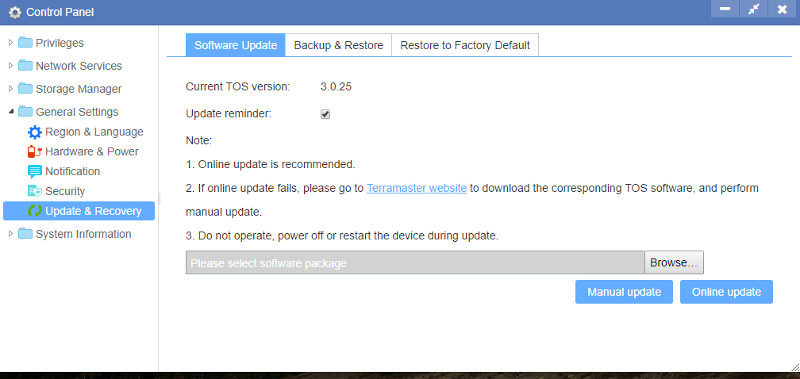
You can also create backups of your configuration and restore them again should they get corrupted.
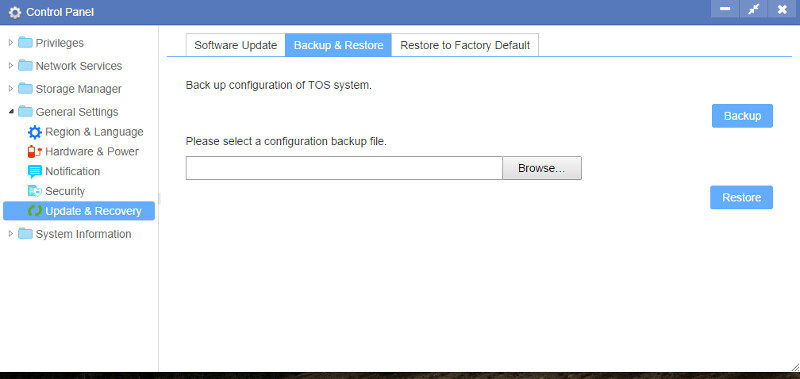
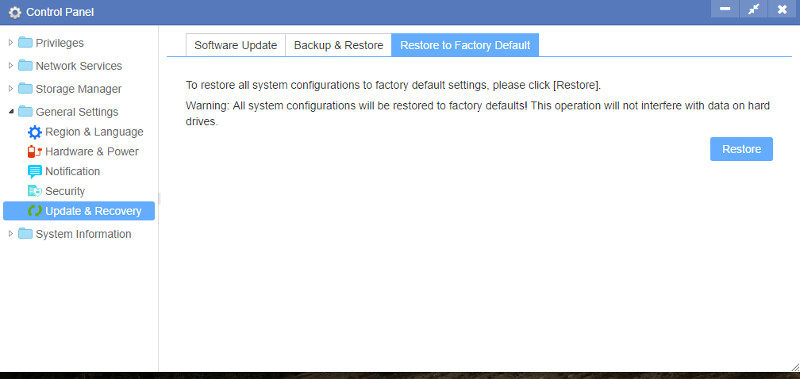
To start from scratch again, the easiest way is to reset the whole device to factory defaults.
