NZXT Aer RGB 140 Triple Pack Fan Review
Peter Donnell / 8 years ago
Installation and Performance
Let’s get one thing straight right off the bat, these fans were an absolute pain in the backside to install, sorry NZXT, but they are. The cable system required just feels too clunky and if you’re using a larger chassis like we are, then getting them all routed out-of-the-way could be a tricky task. It’s not so bad if you’re using them all in the front of the chassis, but bridging in the rear fan too can mean a series of extensions and connectors need deploying too, and that means more routing of cables.
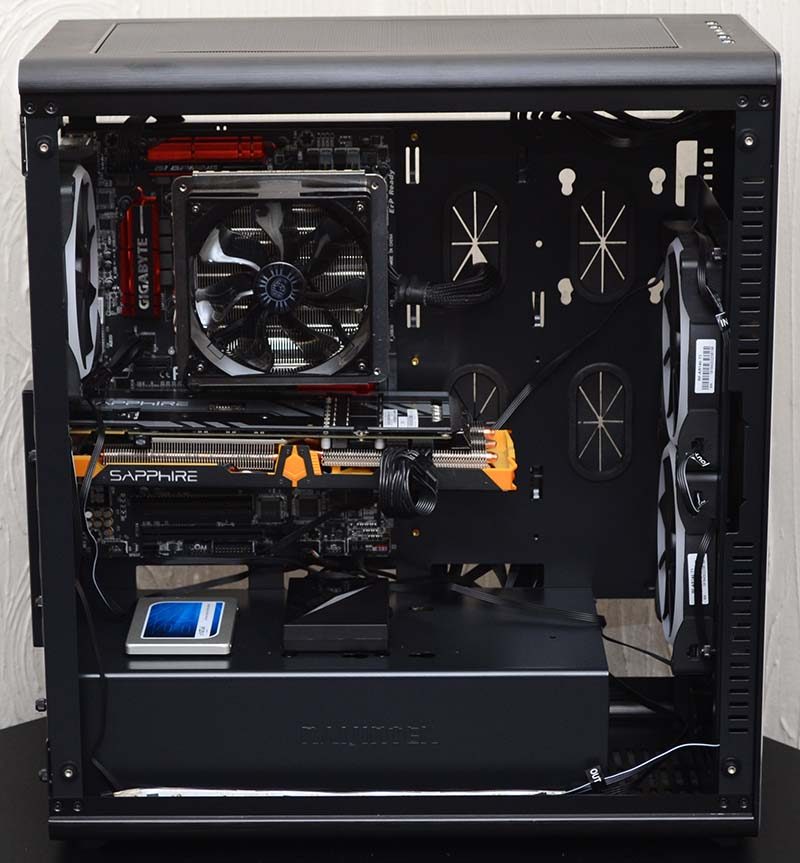
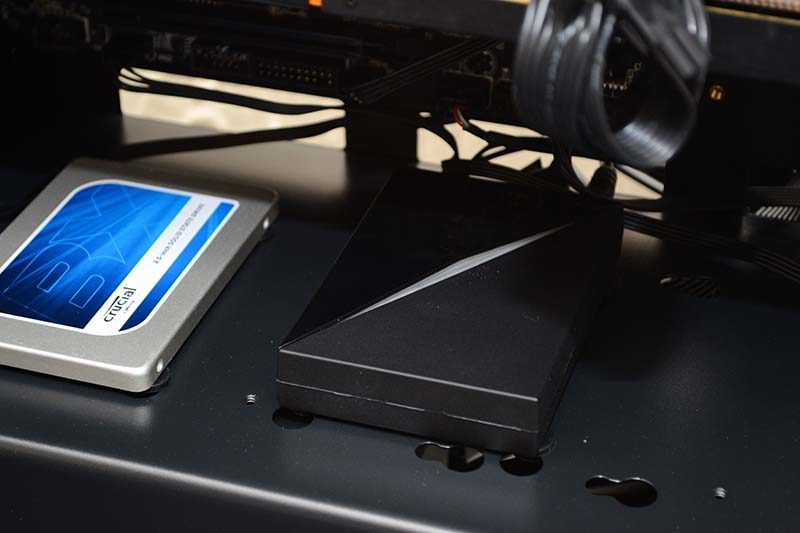
The fans connect to a fan hub or your motherboard just as normal and will operate as normal fans without the RGB lighting powered on. However, to get the lighting effects working, you’ll need to connect them to the NZXT HUE+ hub (review), which you can see we’ve installed here. The HUE+ has two lighting channels and the fans will need to run from one of them.
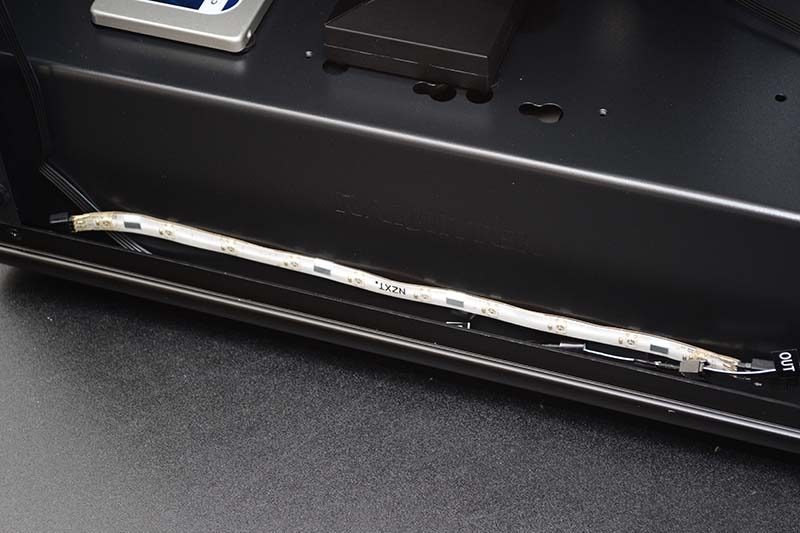
If you’re using their RGB strips, you’ll need to put them all on the second channel, as they use a different connector type compared to the fans (not sure why), and can’t be put in the same channel chain as each other. So strips on one, fans on the other, simple as that.
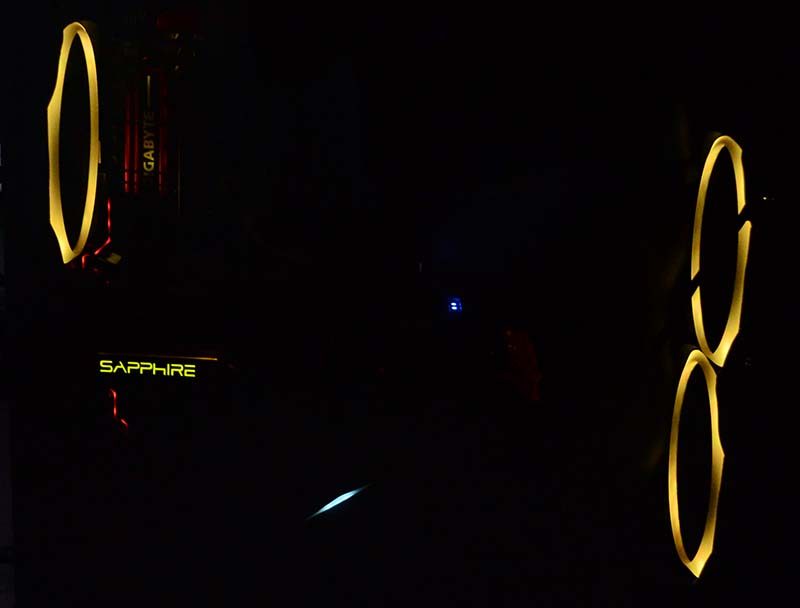
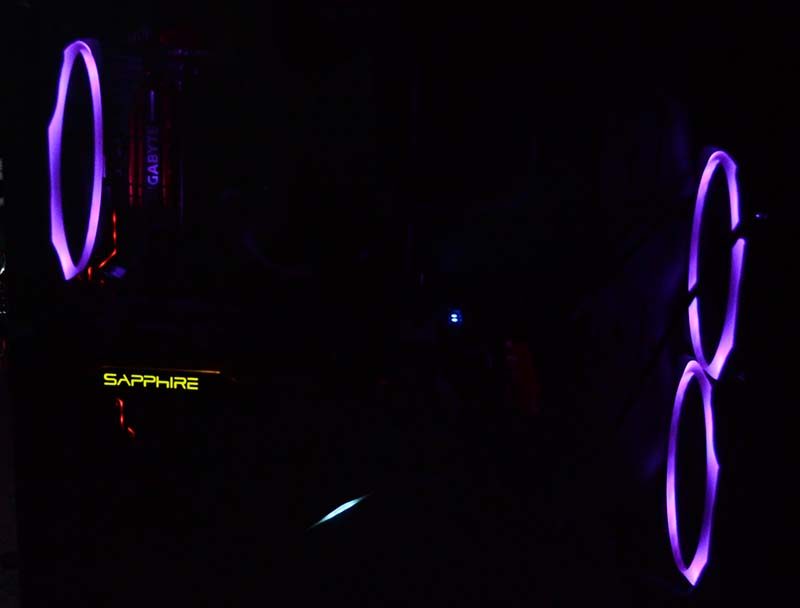
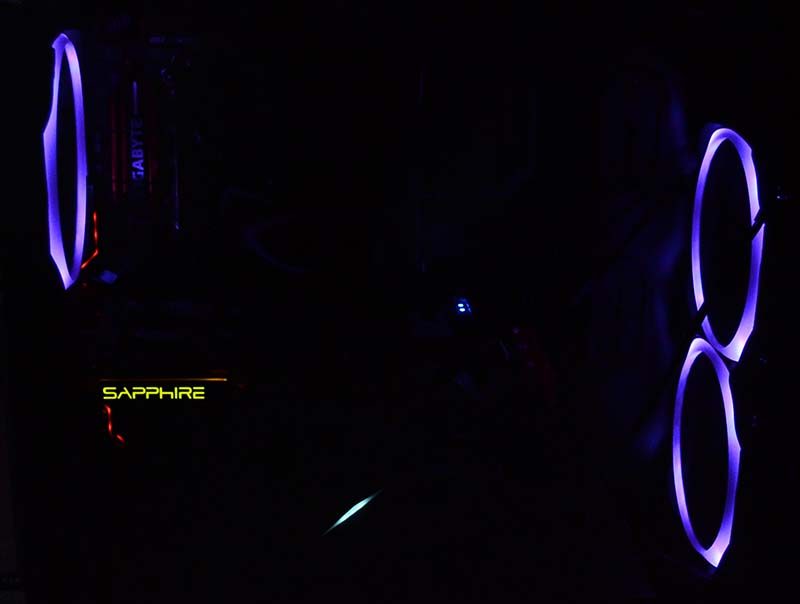
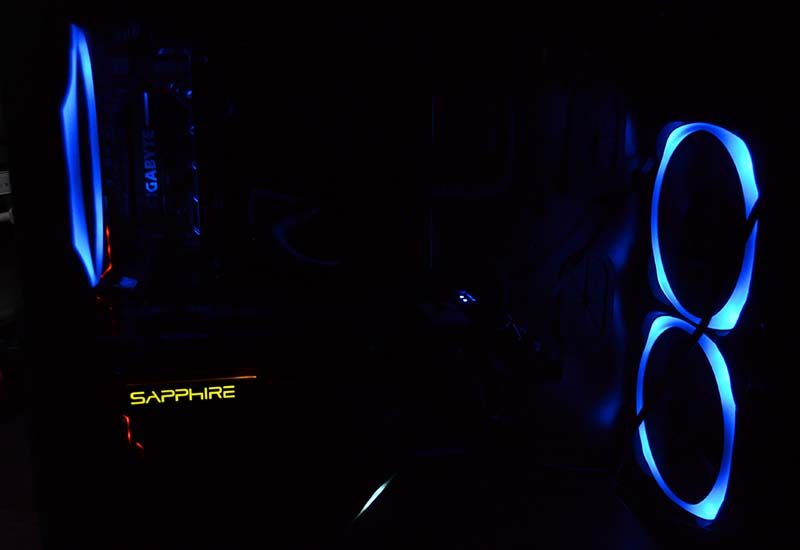
“Peter, those fans are on bloody backwards!” I hear you cry, that’s absolutely right, I did it for demo purposes, we want to see those fans, not have them half hidden behind a panel mesh, so we flipped them around for a clean look at those LED rings.
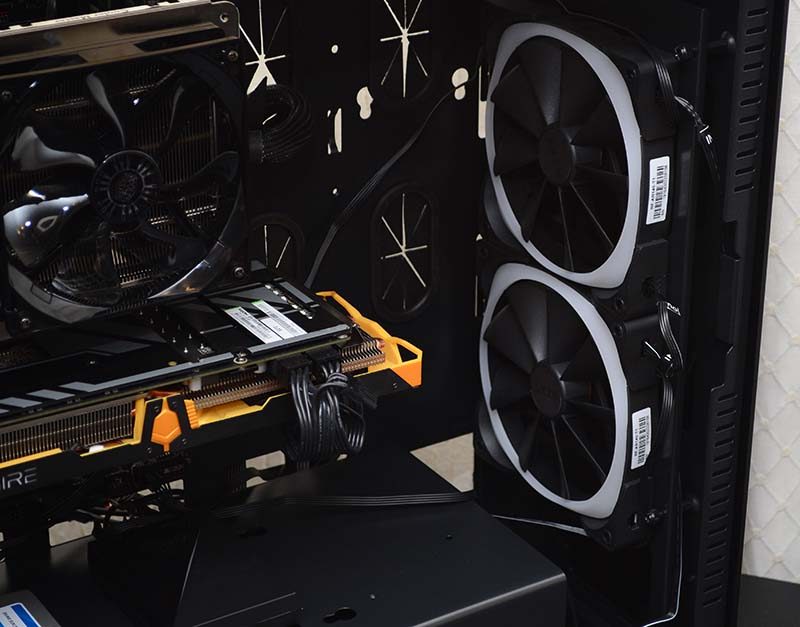
The top most fan is hooked directly into the HUE+ hub, while the second fan below it uses one of these smaller bridge cables. They’re labelled in and out, as are the fans, so orientate them correctly to compliment the cable format and you’ll be able to patch them together.
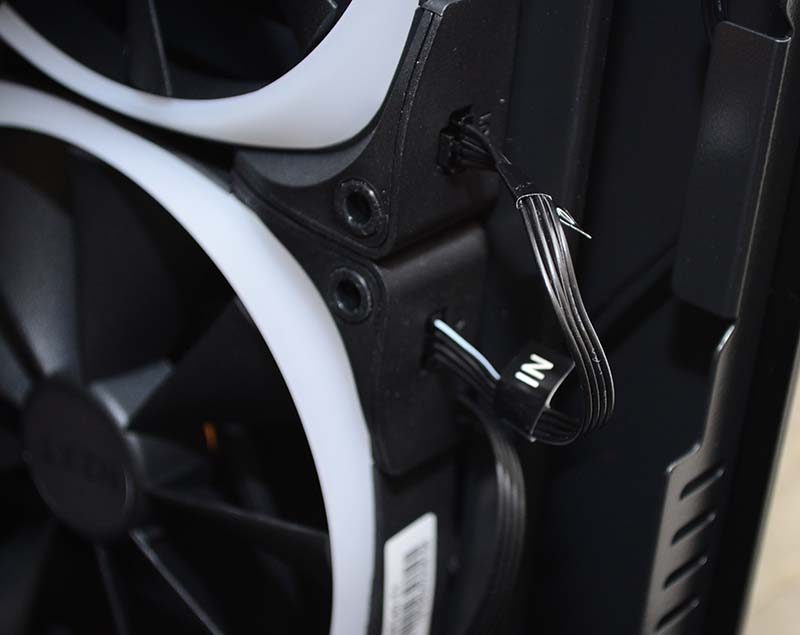
The rear fan is the 3rd fan in the chain, and uses the longer extension cable to connect with the other two fans, but doesn’t have to be connected back to the HUE+ hub to operate, saving you at least one extra cable.
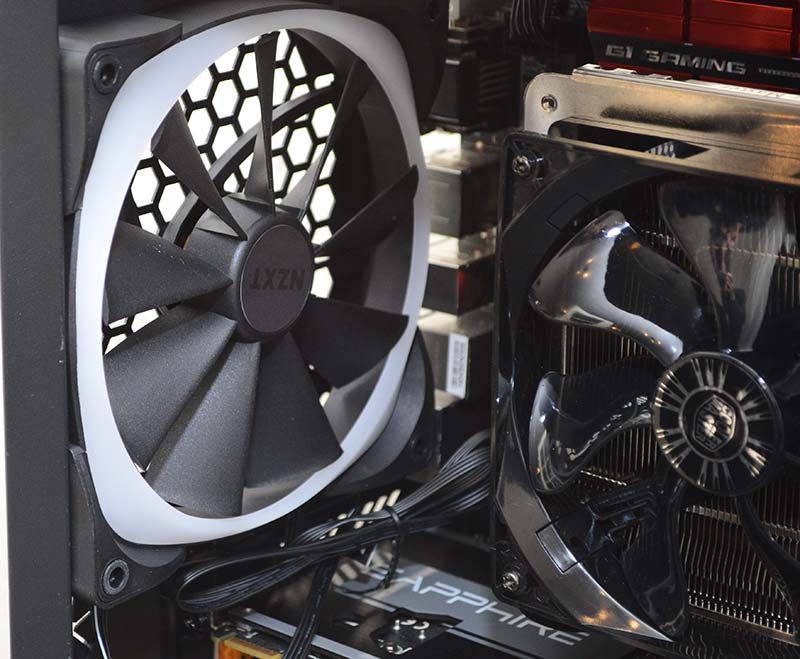
Without the NZXT CAM software installed, the fans will just stay on a steady white light, which might be fine for some, but we didn’t put RGB fans in just to have them stay on their white settings. So let’s get that installed and take a closer look at the colour pallet.
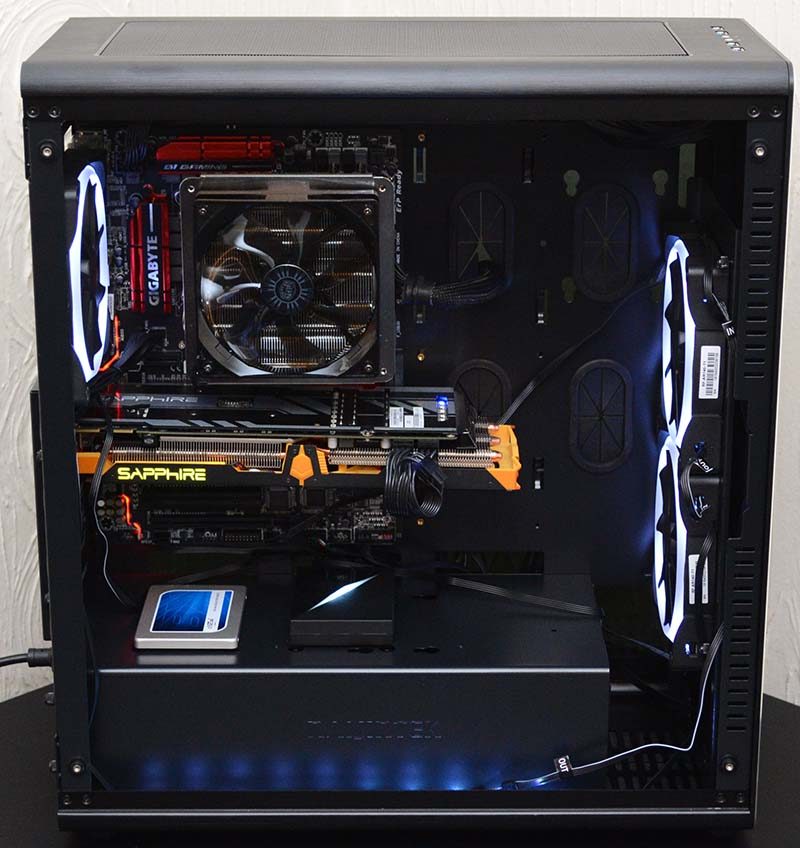
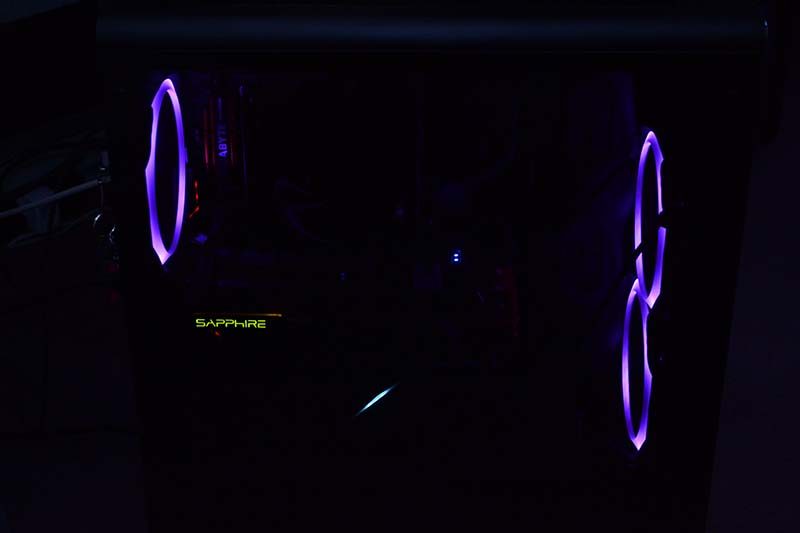
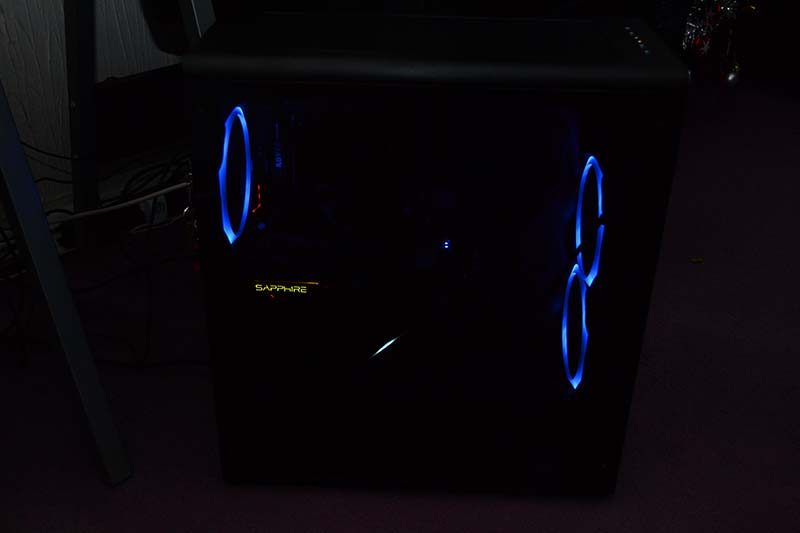
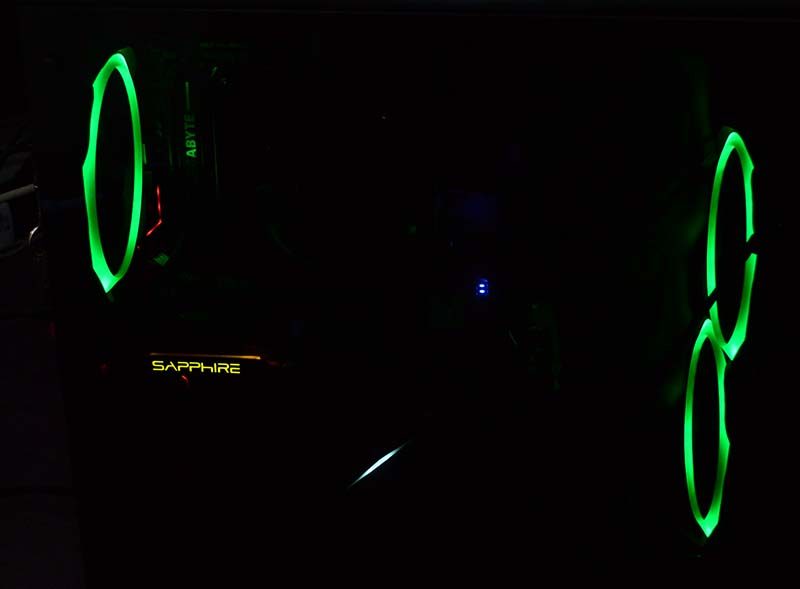
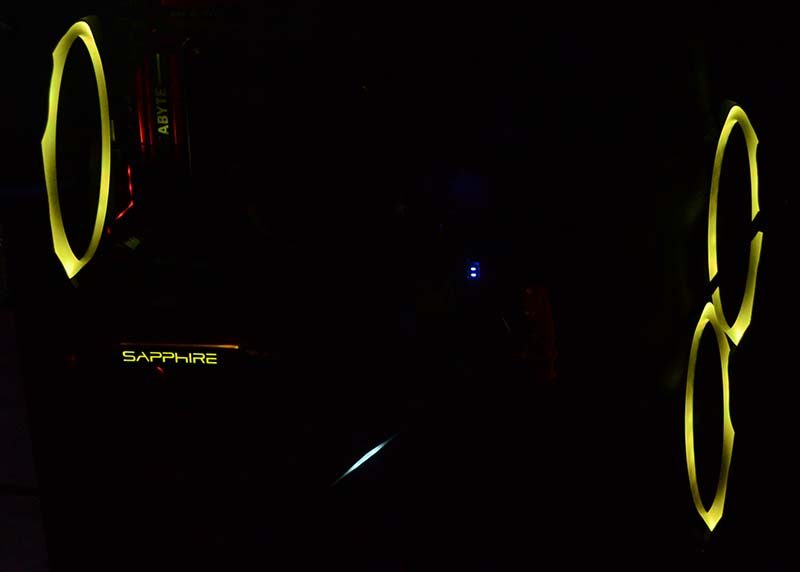
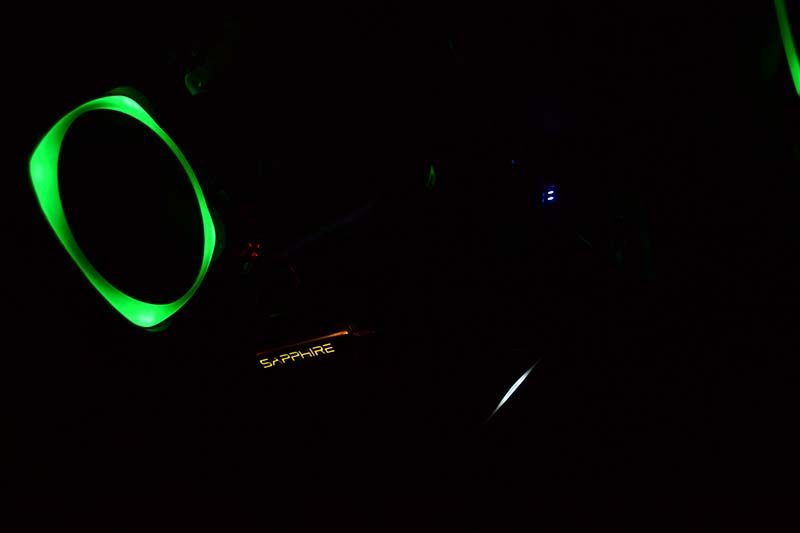
A gorgeous glow evenly lights the whole ring, although our camera is overexposing the corners a little, it does look a lot more uniform in real life.
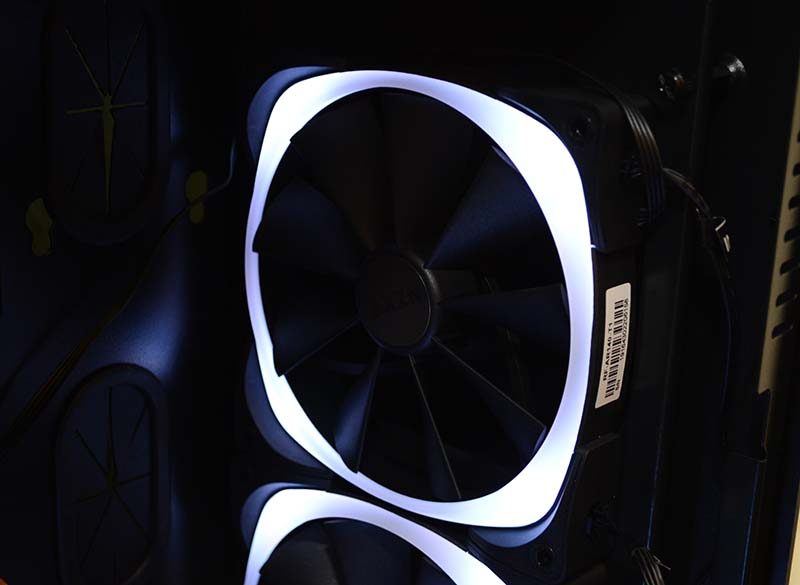
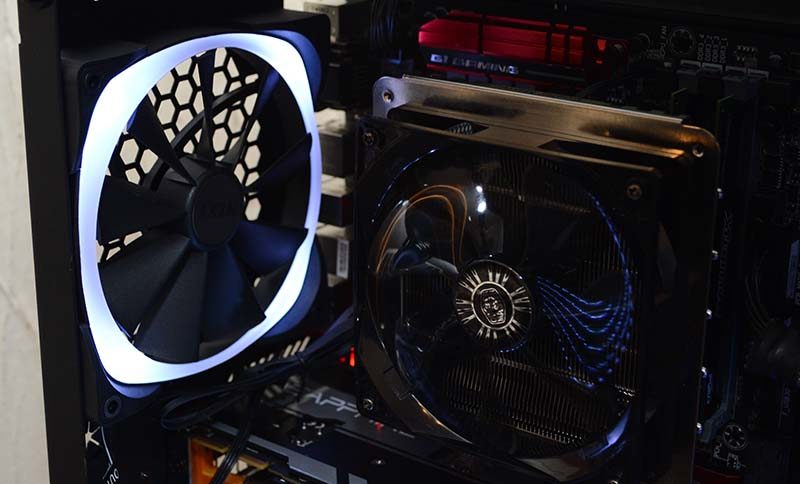
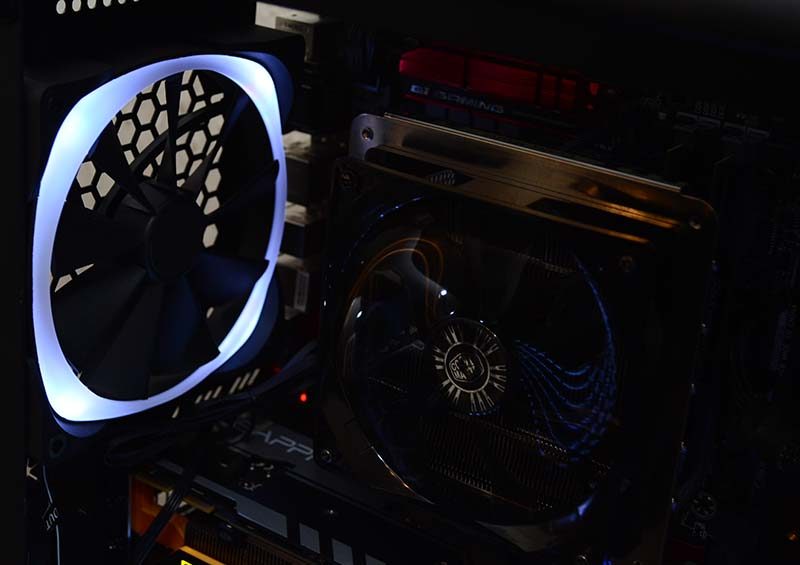
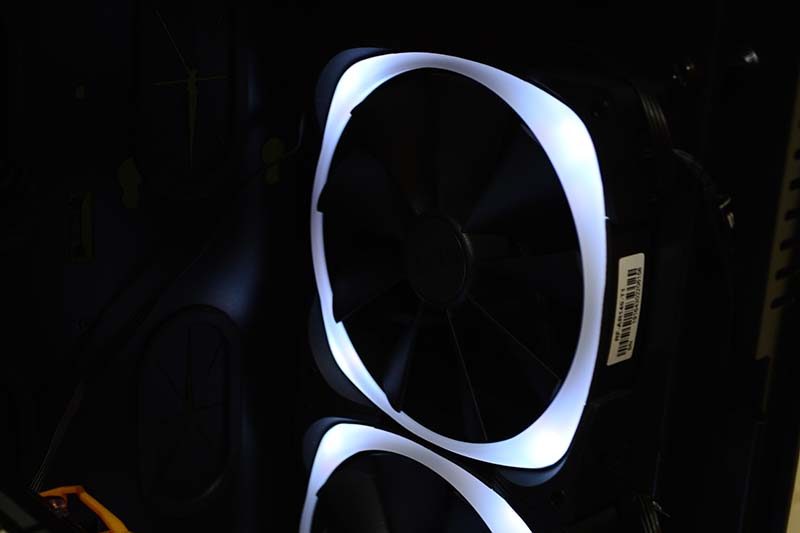
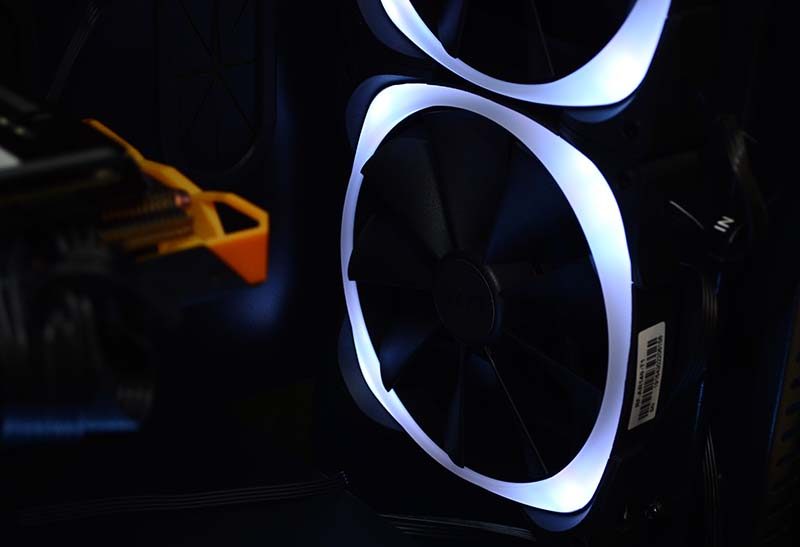
The fans aren’t as bright as I was expecting, as many RGB fans light up a lot of the interior of the chassis, but these are much more subtle. The white ring of plastic on the fan illuminates very nicely, but also diffuses the light, only giving a soft colouring effect to your chassis interior. Although it does leave you with a funky portal-like effect.
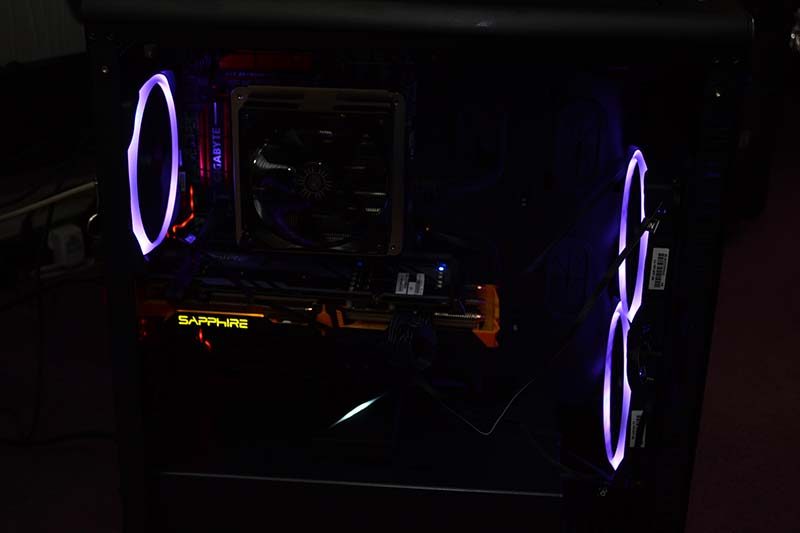
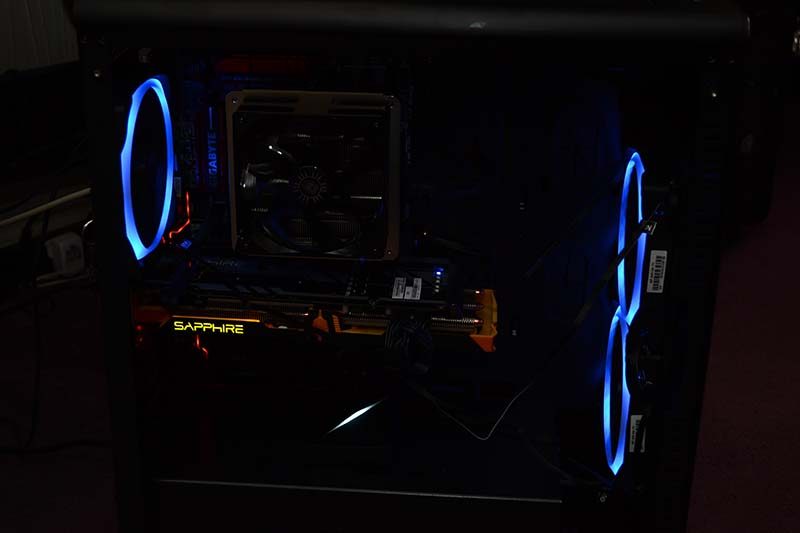
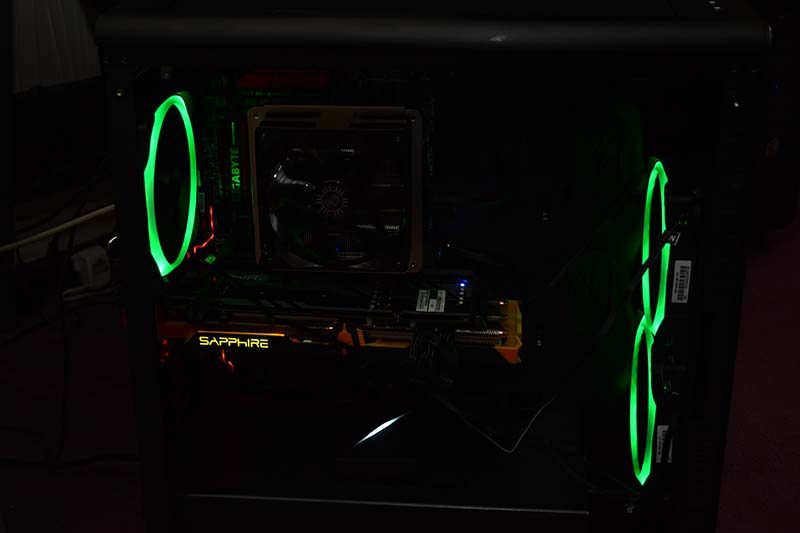
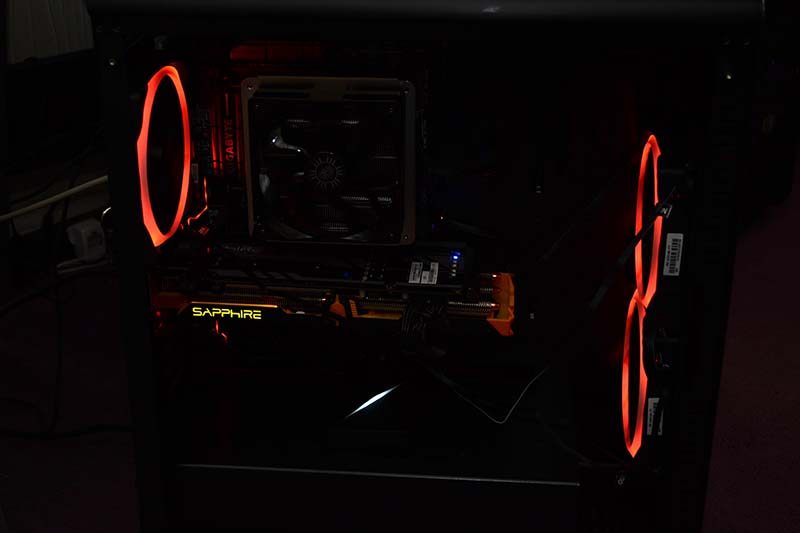
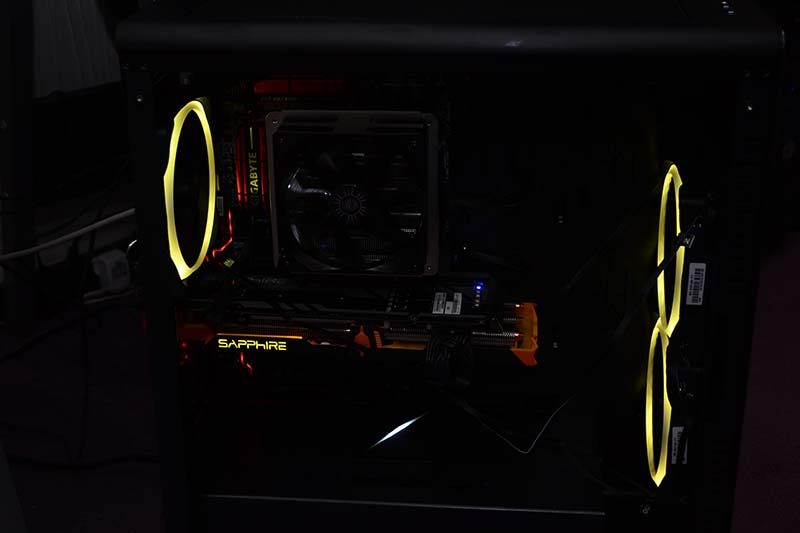
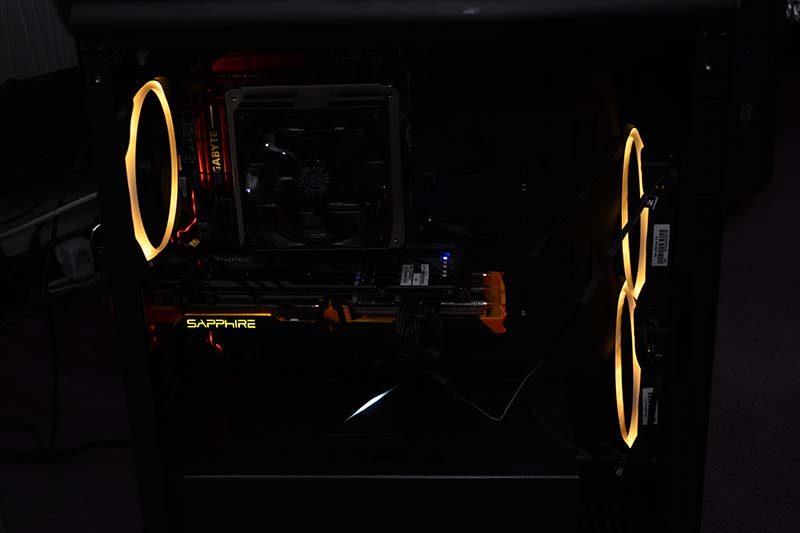
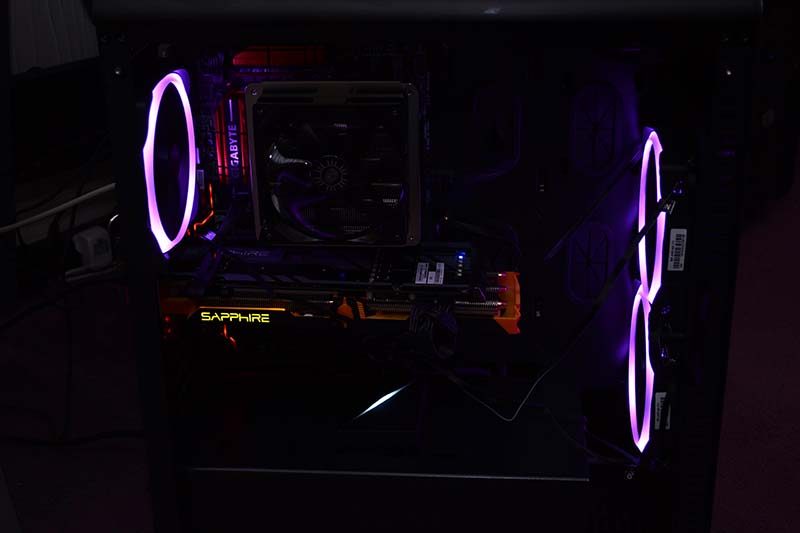
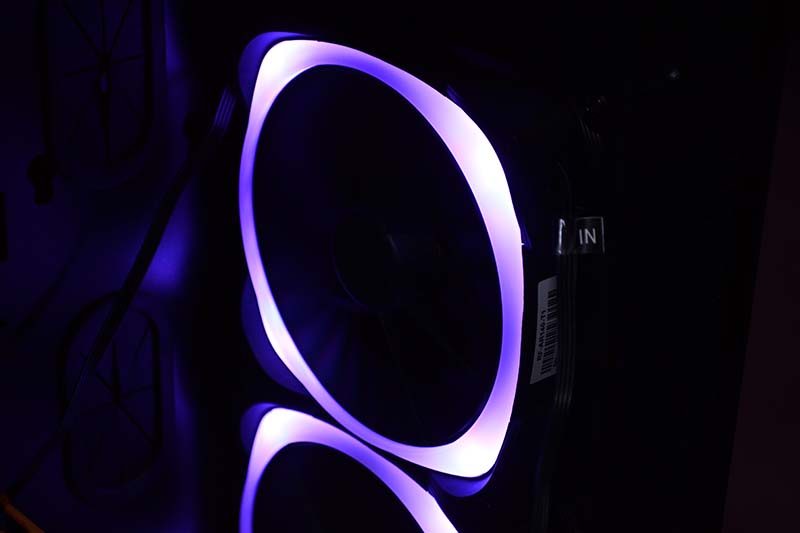
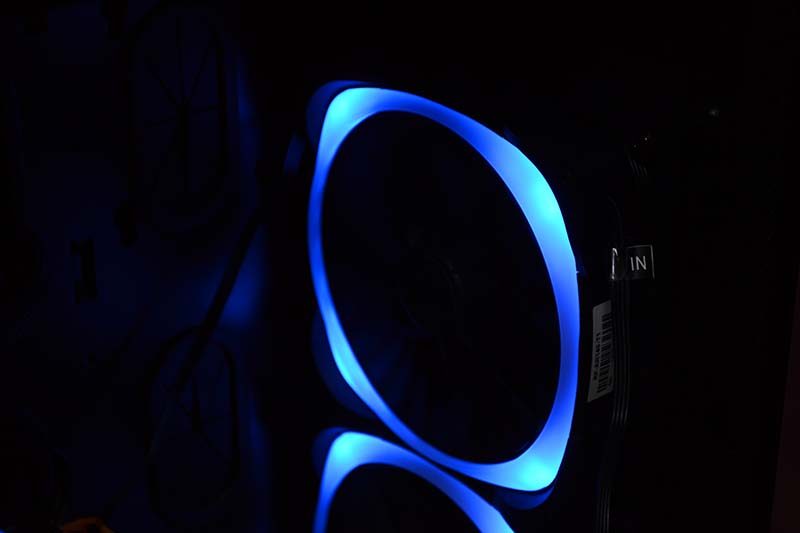
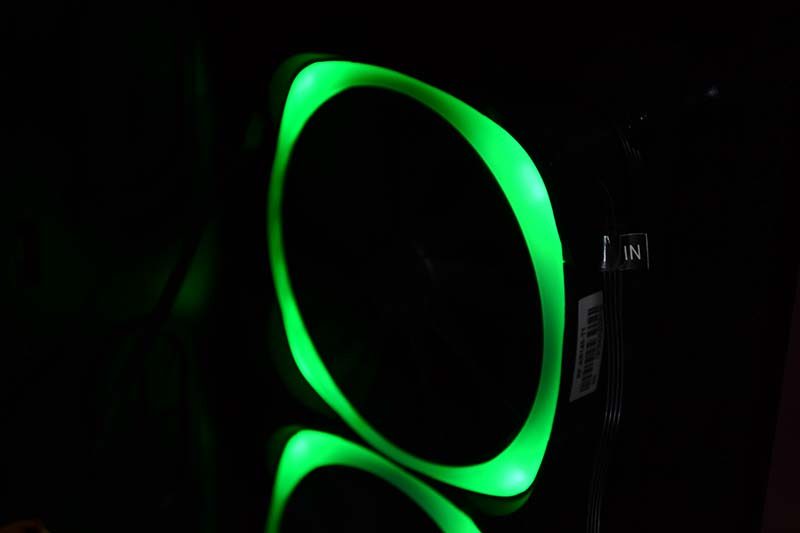
That Raijintek Aesterion chassis we’re using here has a heavily tinted window, and it does dull the lighting quite a lot, but still gives a nice effect overall. As I said, the lighting is a little more understated in terms of brightness than I was expecting, but at the same time I rather like the unique lighting pattern they create and if I want to bathe the entire chassis in lights, I’ll connect the HUE+ RGB strips to do that part!
