NZXT H1 V2 Mini-ITX Case Review
Complete System
Honestly, this is a very fast case to build a system into as most of the work is already done for you. The PSU, the cooler, the cables, the fans and the fan controller are all dialled in already. You’ll need to put the appropriate CPU cooler backplate on your motherboard, but that only requires four screws and can be done without tools.

The pump has pre-applied thermal paste, and locks down with four simple thumbscrews, again, this was super easy to do.

Close the unit back up, and tighten the two screws, and uhm… that’s this side done!
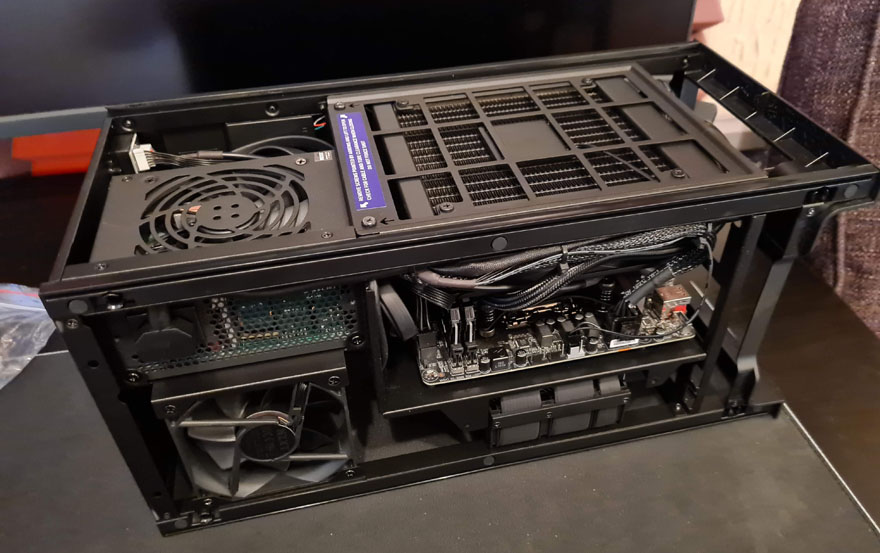
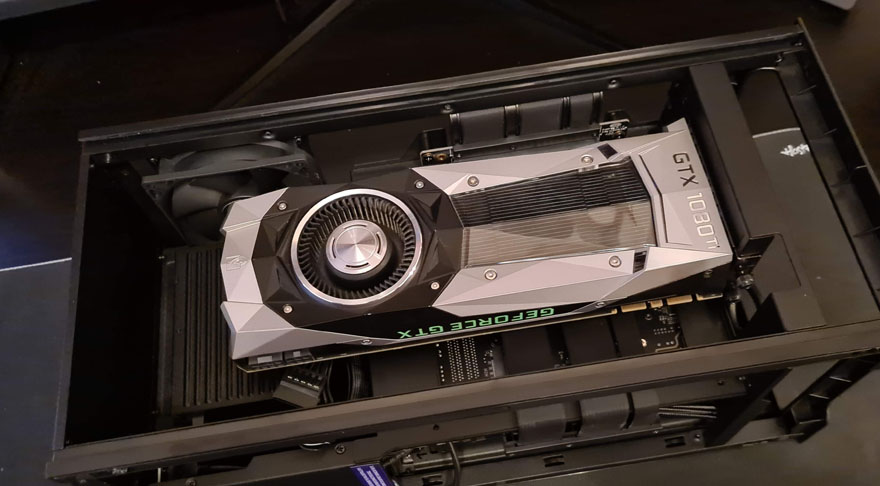
Flip the case over, plug in your graphics card and screw it securely in place…. guess what, that’s this side now done also.
You’ll need to hook up a power cable to the underside of the case. Of course, all your other I/O slots are here, but it’s all very straightforward.
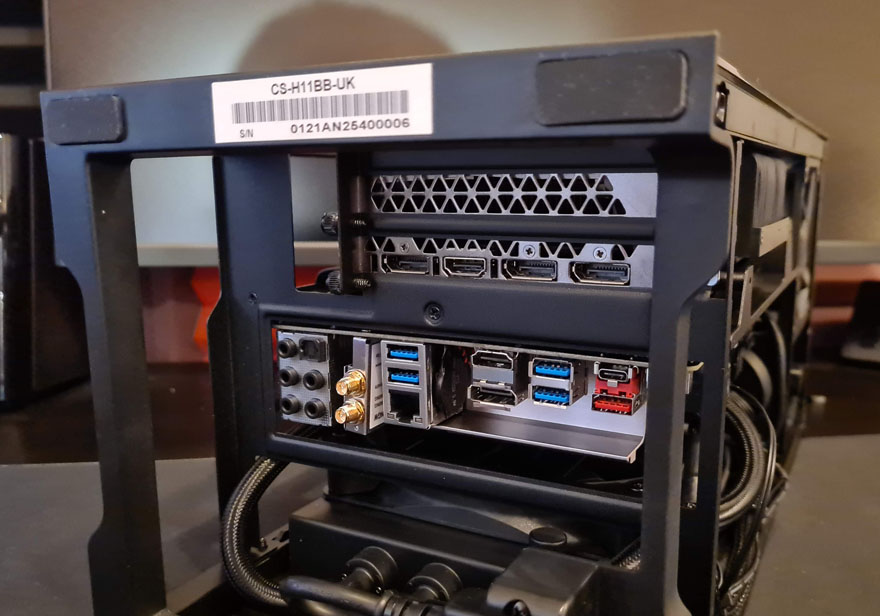
I think the whole process took me around five minutes, and other than it being tricky to get the motherboard past some of the cables, it was a very beginner-friendly process.
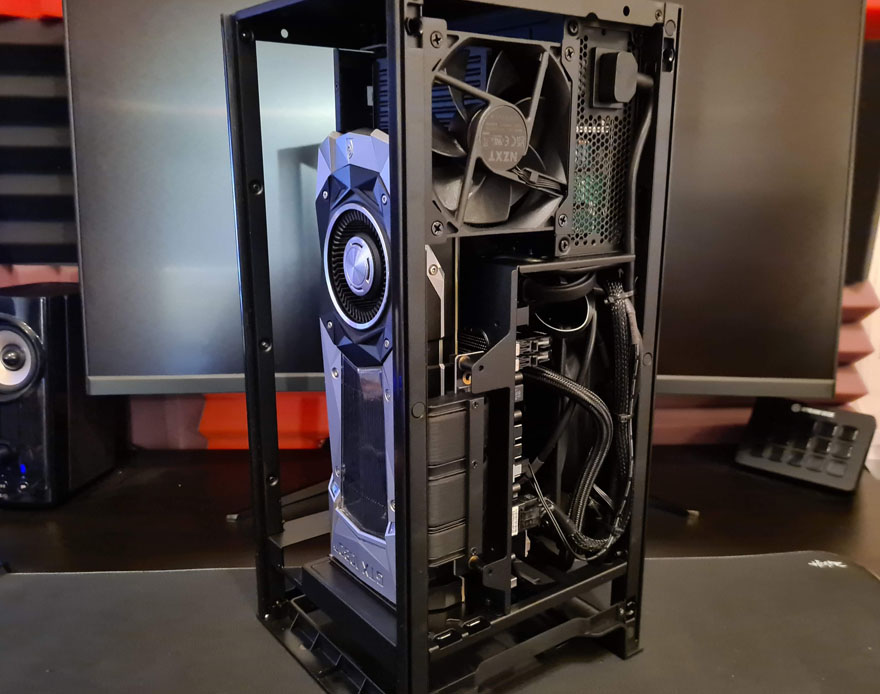
Slide the top back on, clip the side panels back on and ta-da, a completed system appears!
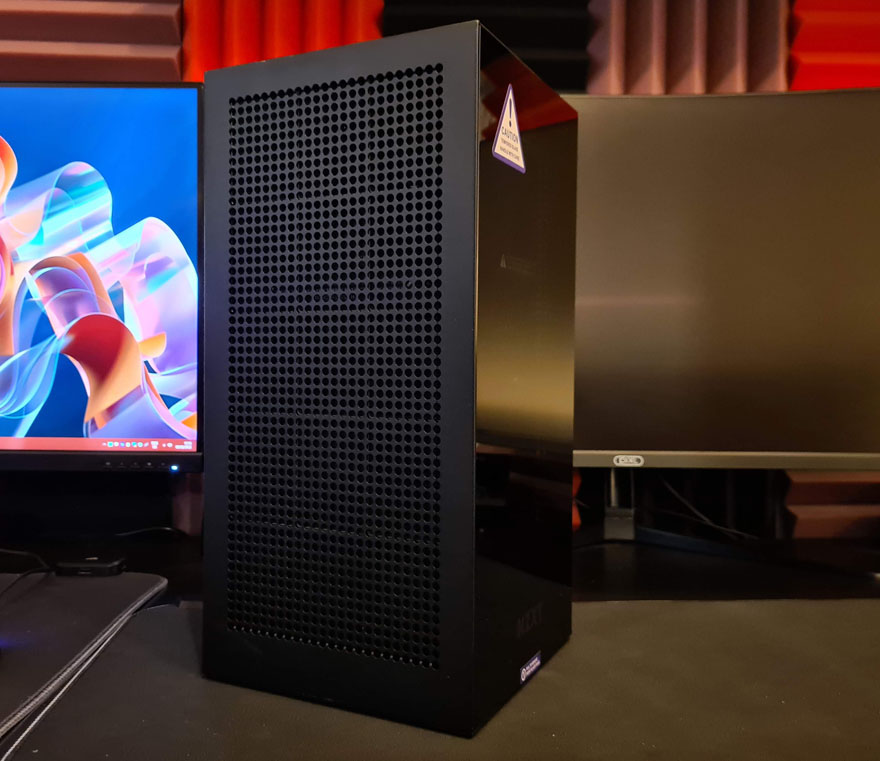
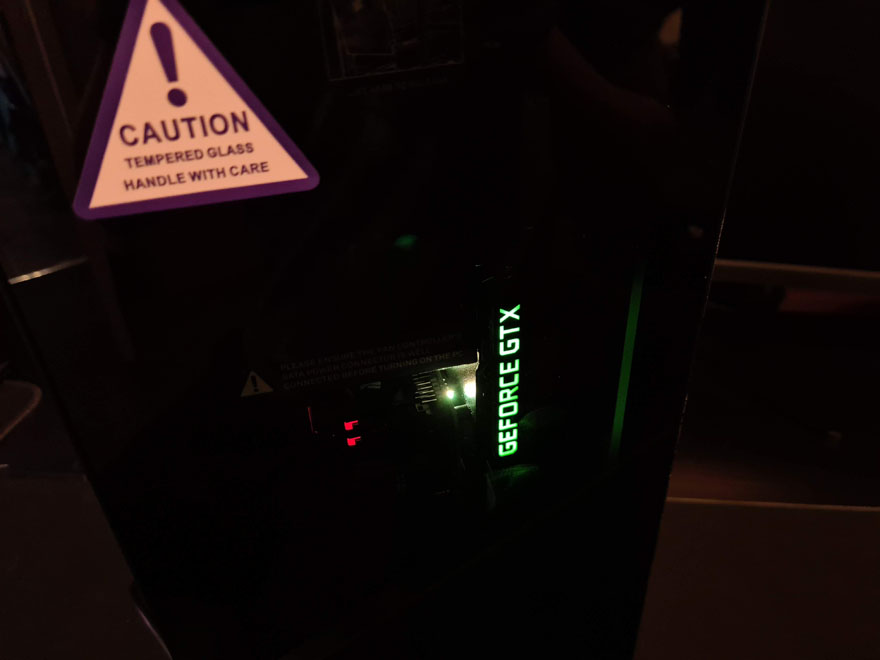
If you have any RGB on your motherboard or on your graphics card, the orientation of the interior will show that off from the front panel glass.
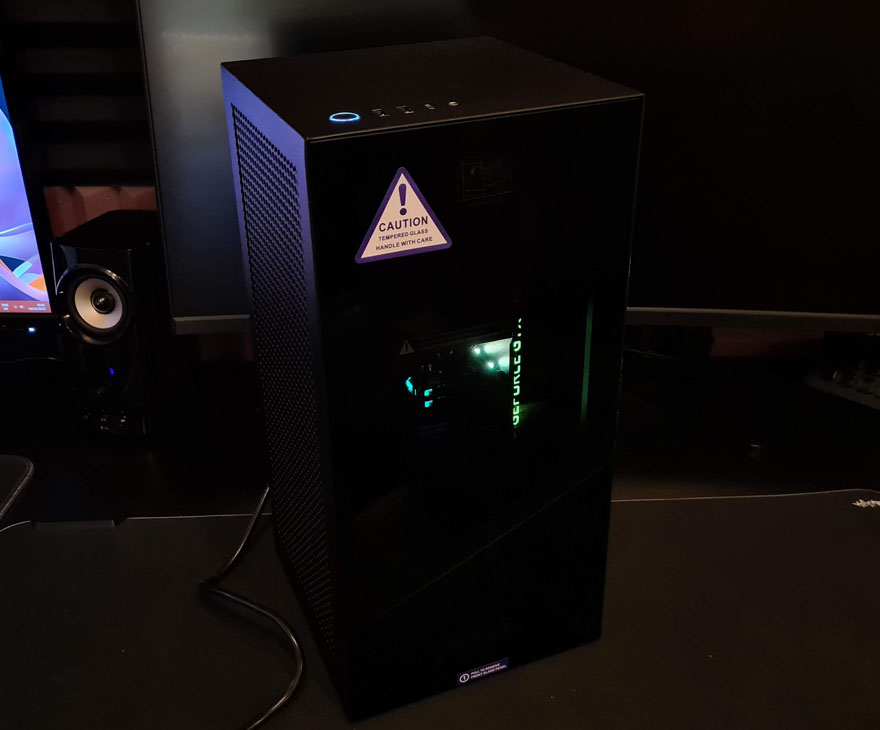
The glass is dark tinted though, so most of the hardware remains hidden, and only brighter lighting will shine through.
