NZXT H710 BR Mid-Tower PC Case Review
Peter Donnell / 5 years ago
Exterior
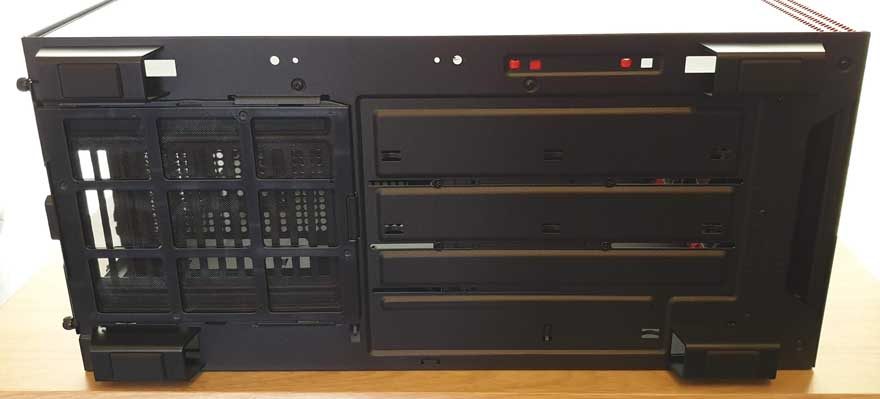
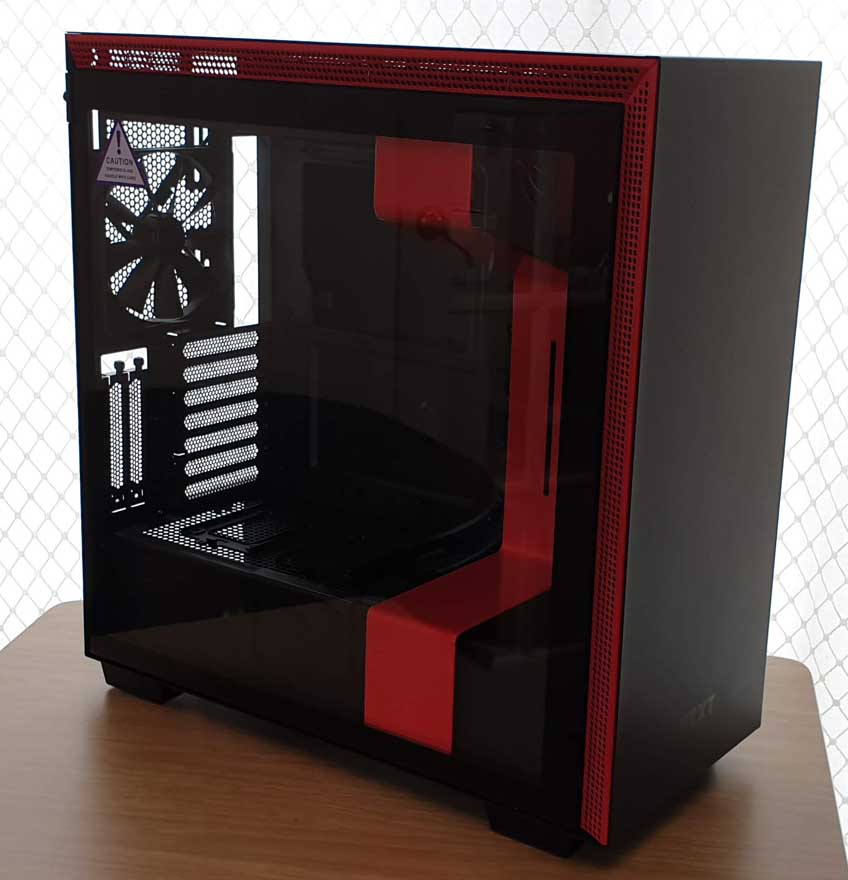
The NZXT H710 may look pretty familiar to NZXT fans. It’s a pretty common theme throughout the H-Series cases. Even the NZXT website lists them as “H-Series Refresh” which is noted by the x10 number. So the original was the H700, while this one is the H710. However, it’s all little fixes and improvements. Otherwise, the iconic design remains the same. I’m fine with that though, it looks fantastic.
Massive Airflow
The front and top may be closed up. However, you get this lovely high-airflow side ventilation. There are full-size dust filters over the fan mounts too, so don’t worry about that.
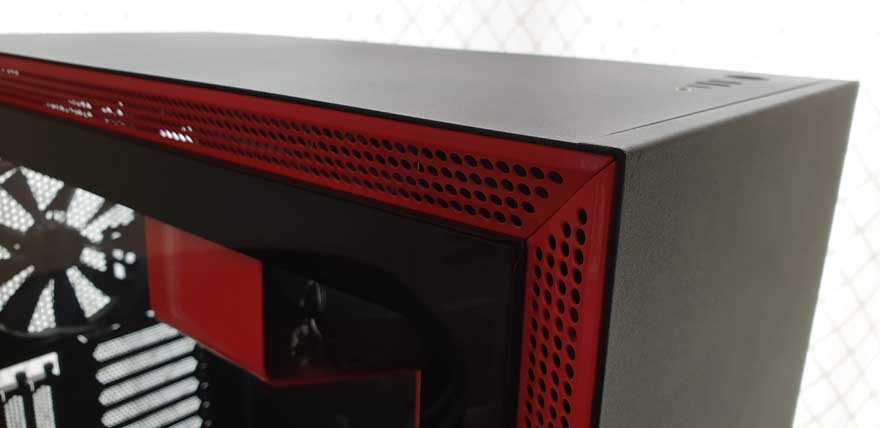
I love that slightly off-set angle too, it just stops it from looking too boring. The devil is in the details, and there are plenty of details here.
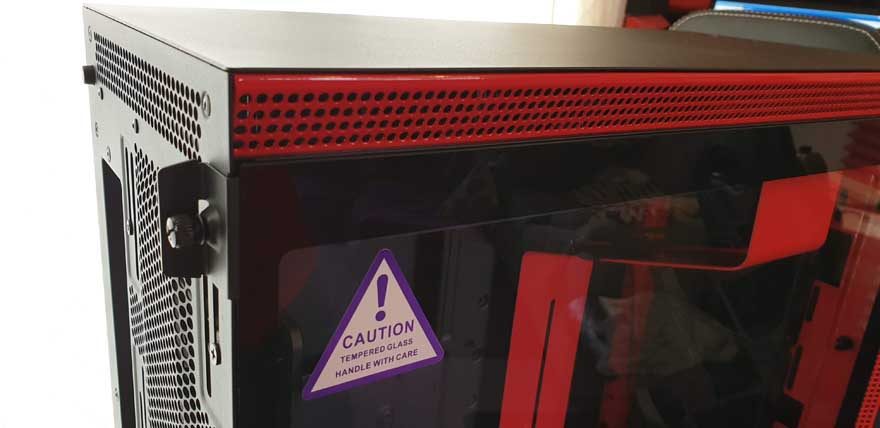
There are some nice sized feet on the base too, giving it good ground clearance. Plus, you can just make out the subtle texture on the front panel too.
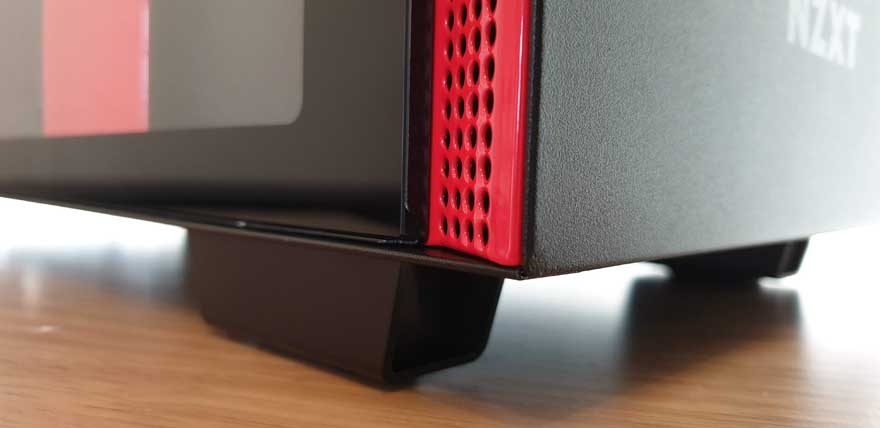
Plus, you get that same textured finish up top, and more side ventilation too. Overall, a very clean and stylish look I think.
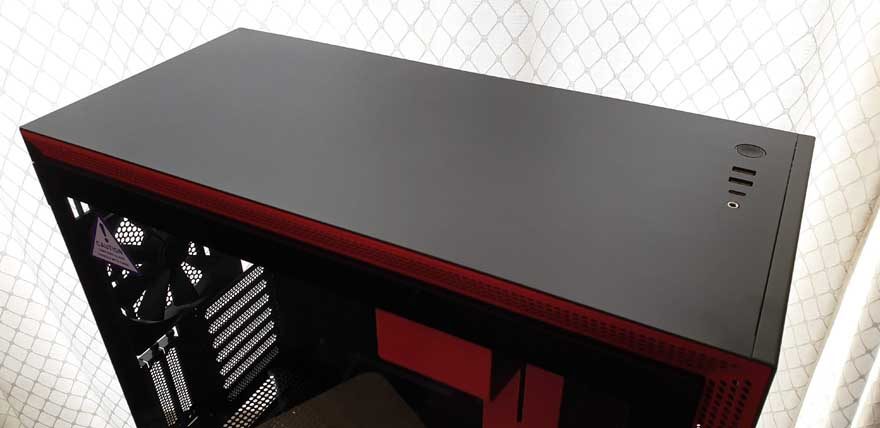
I/O
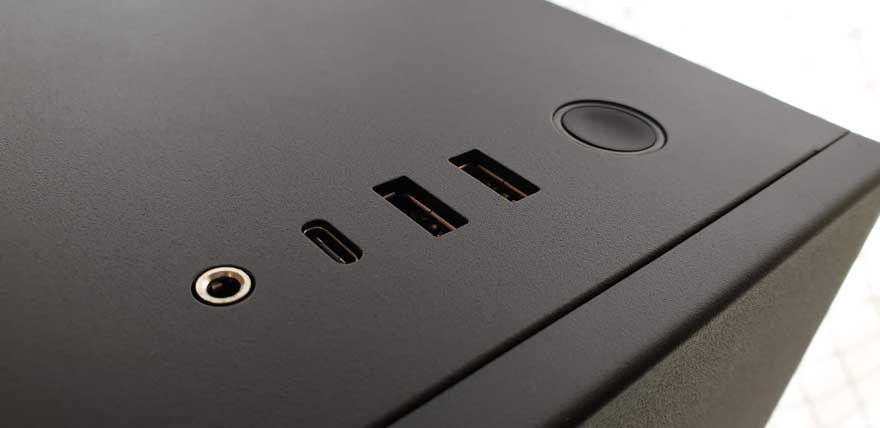
This is all changed up now too. They’ve added in a USB Type-C, which is an awesome addition. Plus, the dual jacks are now a single 4-pole jack. That means mobile headphones plug right in. However, there’s a splitter included in the box should you need it, so fear not.
Back Panel
This is just a solid black panel, but again, you do get more ventilation around the edges too.
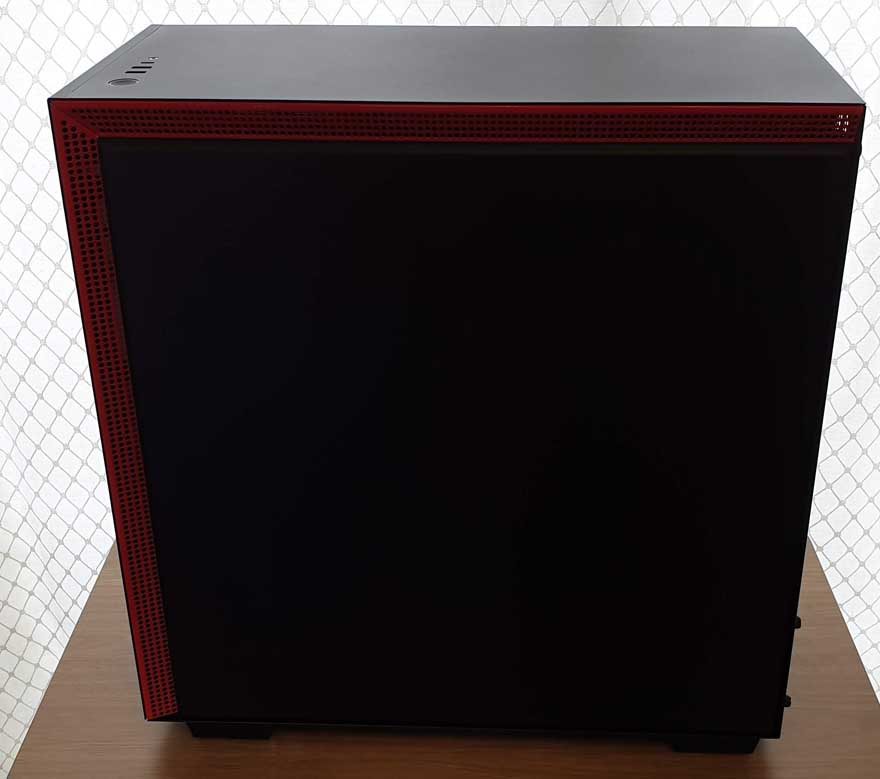
What had changed is the mounting of the panels. The back panel is tool-free, and you just push a button and it’ll unlatch for you. The glass uses a single thumbscrew at the top rear. Undo that, pull the panel forward a little, and lift it right out. Cleaner visually, easier to use; win-win.
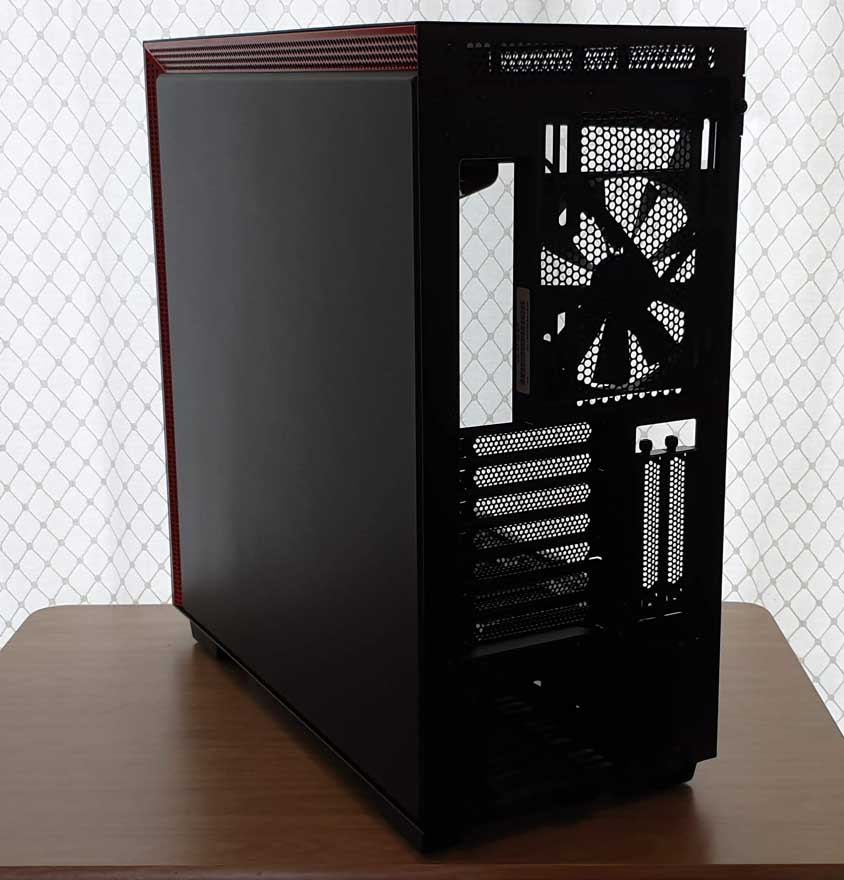
Around the Back
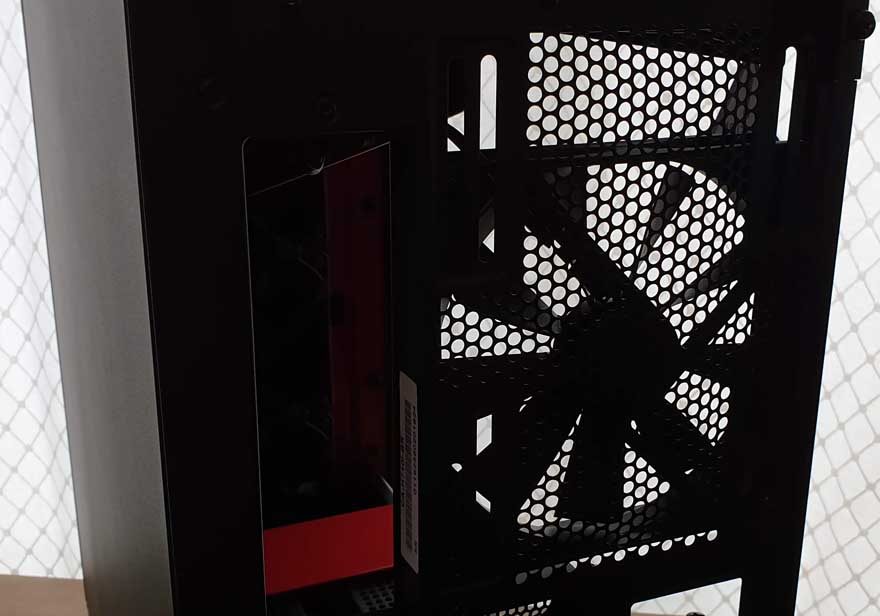
There’s a AER fan mounted in the rear, and the fitting is height adjustable too, which will help with AIO coolers.
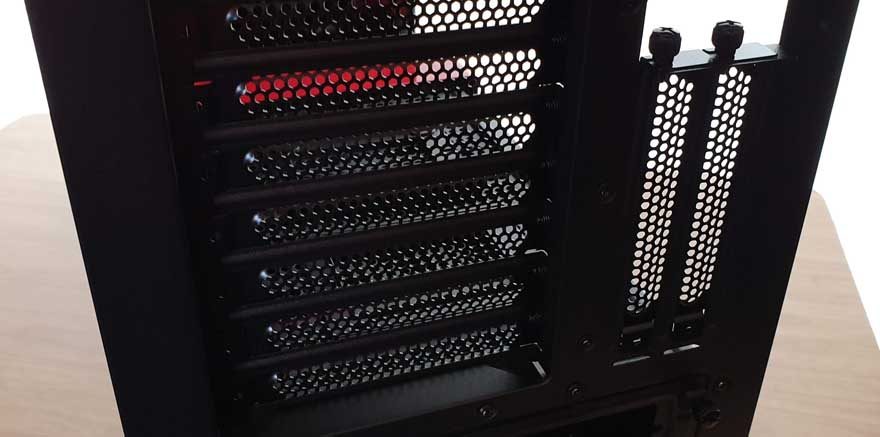
Below that, the usual expansion slots for up to an ATX motherboard. However, there’s also a pair of vertical slots should you add-in a riser cable (sold seperately).
The PSU mounts towards the bottom. However, keep in mind it uses a removable mounting bracket and cannot be installed from the side. As I learnt recently, doh!
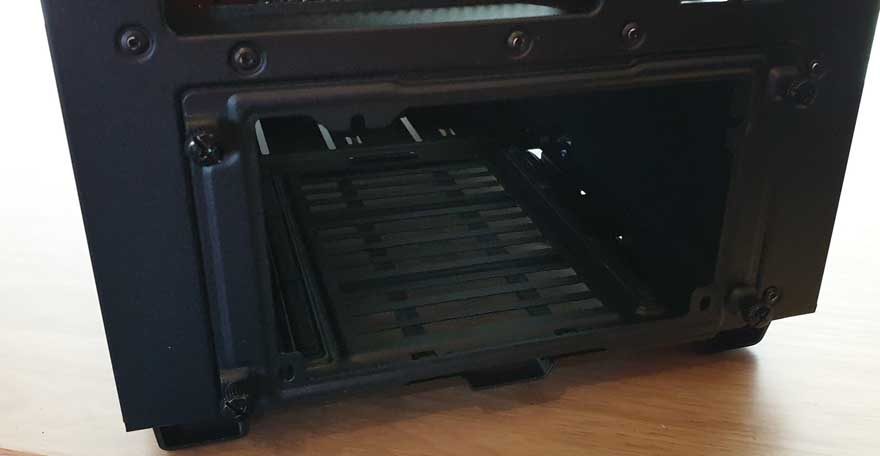
Finally, we have a large dust filter on the base for the PSU air intake. So, let’s bust this open and take a look inside!
