NZXT N7 Z690 Motherboard Review
Brandon Dodman / 3 years ago
A Closer Look
NZXT have created a very distinct look for their motherboards. The flat metal plates that cover the majority of the PCB creates a clean aesthetic that would look right at home in an all white professional looking system.
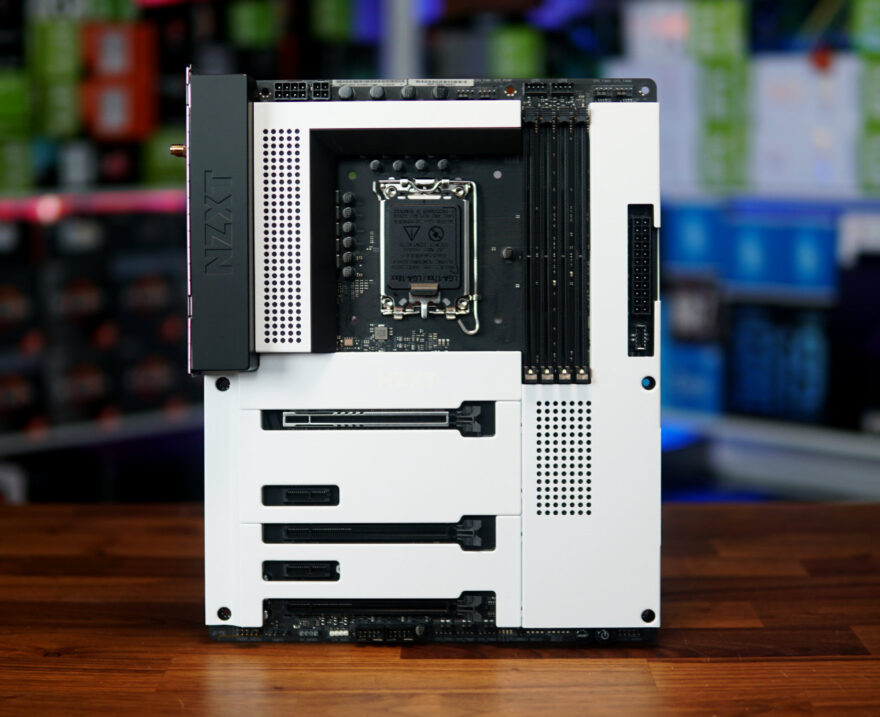
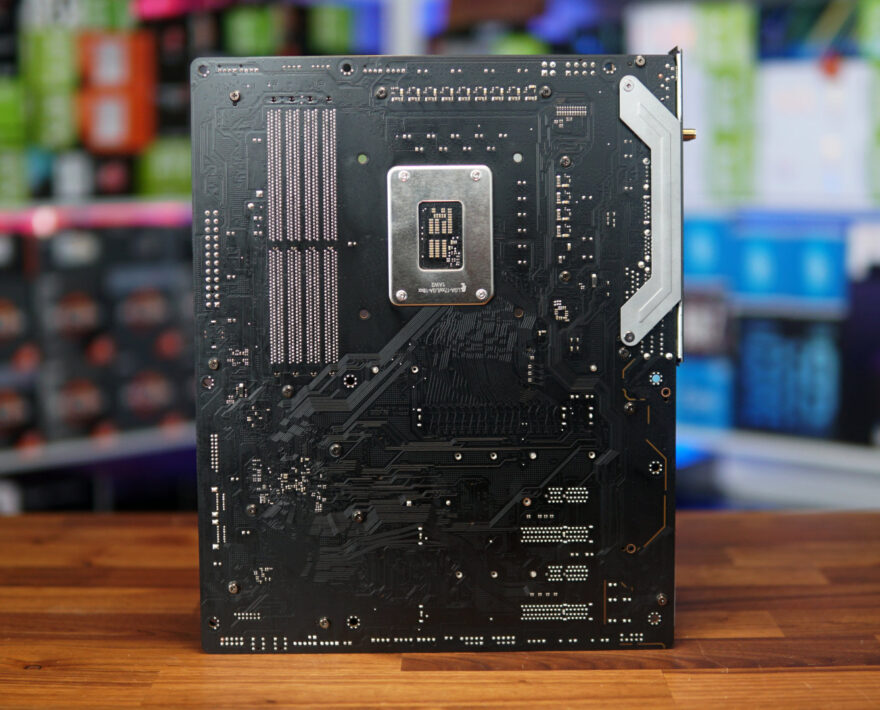
At the back of the board we see no backplate, but this makes little difference to a motherboard as it is mostly used for looks anyway, only with a few exceptions.
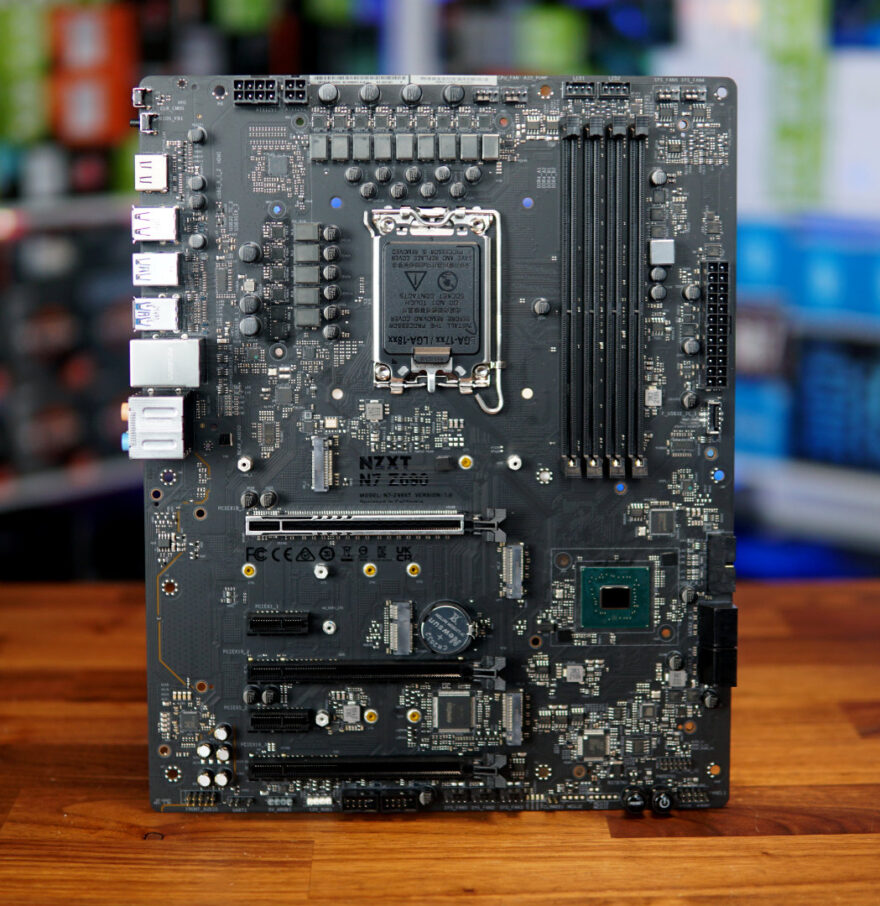
Around the socket of the board is where some of the most important parts reside, and we’ll go into more detail as we reach each of them.
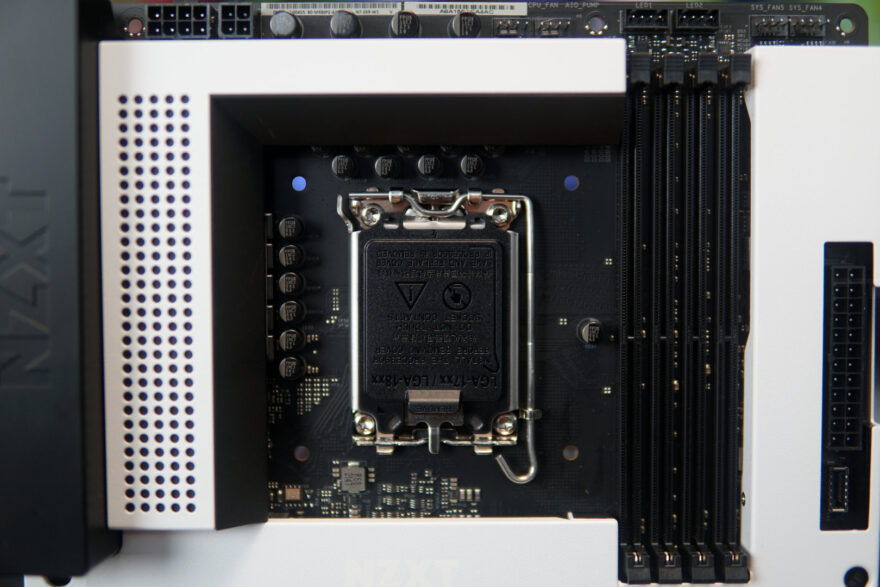
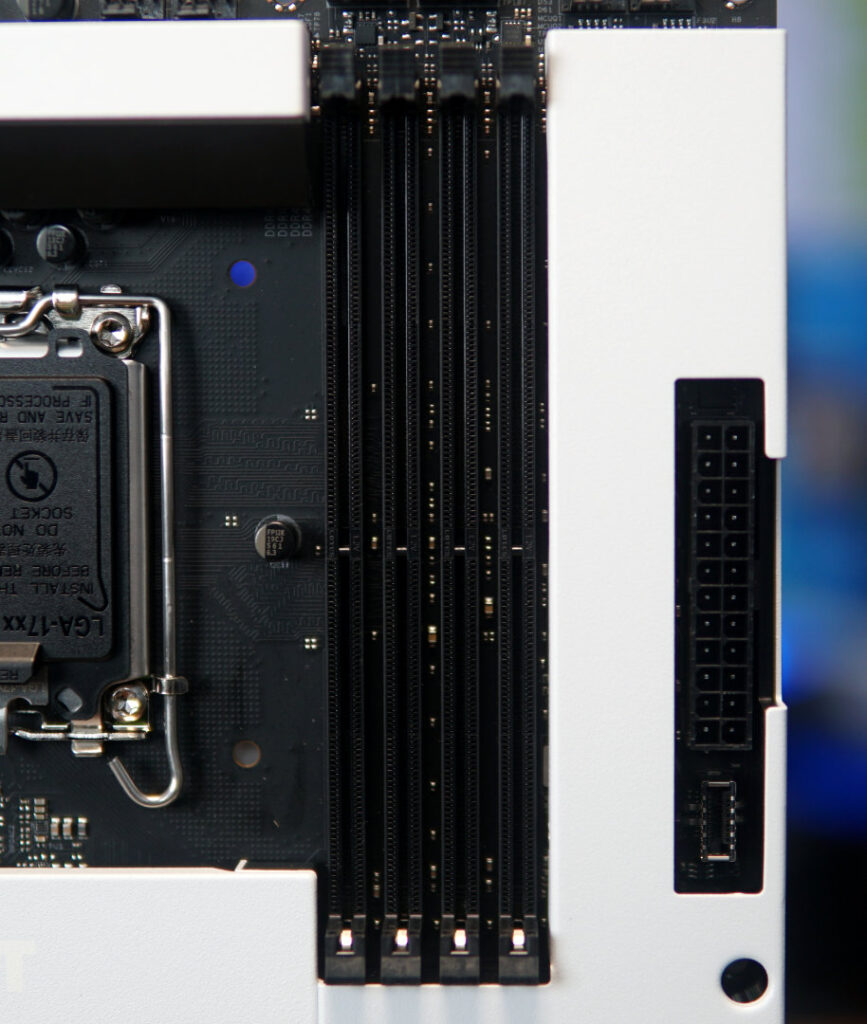
The first thing of note near the CPU socket is the memory slots. Despite this board being Z690 which has compatibility for DDR5, this board features DDR4 memory slots. I don’t know the reason that NZXT chose to go this route with the board, but it does provide better compatibility and pricing with already existing memory kits, even if we are losing out on DDR5, which would only get more affordable and performant with time.
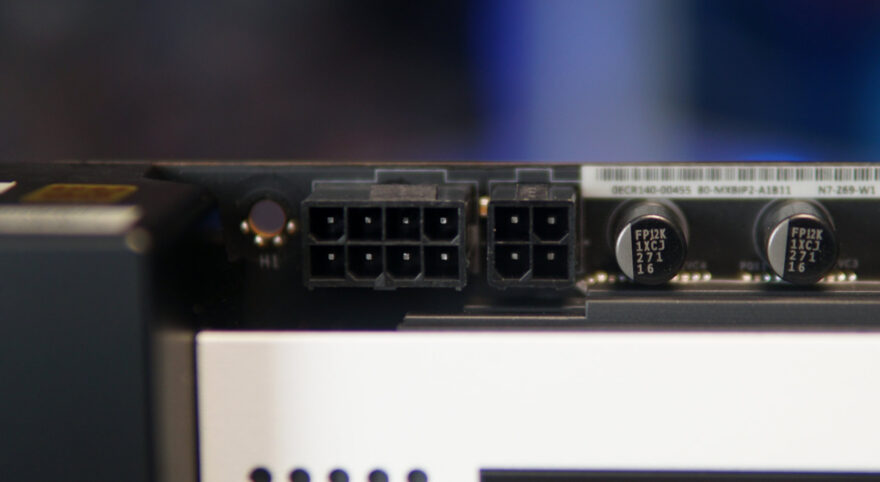
Above the socket is where you can find the CPU power connectors, of which this board features an 8+4 pin design for power delivery.
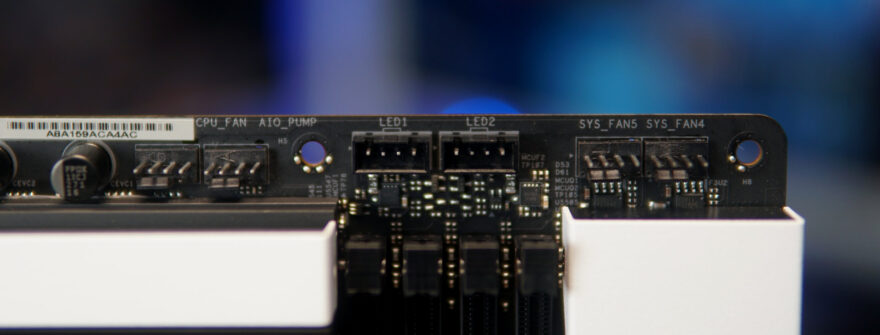
Moving along from the CPU power is where we find the CPU fan header and AIO pump header, along with two extra system fans and two NZXT LED headers that allow you to connect your NZXT RGB devices directly to the motherboard and control them in the NZXT CAM software.
Moving down the board, we see the 24-pin ATX power connector and the USB type-C internal header sitting within a cut-out on the PCB shroud, keeping the look clean and minimal.
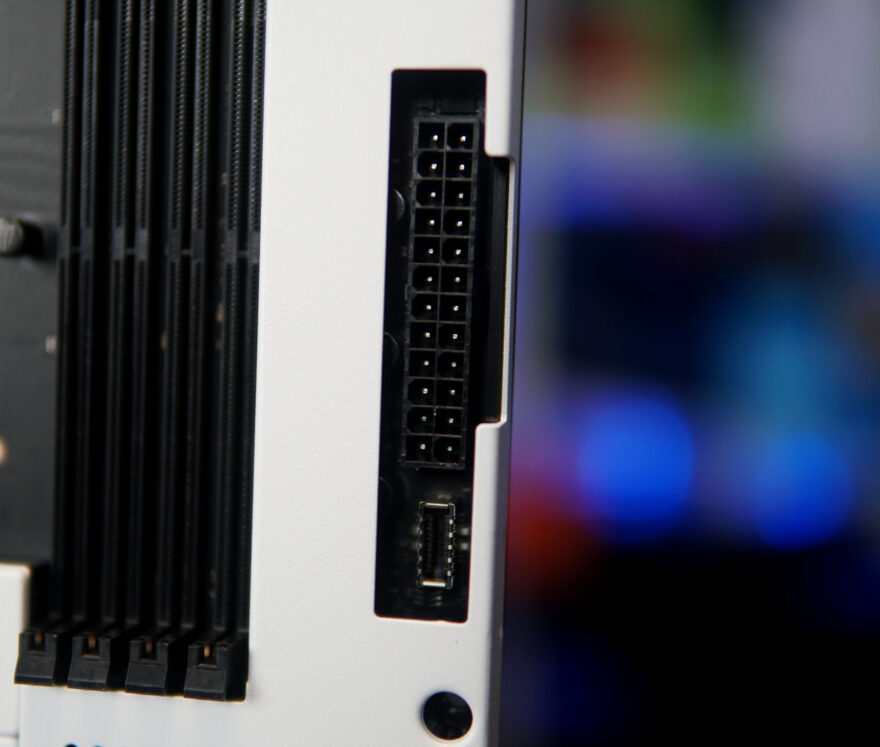
Going down a little more is where we can find a USB 3.2 internal header sitting at a right angle next to the only four SATA connectors on the board.
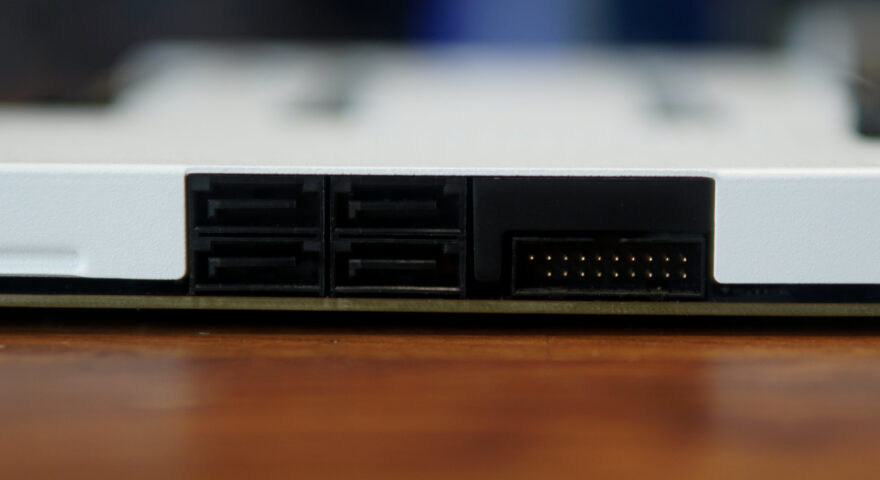
Once we reach the bottom of the board we can see the bulk of the headers; here we see the front panel connectors, the clear CMOS pin and an additional three fan headers.
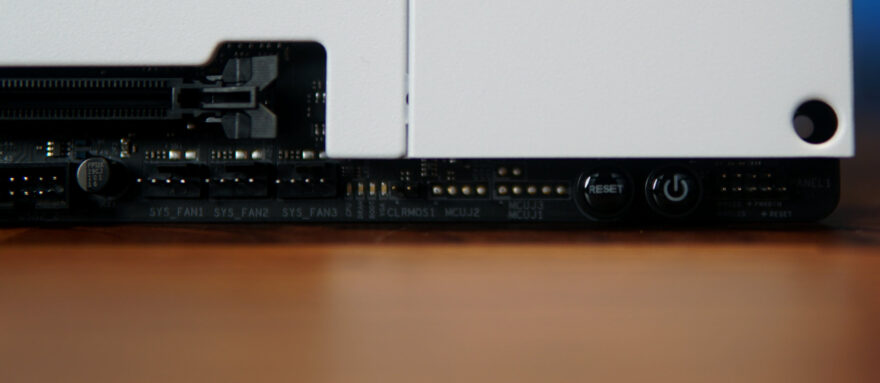
Across to the left of the fan headers we see two USB 2.0 internal headers, a 12v RGB header, and a 5v ARGB header. The front panel audio header is all the way off the left, and to the right of that is a UART header for connecting compatible devices.

Around the PCIe, we see the bulk of the covers on the board which attach magnetically and are easy to take off. Underneath these covers is where we find the three M.2 slots, of which two are immediately accessible by removing the covers and the top most one has a heatsink over it that needs unscrewing. As well as the M.2 slots, we can find a Wi-Fi card pre attached with cables running to the rear I/O.
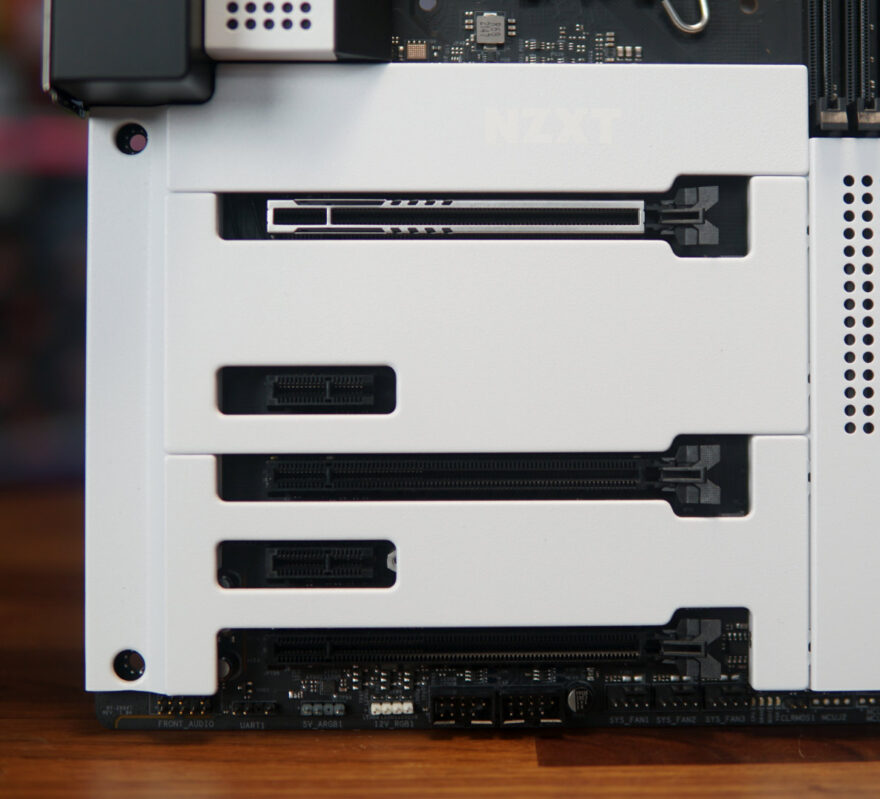
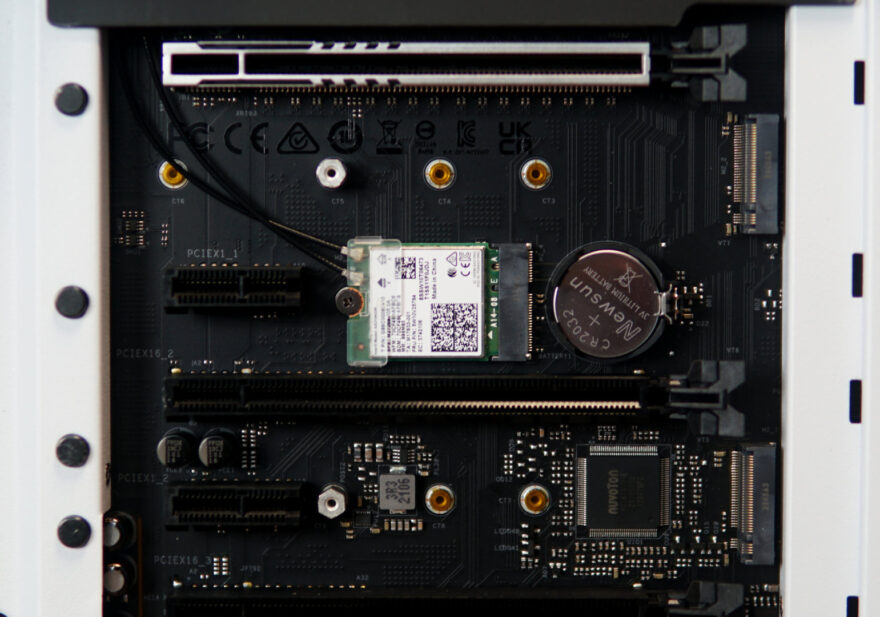
Once I remove everything off of the board, we can see it in its true form. Seeing the board with nothing on it like this really does make you appreciate the way that motherboards these days like to cover things up for the cleanest looking build possible.
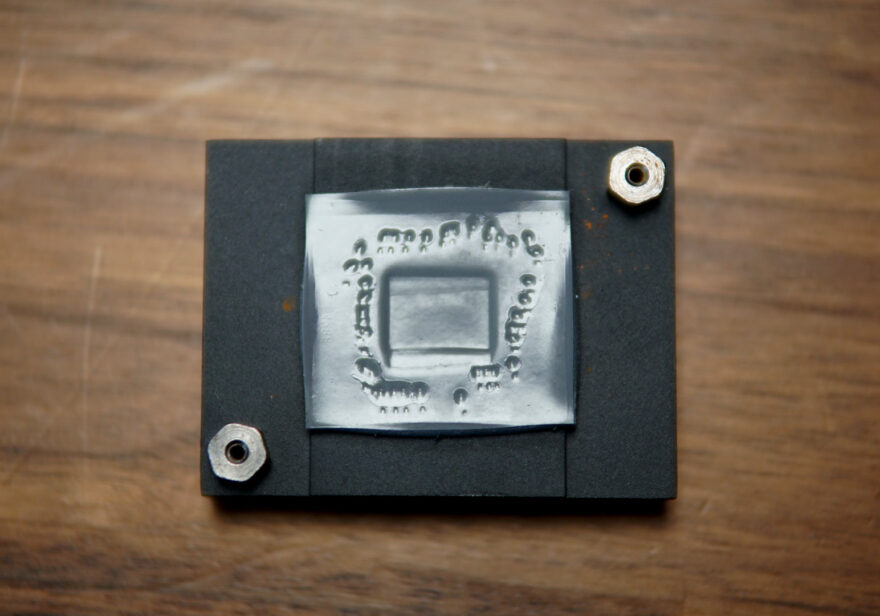
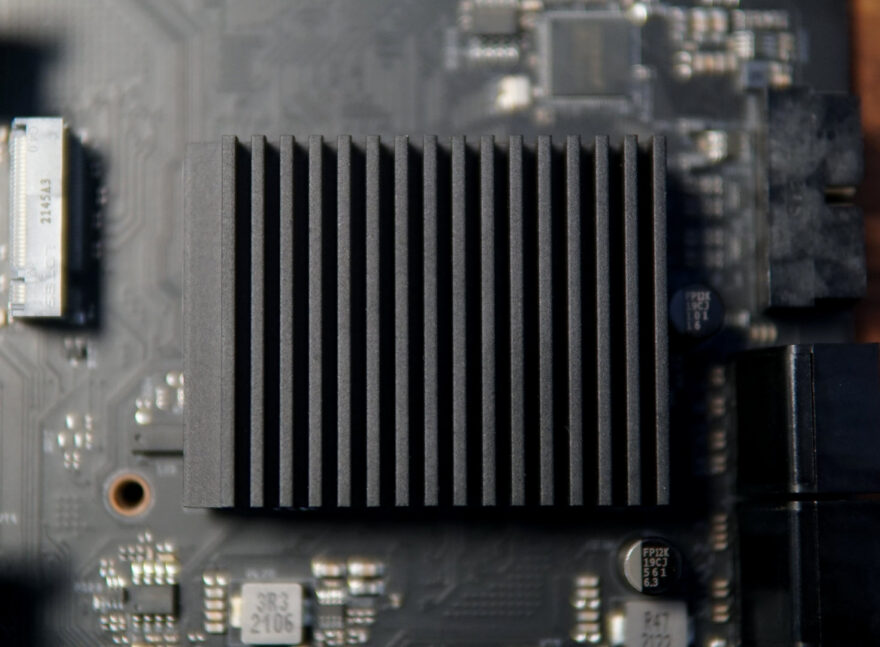
The chipset cooler is fairly small and is hidden underneath a larger plate on the motherboard. It also uses a thermal pad for heat transfer as opposed to thermal paste that some other boards use.
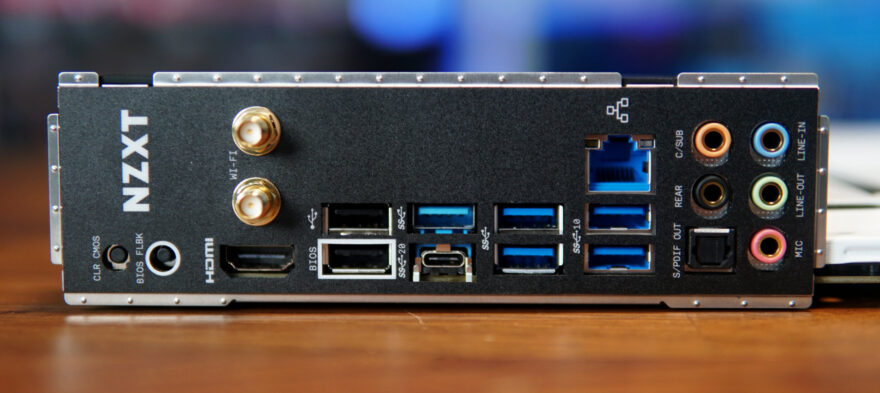
Finishing up the closer look with the rear I/O. We have a large collection of USB ports, two of which are only USB 2.0 but one of them is used for BIOS flashing, which is always a nice inclusion. We also have a USB Type-C port to top it all off. Also back here we find the connectors for the Wi-Fi antennas, a collection of audio ports and an Ethernet port.
