NZXT Sentry Mesh Fan Controller Review


/ 13 years ago

« Previous Page

«»

Next Page »

Installation

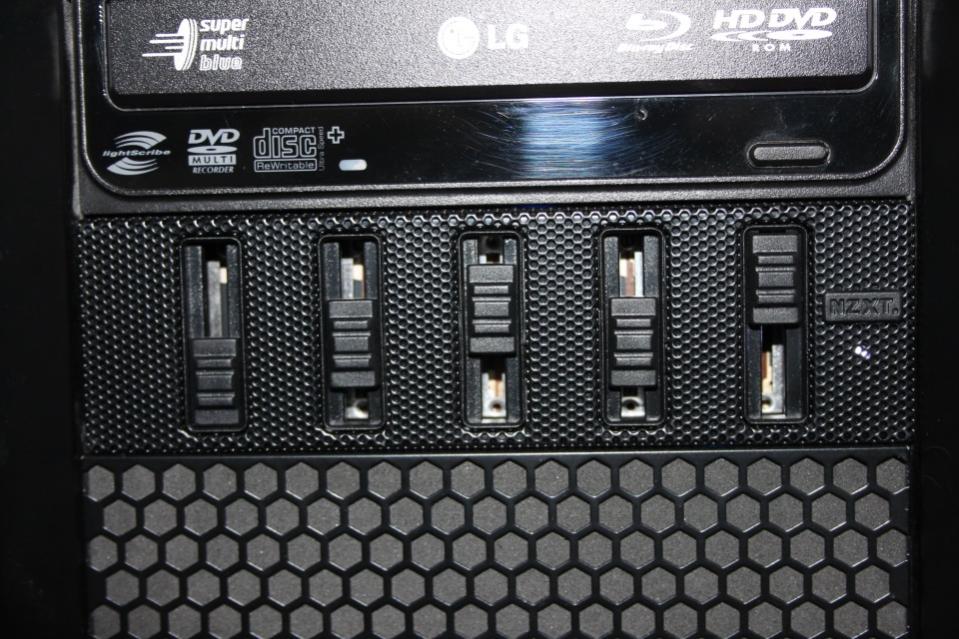
Installing the NZXT Sentry Mesh into the test PC was a simple process, very similar to installing an optical drive. Once the NZXT Sentry Mesh was installed into the 5.25″ drive bay using two screws on each side the fans were then connected to the 3pin fan headers of the NZXT Sentry Mesh. Finally the molex power connection was connected to power the NZXT Sentry Mesh.

Once the PC has been turned on the NZXT Sentry Mesh has a white LED which lights up just under the NZXT logo on the right of the NZXT Sentry Mesh to show it’s turned on.
« Previous Page

«»

Next Page »


Support eTeknix.com

By supporting eTeknix, you help us grow and continue to bring you the latest newsreviews, and competitions. Follow us on FacebookTwitter and Instagram to keep up with the latest technology news, reviews and more. Share your favourite articles, chat with the team and more. Also check out eTeknix YouTube, where you'll find our latest video reviews, event coverage and features in 4K!

Looking for more exciting features on the latest technology? Check out our What We Know So Far section or our Fun Reads for some interesting original features.

eTeknix Facebook eTeknix Twitter eTeknix Instagram eTeknix Instagram
  • Be Social With eTeknix

    Facebook Twitter YouTube Instagram Reddit RSS Discord Patreon TikTok Twitch
  • Features


Send this to a friend
})