Orico NVMe M.2 Enclosure Round-Up Review
Bohs Hansen / 5 years ago
Orico TCM2-C3 – A Closer Look
We’ve had a look at the PCM2-C3 and now it is time for the transparent TCM2-C3. If you want an easy way to remember which is which, then think T for transparent and P for pretty and you got it.
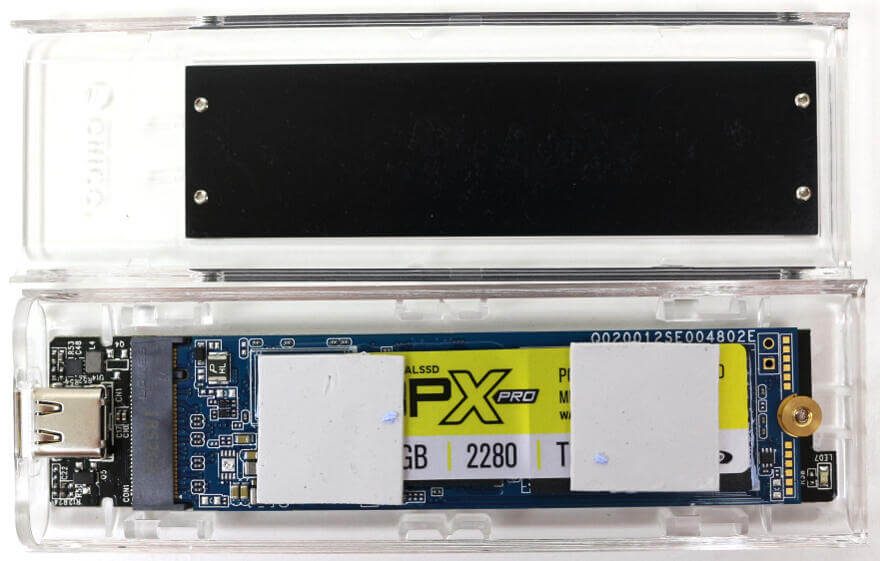
Since the TCM2-C3 is transparent, you can’t really “see” it. That makes the inserted heatsink one of the most prominent features which will catch your eyes. While it blocks the view to the installed drive, it is a necessary evil. NVMe drives tend to run hot, even when not taxed to the max. It is also a closed enclosure without any airflow to cool the installed drive.

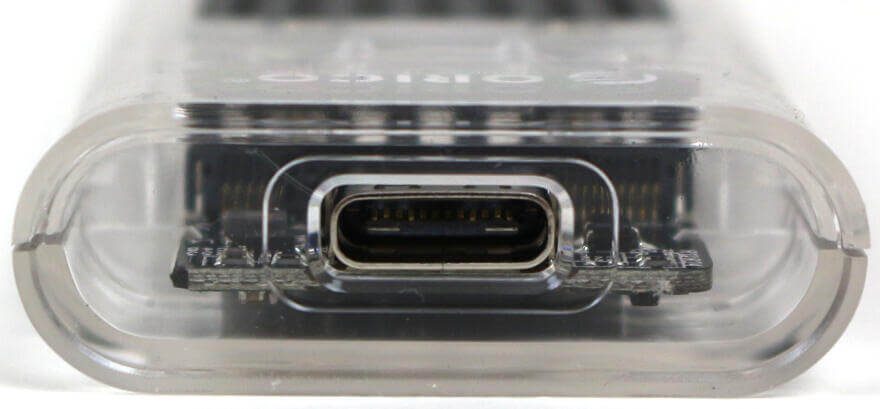
The connector is at one end, just like the on the other enclosure.

Since the TCM2-C3 uses a slide-lock feature, there’s no need for a screw to close it up here.

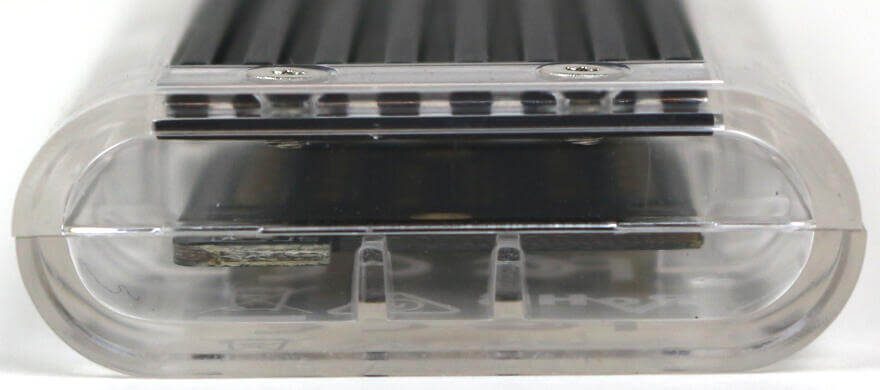
You can spot the 3 ledges on each side of the enclosure in this side view. Those are the ones that keep the two pieces together.

Once you take it apart, you have three pieces just like with the other one. A top, a bottom, and the PCB.

The PCB is exactly the same in both enclosures as we can see on the print. PVM2-C3-R1.1.

Why change or develop something that already is on hand?

Besides this black heatsink version, there’s also a blue, a red, and a silver one.
Again, I’m using the same drive and this is how it looks installed in the enclosure.

You should also remember to use the included thermal pads, or some you already have. As long as they have the right thickness to fit and connect.

Lastly, an image from the side. We can see the inserted drive well from this angle while it’s blocked from the top and bottom.


