Peerless AV LCT420A Single Arm LCD Desktop Mount Review
Chris Hadley / 11 years ago
A Closer Look
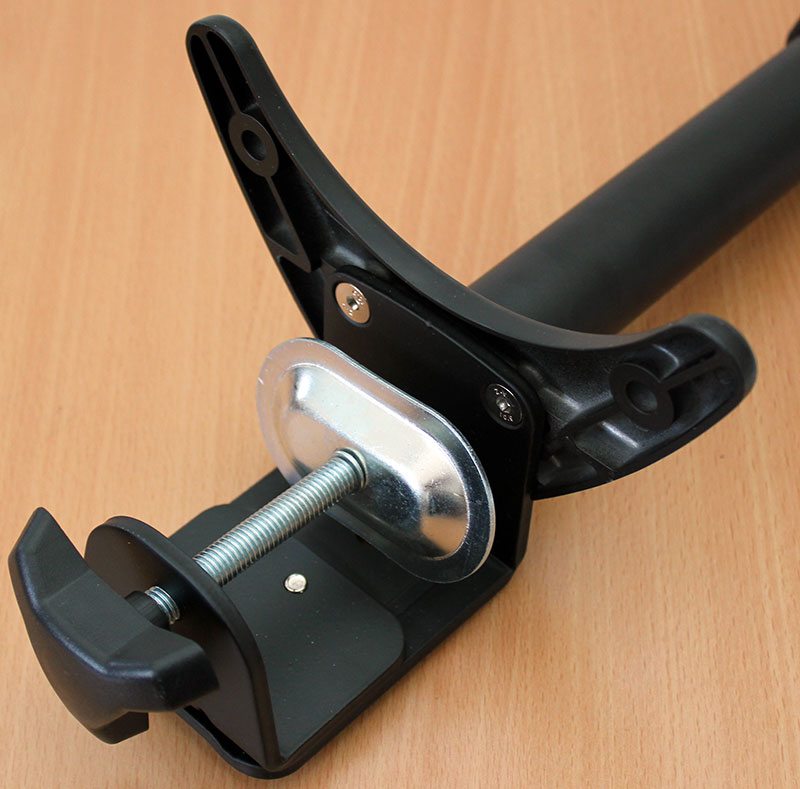
Taking a closer look at the two main parts that make up the arm, probably one of the most important parts there is has to be the base plate. This particular arm clamps on to the edge of a desk from the underside with a single hand tightened clamp with a wide based foot on the top to keep the arm stable once a screen is fitted.

On the pole that screws into the baseplate there is a plastic collar than can be raised up and down to adjust the height at which the extending arm sits at. This part simply twists open so that It can slide up and down and then twists back together to lock itself into place and also to hold the weight of the arm and screen on top.

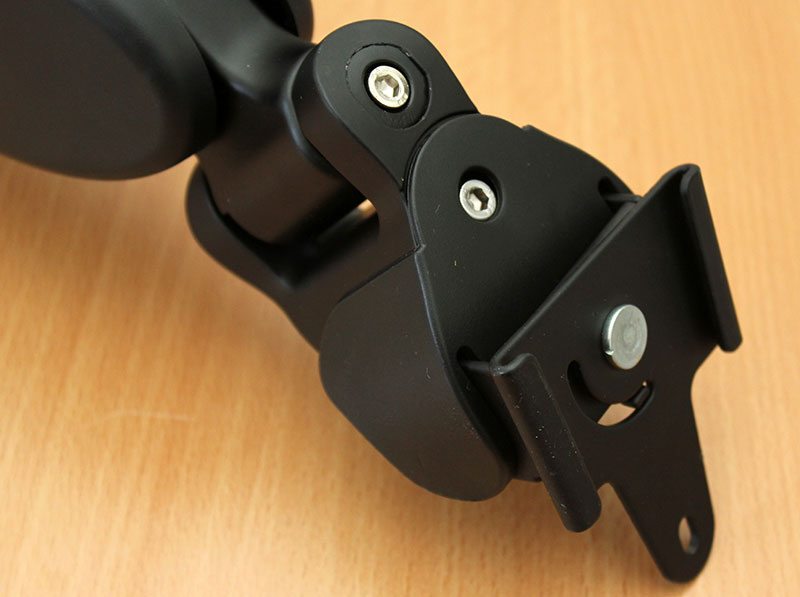
On the other end of the arm is the second key part of the arm – the head attachment on which to screen pivots, tilts and rotates. The head of the arm allows the mounted screen to tilt +80/-10° whilst swivelling to the left and right by 90° each way and the screen can also be rotated 90° to the left to put it into portrait mode.

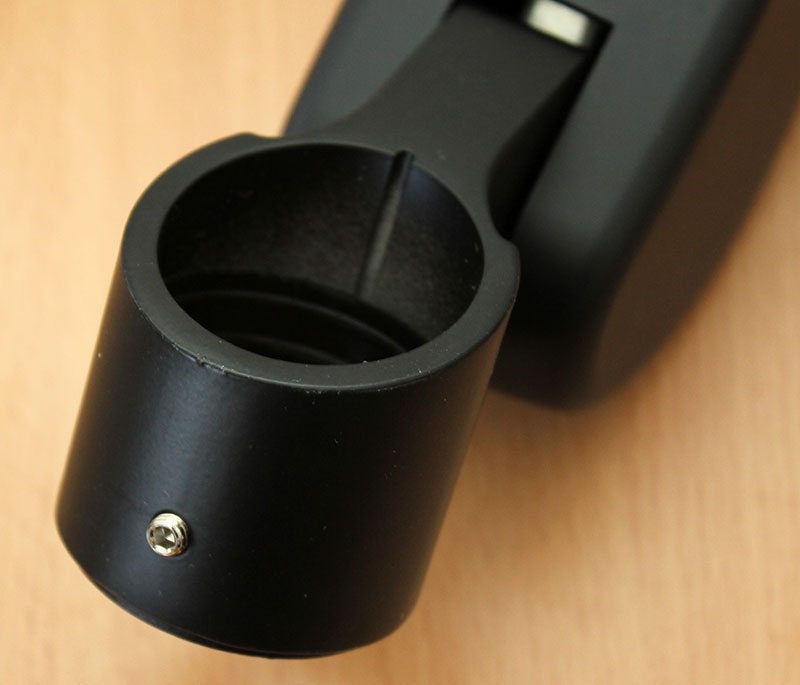
On the other end of the arm is the clamp that attaches to the base pole. The clamp simply slides over the pole and drops down until it’s sat on the plastic collar of the upright pole. A small screw on the clamp then fixes the arm into position or this can be left lose to allow the arm to swing freely for adjustment of the screen.

In the middle of the arm is a bolt that allows the tension on the arm to be adjusted based on the weight of the panel that is fitted to the arm. A heaver panel will require more tension whereas a lighter panel may need this to be slackened off.


