Phanteks Enthoo EVOLV Micro-Tower Chassis Review
Peter Donnell / 10 years ago
Interior
One thing I instantly love about this chassis is the side panel mounting system. It uses strong clips and hinges, allowing you to quickly open up the side panel to get into your system.
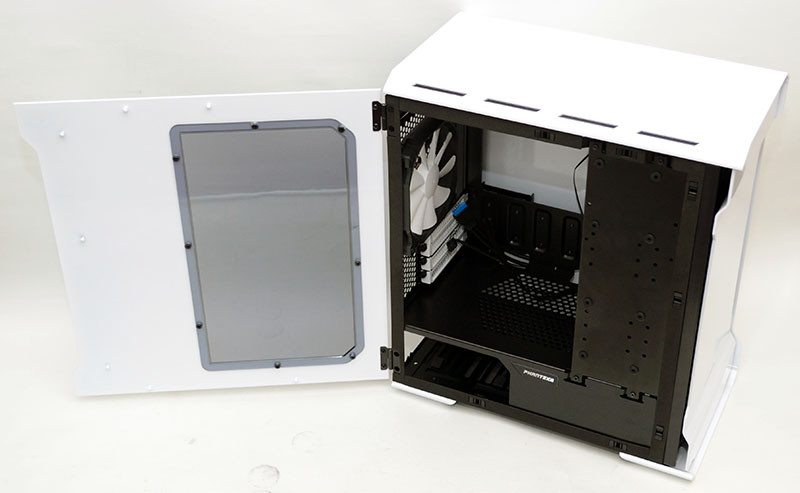
The side panel doors can be opened then lifted up off the hinge, perfect for when you’re taking photographs for a review, but also for when you’re building your system. What’s that at the top rear of the chassis? Why it’s a rear mounted 5.25″ drive bay of course! If you want to use it, there’s a 5.25″ adaptor bracket included in the box.
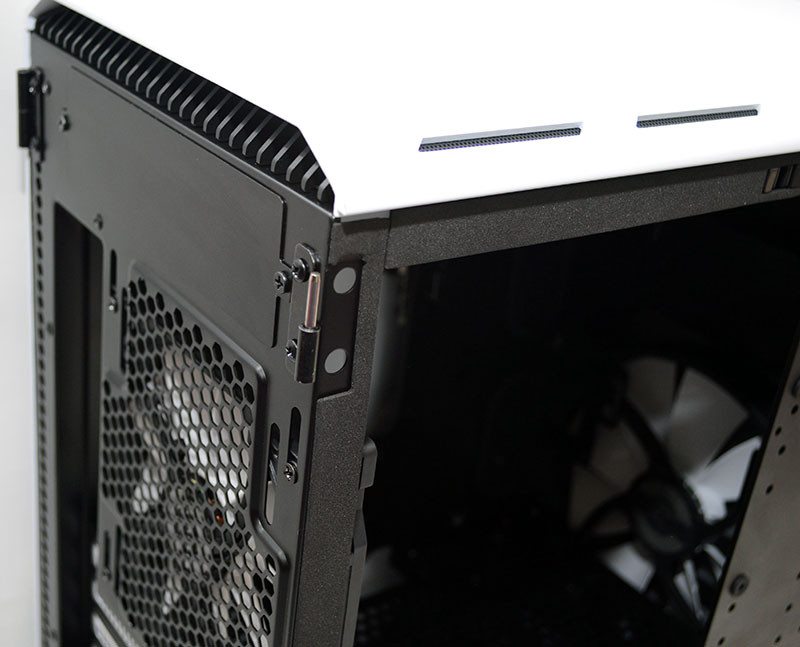
There are six push click pins around the outside of the chassis that help hold the door shut; you wouldn’t want it simply swinging open when you’re sat at your desk.
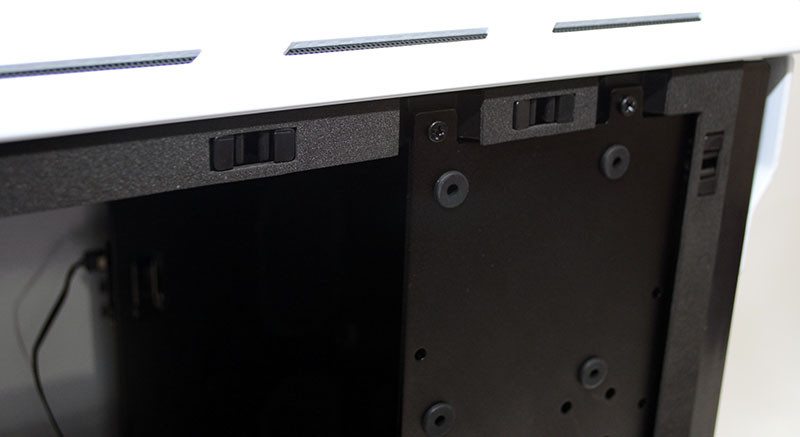
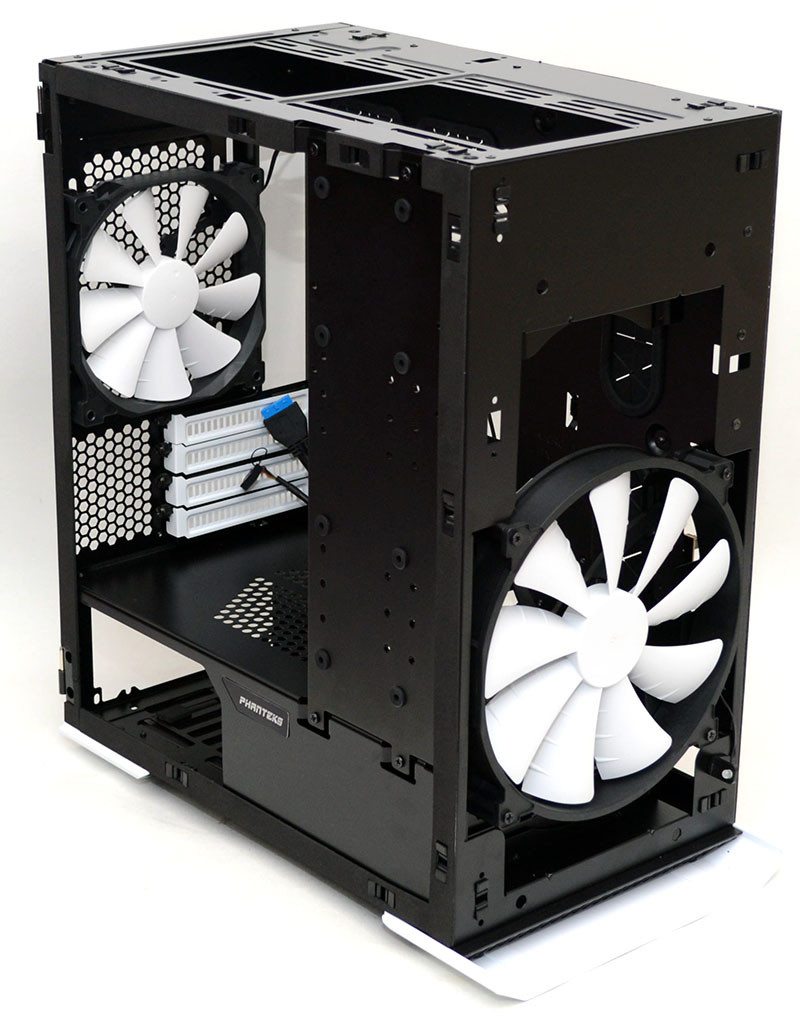
Behind the motherboard, you’ll find a huge CPU cooler mounting cut-out, as well as a bunch of cable routing holes with rubber grommets located throughout the chassis. All the motherboard stand-offs are pre-installed.
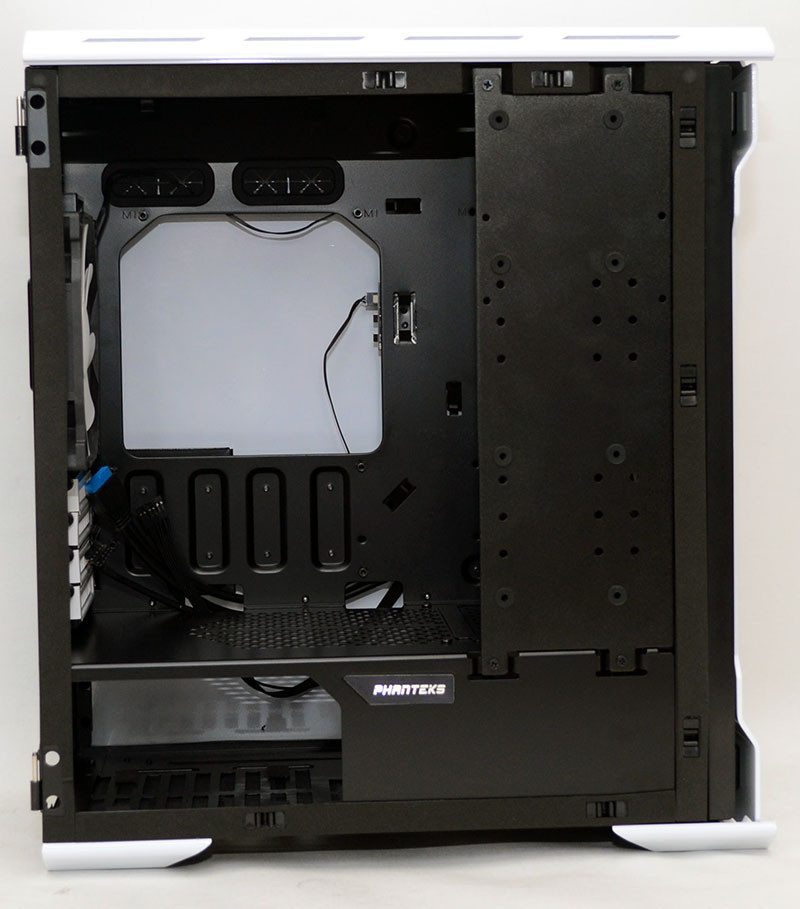
As I said before, this chassis is quite short from front to back for a chassis of this size. This is done by not having standard horizontal hard drive bays and by making the 5.25″ bay rear-mounted and optional. The chassis uses a vertical hard drive mount to help free up space for long graphics cards and water cooling hardware, without compromising on storage.
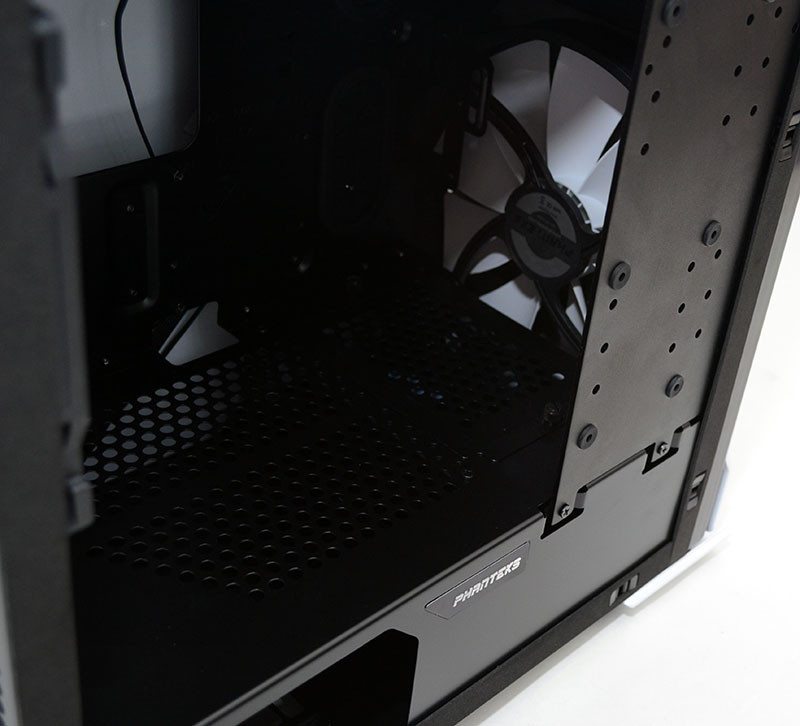
The base of the chassis has a PSU shroud, which features a good amount of ventilation and a few smaller routing holes towards the back.
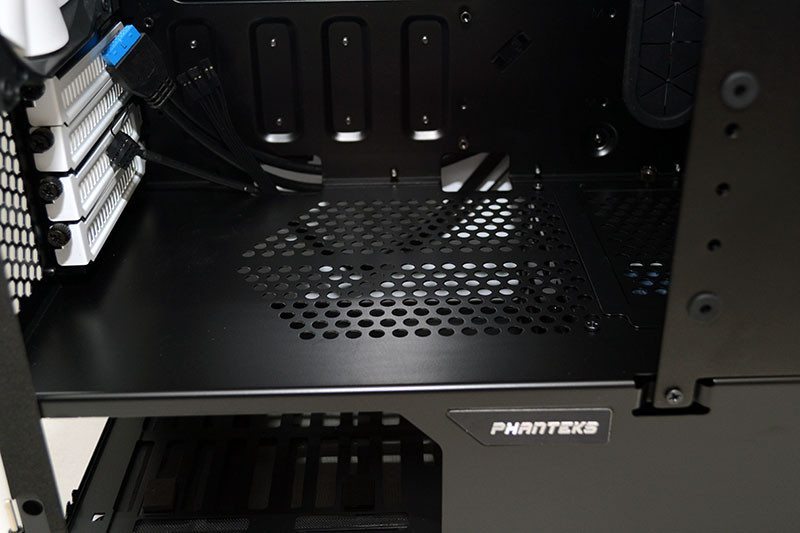
There’s a cut-away here so that you can see the side of the PSU; great for showing it off through the side panel window.
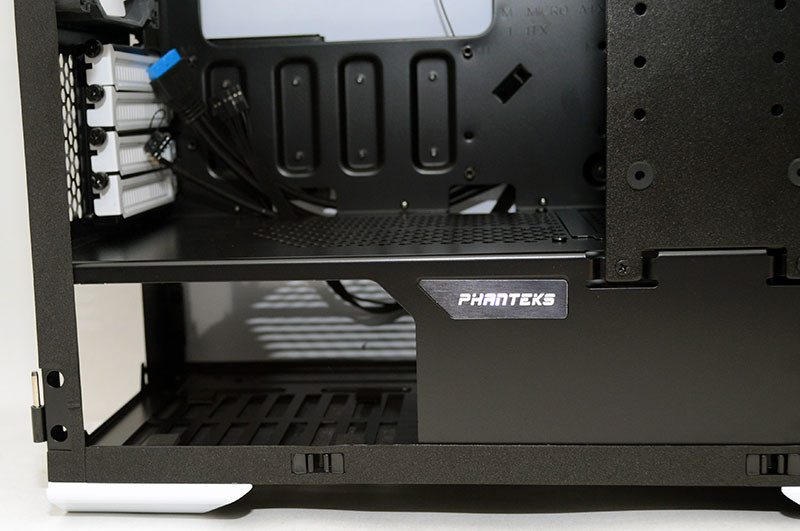
The rear 140mm fan is of a good quality and you’ll also notice that the 120/140mm fittings on the chassis are elongated, allowing you to change the height of the fan/radiator you mount. This is a simple addition, but one that greatly improves hardware compatibility.
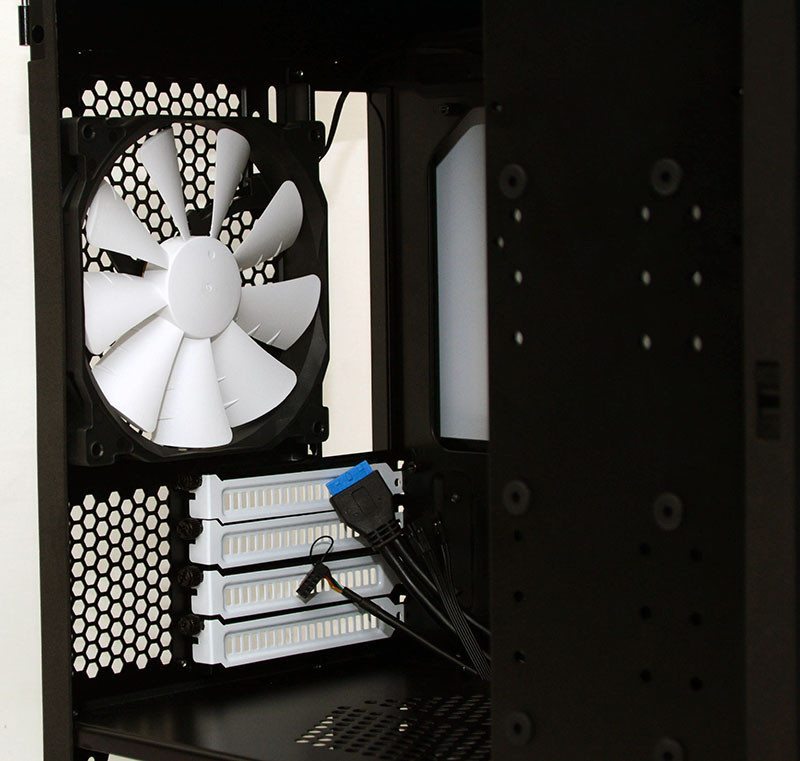
The right side panel door opens up and lifts off in the same way as the left side panel.
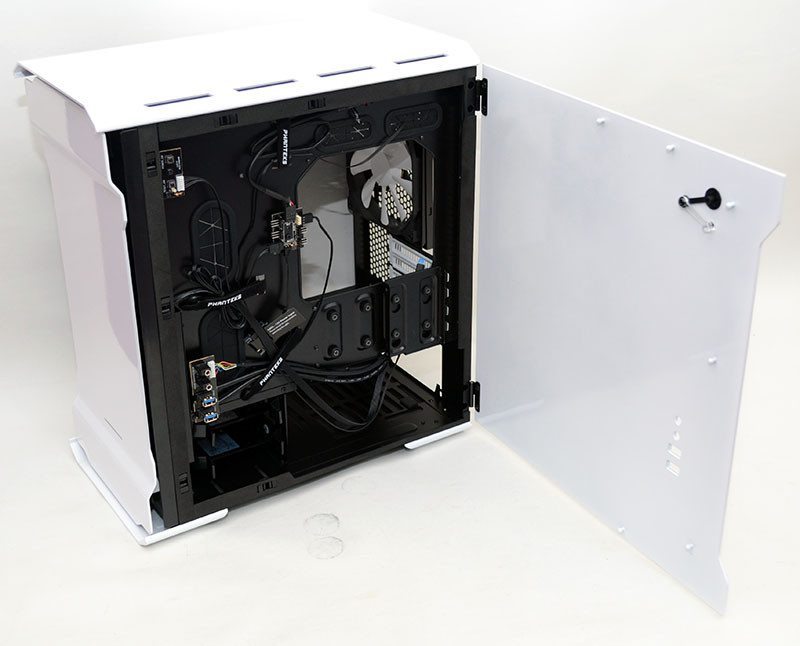
Back here, you’ll find all kinds of cool stuff! Firstly, we can better see the cable routing options. There’s a large opening at the bottom for the PSU to be fitted from the side, as well as two huge rubber grommets near the front of the chassis and two wide grommets near the top.
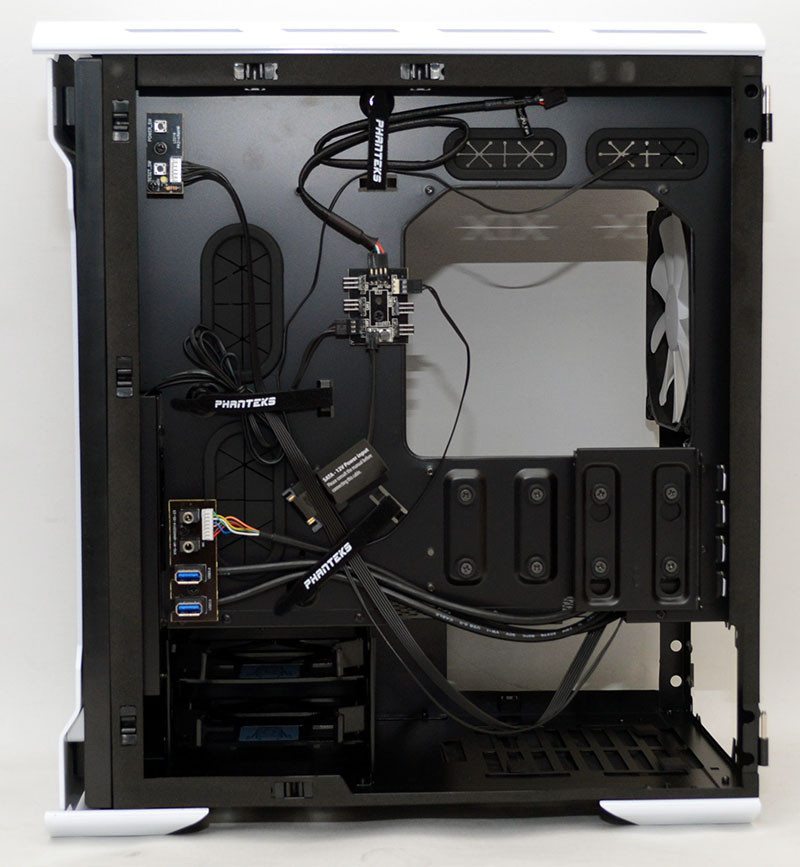
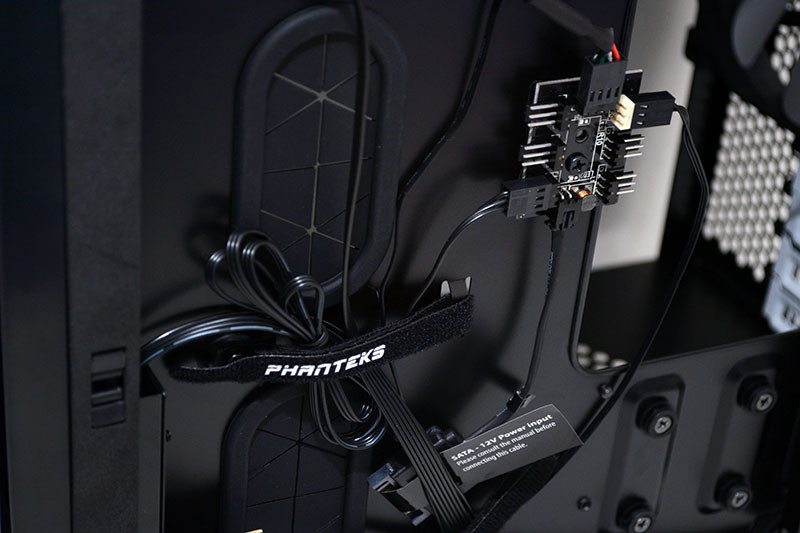
There’s a range of cable tie loops and some pre-installed Velcro ties to help keep things neat and tidy.
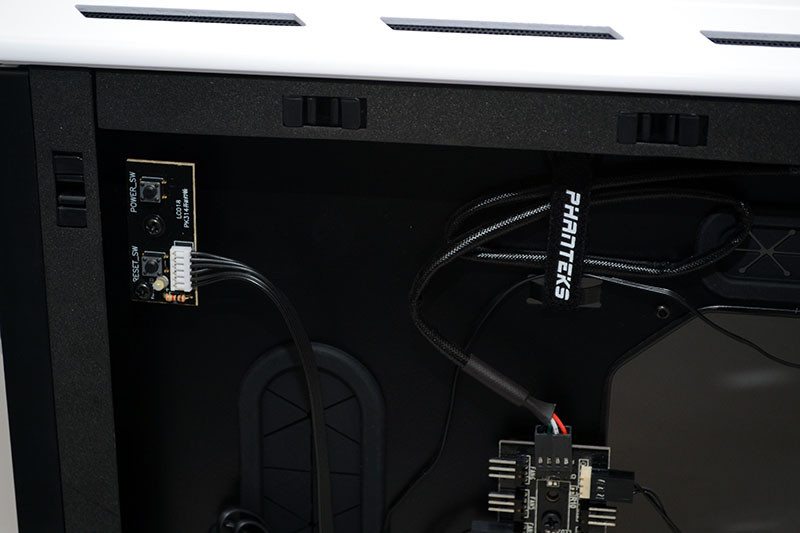
A si port fan hub is pre-installed, with the two pre-installed fans already connected for your convenience.
There’s two 3.5″ drive trays tucked away in the base of the chassis.
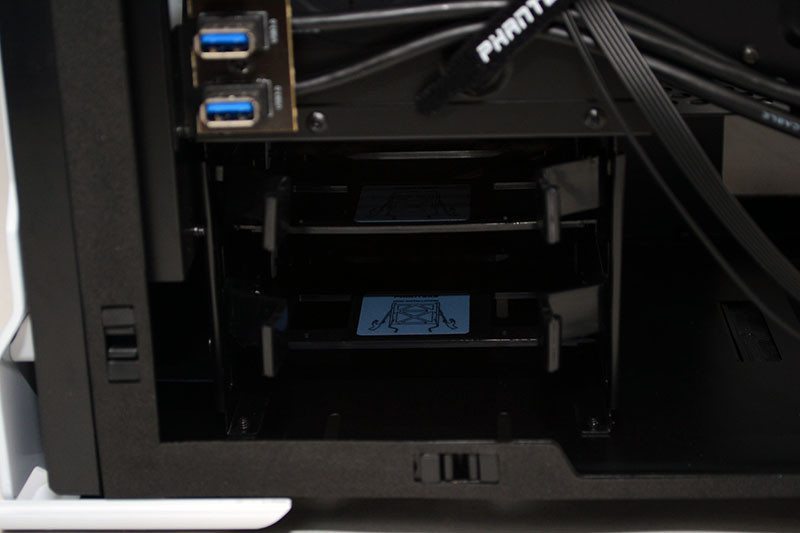
As well as 2.5″ stealth mounts here.
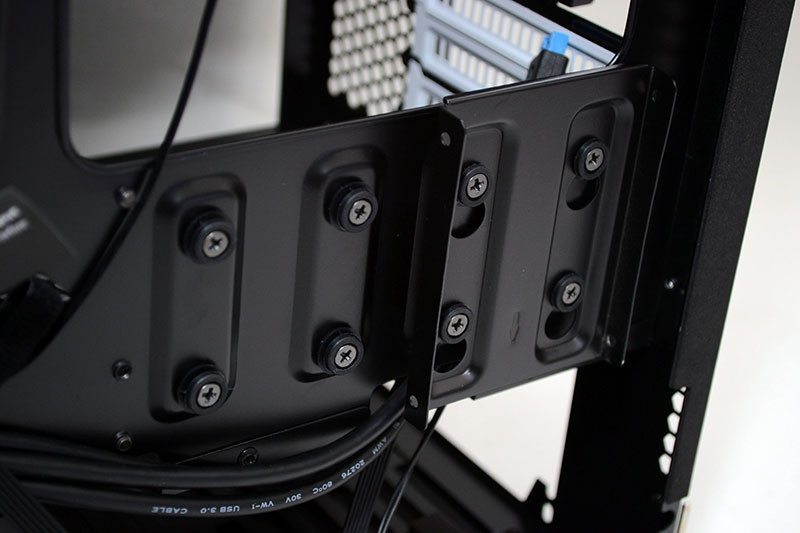
The PSU loads from the right side of the chassis, which just enough room behind it to tuck excess cables out of the way.
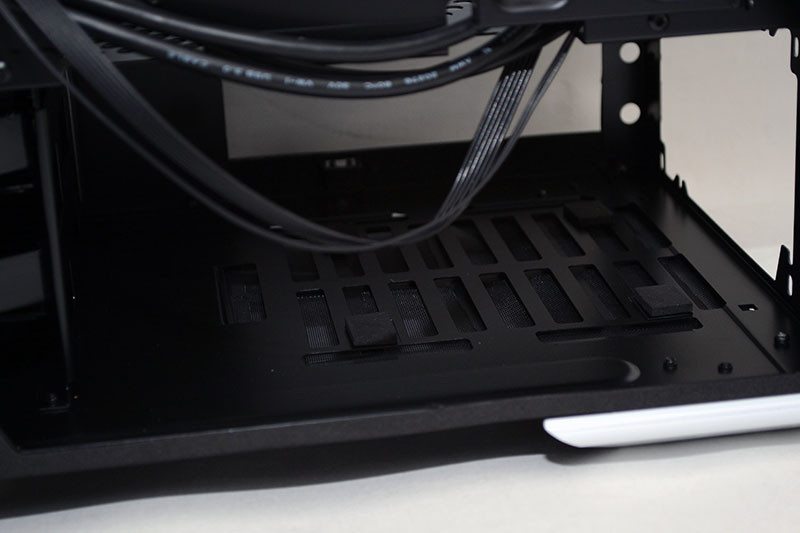
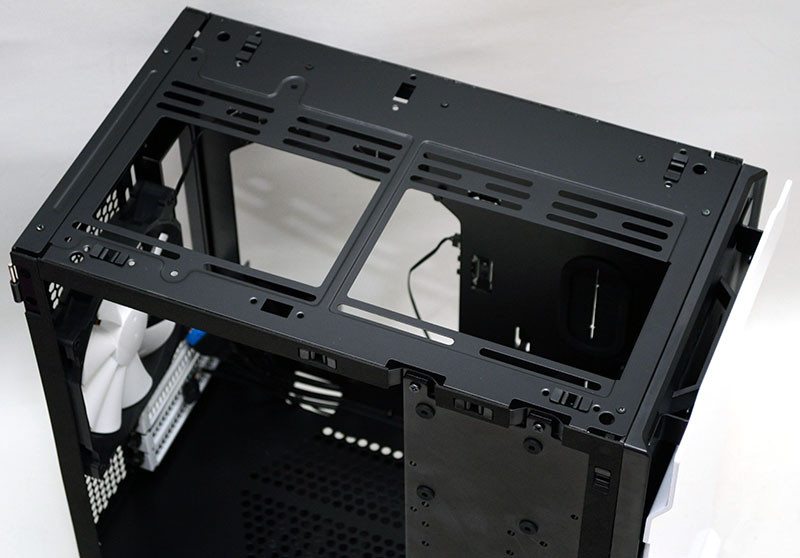
The top panel can be pulled off, giving you access to the top fan/radiator mounts. As you can there’s a range of universal screw fittings, which can support (up to) 240/280mm radiators with a thickness of up to 68mm.
The front panel can also be removed easily enough, behind which you will find a full cover air filter for that huge 200mm pre-installed fan.
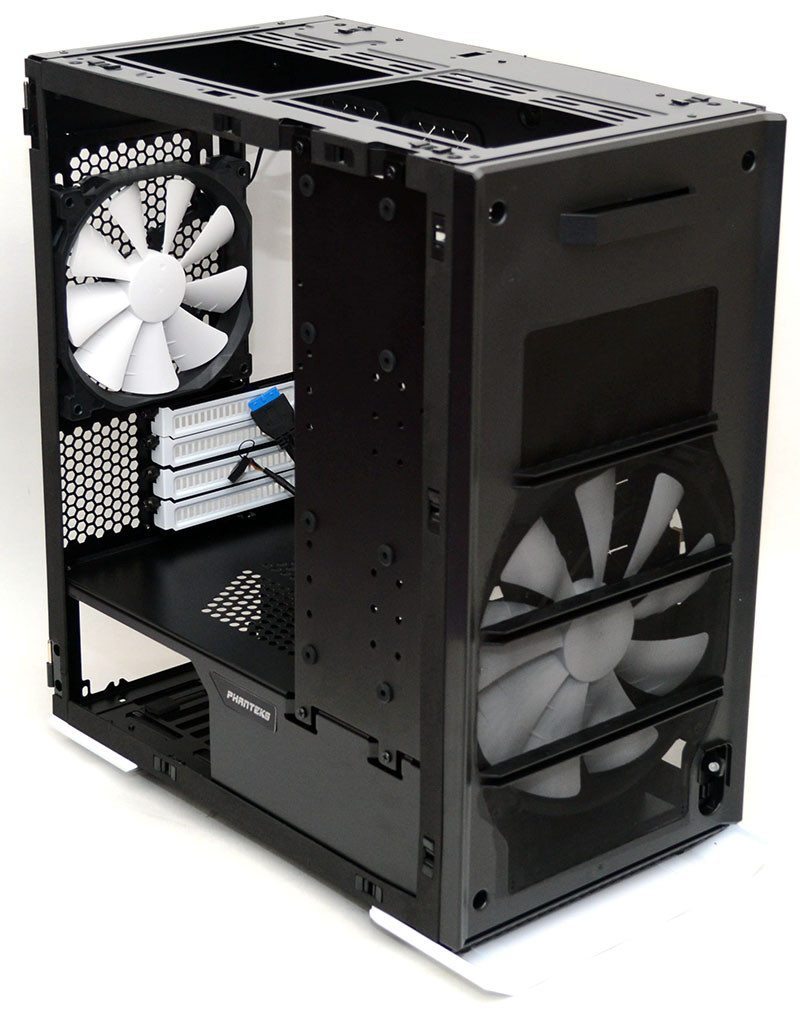
The 200mm fan is a nice addition, but you could optionally install 2 x 120/140mm fans/radiators here if you wish.
