Phanteks P600S Mid-Tower Chassis Review
Peter Donnell / 6 years ago
Complete System
With everything in place, the new P600S looks absolutely fantastic. Admittedly, it looked pretty great before we installed hardware, but it looks even more special now. The inclusion of the lovely Phanteks air cooler and PSU really helps tie the build together too, both aesthetically and in regards to performance.
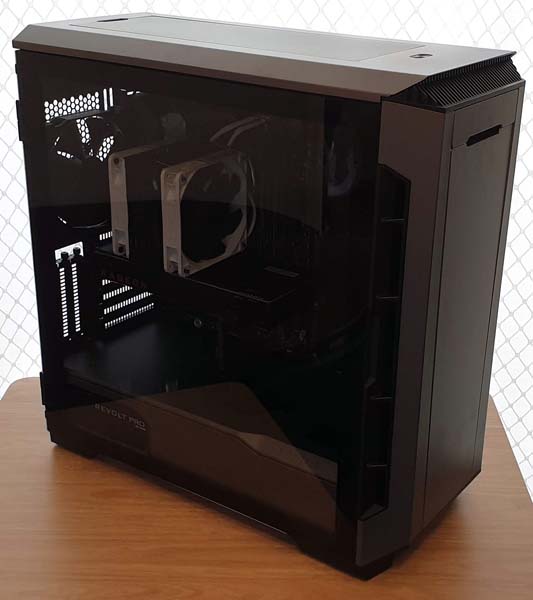
The stunning tempered glass side panel design gives us a superb view of the interior too. This isn’t some RGB palace either, in fact, it doesn’t have any lighting. If anything, it’s quite tasteful overall. Of course, you can add RGB afterwards if you so desire.
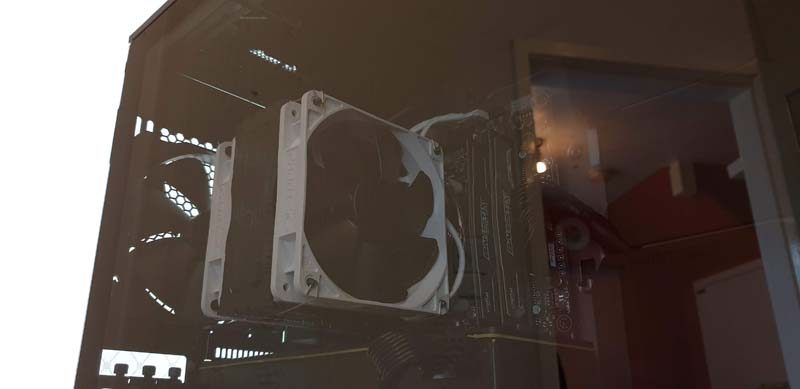
Interior
Open up the side panel, and we get easy access to the build. Of course, this is helpful should you wish to clean a filter, change some hardware, or reset your BIOS.
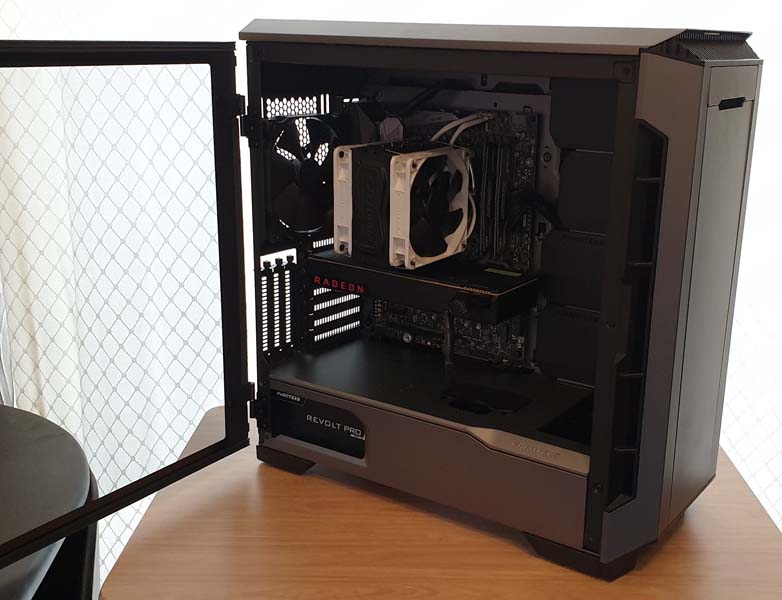
It’s incredibly clean in here too, and the cable routing system is working perfectly.
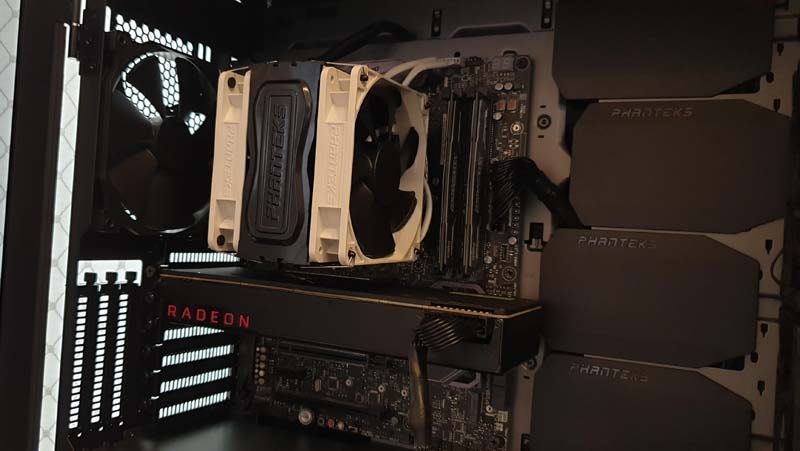
It’s a strange looking system, but again, it’s super clean, easy to use and very accommodating.

GPU Cables
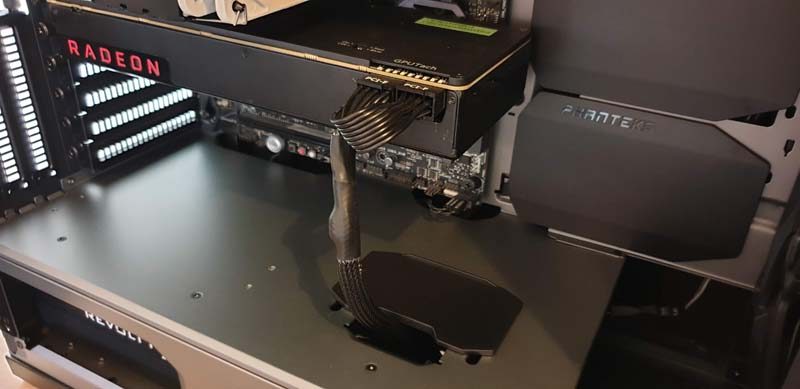
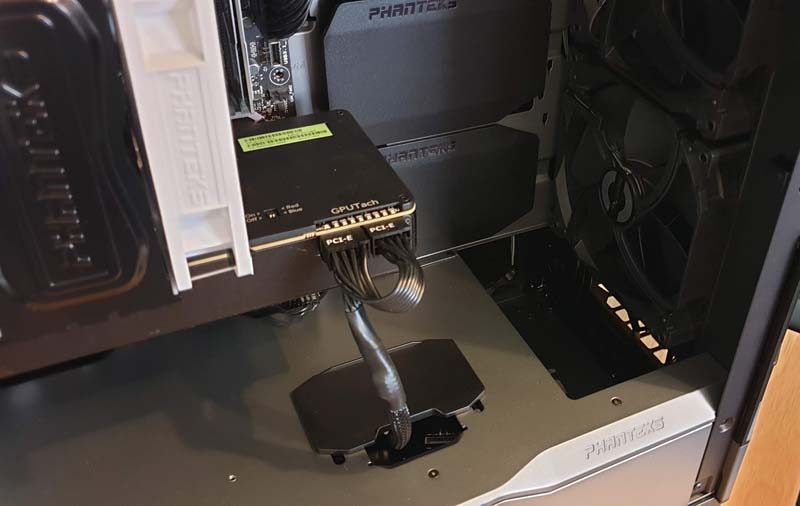
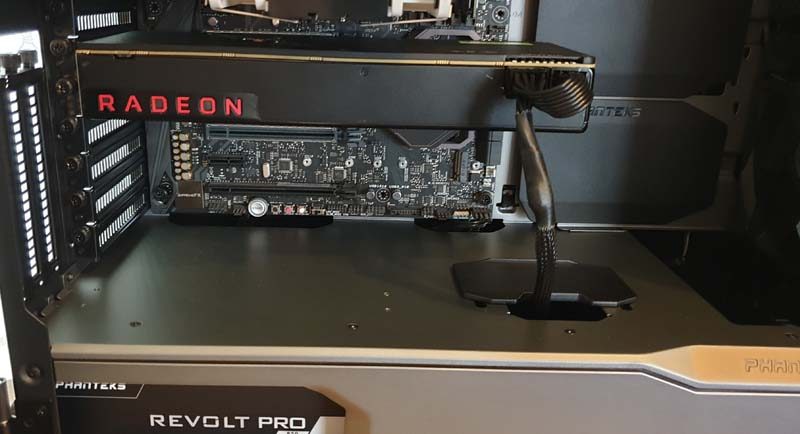
The vertical GPU power cable pass-through works perfectly too. It baffles me how all PSU shrouds don’t have a cut-out for this. Of course, Phanteks do, so hurray for everyone!
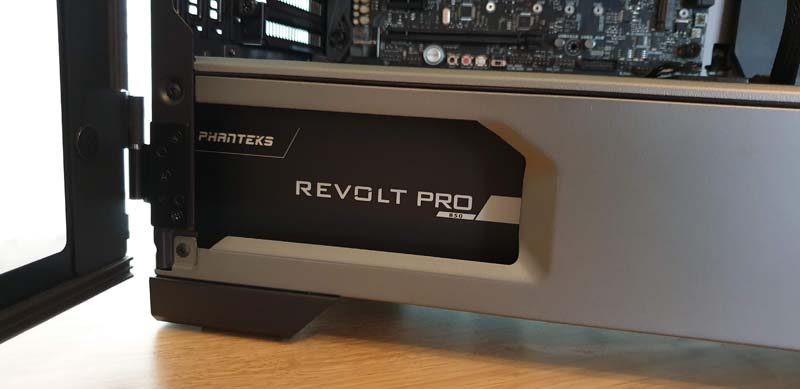
If you’ve splashed out on a sexy PSU, at least you can rep the branding here. It’s a subtle touch, but I really like the design of the cut-out and the rolled edges on it.
As for hardware, well the P600S is extremely capable. The Vega 56 fits with ease, and admittedly, any GPU I can think of would too. There’s obviously room for multi-GPUs. Furthermore, there’s a wealth of space up front for radiators, fans, and much more as well.
Cooling Support
Air cooling clearly isn’t an issue, and even the biggest air coolers will fit with ease. However, there’s still plentiful clearance for radiators in the top, and you could fit radiators in the front and rear also.

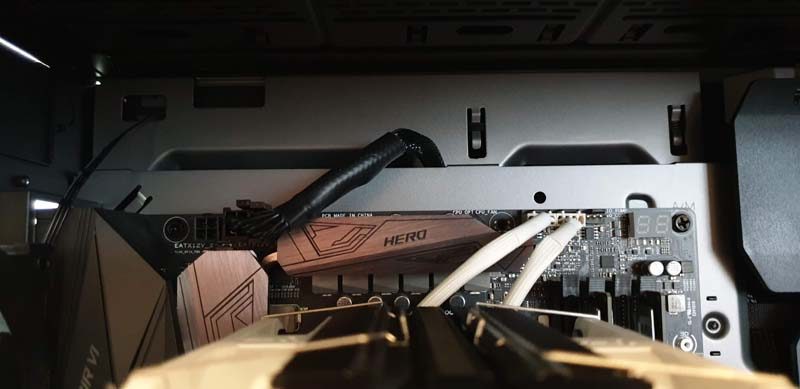
A riser cable isn’t included for vertical GPU mounting. However, they’re an expensive accessory, so I understand they’re sold separately. Either way, I’m very happy with the layout here.
Around the Back
Behind the motherboard, the cable routing straps are doing a fantastic job. Getting cables to go where you want and getting them to stay there couldn’t be easier.
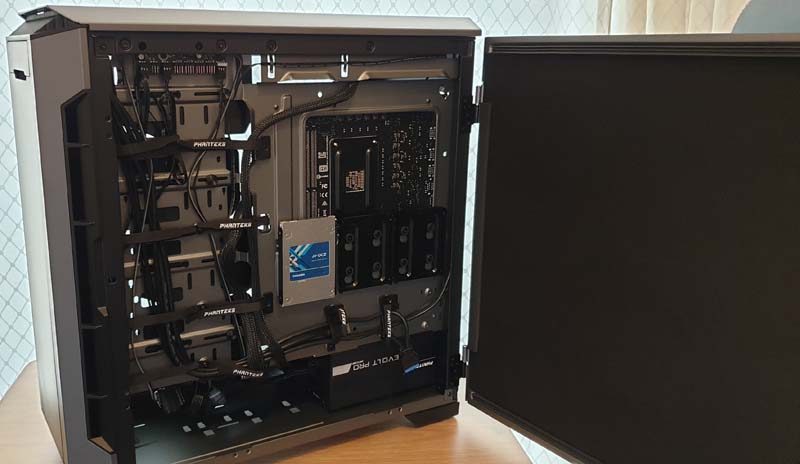
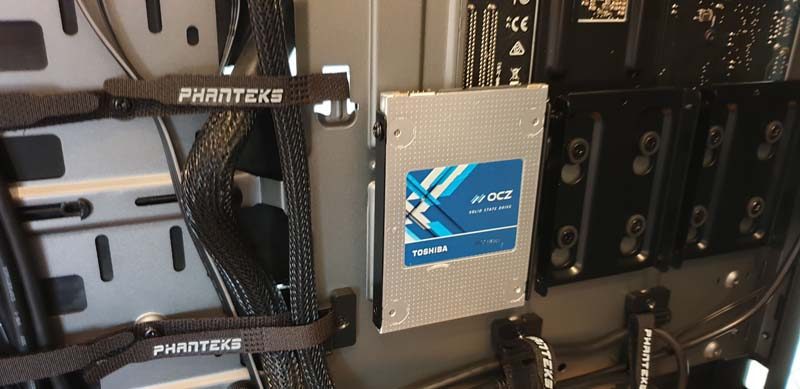
The SSD mounts are perfect, and mean you can keep the front of your build looking neat and tidy.
Finally, there’s so much space under that shroud, you could easily fit those HDD brackets, a huge PSU, and a hell of a lot of excess cables too. Overall, I think this chassis is pretty perfect!

Alternative Build
Check out Andy’s epic Time Lapse Build below!


