Philips BDM4065UC 40″ 4K Monitor Review
Rikki Wright / 9 years ago
Testing & Methodology

Hardware
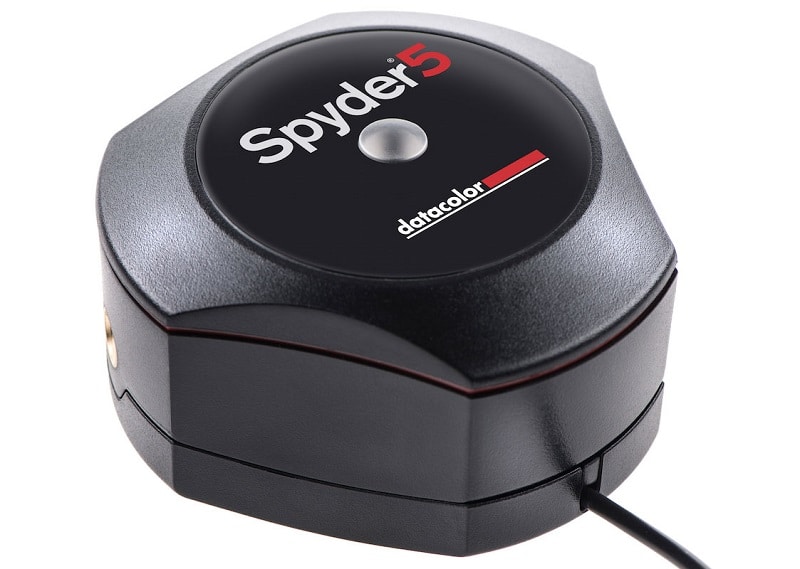
For the bulk of the visual testing, we will be using the Datacolor Spyder 5 Elite. A great piece of hardware that sits on the face of the monitor to analyse multiple different aspects of the screen.
To power the monitor itself, we will be using our graphics card test bench with an NVIDIA GTX 980Ti graphics card.
- Motherboard – Gigabyte X99-Gaming G1 WiFi LGA 2011-3 Motherboard
- Processor – Intel Core i7 5820K at Stock 3.3GHz
- RAM – 16GB (4 X 4GB) Crucial Ballistix Sport DDR4 2400MHz
- CPU Cooler – Thermaltake Water 3.0 with Gelid GC-Extreme
- Power Supply – BeQuiet Dark Power Pro 11 1200W
- Main Storage Drive – Crucial M550 512GB
- Chassis – Lian Li T80 Test Bench
- Operating System – Windows 8.1 Pro 64 Bit
Software
- Datacolor Spyder 5 Elite bundled software
- Colour Gamut
- Brightness levels
- Contrast Ratios
- Colour uniformity
- Brightness Uniformity
- Colour Accuracy
Testing monitors can be very subjective to personal tastes, so a written analysis is not the best way to convey the results. By using the Spyder 5 Elite, the bundled software allows us to use visual graphs to analyse the results. The tests will be taken at two key settings, calibrated and uncalibrated. Uncalibrated is the ‘out-of-the-box’ scenario, which is typically what most users tend to use as entering the screen settings can seem rather daunting. Calibrated tests will be taken after finding the optimal settings through tests with the Spyder 5 Elite. These are, in testing scenarios, the best possible settings for the monitor and for the user; however you might find a different setting to be better for you.
Along with tested figures, I will also run a movie and a game that I can give a personal opinion on the display from an end-user perspective. I will judge the monitor on the following:
- Colour
- Brightness
- Clarity
- Sound (if built in speakers)


