Philips Hue GU10 Starter Kit and B22 Colour Review
Peter Donnell / 8 years ago
Performance
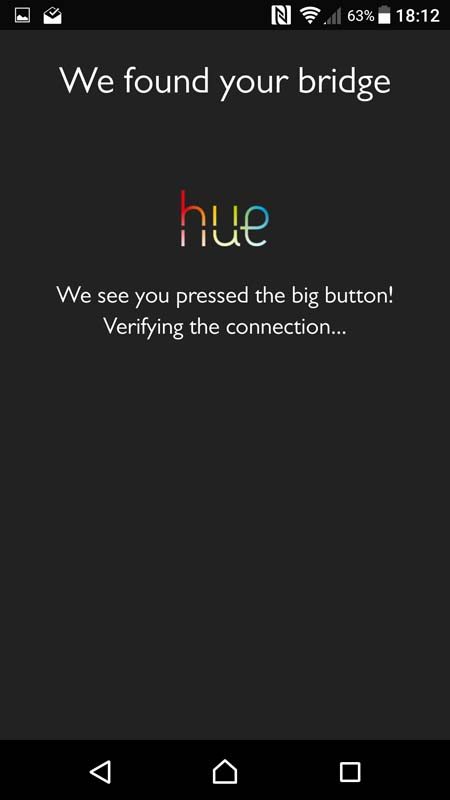
Setting up the Hue Hub is so easy your mother could do it. Simply plug it into the mains, hook up the ethernet cable and that part is done. You’ll want to download the Hue app from your relevant mobile app store, tap the button on the top and BAM! It’s paired and ready to rock.
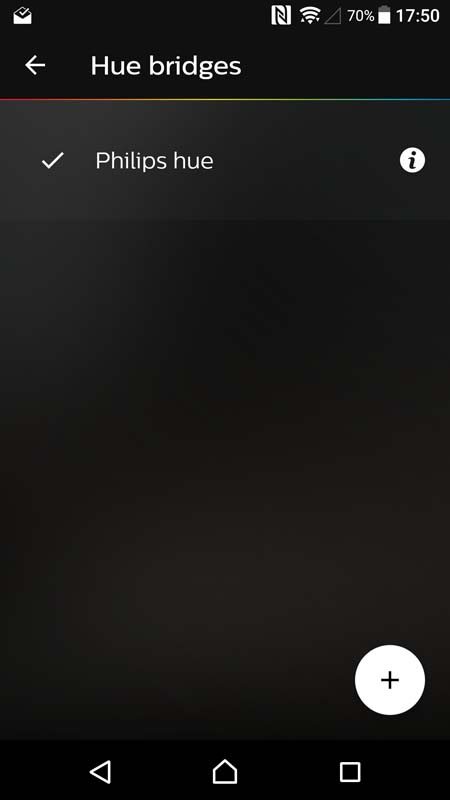
You don’t need me to tell you how to screw in a lightbulb, care for the sake of jokes, it only took one eTeknix staff member to do it, everyone else just watched. Here you can see we’ve clipped in the three GU10 lights and turned them on at the wall switch. The app found the new bulbs within seconds and we’re ready to use them, it’s that simple.
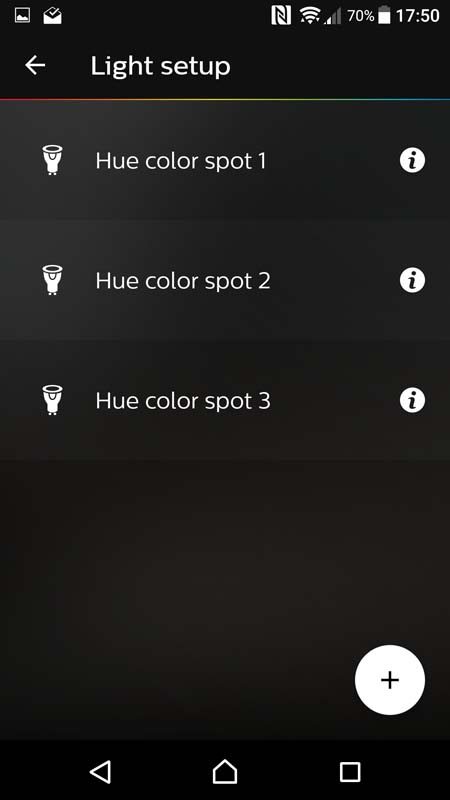
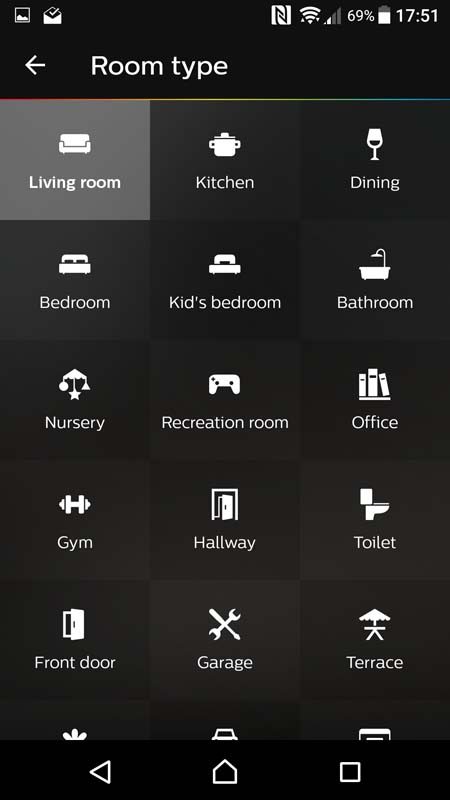
You can add the lights to a “room” in the app, and the icon will make it easier to see which room is which at a glance, handy if you’re fitting your whole house with them and have multiple living spaces.
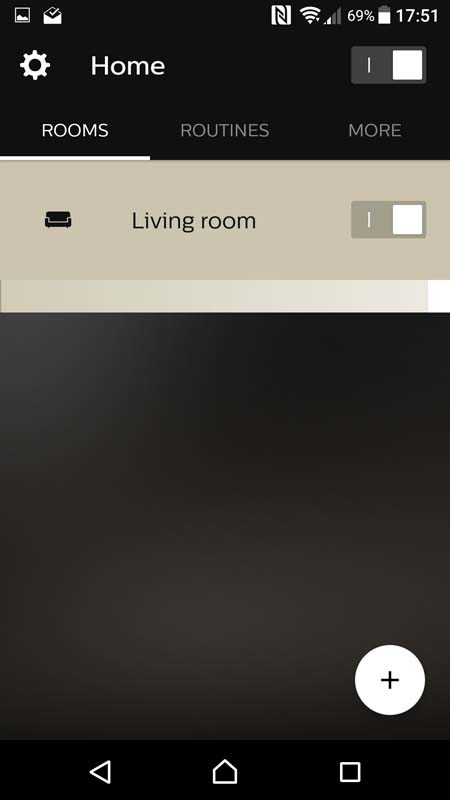
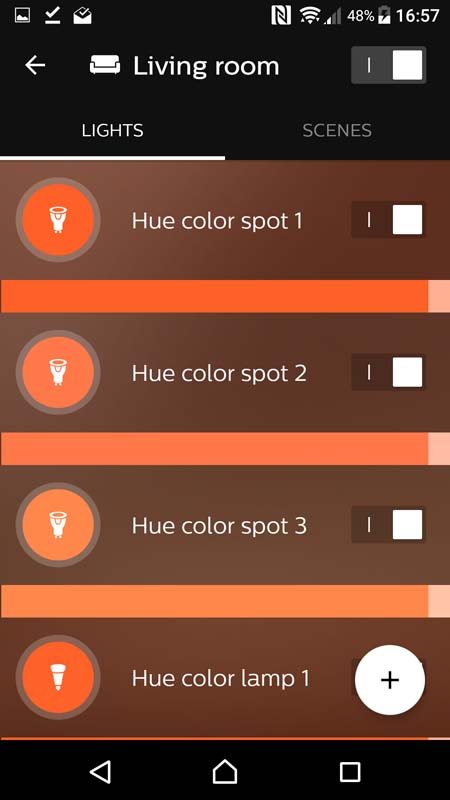
Now that we have the bulbs set to a room, we can flick all those lights on and off from the app, or use the slider to change their master brightness. The reaction time of the bulbs is virtually instant. We’ve used some other solutions on the market for other projects, and there was often a small delay, but that’s not the case here; it’s as fast as flicking a normal light switch.
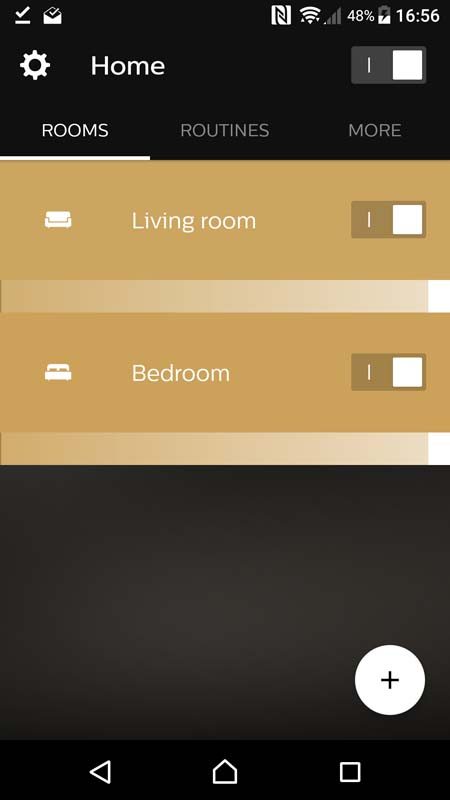
To add to the network, simply add more bulbs with the + button and set them to their own rooms. Here you can see we’ve added a B22 to the bedroom, and I also added a B22 to the lamp in the living room.
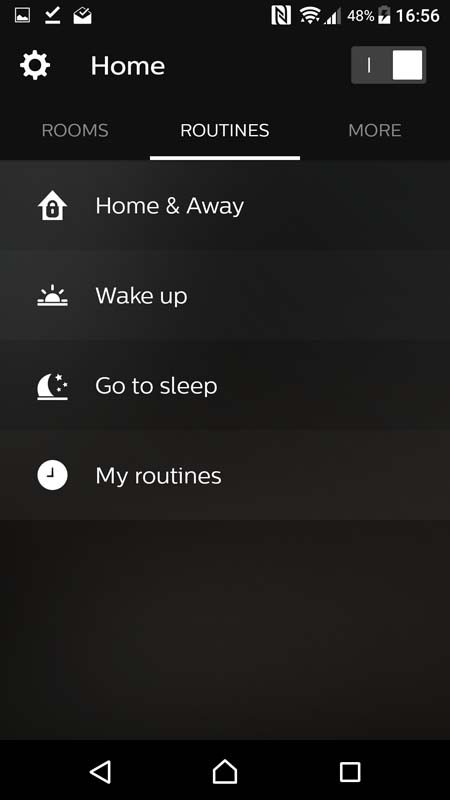
While you can control the lights from your phone, you can also setup routines. Want to wake up with a warm light on a morning, which slowly fades in over a set time for a gentle wakeup? How about dim your lights after you go to bed, or simply automate them however you like? Not a problem, it’s just a few taps away.
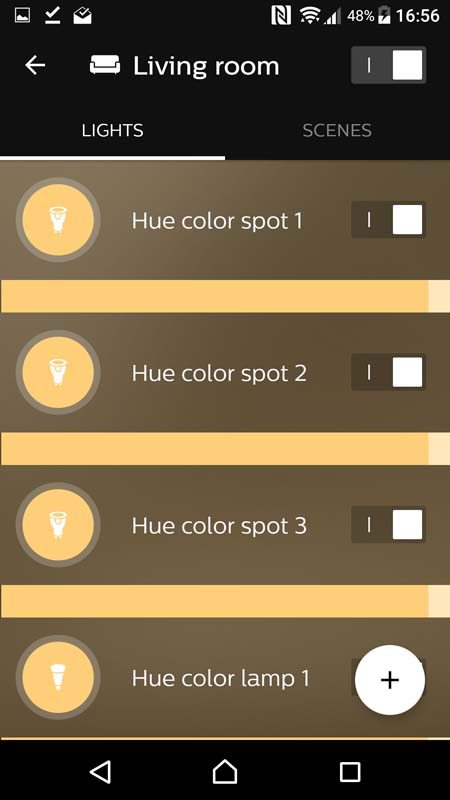
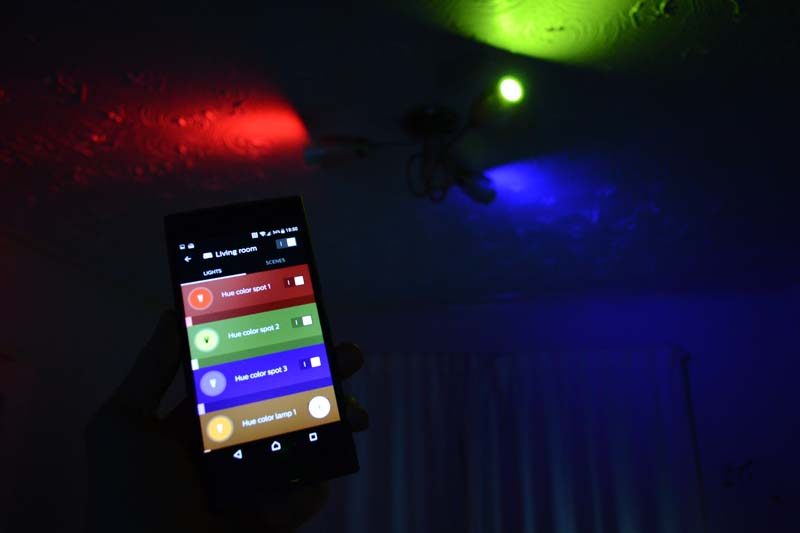
With four lights in the living room, we can now create custom scenes of our own, toggle each light on their own or as a group. You can set any colour you like or any brightness level per bulb, helping you create the perfect scene for your room.
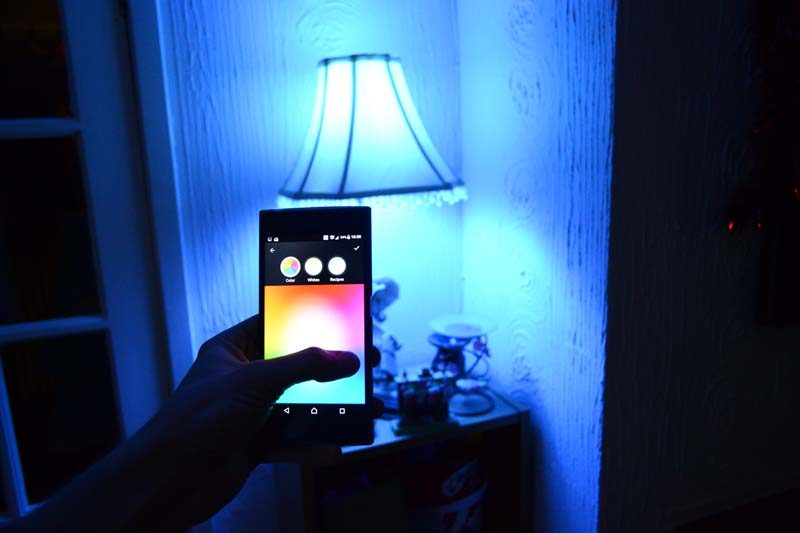
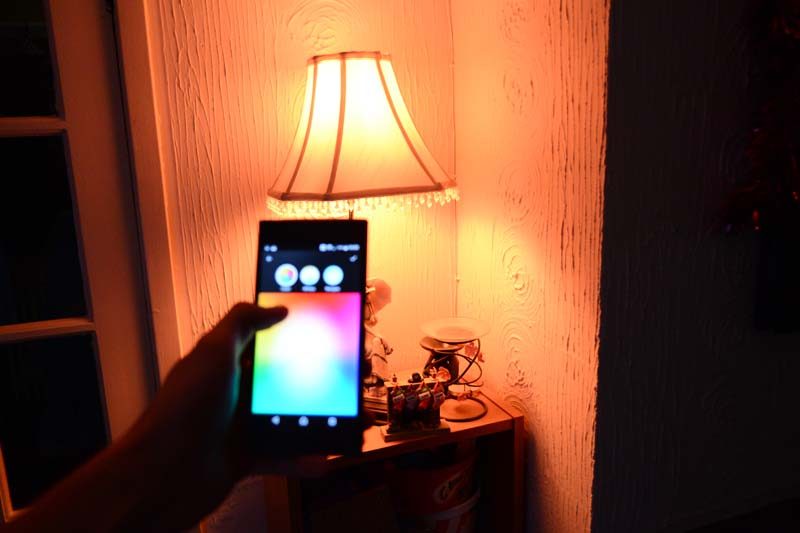
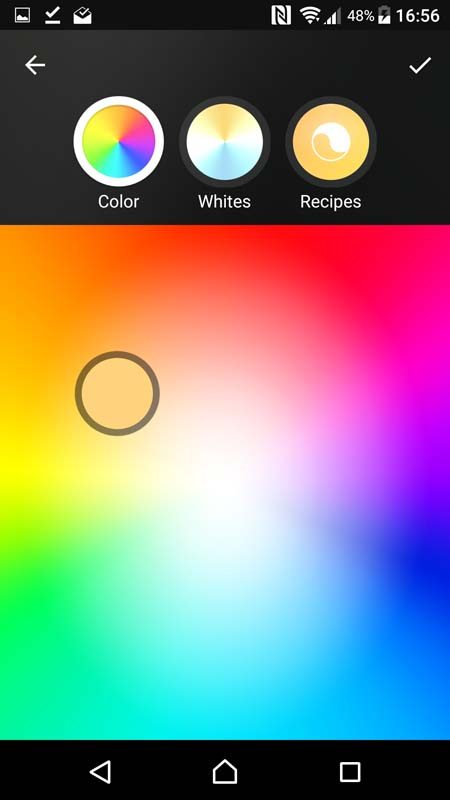
The RGB selector is super easy to use, just tap your finger on the colour you want, hit save and it’s done!
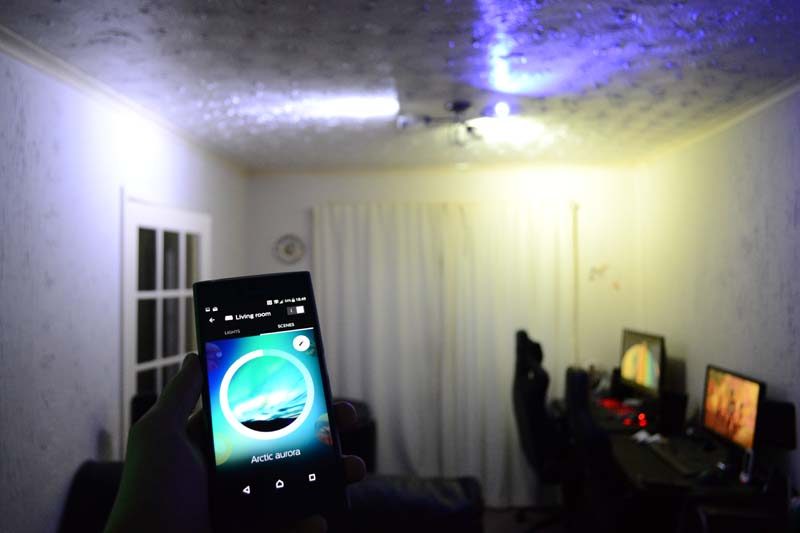
Scenes are by far the best feature so far. They’ll create a mixture of colours between the bulbs in a room to create a unique scene. This will bathe your room in various colours and can really set the mood for any occasion.
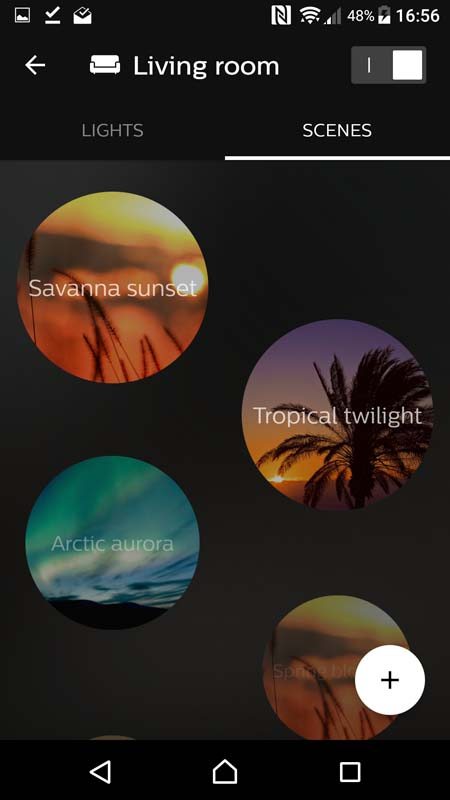
Want to create your own scene? Simply hit + and pick any image from your camera roll. We downloaded some from google images to make the Space Fire, Cosy Purple and many other scenes.
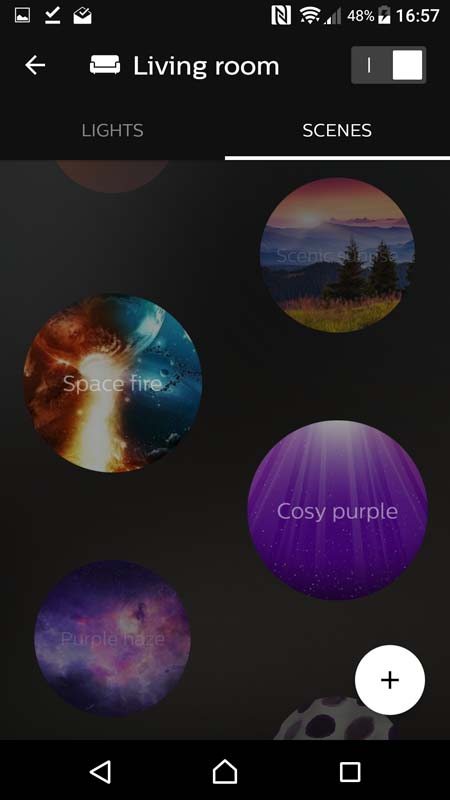
It even saves the image as the icon for the scene, showing the colours you chose. The wheel on the outside edge allows you to tweak the overall brightness too.
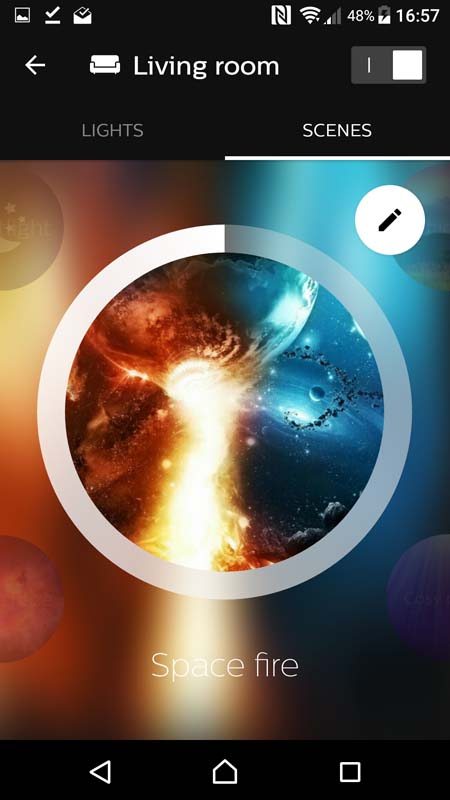
Need to tweak a scene further? Adjust individual lights in the scene and you can save them back if you like the results.
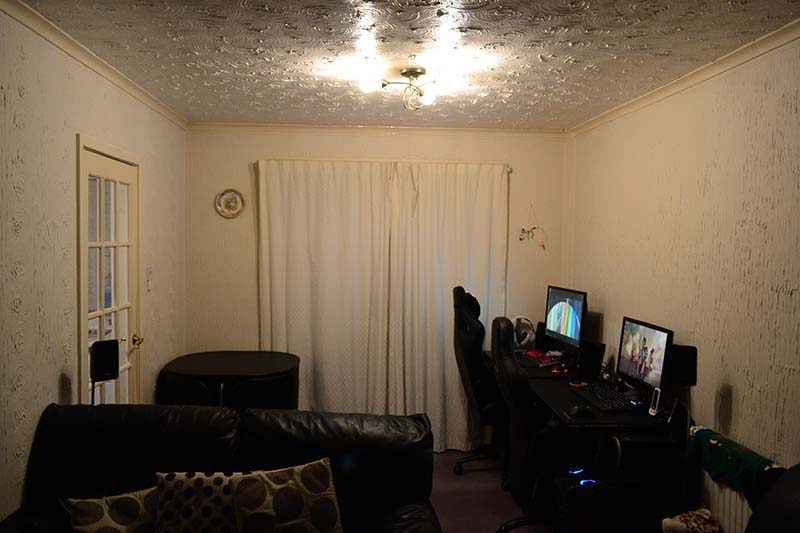
Now onto the visual aspect, because that’s what we’re all here for! Here we have one of the ceiling fittings in our test room. It uses E14 (golf ball screw-in) fittings and seems like the most appropriate spot for the GU10 bulbs. Installed at the moment we have Philips E14 LED, which operate at 4w 2700K 350lm, They’re pretty standard LED bulbs, just on/off, no dimming, nothing fancy at all actually.
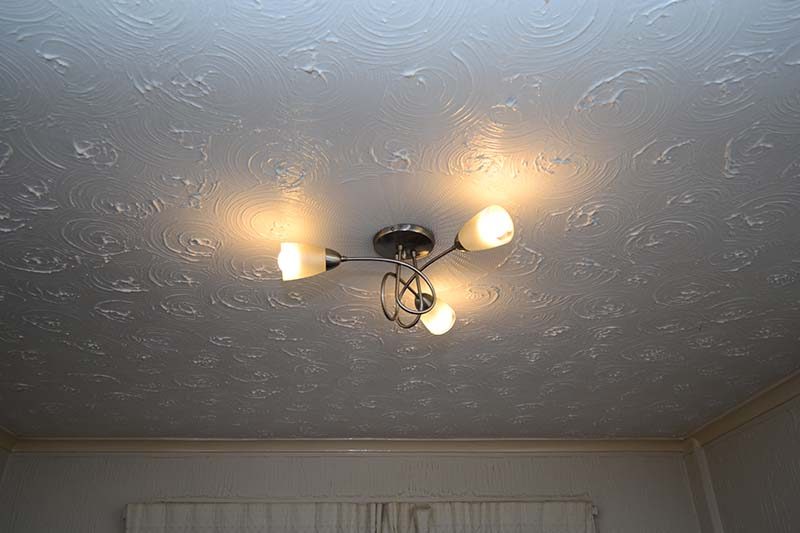
They do a good job of lighting the room evenly with a moderately warm light. Sorry for the grain in the images, the higher ISO used to avoid using a flash to get a comparative image to real life brightness wasn’t easy, but you obviously get the idea. Now, let’s remove these and install those Hue bulbs!
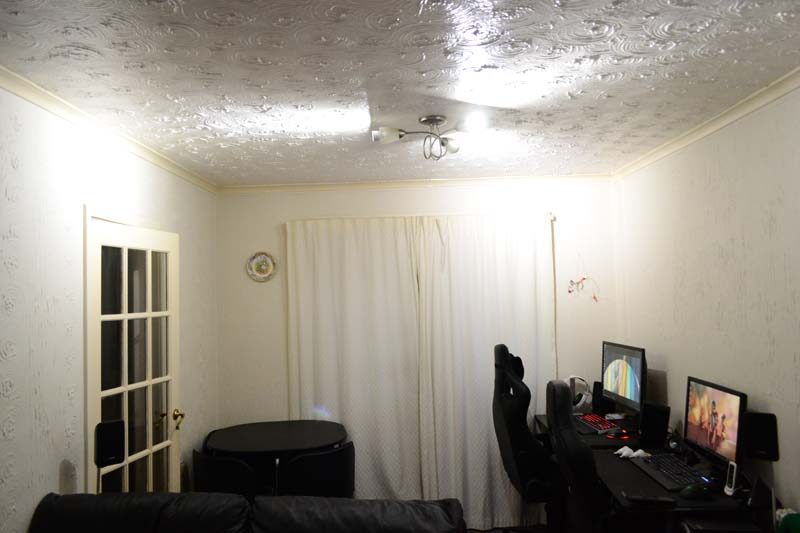
Here are the GU10 bulbs fitted into the same light fixture. It’s immediately apparent that they’re much brighter and can give off a brilliant white compared to the warm glow of the standard LED bulbs we used above.
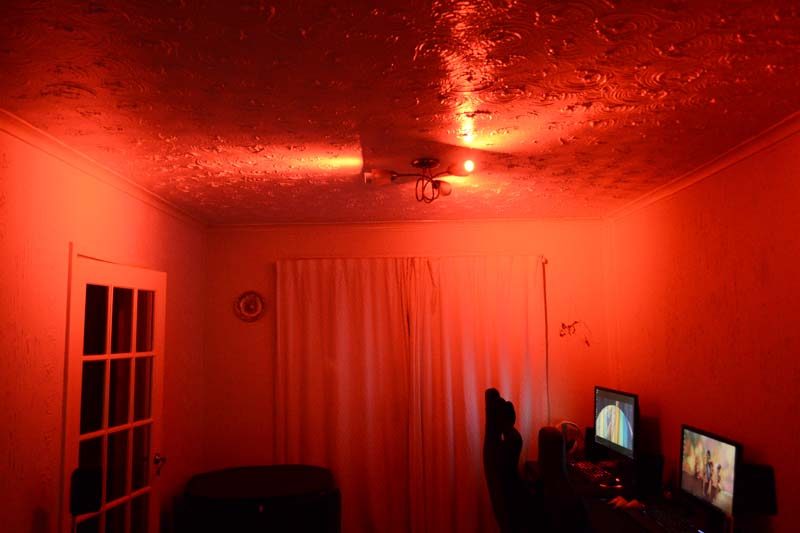
How about we kick in the fire scene? The room is instantly bathed in a hot red glow, but it’s a little uniform looking, so let’s mix things up a bit with more dynamic themes.
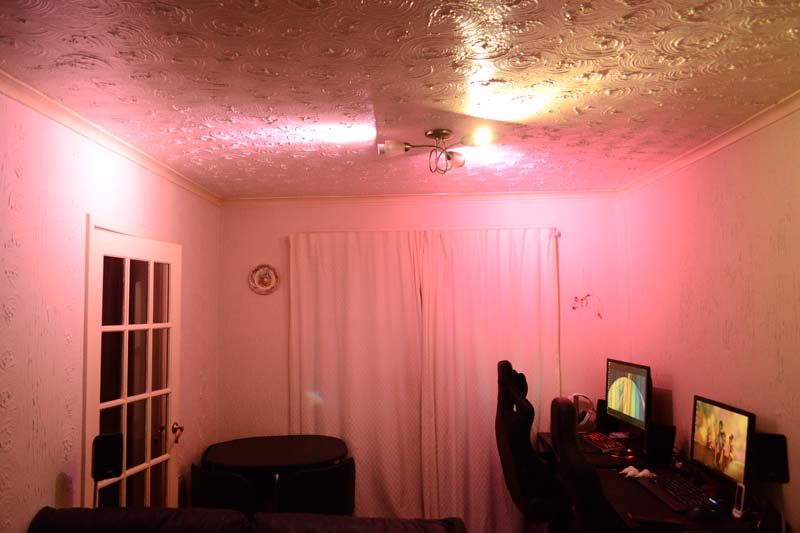
Here’s one of my favourites, a mixture of pink, peachy orange and electric purple.
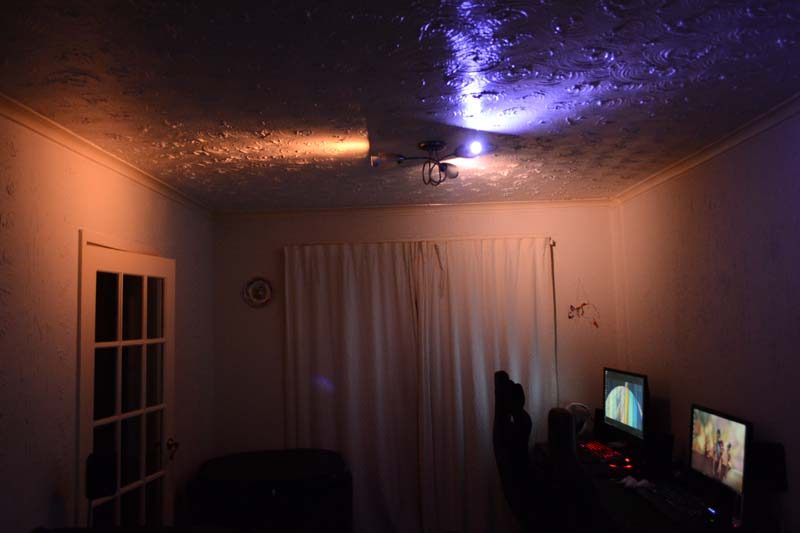
The default scenes are great and the customisation is endless. Just tap it, the scene is instantly visualised in the room, then you can tweak the brightness with a quick slide of your finger
How about full RGB? We dialled down the brightness to 5% and got this lovely RGB motif on the roof.
The moods the lights can set are rather fantastic. If you’re having a party, a movie night, a romantic evening with your SO, or the kids just want to see the room lit up in neon purple, it’s a touch of a button away and you can create the right tone for the room as you see fit.
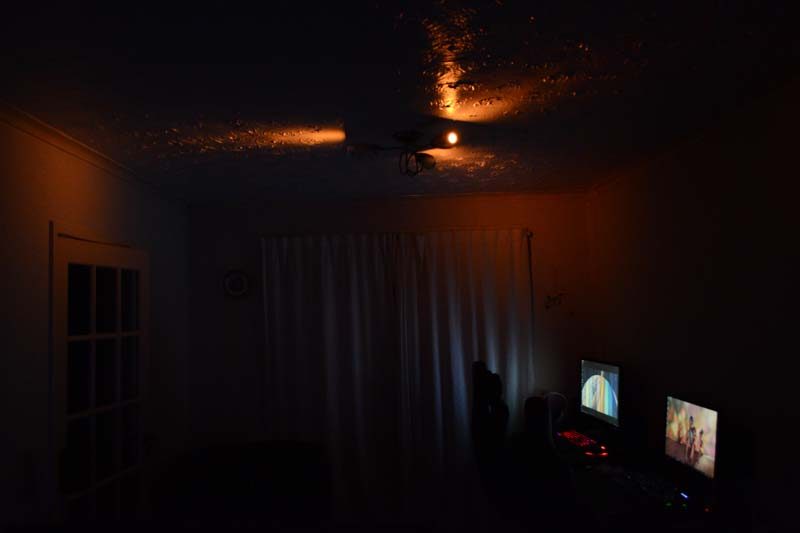
For bedroom installations, you can set the scene for a nightlight too, which is just enough to see, but more than warm and dark enough for you to close your eyes and relax.
As I said before, we have three GU10 in the living room and one B22. Here you can see the B22 in our test lamp.
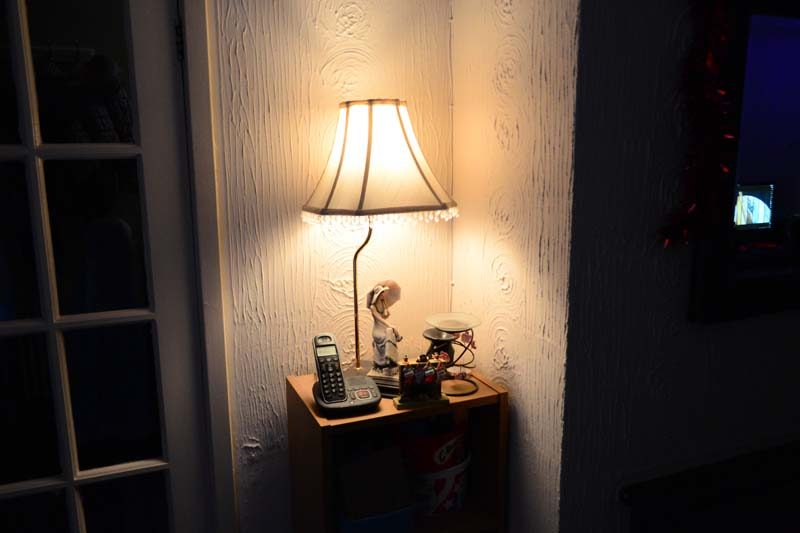
Dialled up to maximum brightness, more light than we’ll ever need here!
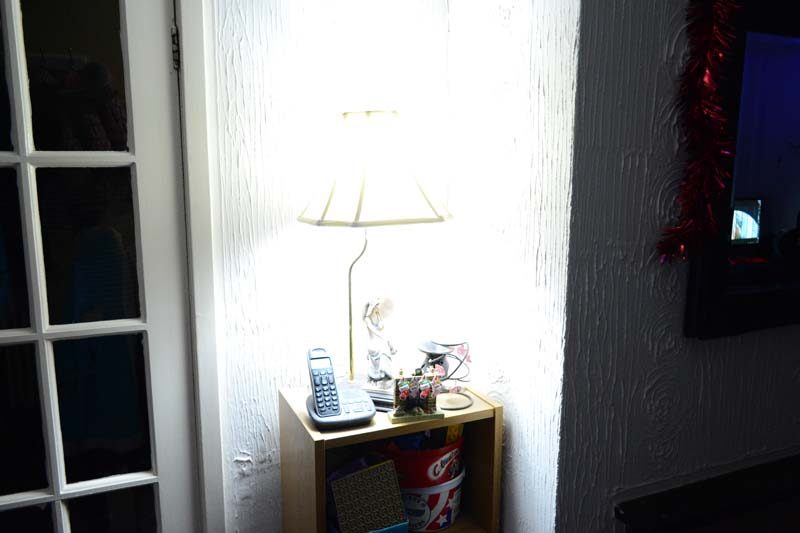
As hot as you want it!
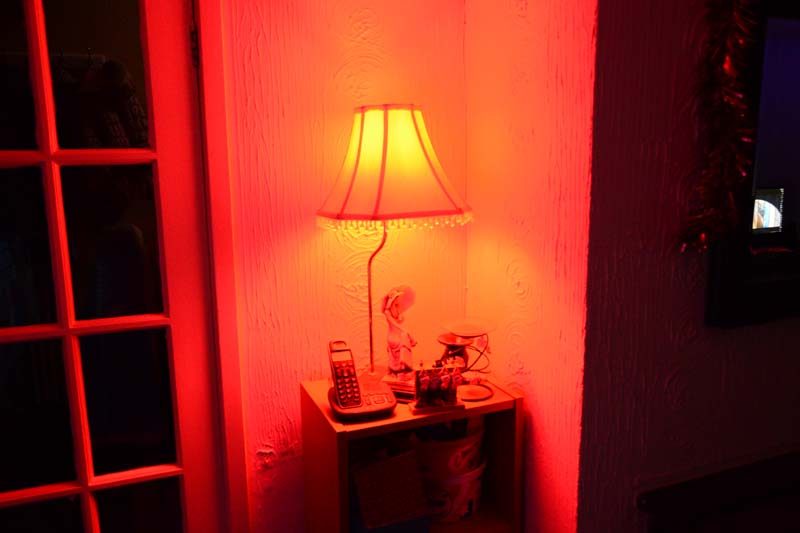
A nice amber glow for movie night.
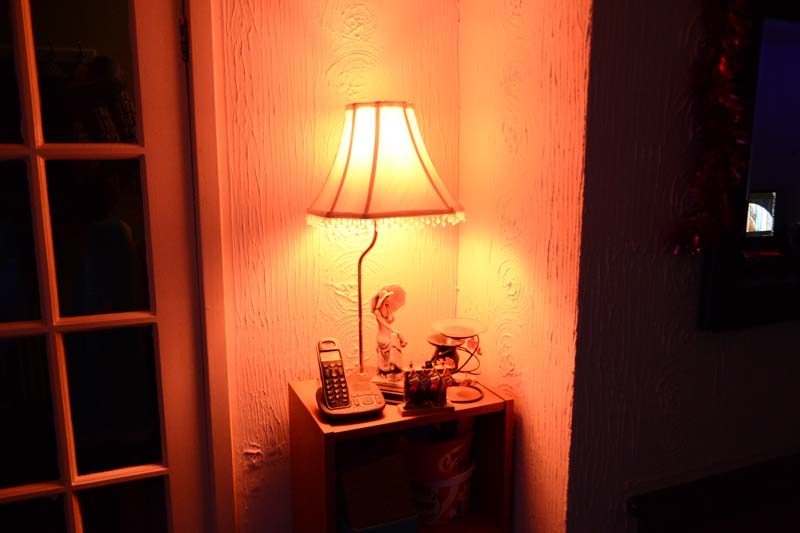
Fire up the northern lights scene for some incredible colours.
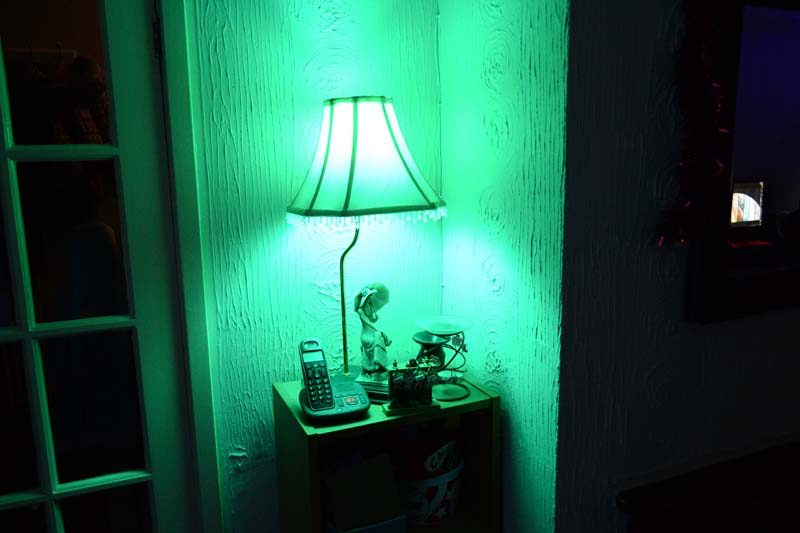
A haunting blue theme.
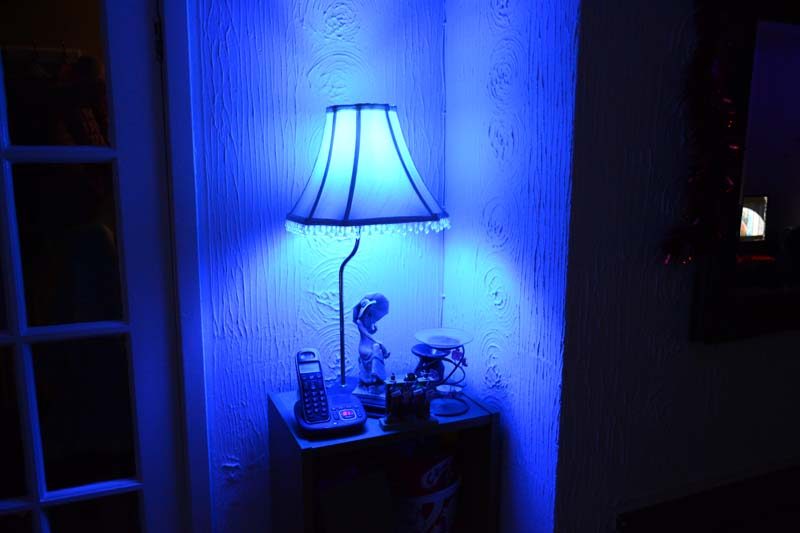
Whatever you want, just tap the colour on your phone and you’re set.
