QNAP SilentNAS HS-251+ 2-Bay Passive-Cooled NAS Review
Bohs Hansen / 9 years ago
Setup – There is more, Add-Ons & External Devices
Hardware and Power
The hardware page doesn’t contain as much information as in some other NAS operating systems, but that’s not because it is missing. It is just located elsewhere and we’ll get to that in a little bit. Within the hardware settings here, we find the settings for the physical hardware such as HDD standby times, LED brightness and schedule, as well as the bonus write cache option.
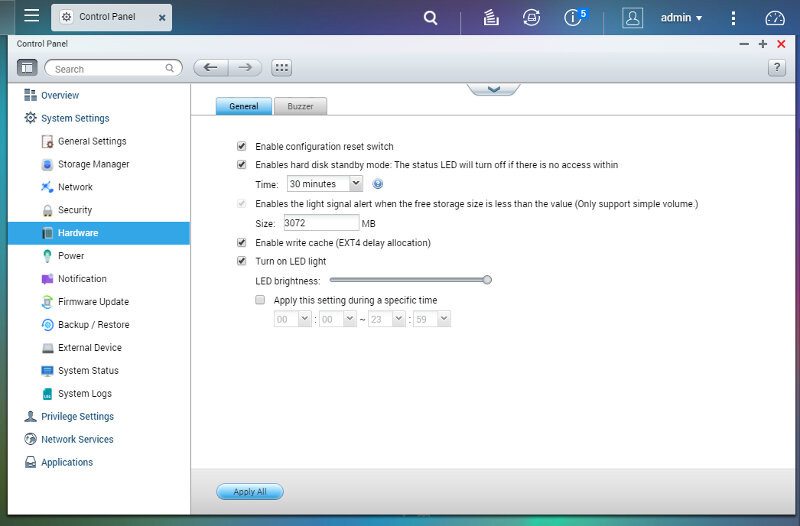
You can also turn the alarm buzzer on and off for system operations and system events individually.
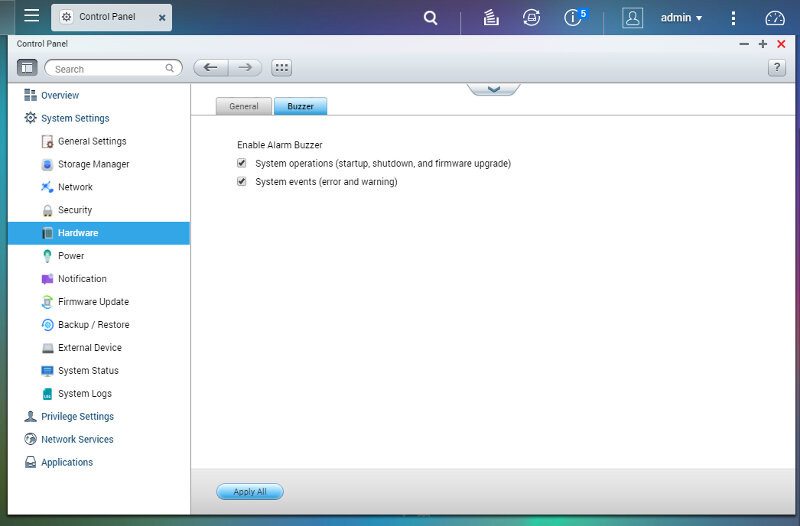
The power page has a few tabs, but none of them have a lot of options. While they could have fit on one page, it is nice to have them sorted this way. It makes it quicker to find what you’re looking for. We can enable and disable the EuP mode.
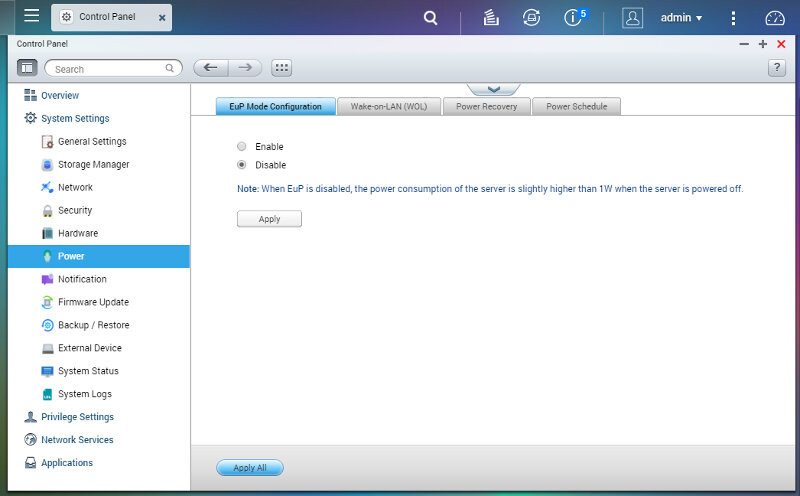
Enable and disable the Wake on LAN option.
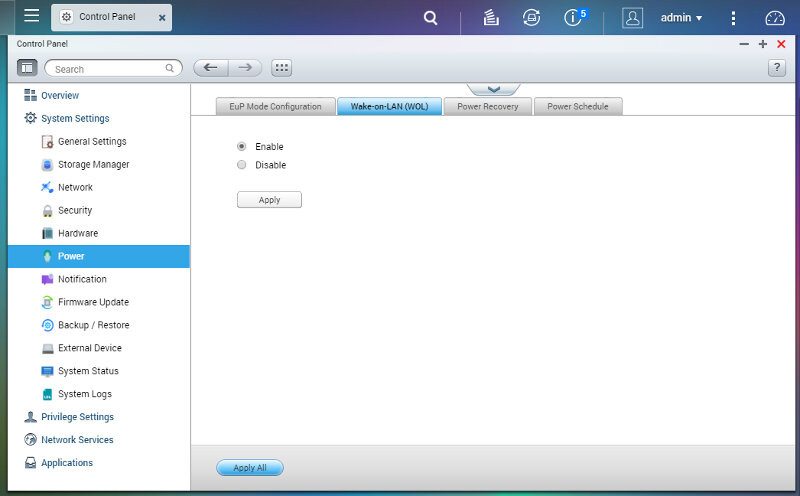
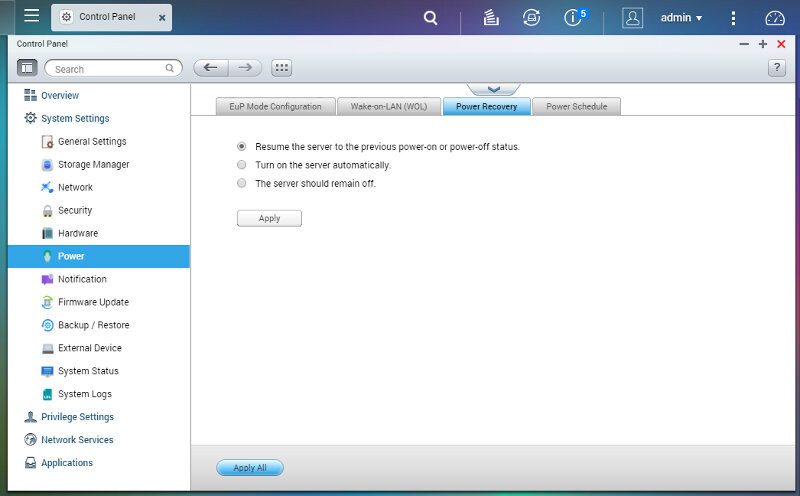
Set how the NAS should react after a power loss.
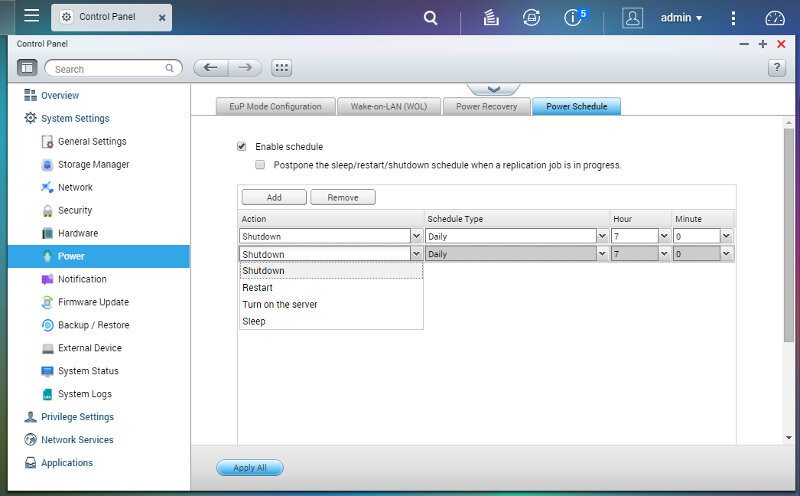
And create power schedules where the system automatically shuts down, restarts, starts, or goes into sleep mode.
Network
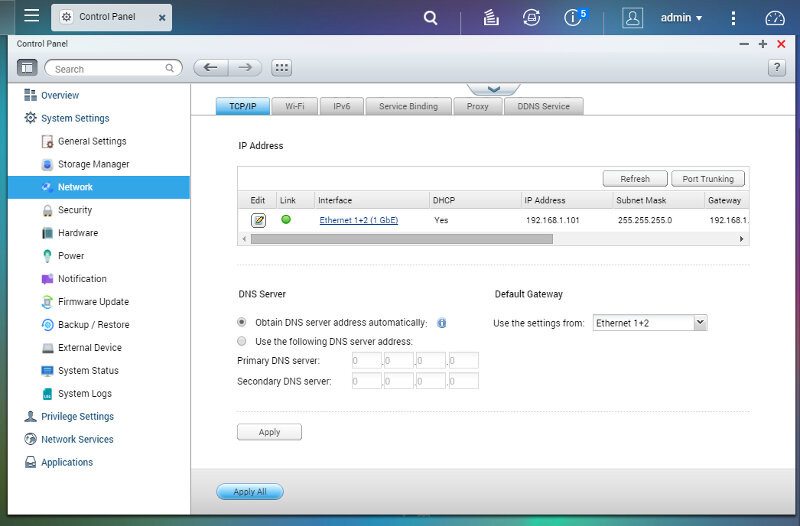
The network settings provide all the settings you could want, from default IPv4 and DNS settings to IPv6, Proxy, DDNS, and more.
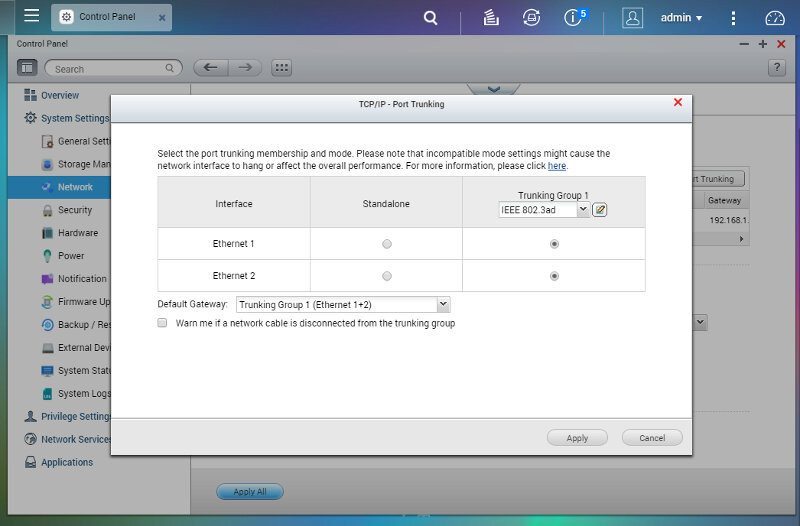
The two LAN ports can also be trunked for those who need faster connections than a single Gigabit Ethernet.
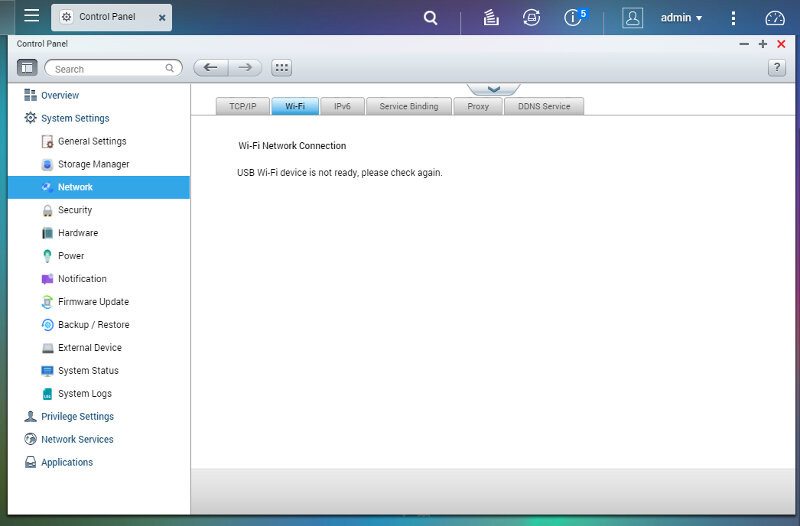
The NAS is capable of Wi-Fi connections too when used with a compatible USB dongle.
Personal Cloud and Remote Access
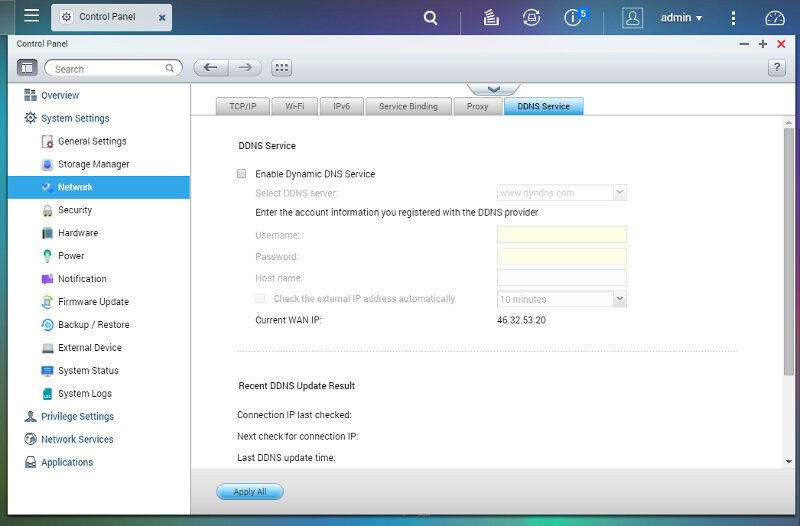
Dynamic DNS services used to be the best way to get remote access to something at home while not having a static external IP address. That feature is still supported, but it might not be the best choice for you.
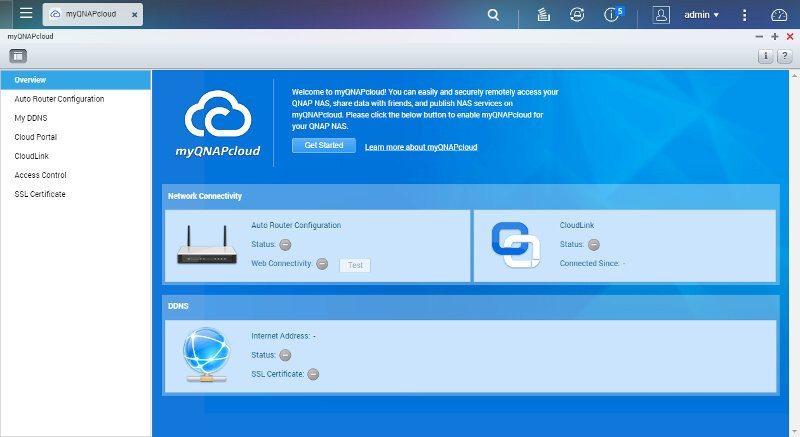
The myQNAPcloud feature is much better and not only allows you easy remote connections to your home, it also does all the work for you. You don’t need to configure your router manually nor anything else. All you need to do is login to your QNAP account or create a new one, then give the server a name and that’s it.
System Information
The system information and status pages are quite comprehensive and show the information that wasn’t found under hardware settings.
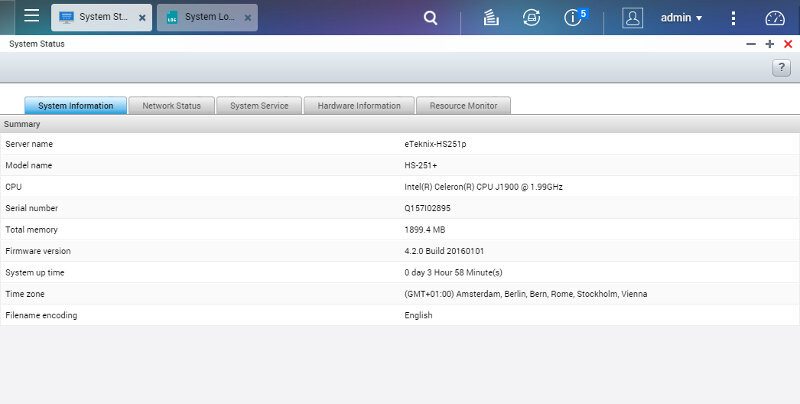
We get the basic system information first followed by the network status.
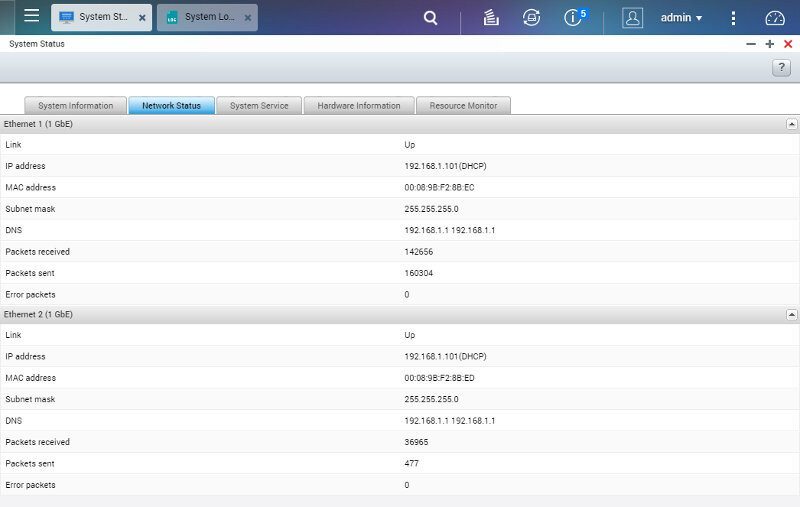
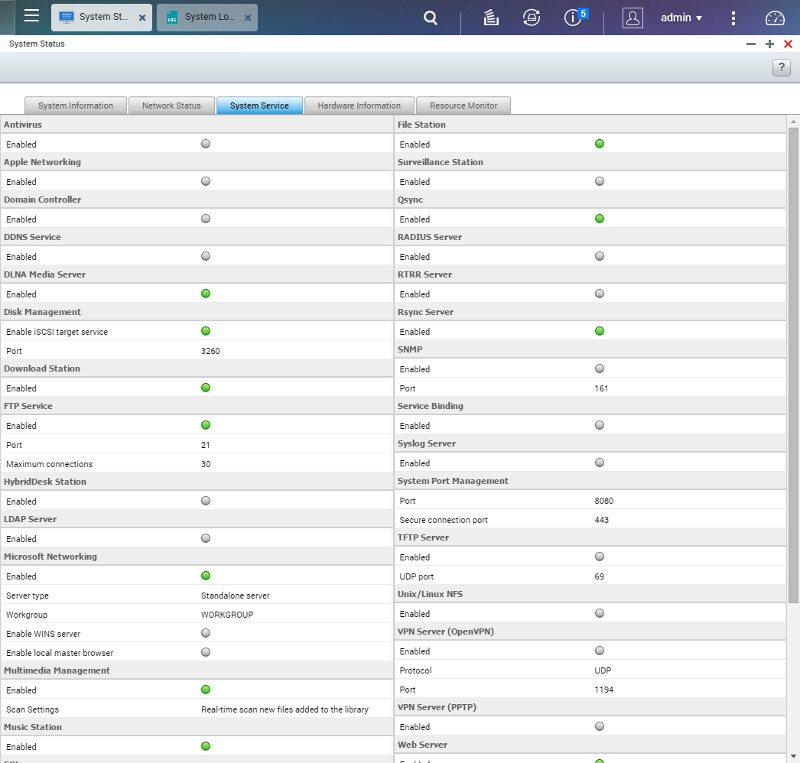
The system service pane will show anything that’s running and not running at the same time, giving you a quick view on it all.
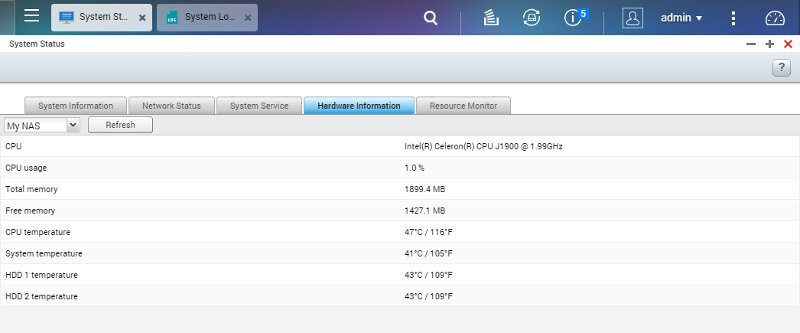
The hardware information will tell your CPU speed and usage, memory consumption and temperatures. This is a good page to keep an eye on to begin with as this is a passive cooled NAS. These temps are all well within acceptable margins and shouldn’t have any influence on the hardware performance or lifetime.
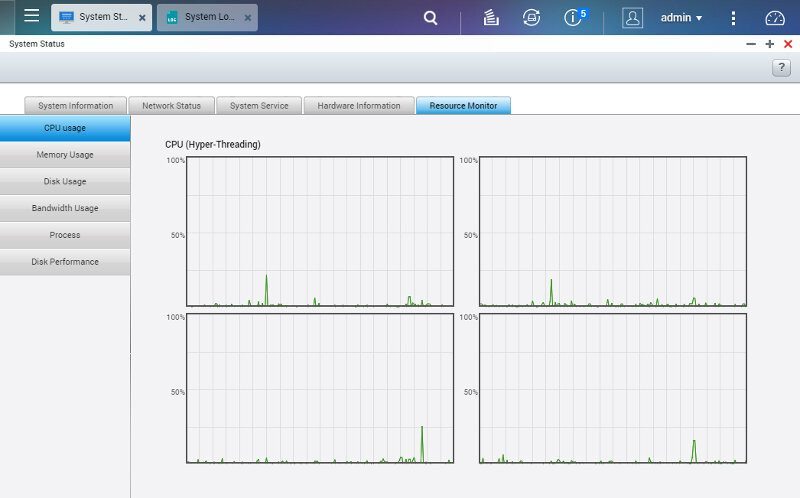
The resource monitor gives you a graph view on the performance and usage.
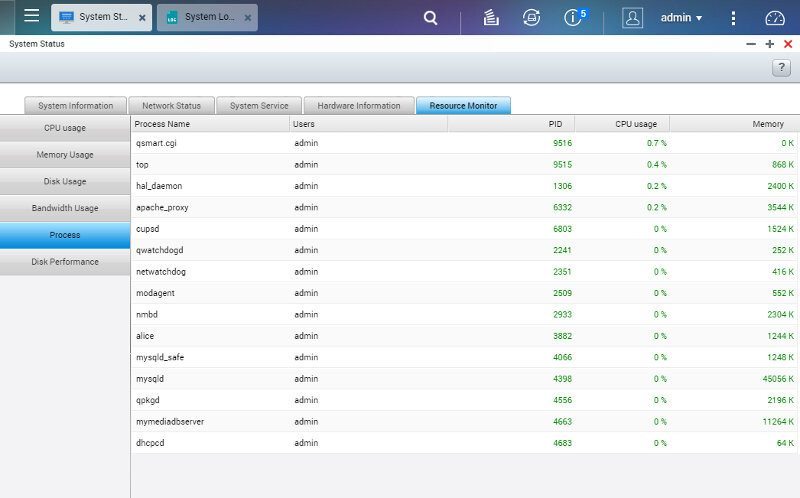
There’s also a process view that can come in handy in when looking for that app that might be stealing all your resources.
Package Center
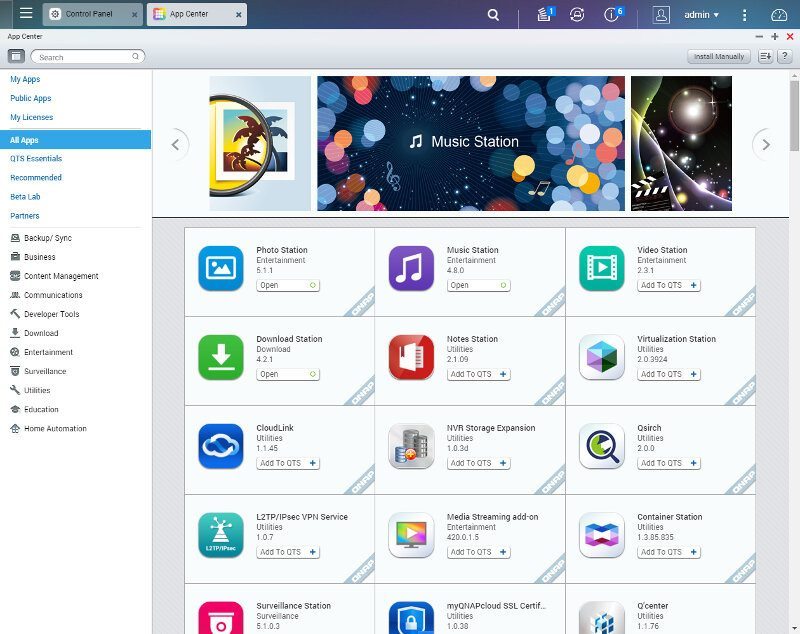
We have seen quite a few functions already and I’ve only shown a small fraction of what this NAS can do. Should you want more, then you’re in luck as the App Center is full of extra functions and features.
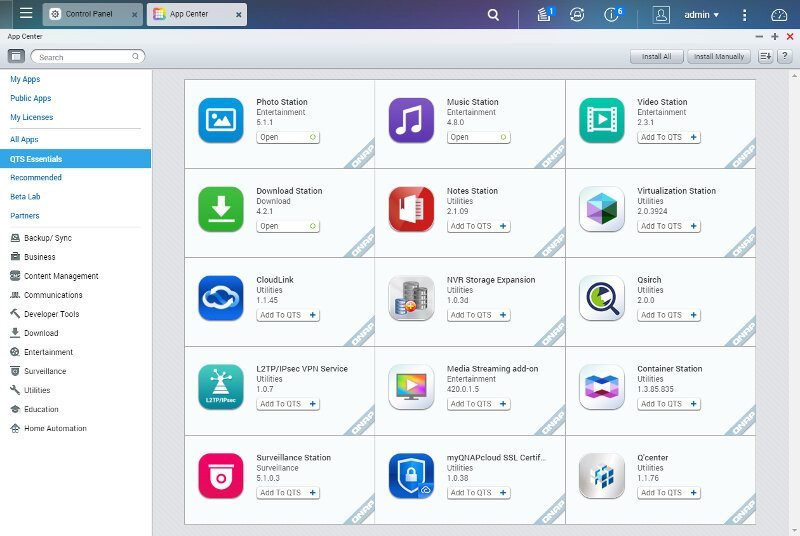
The QTS Essentials are the most used and basic extra features that you’ll be looking for. You’ll find the different QNAP station apps here in a convenient collection.
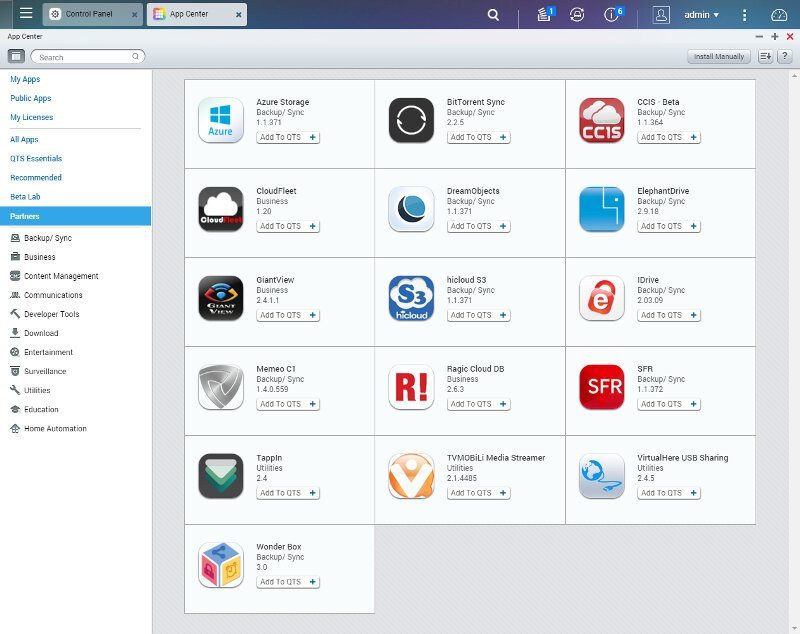
QNAP also has a list of partners that create apps specifically for the QNAP NAS. You can easily find this in their own category too.
And there are so many more apps to install.
And much more
There still are many more features, but small and large. One of them is the ability to customize the login screen.

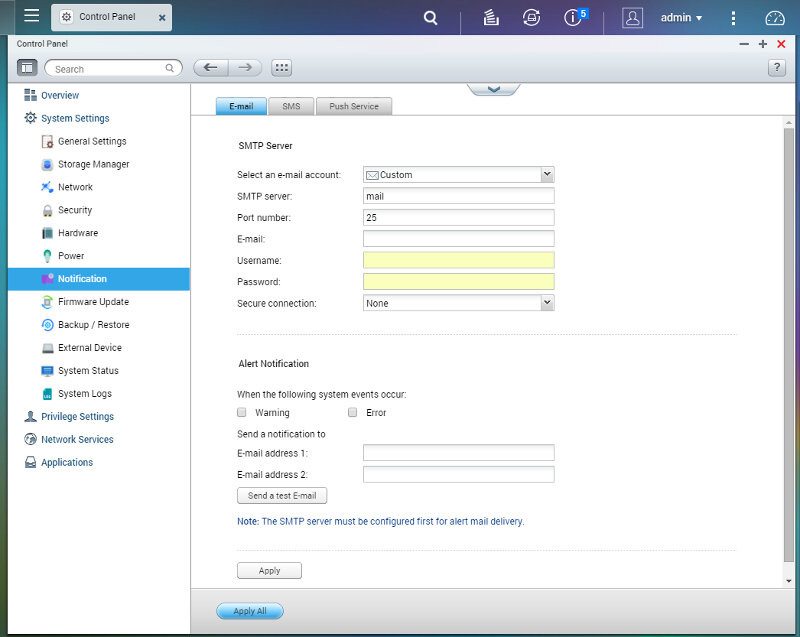
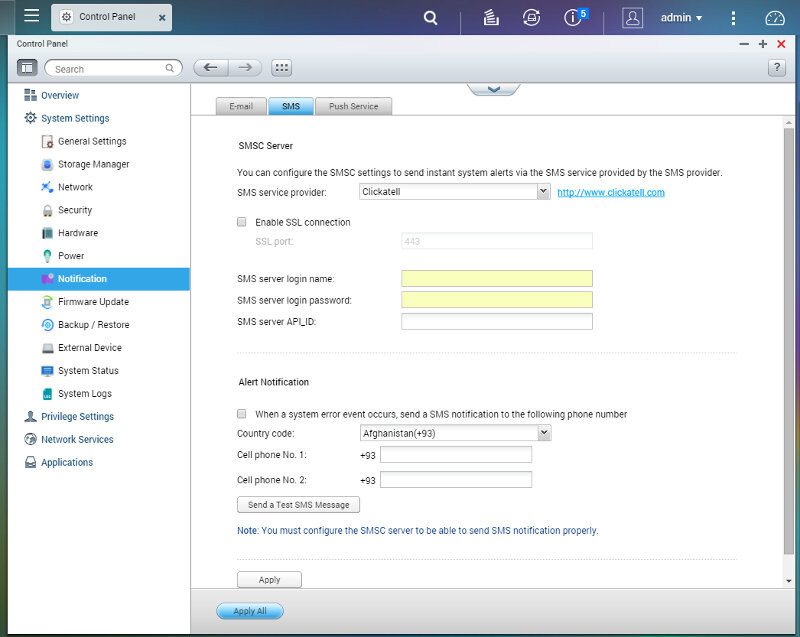
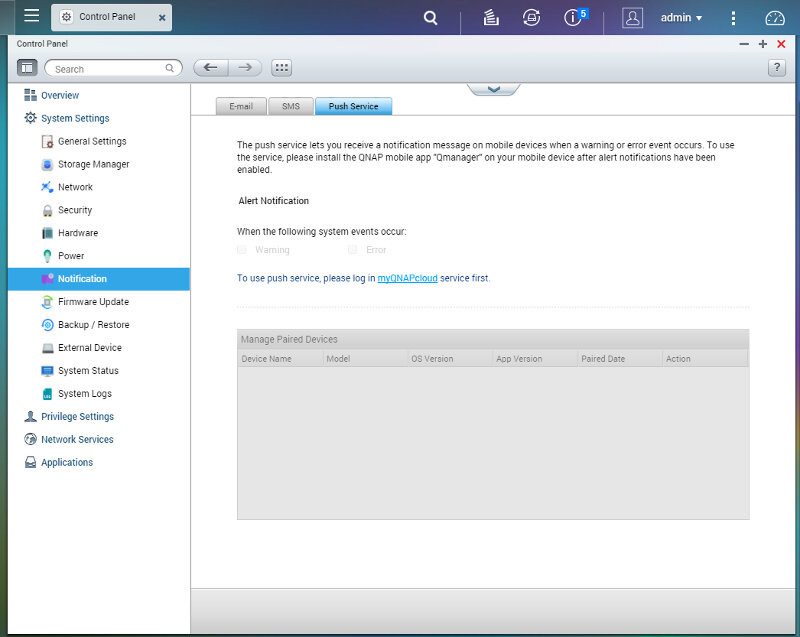
You can get push notifications on connected smart devices as well as emails and SMS
HybridDesk Station
The last thing I’d like to show on this page is the HybridDesk station that is needed for the HDMI-out to work. Once enabled, you can install a lot of plugins and apps for it as you can see below. This will add all the features you need to the direct usage of this NAS – but more on that on the next page.


