QNAP TS-453 Mini NAS Review
Bohs Hansen / 9 years ago
Setup – Initialization & Storage
There are a multitude of ways you can get started and initialize this new QNAP TS-453 mini NAS. You can use the myQNAPcloud with your PC or mobile device and you can even install it directly when connecting a keyboard, mouse, and HDMI monitor. Those methods are both easy and fast, but not as easy to screenshot for a review.
My preferred method is the QNAP Qfinder software, a little tool that quickly finds all QNAP devices on your network and that provides help on configuring and using your NAS devices.
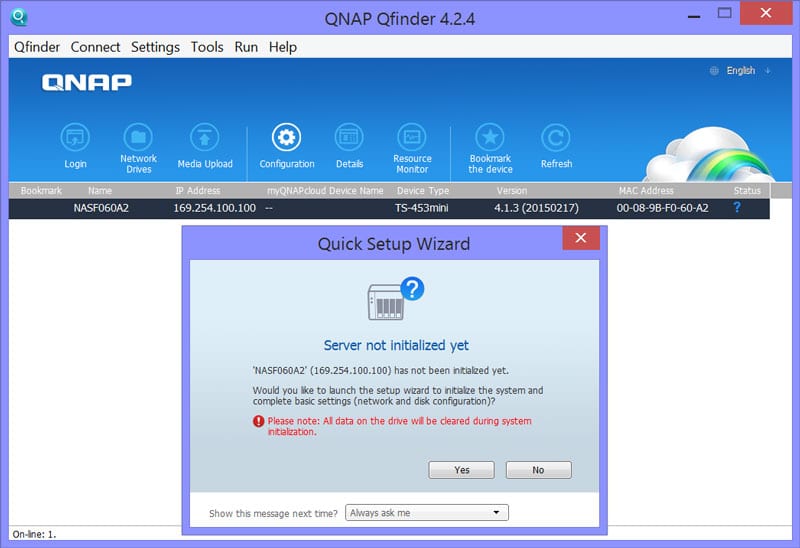
The Qfinder quickly finds your new NAS and as it can see that it isn’t initialized yet, it will prompt you whether to do so now or not. The first thing it does is to check for available updates and there was one this time. It is always recommended to update to the newest firmware for two reasons, bug fixes and new features.
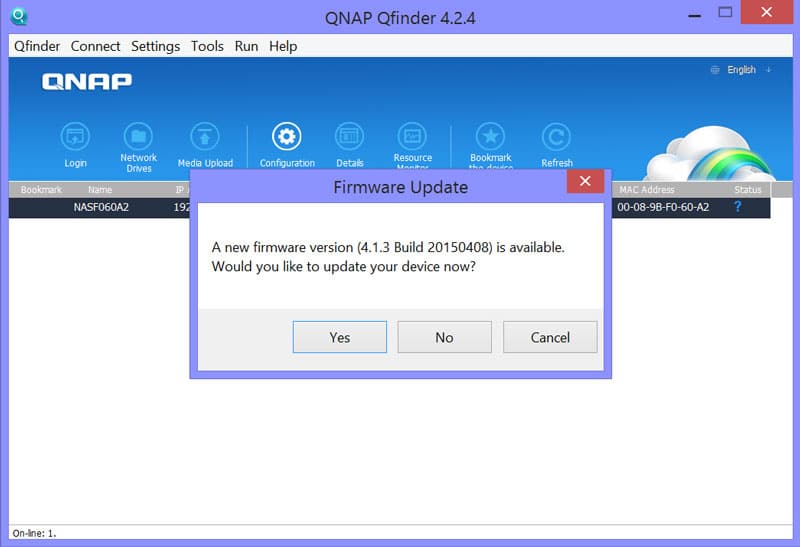
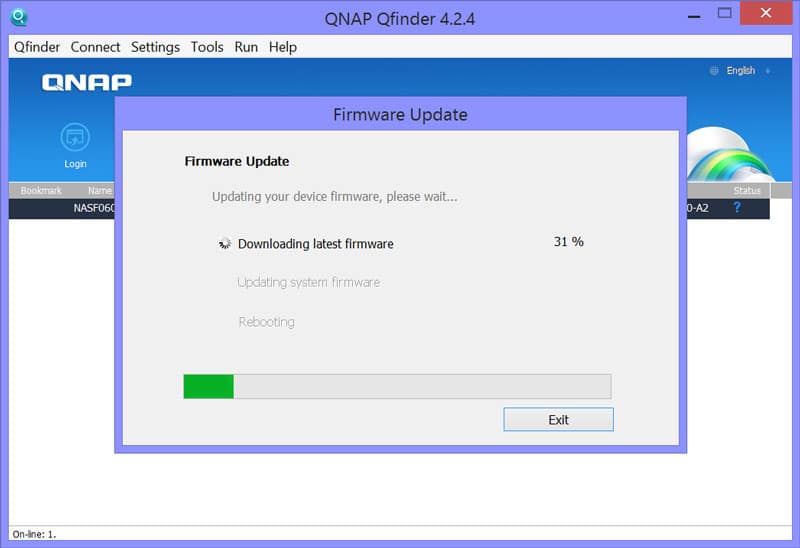
We can continue with our setup once the NAS update has finished and the system rebooted. You got two choices now, whether to create a basic setup for home use or business use. The difference is mainly in what apps and features get pre-installed.
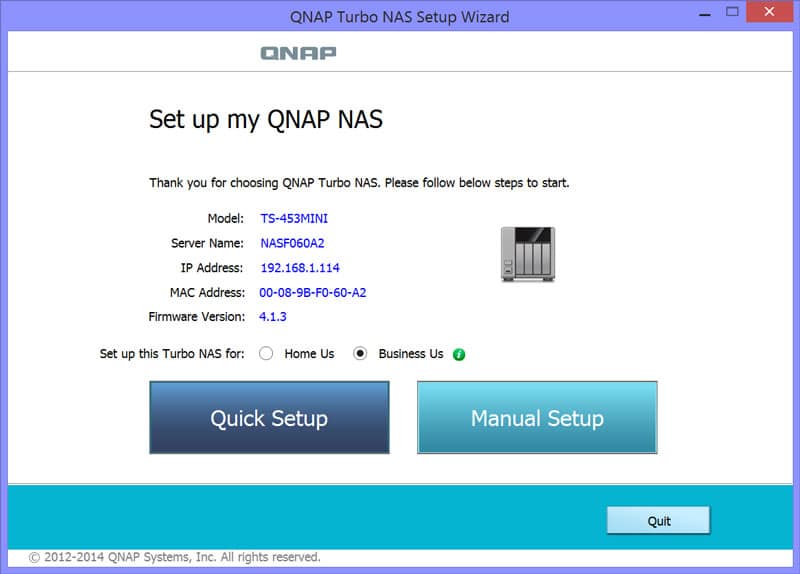
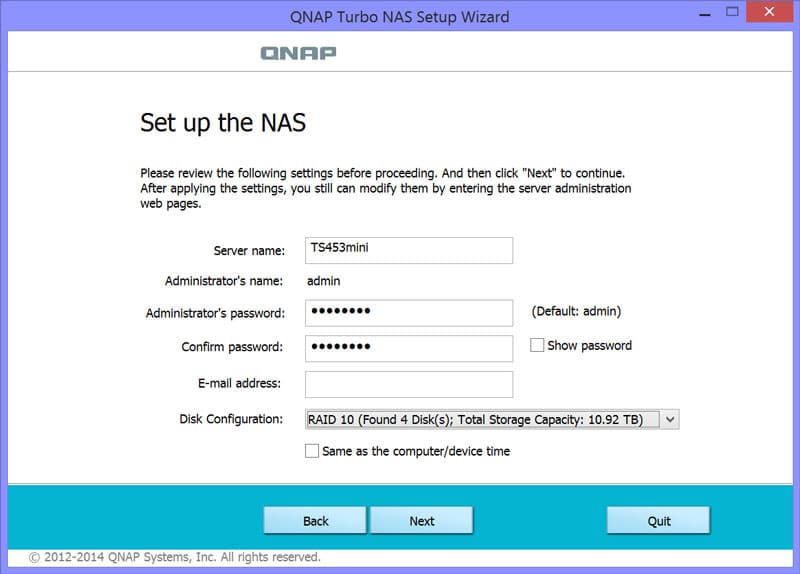
Whether you picked Quick Setup or Manual setup on the previous page, it doesn’t take much to get the QNAP NAS going. Two simple steps is all it takes. The first is to define the server name, admin name, password, and disk configuration.
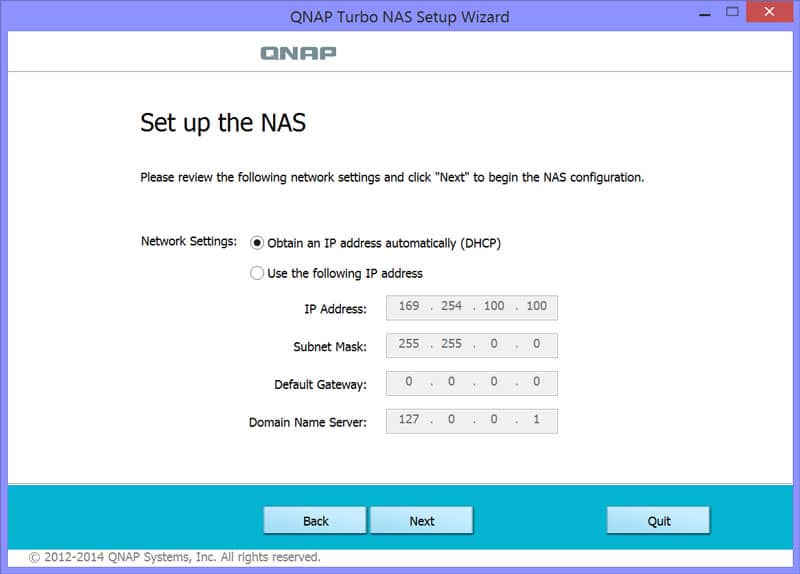
The second step is to set up the basic networking.
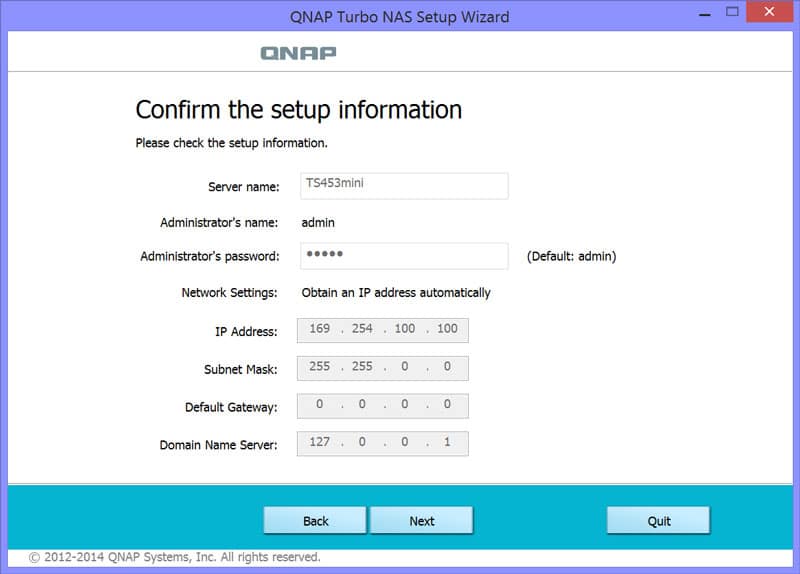
And that is all it takes. You get another look at your settings and chance to go back and change something.
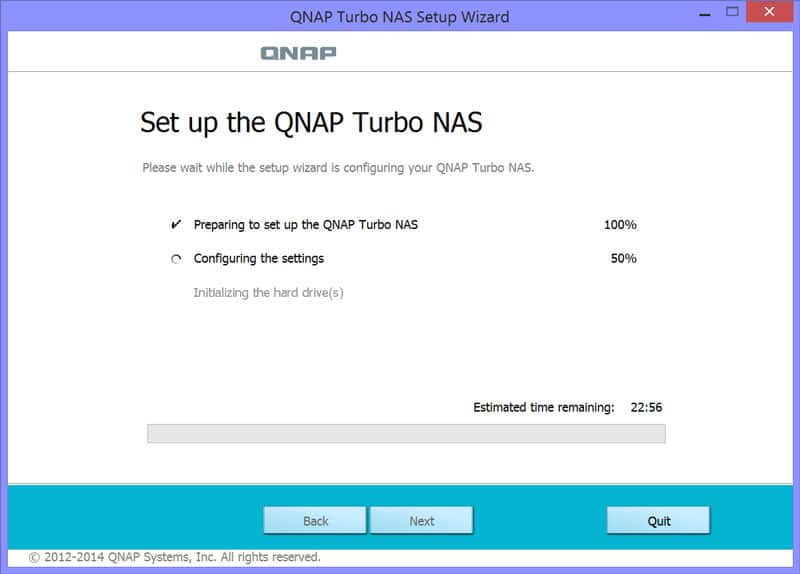
The setup is running and won’t take long. How long mainly depends on your hard drive setup, capacity and mode.
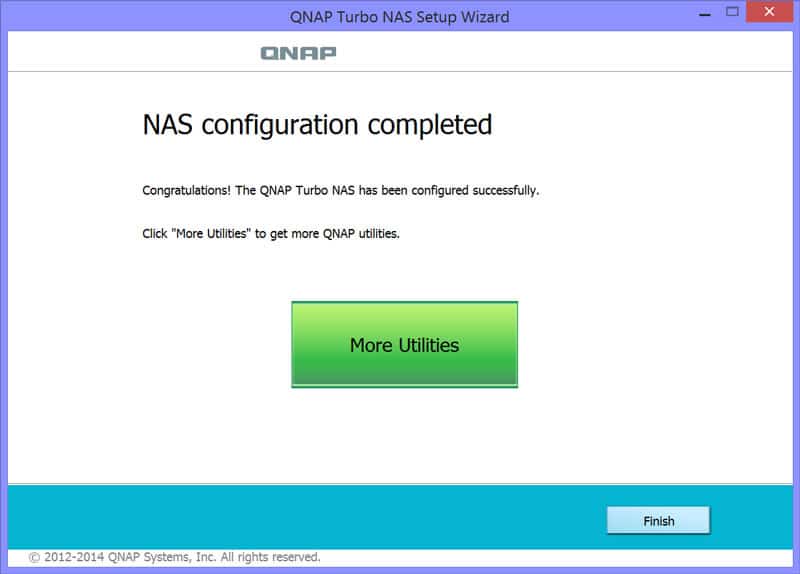
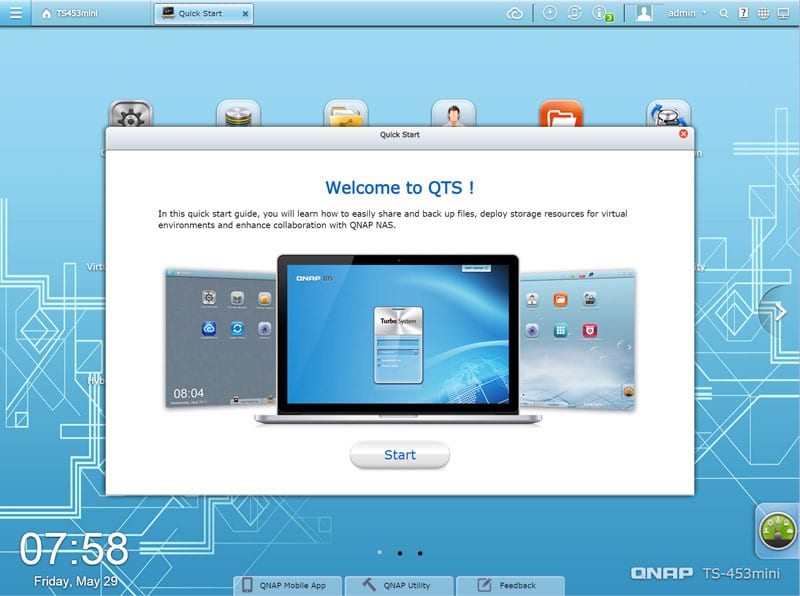
Pressing the Finish button will load the dashboard for the first time and a Quick Start guide will help you learn the basics of your new QTS operating system.
