Setup
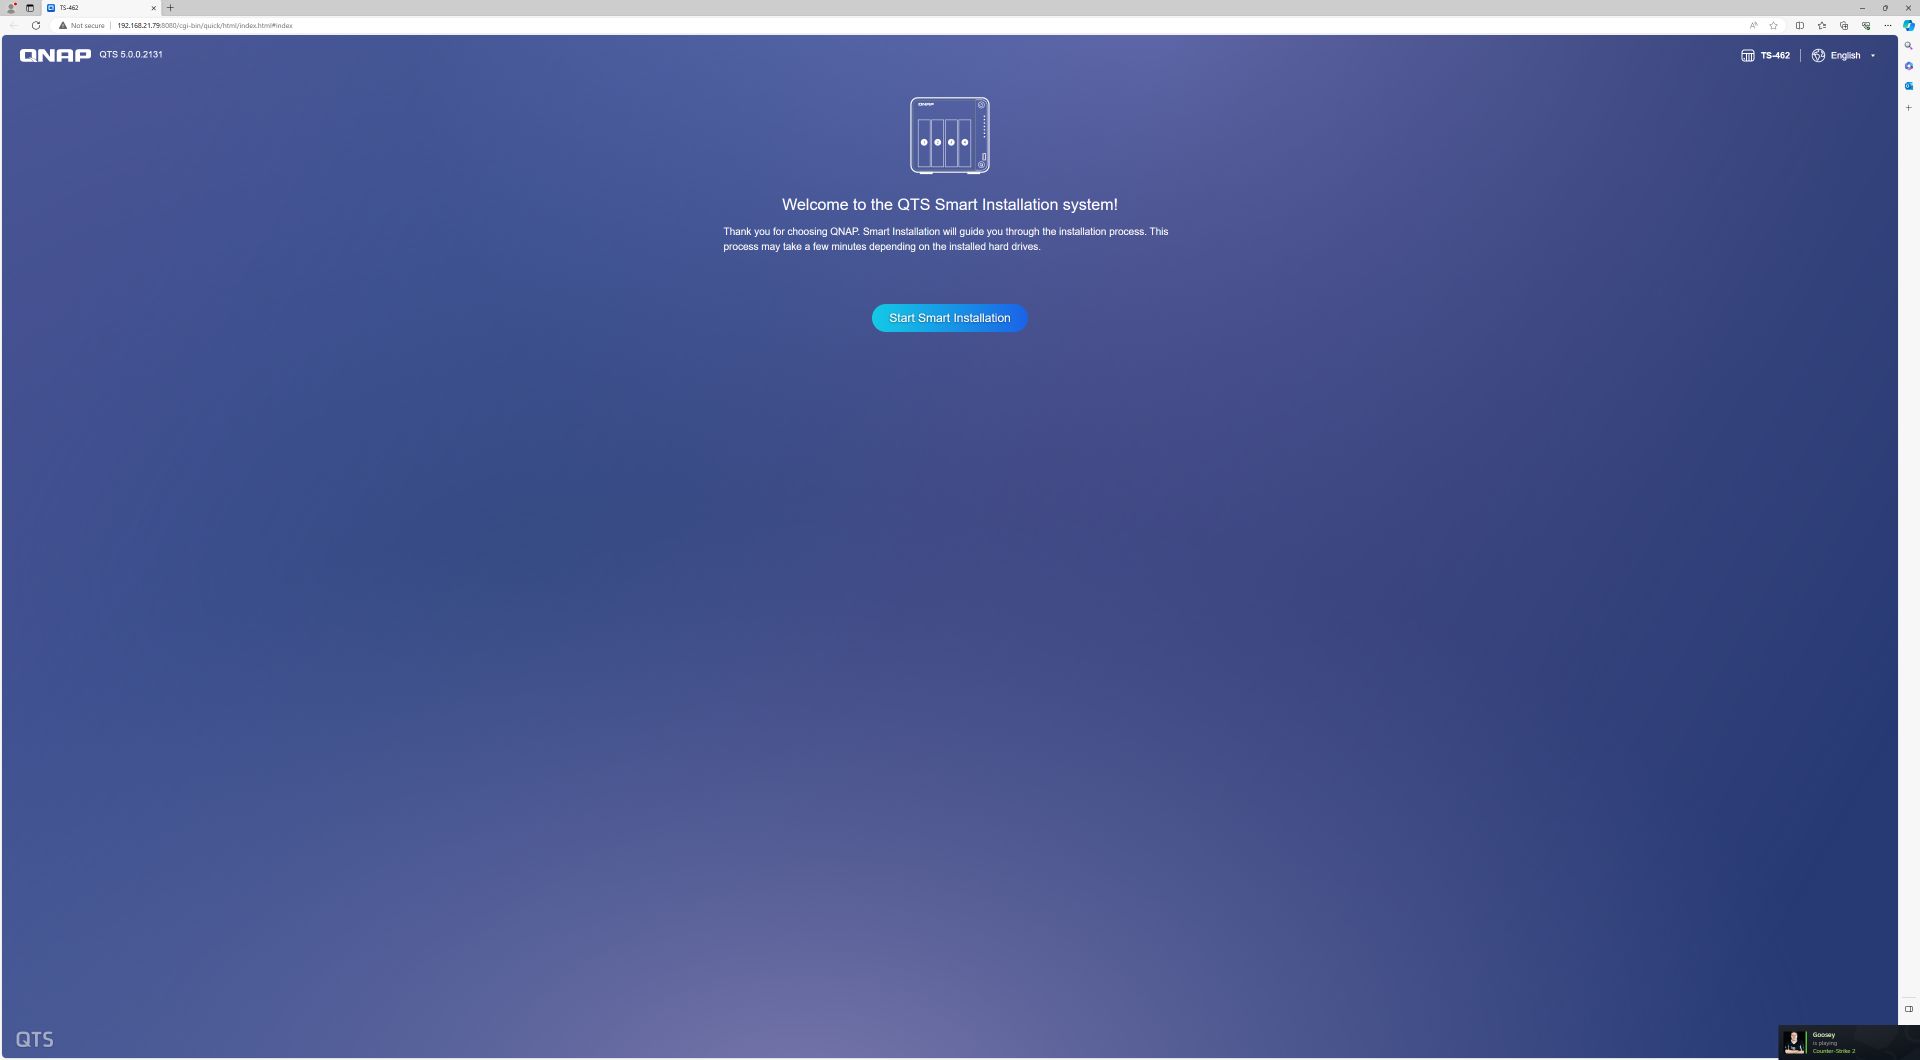
The NAS comes with a Smart Installation Guide to make quick and easy work of setting up the NAS.
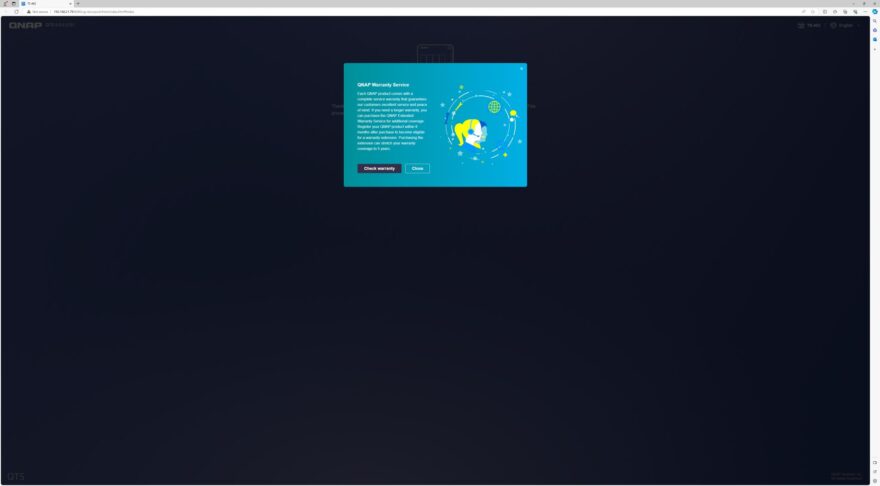
The first screen presents you with a welcome message and a button to start the smart installation.
Clicking the button also presents you with a popup to check the warranty with the NAS.
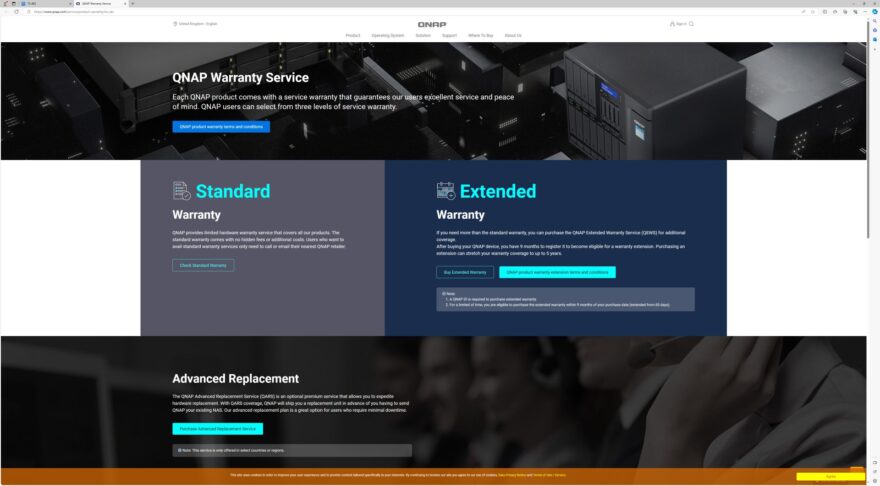
Clicking check warranty takes you to the QNAP site where you can either have the standard 2-year warranty or purchase the extended 5-year warranty.
Following all of that, you are asked to specify the firmware version and are provided with the option to use the current version, check for the latest version or use an uploaded version that you have downloaded.
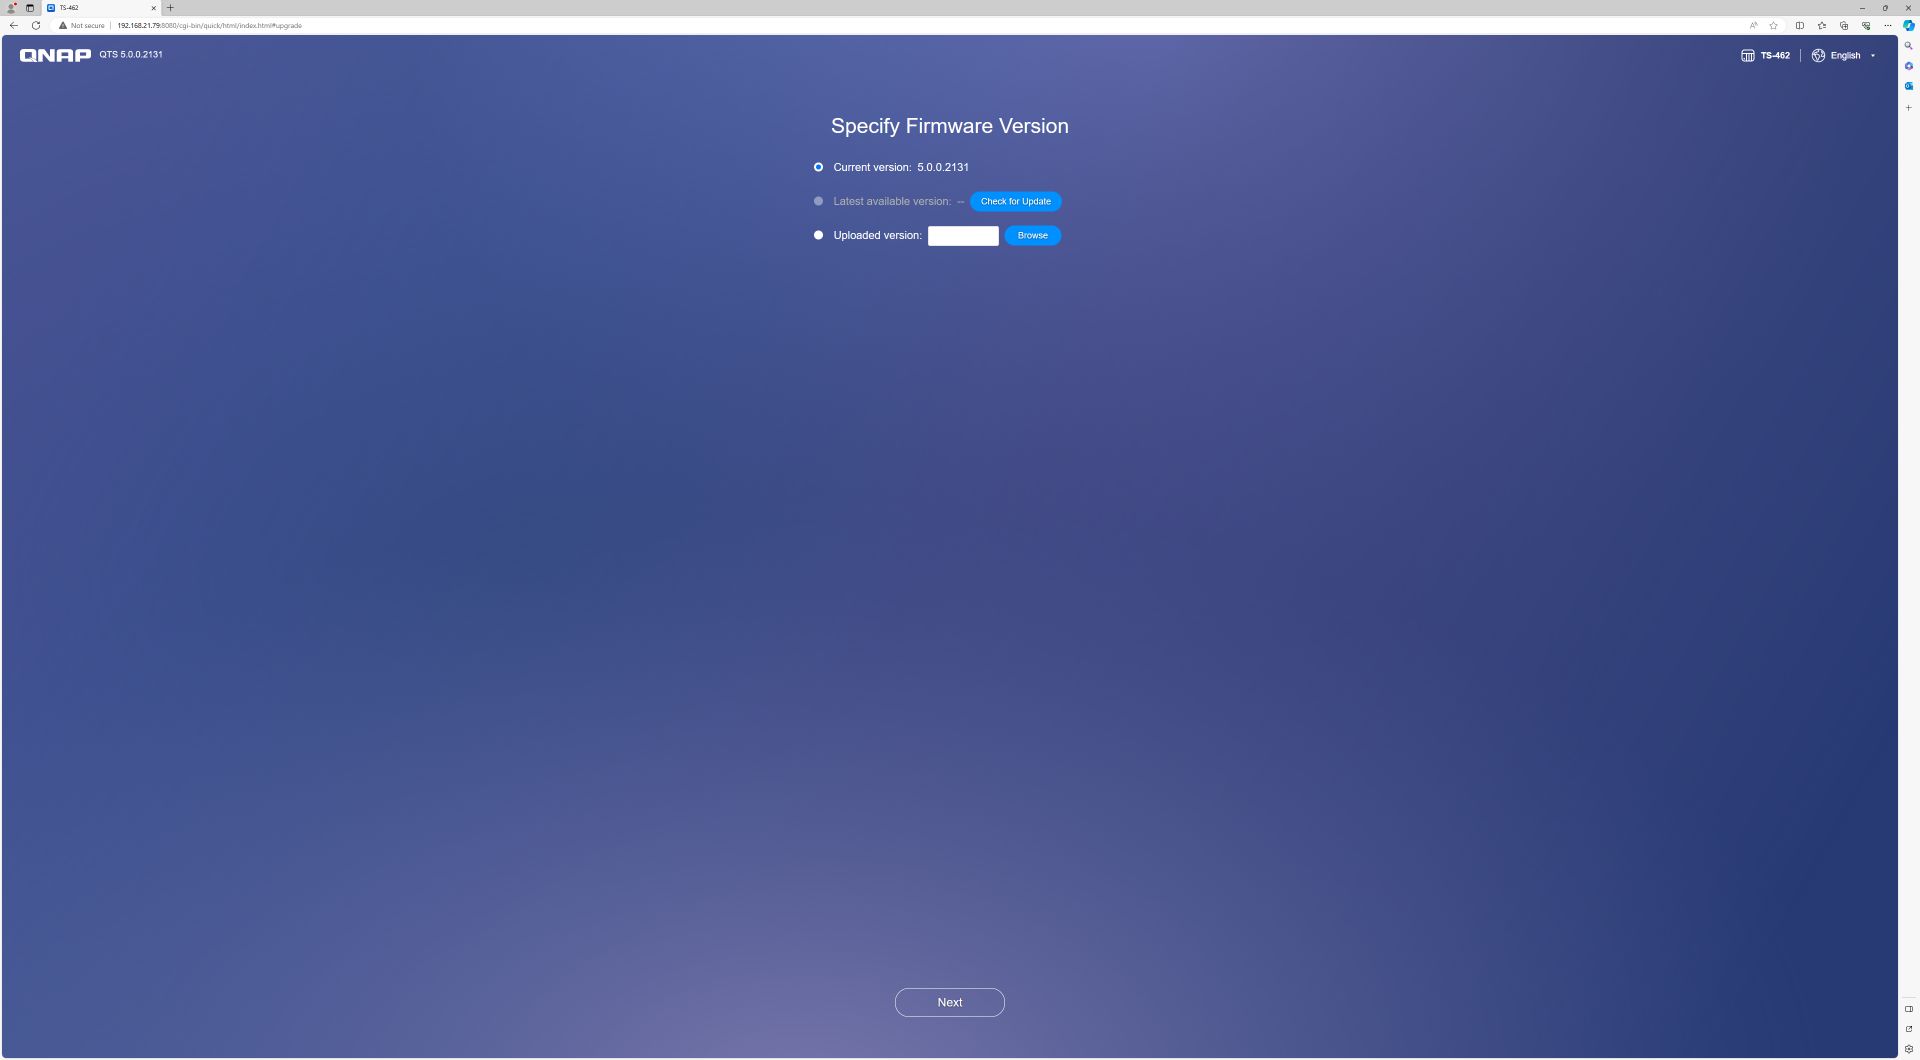
Clicking check for update finds the latest firmware version and allows you to select it.

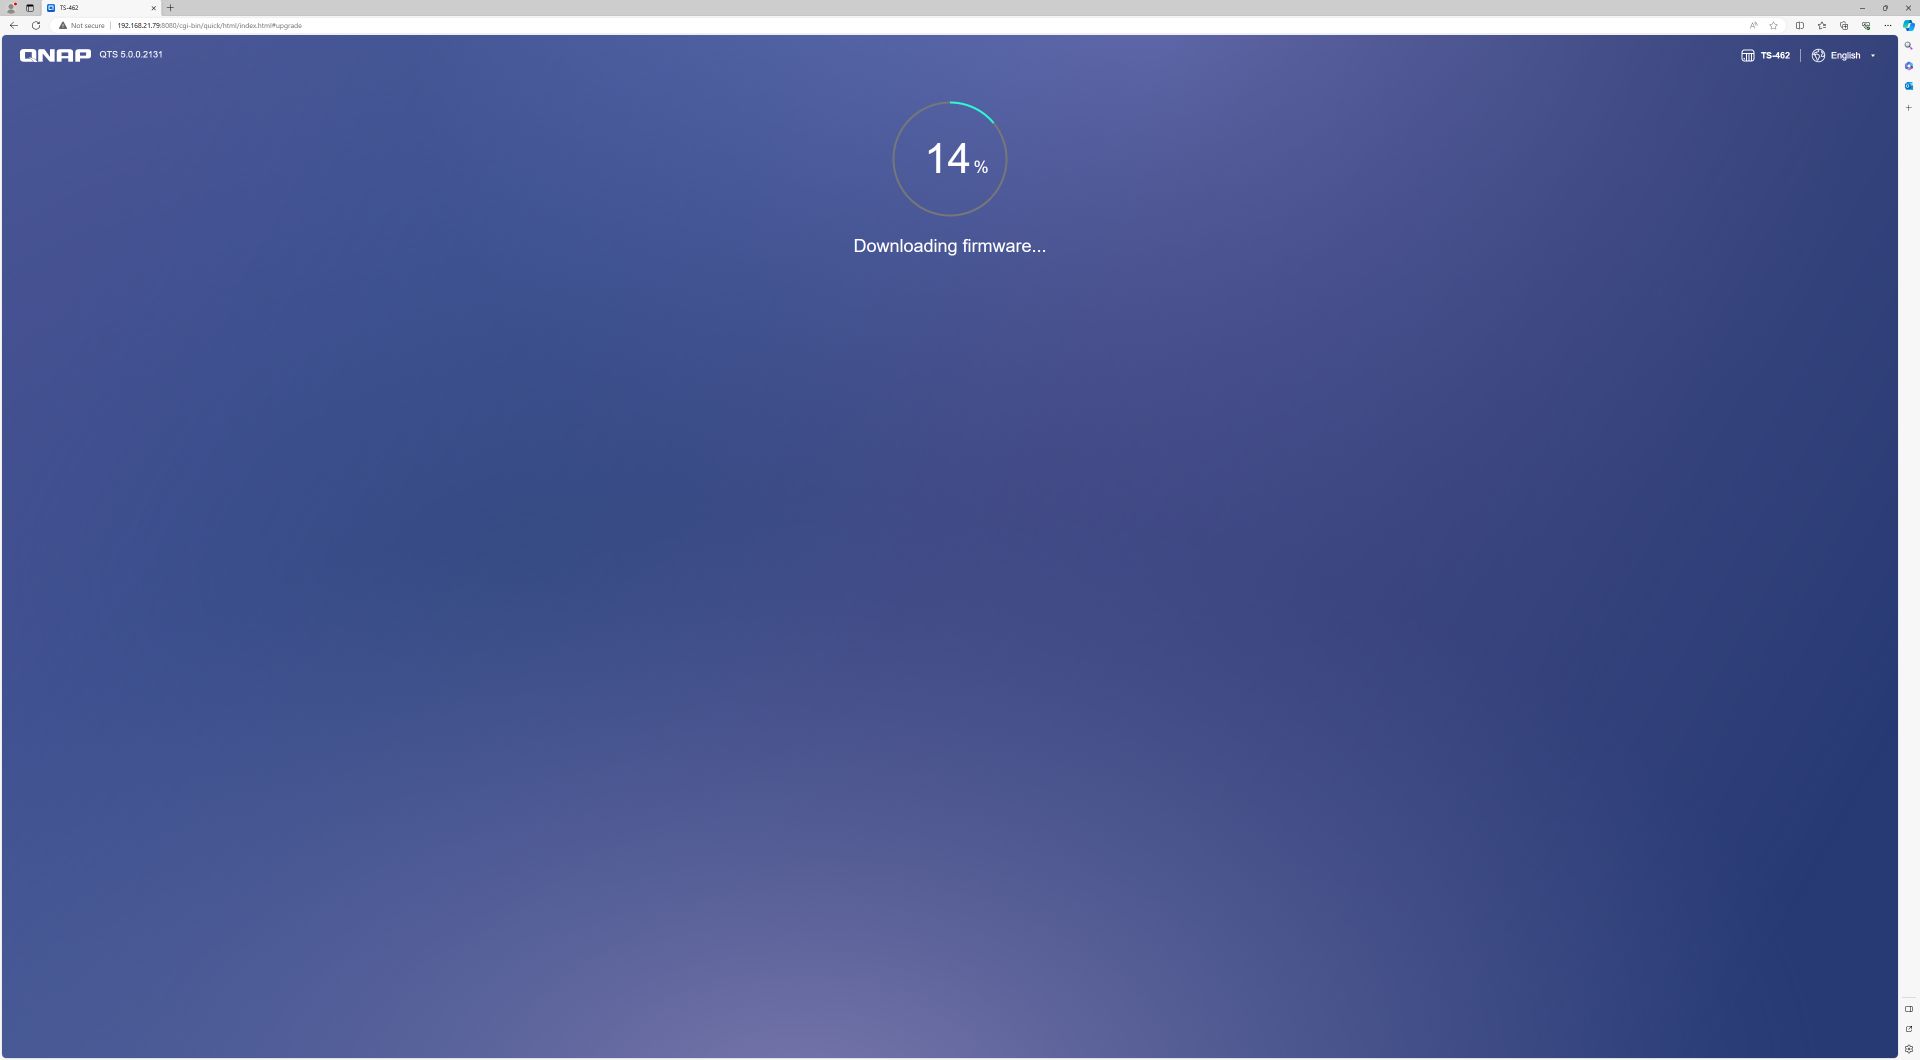
A percentage bar shows the progress of the firmware download.
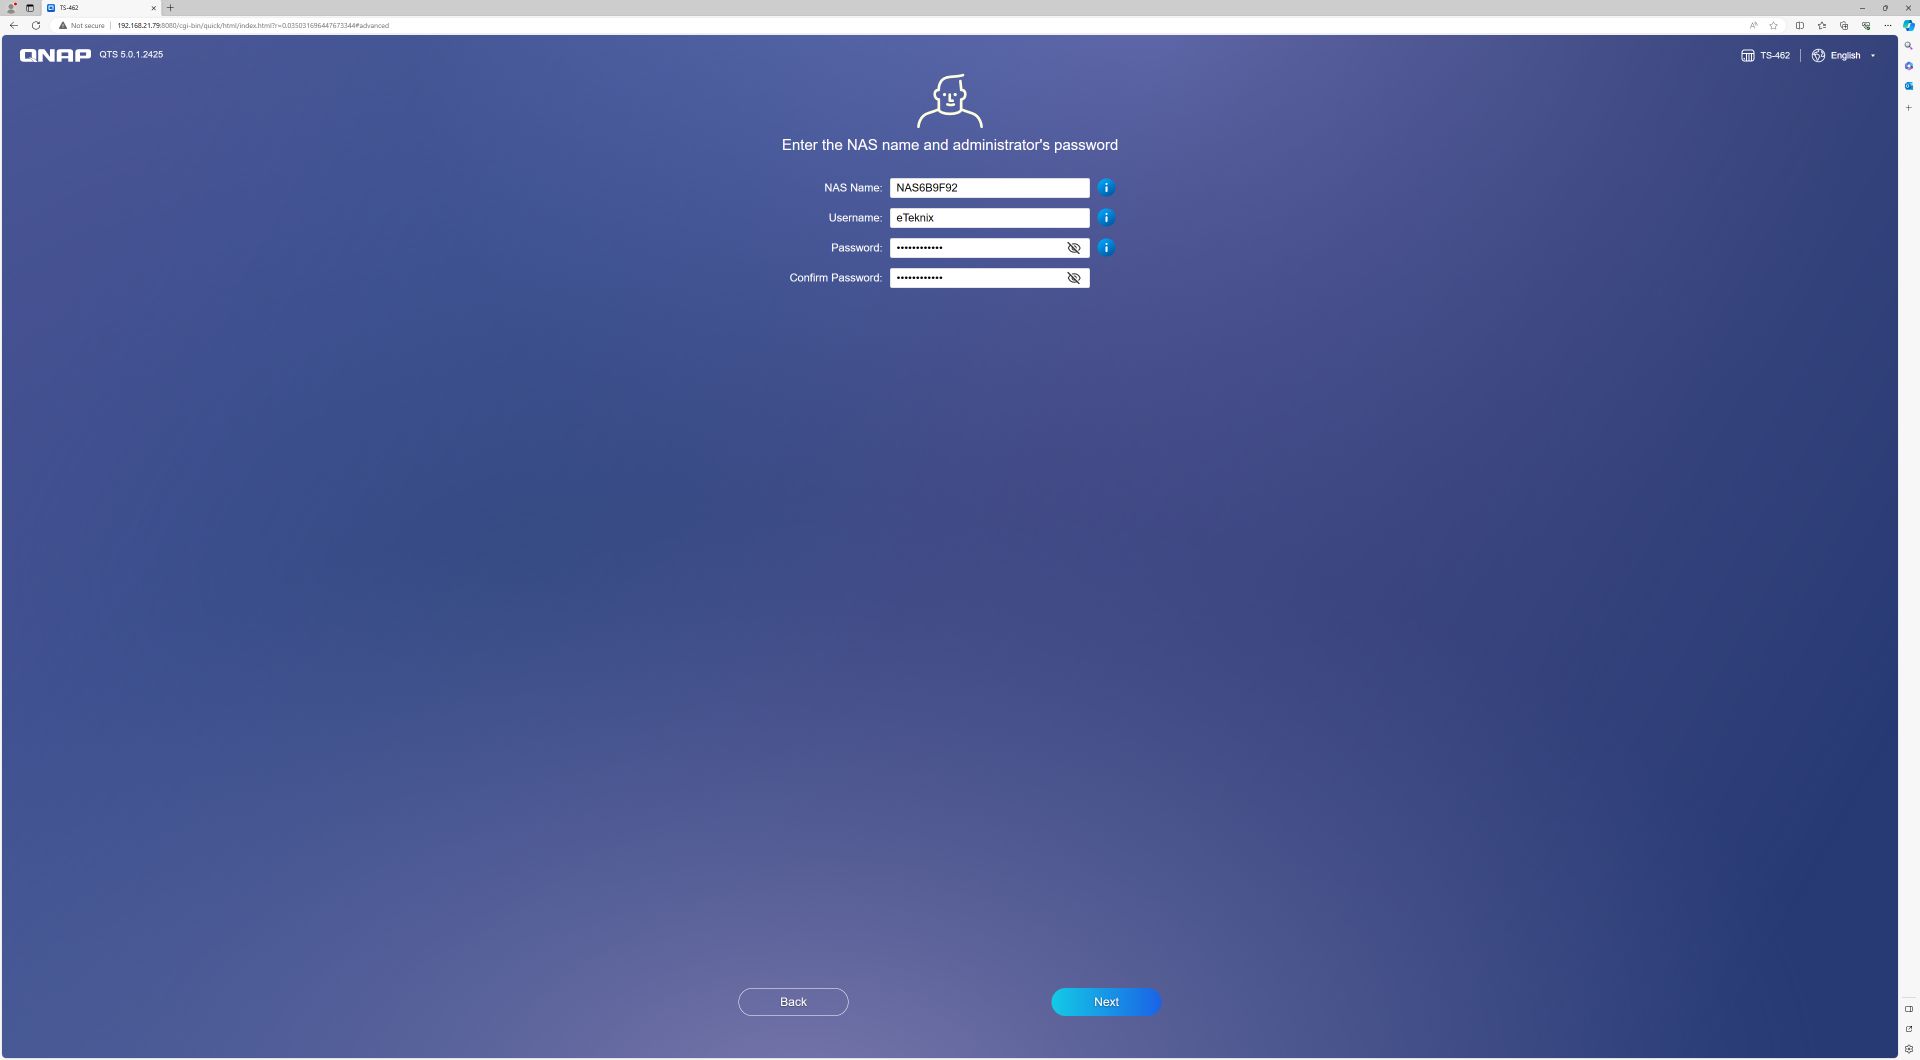
Once the firmware is installed the next process involves naming the NAS and creating the admin account.
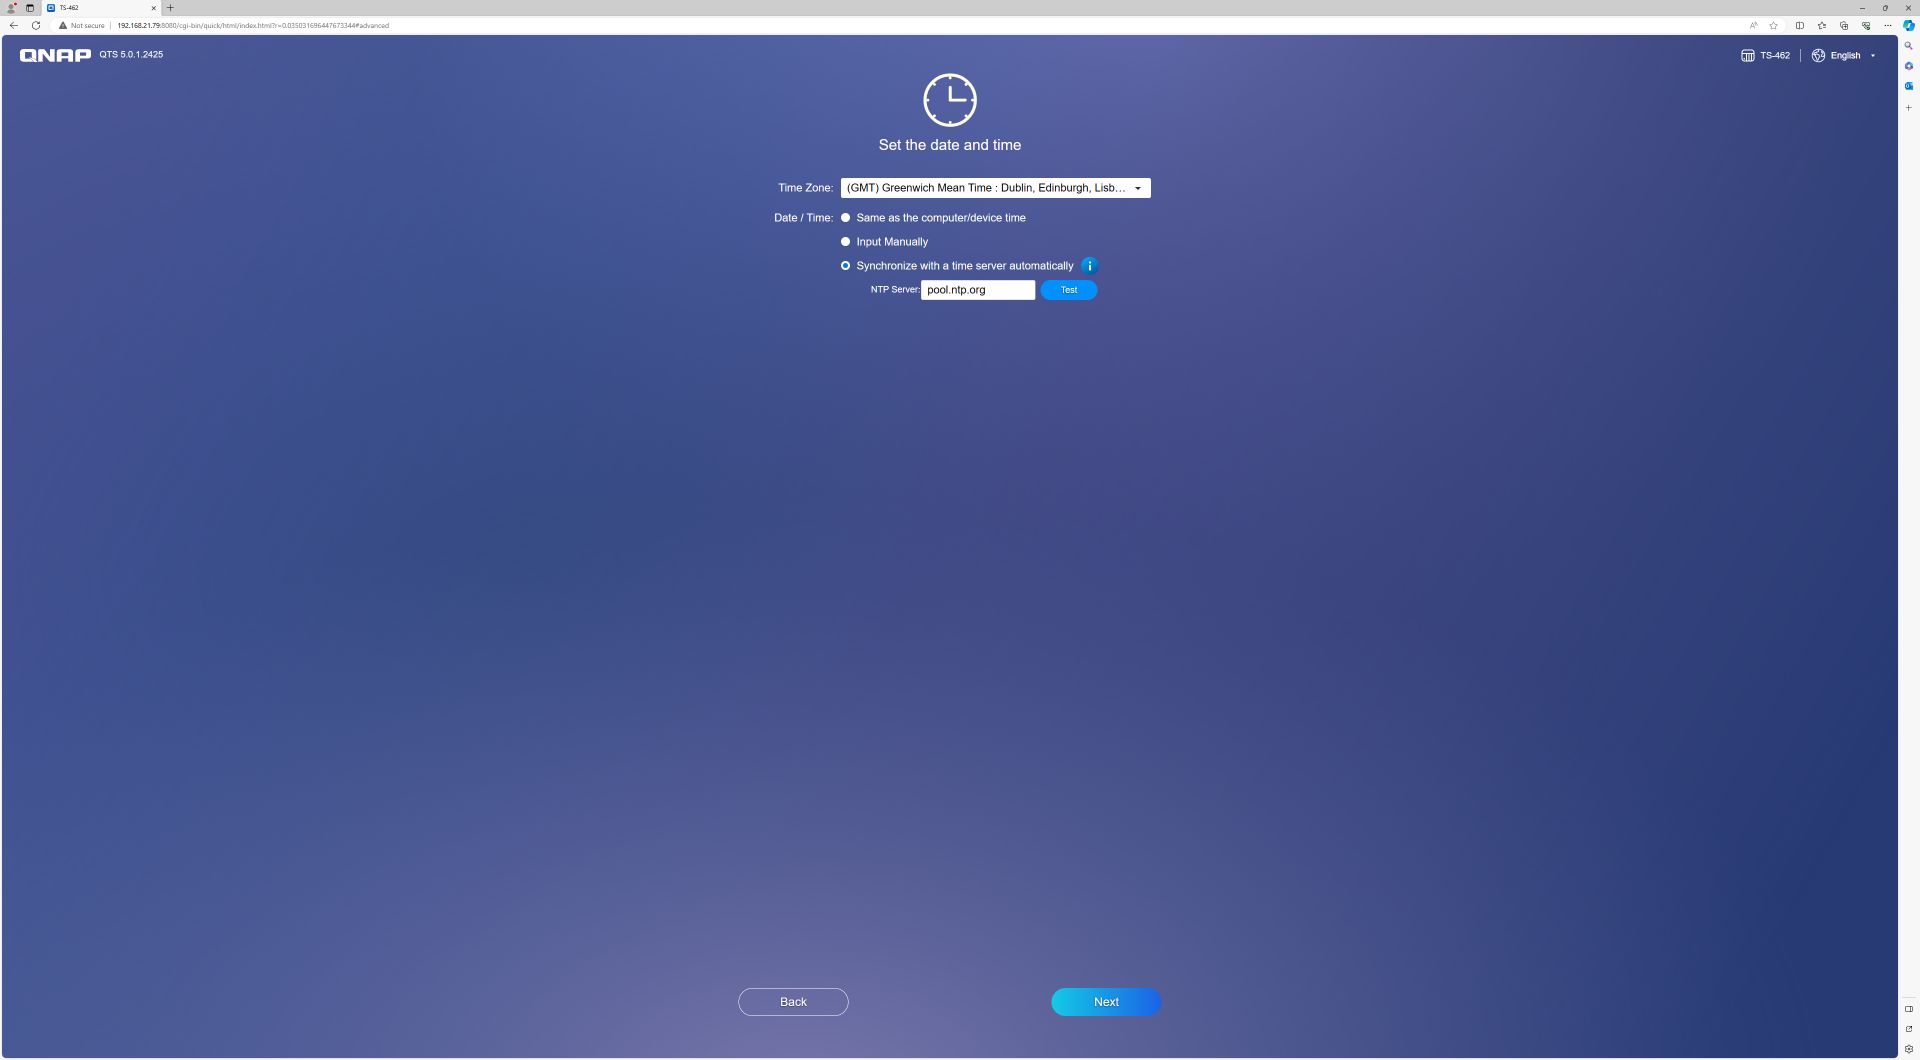
The next screen asks us to set the time, in our case GMT and also gives the option of Same as the computer/device time, input manually or synchronize with a time server automatically.
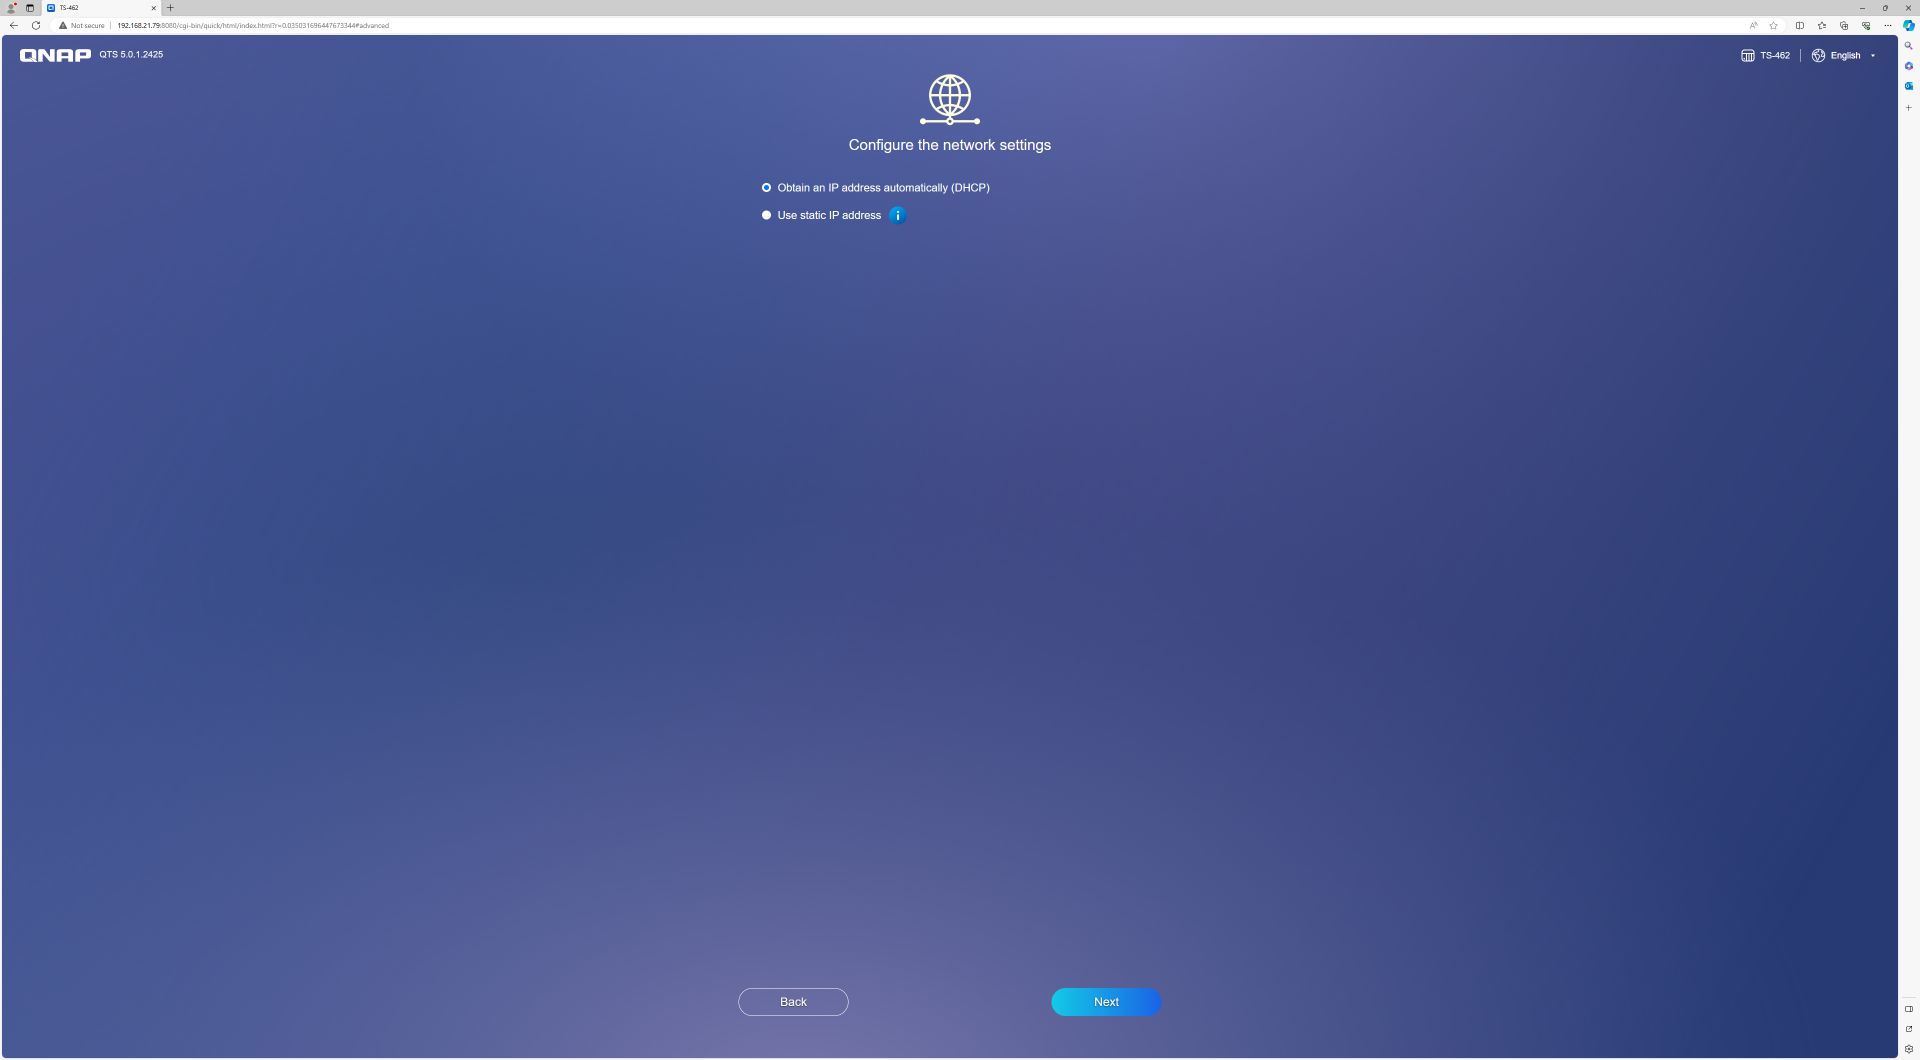
The network is next to be set up which has the option of either automatically obtaining an IP address or using a static IP address.
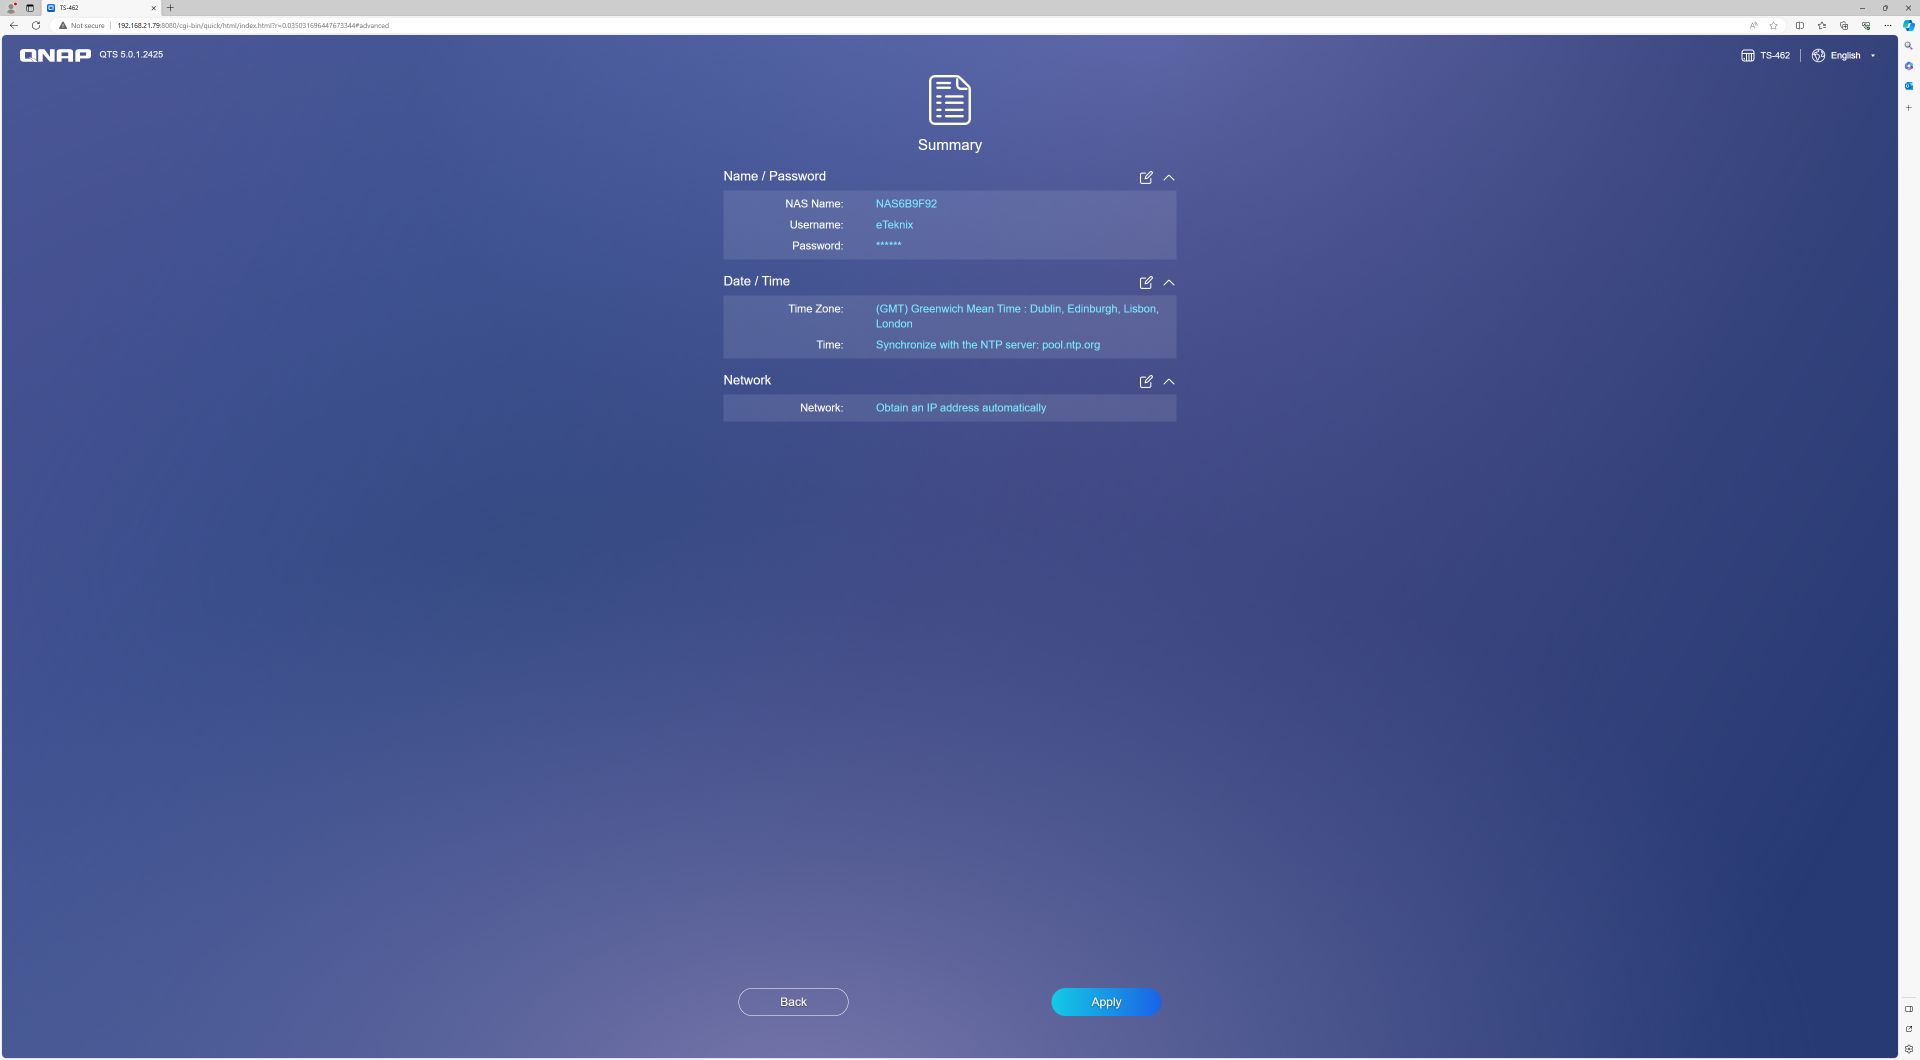
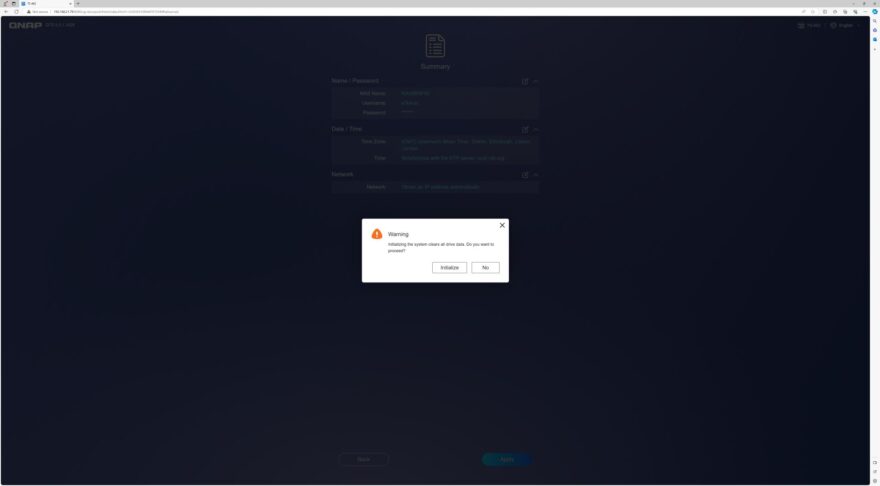
After doing all of that you are presented with a summary screen to ensure that everything is correct.
Clicking apply presents you with a warning that all of the data on the drives will be cleared.
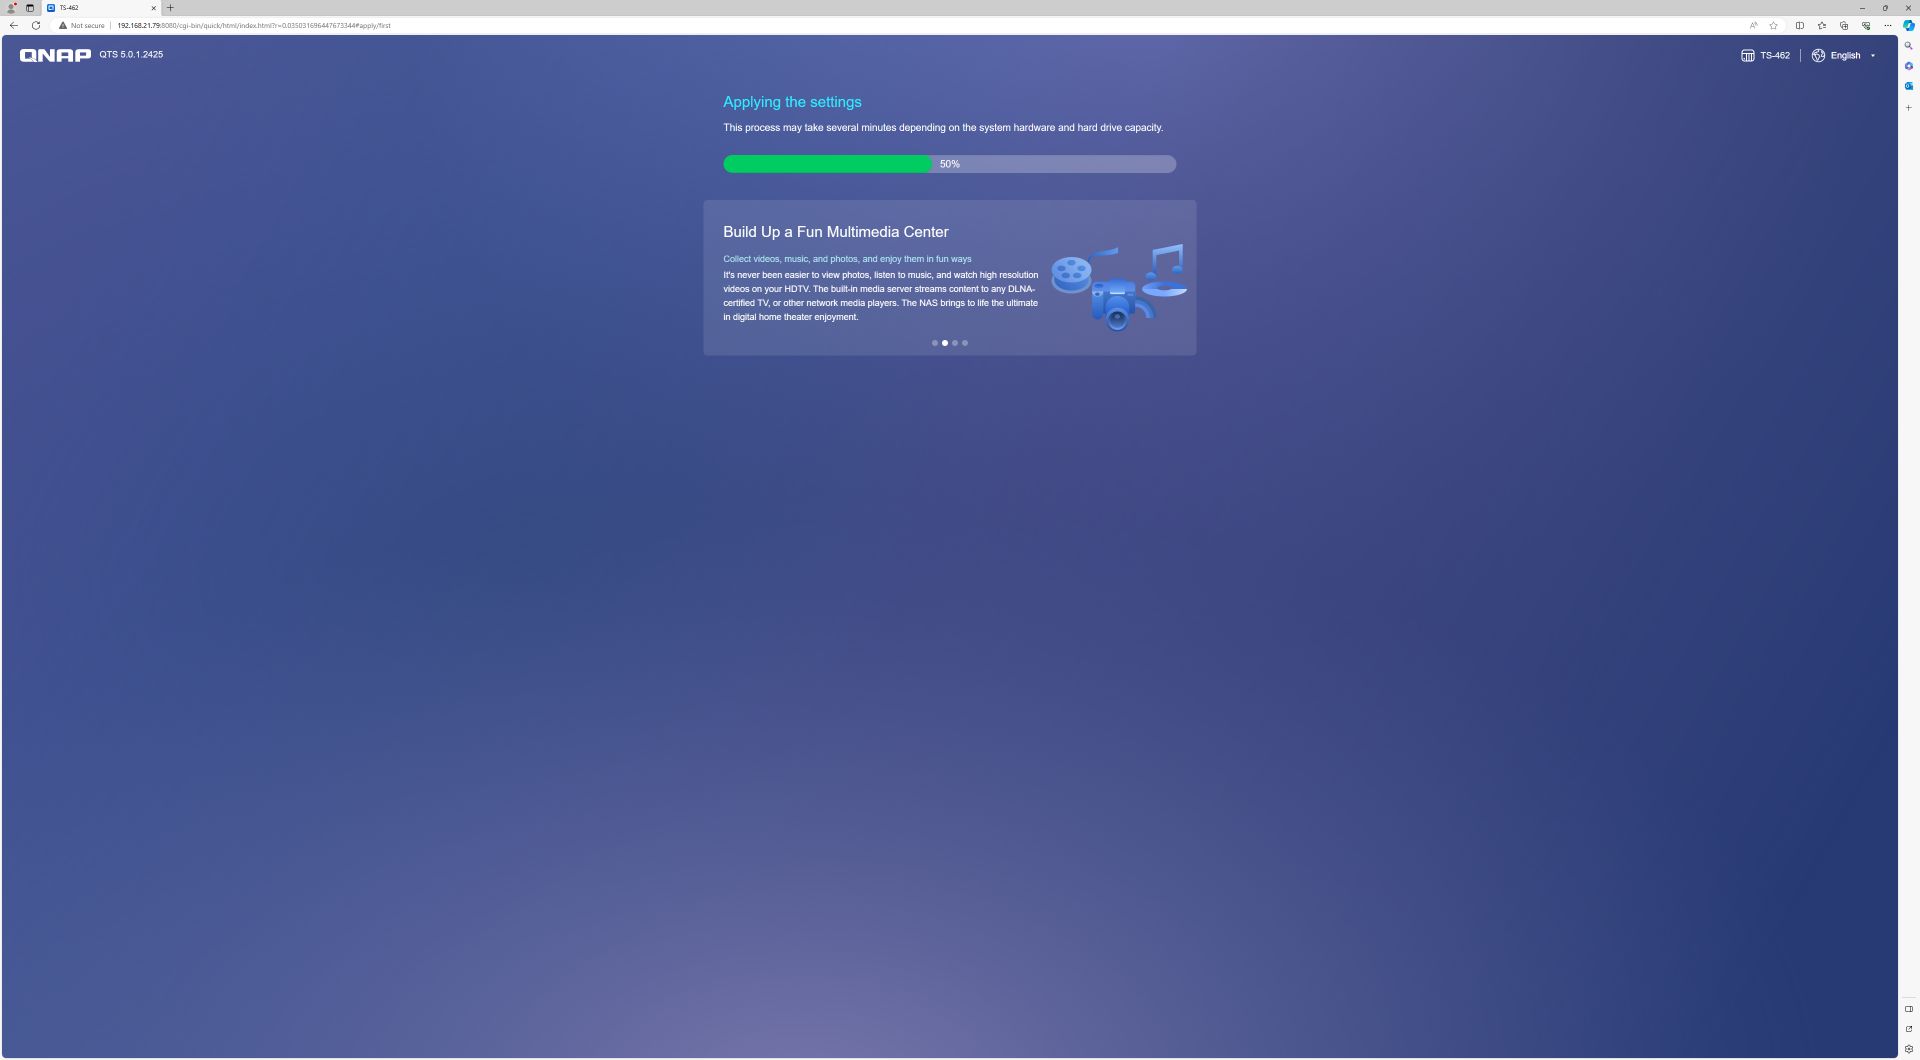
Once clicking apply the initialize the settings are applied.
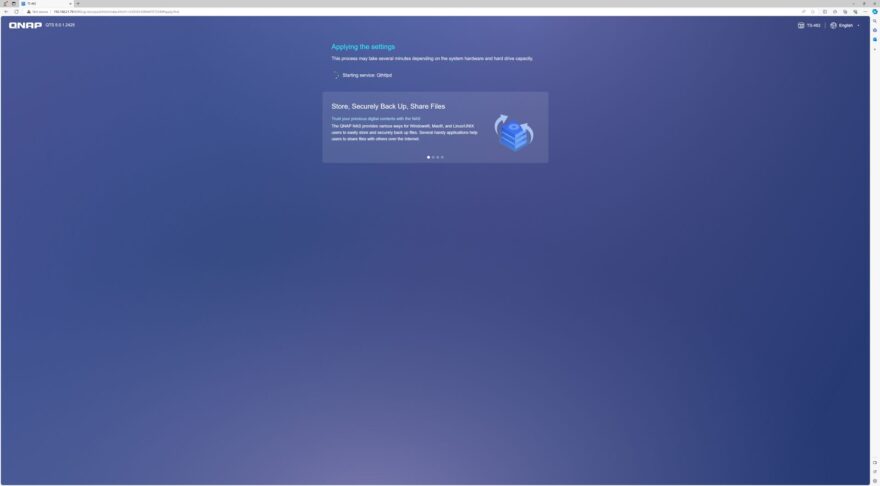
The process of setting up takes some time and you are presented with a loading bar for reference.
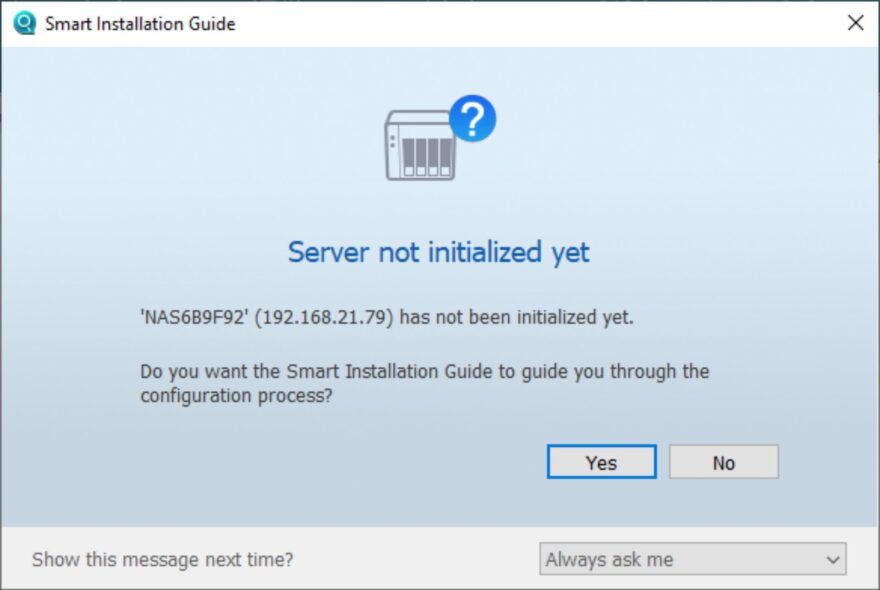
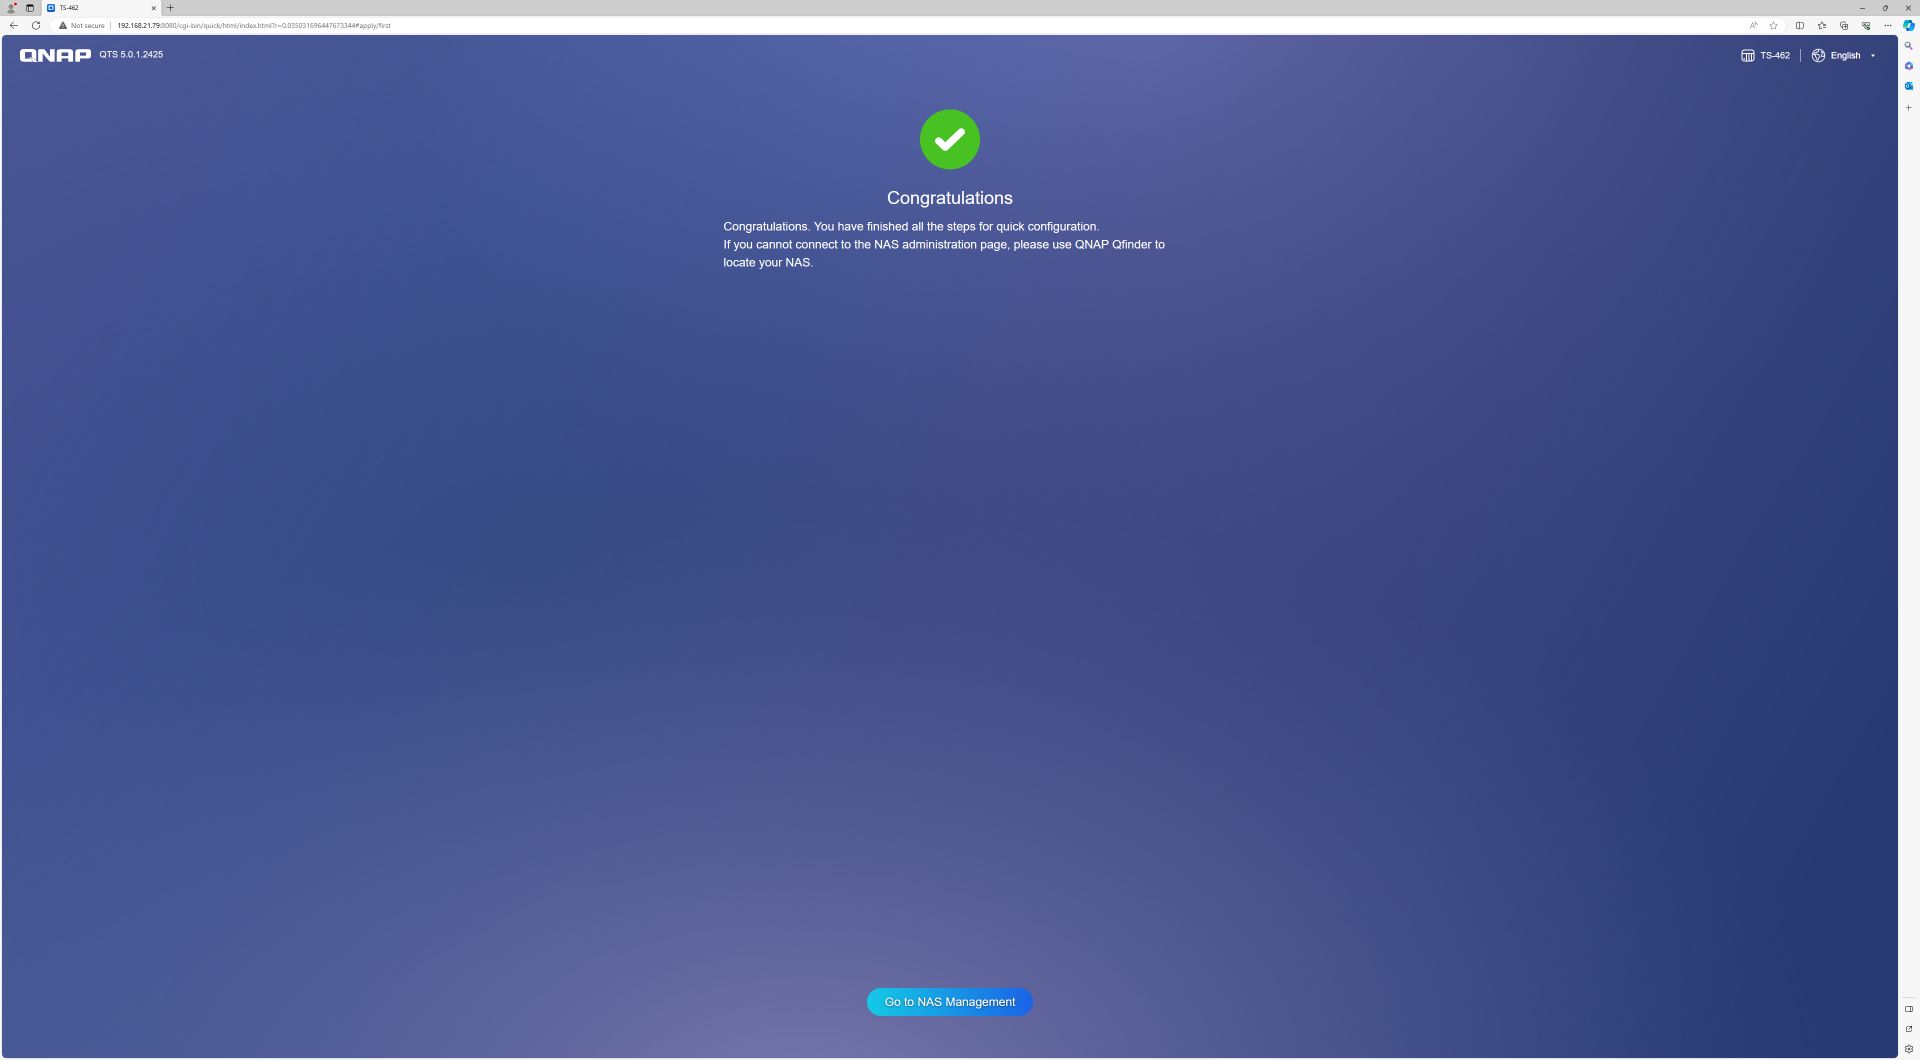
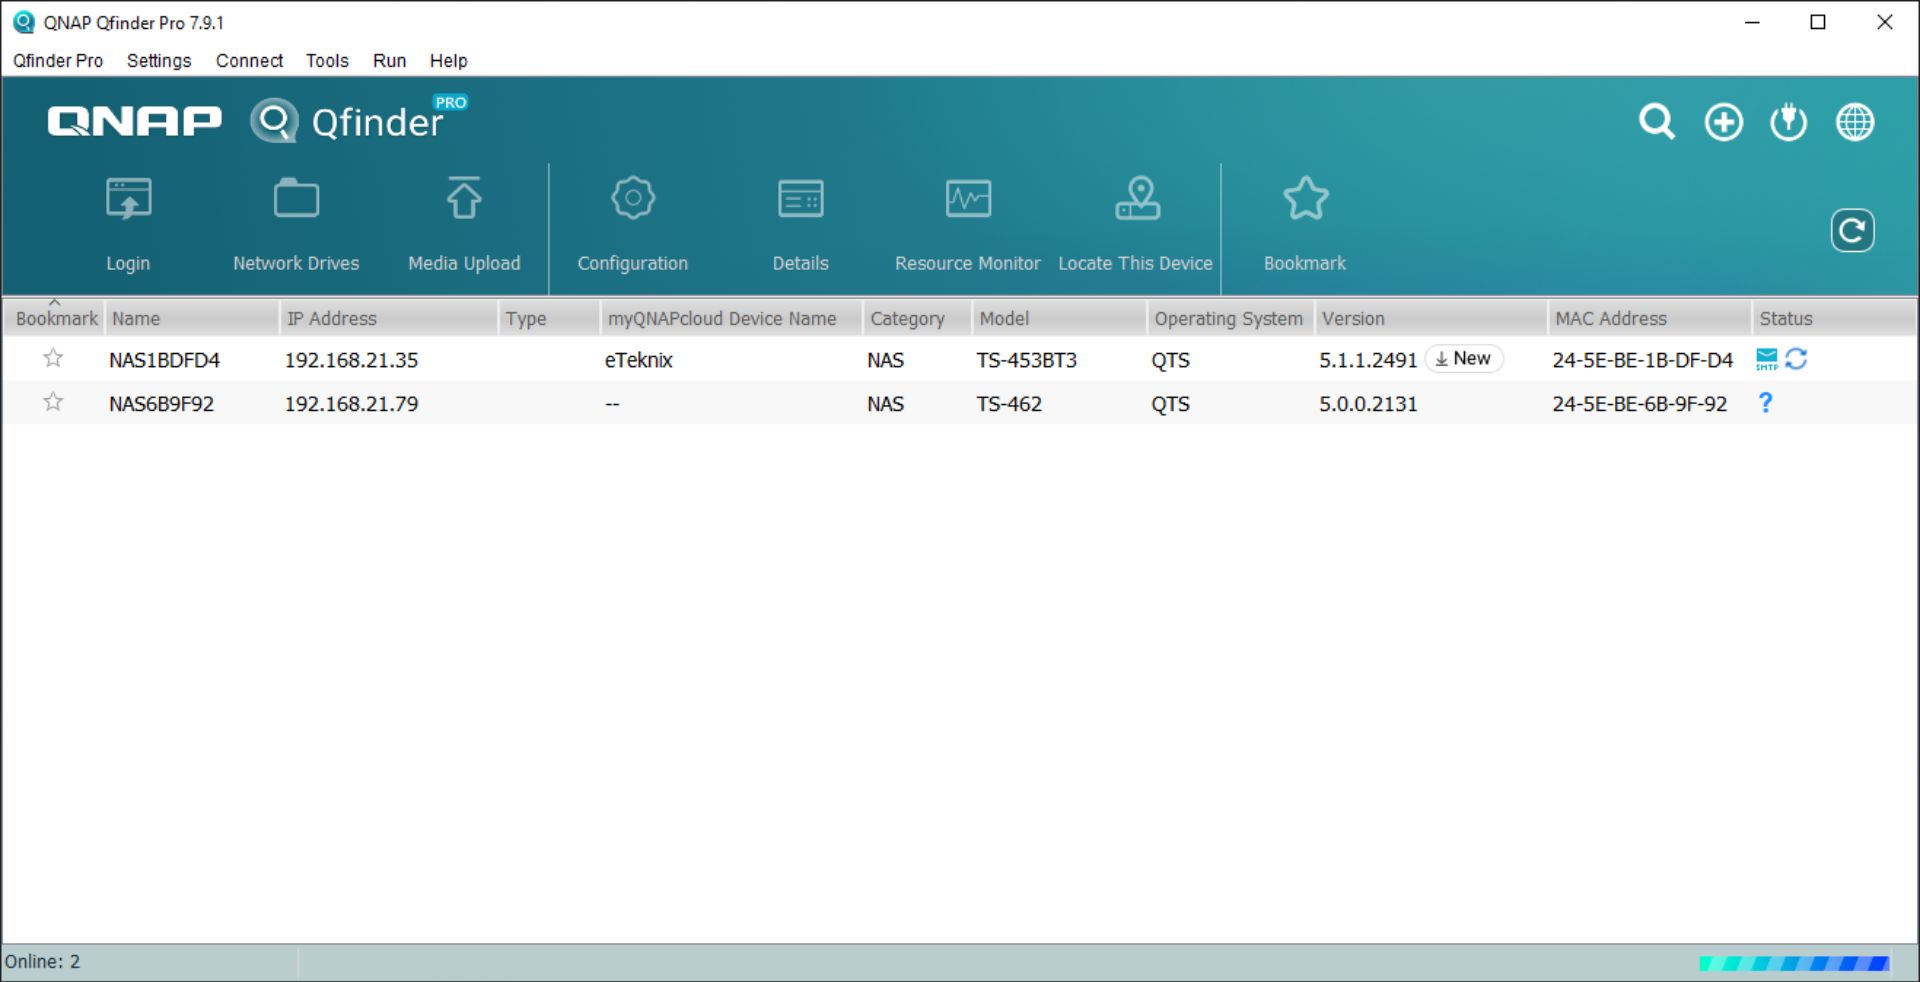
And congratulations everything is set up and you are now asked to use QNAP Qfinder to locate the NAS.
The NAS is listed clearly at the top of the QFinder list.
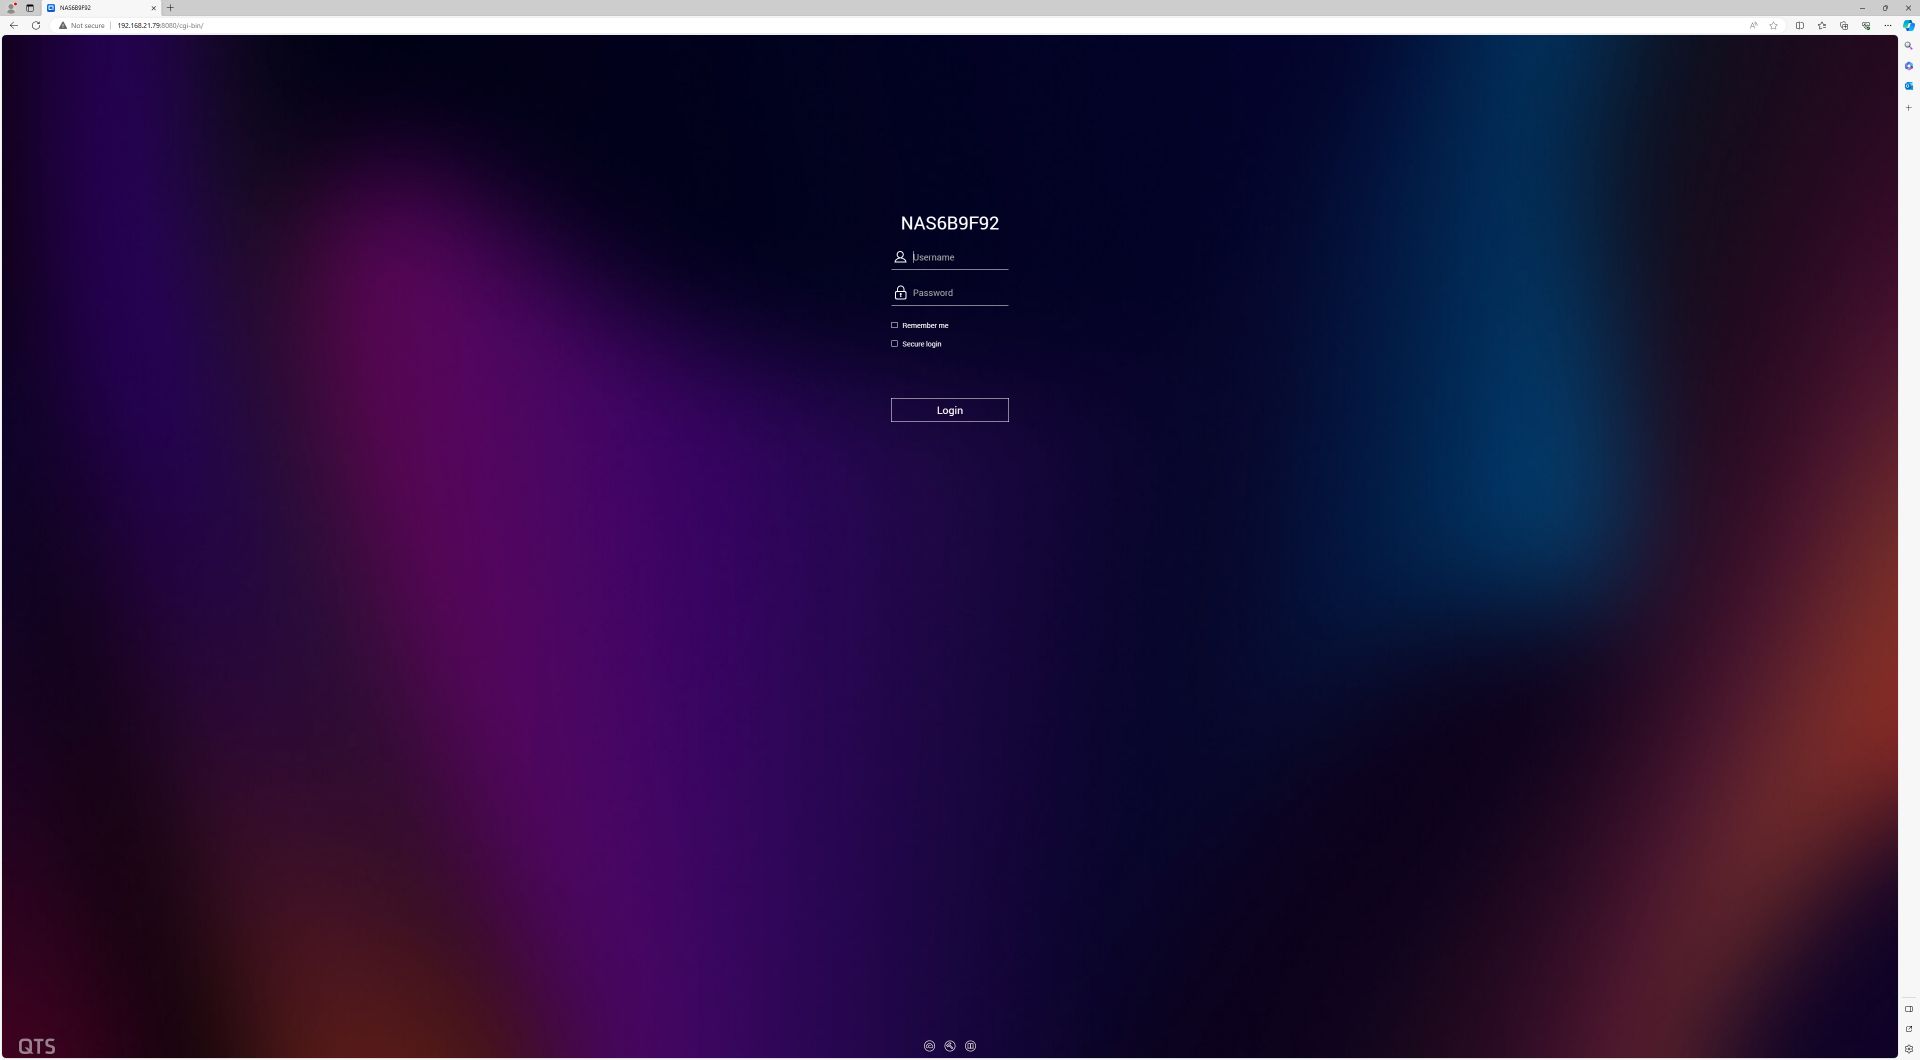
The login screen is presented with the username and password alongside the option to remember me and for secure login.
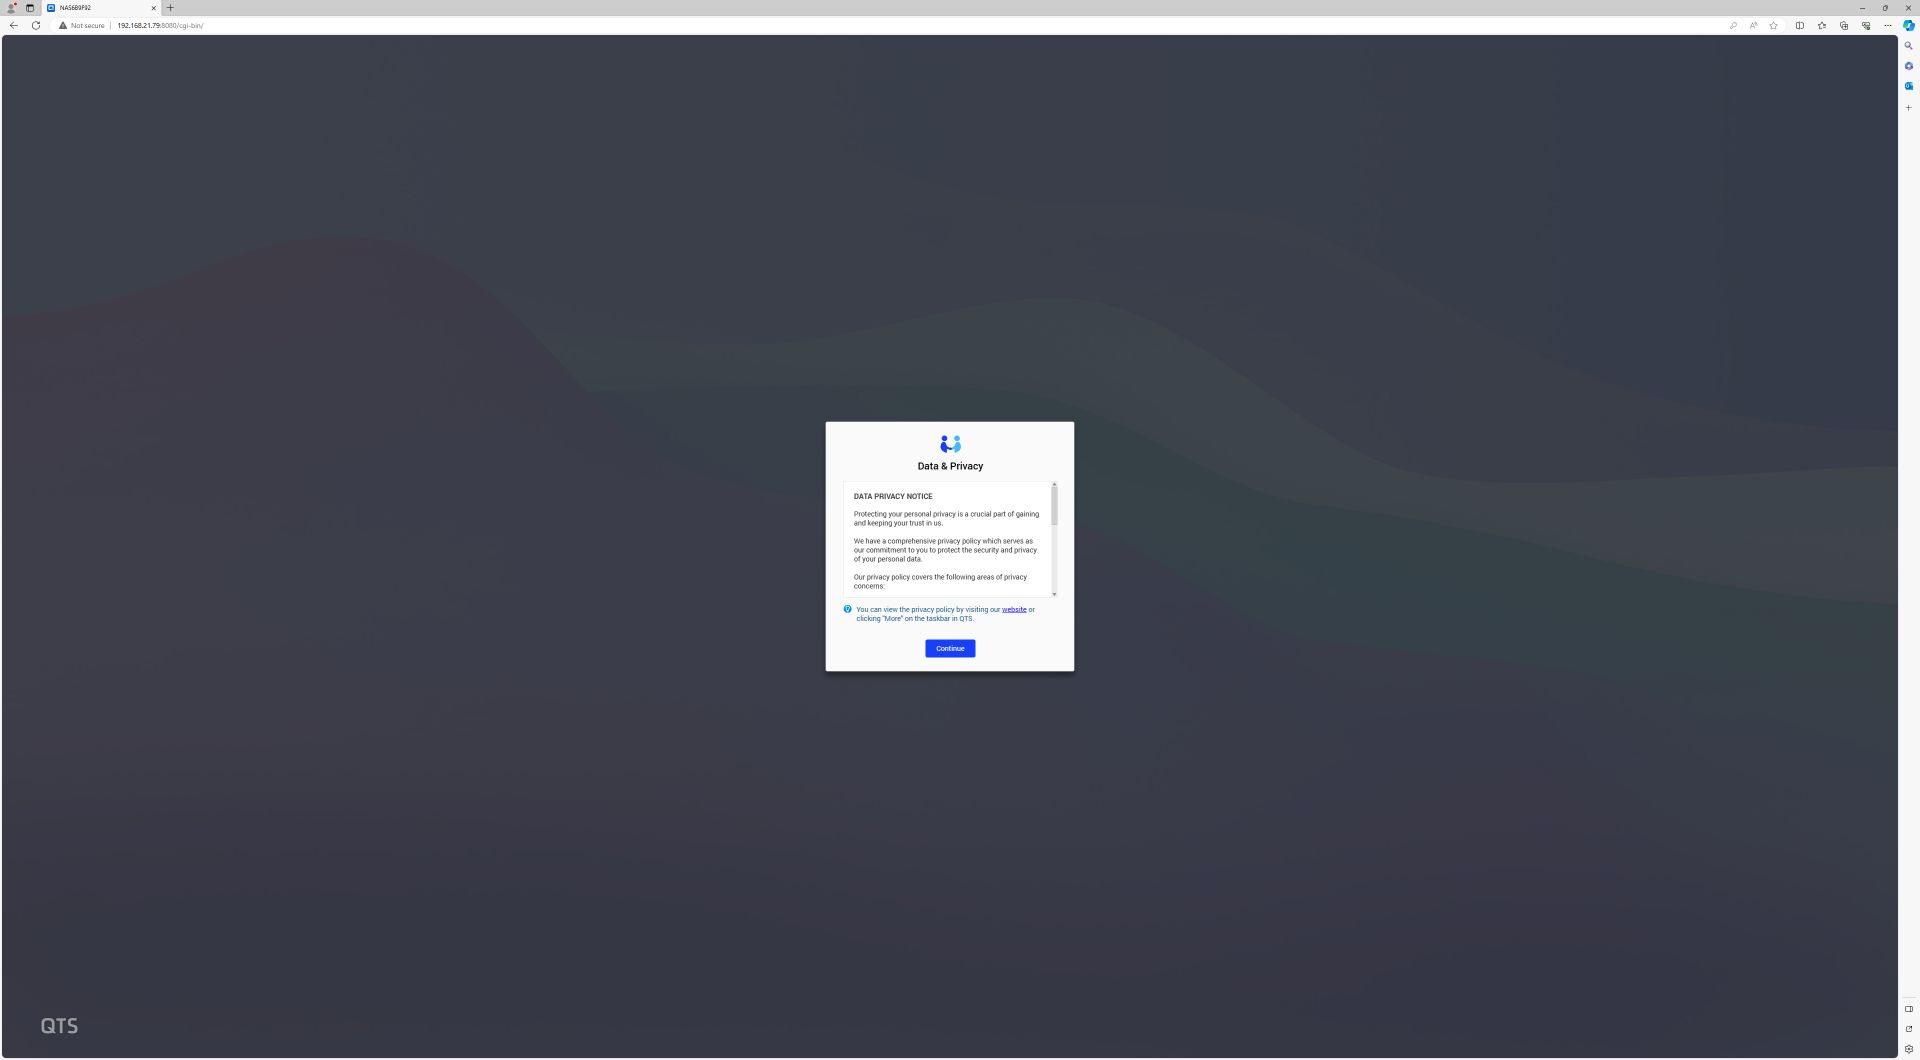
After logging in you receive a data and privacy notice alongside a continue button.
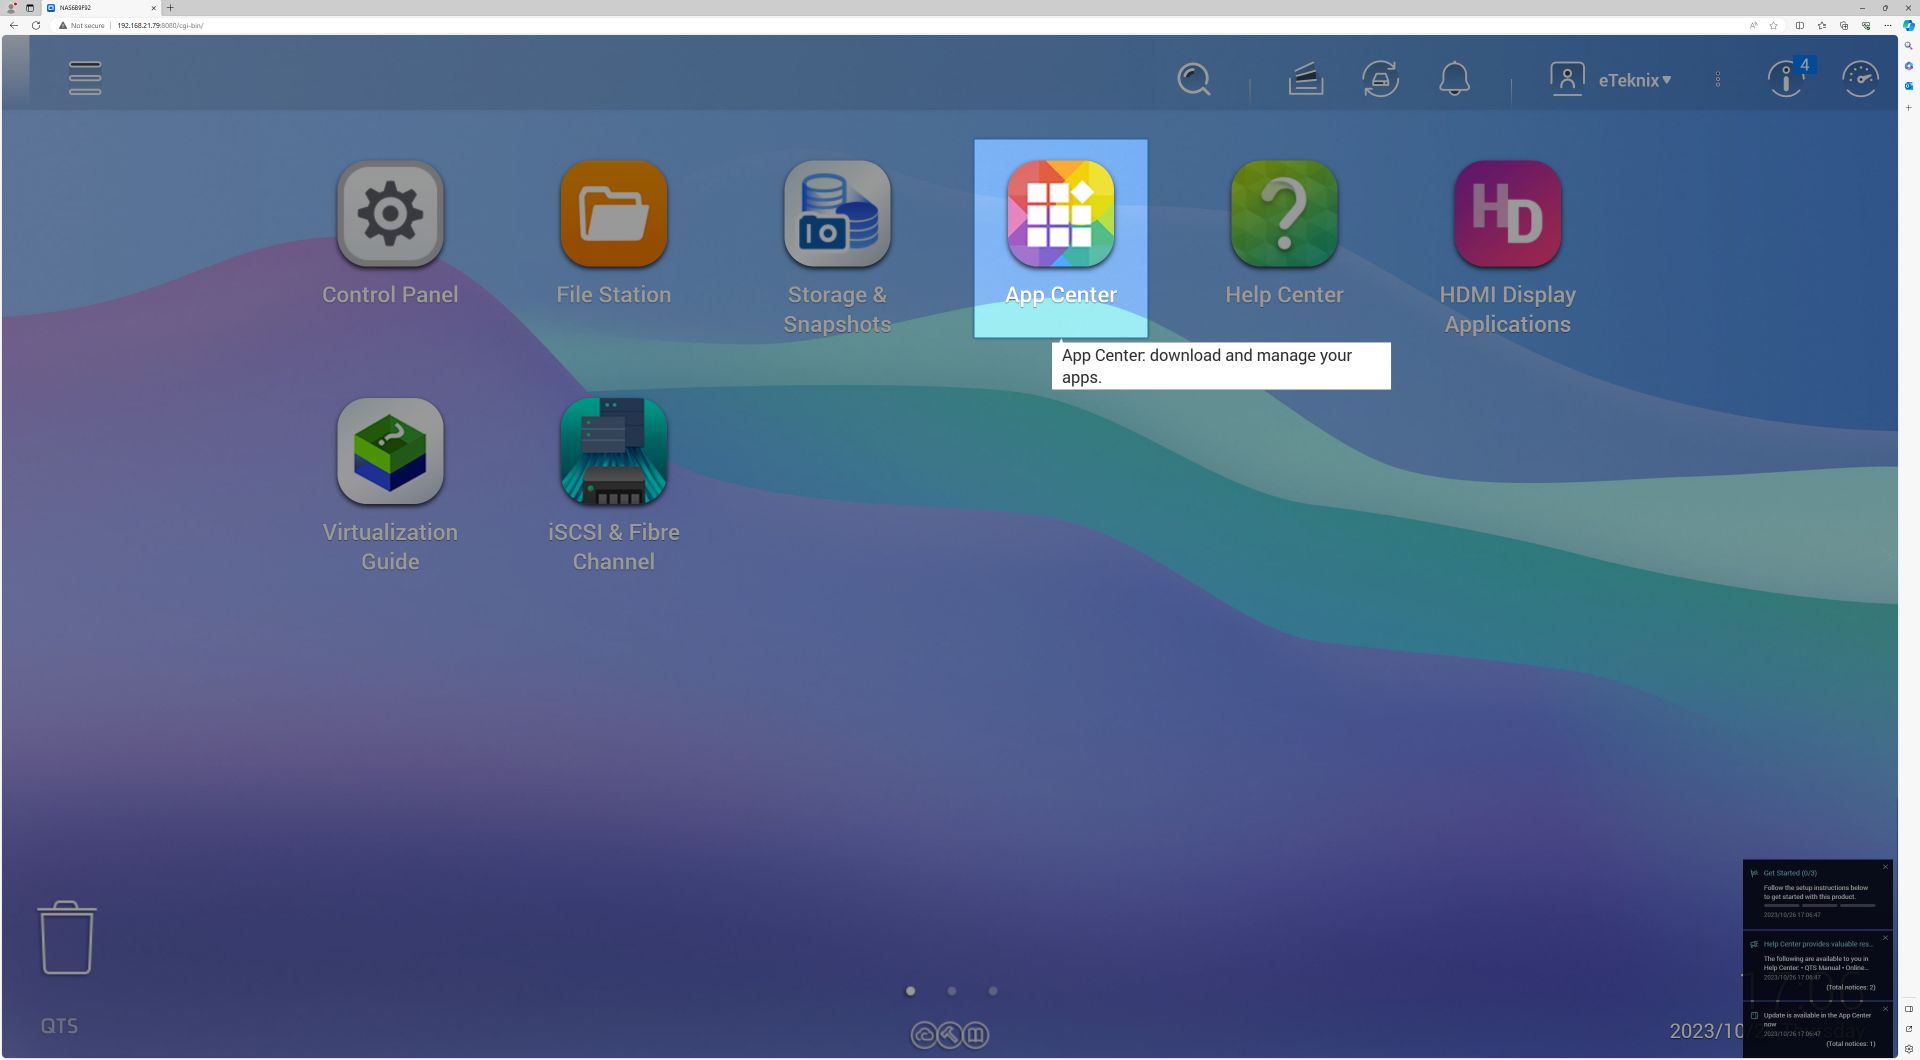
The NAS software has a built-in tutorial which gives you an insight into the various apps and features on the home screen. The image below shows the App Center where you can download and manage your apps.
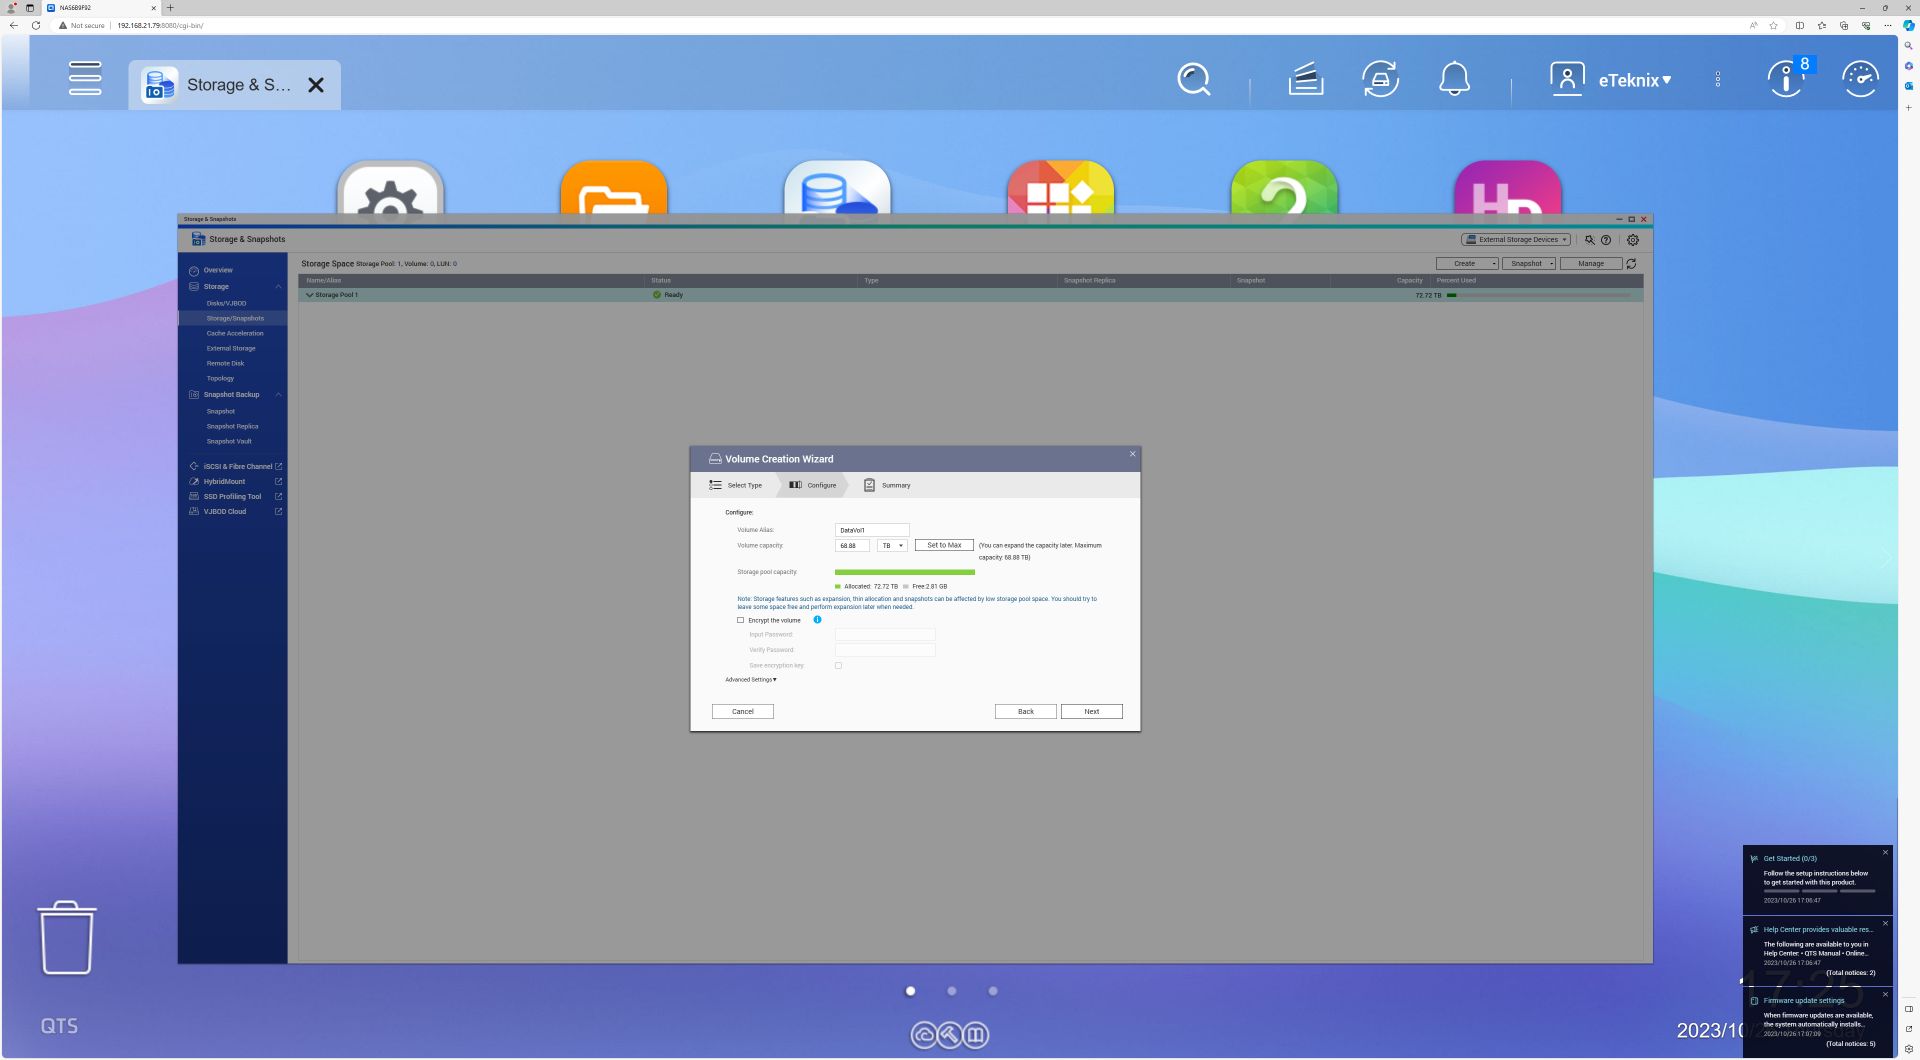
Moving into the actual setup with the volume creation wizard for creating a storage pool

You have suggested the choice of using the recommended size.

You also get the option to set it to the maximum capacity.
The confirmation screen.

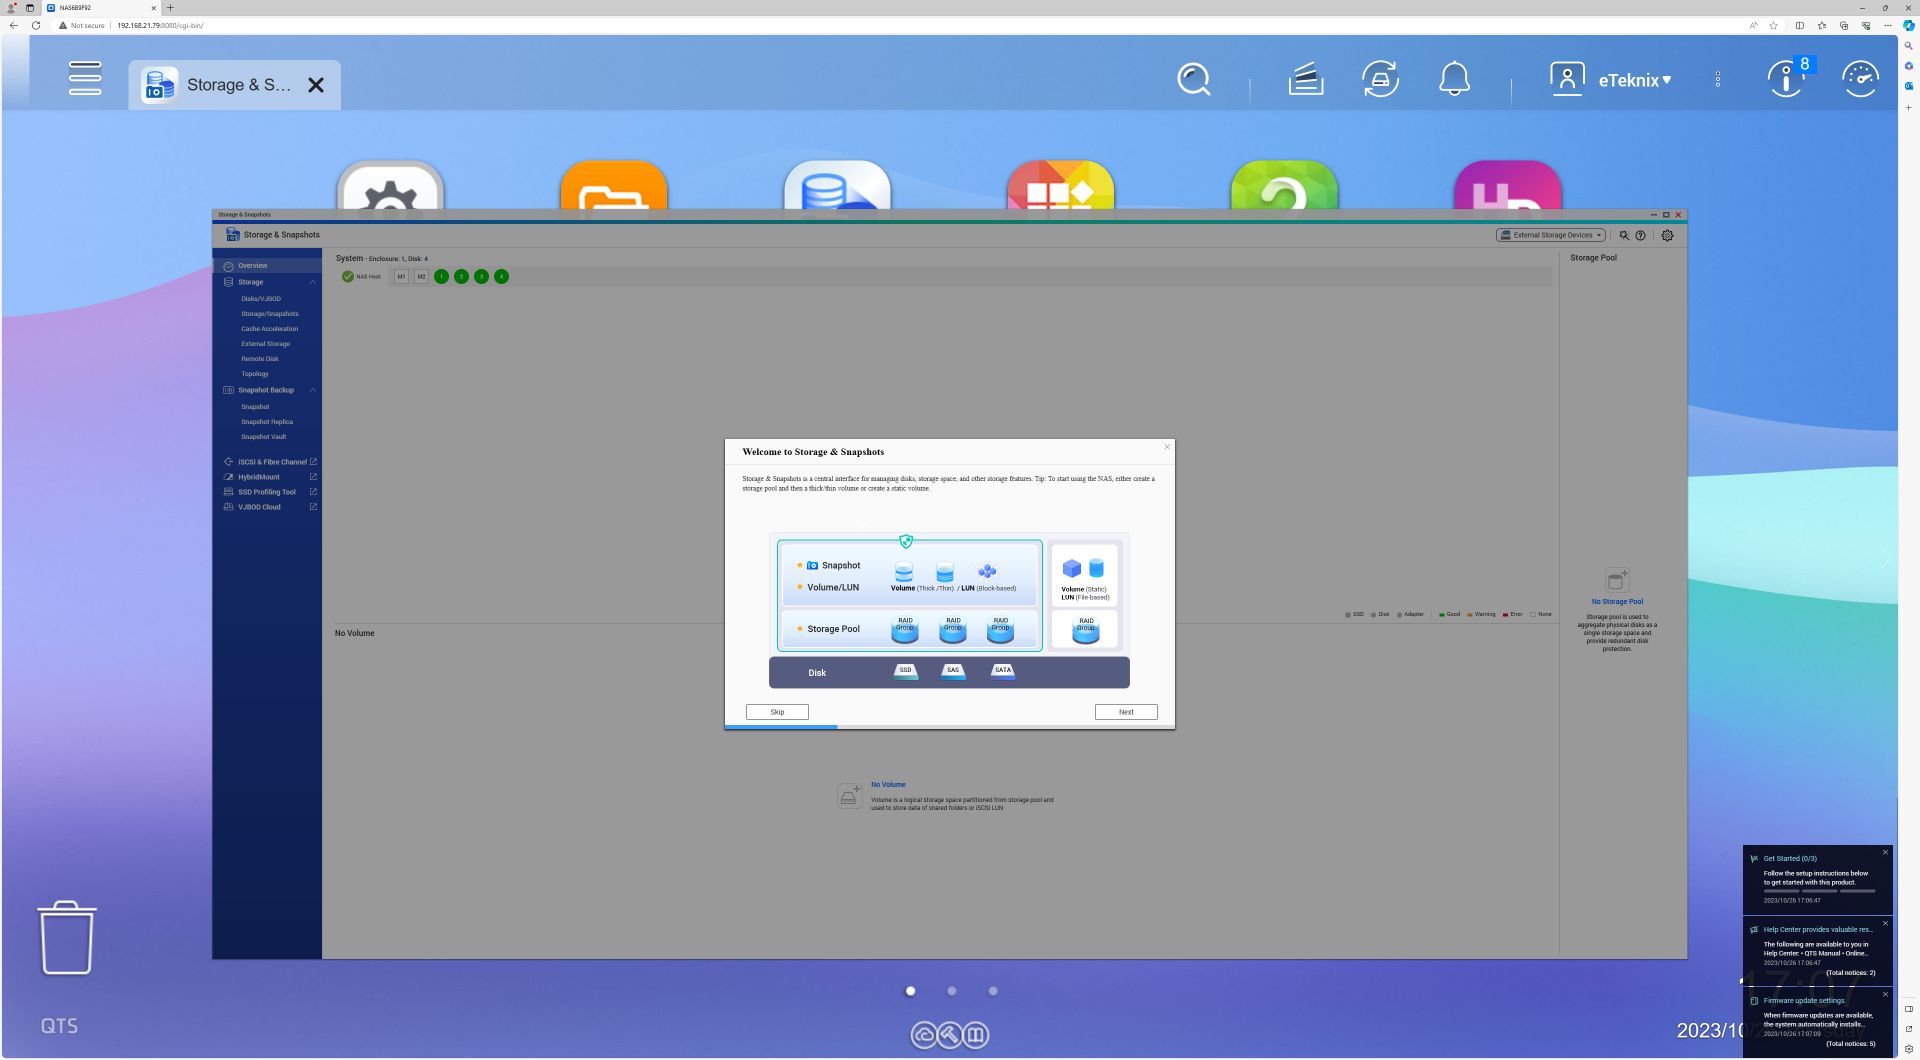
Setting up the storage snapshot gives you a welcome screen explaining the storage and snapshots
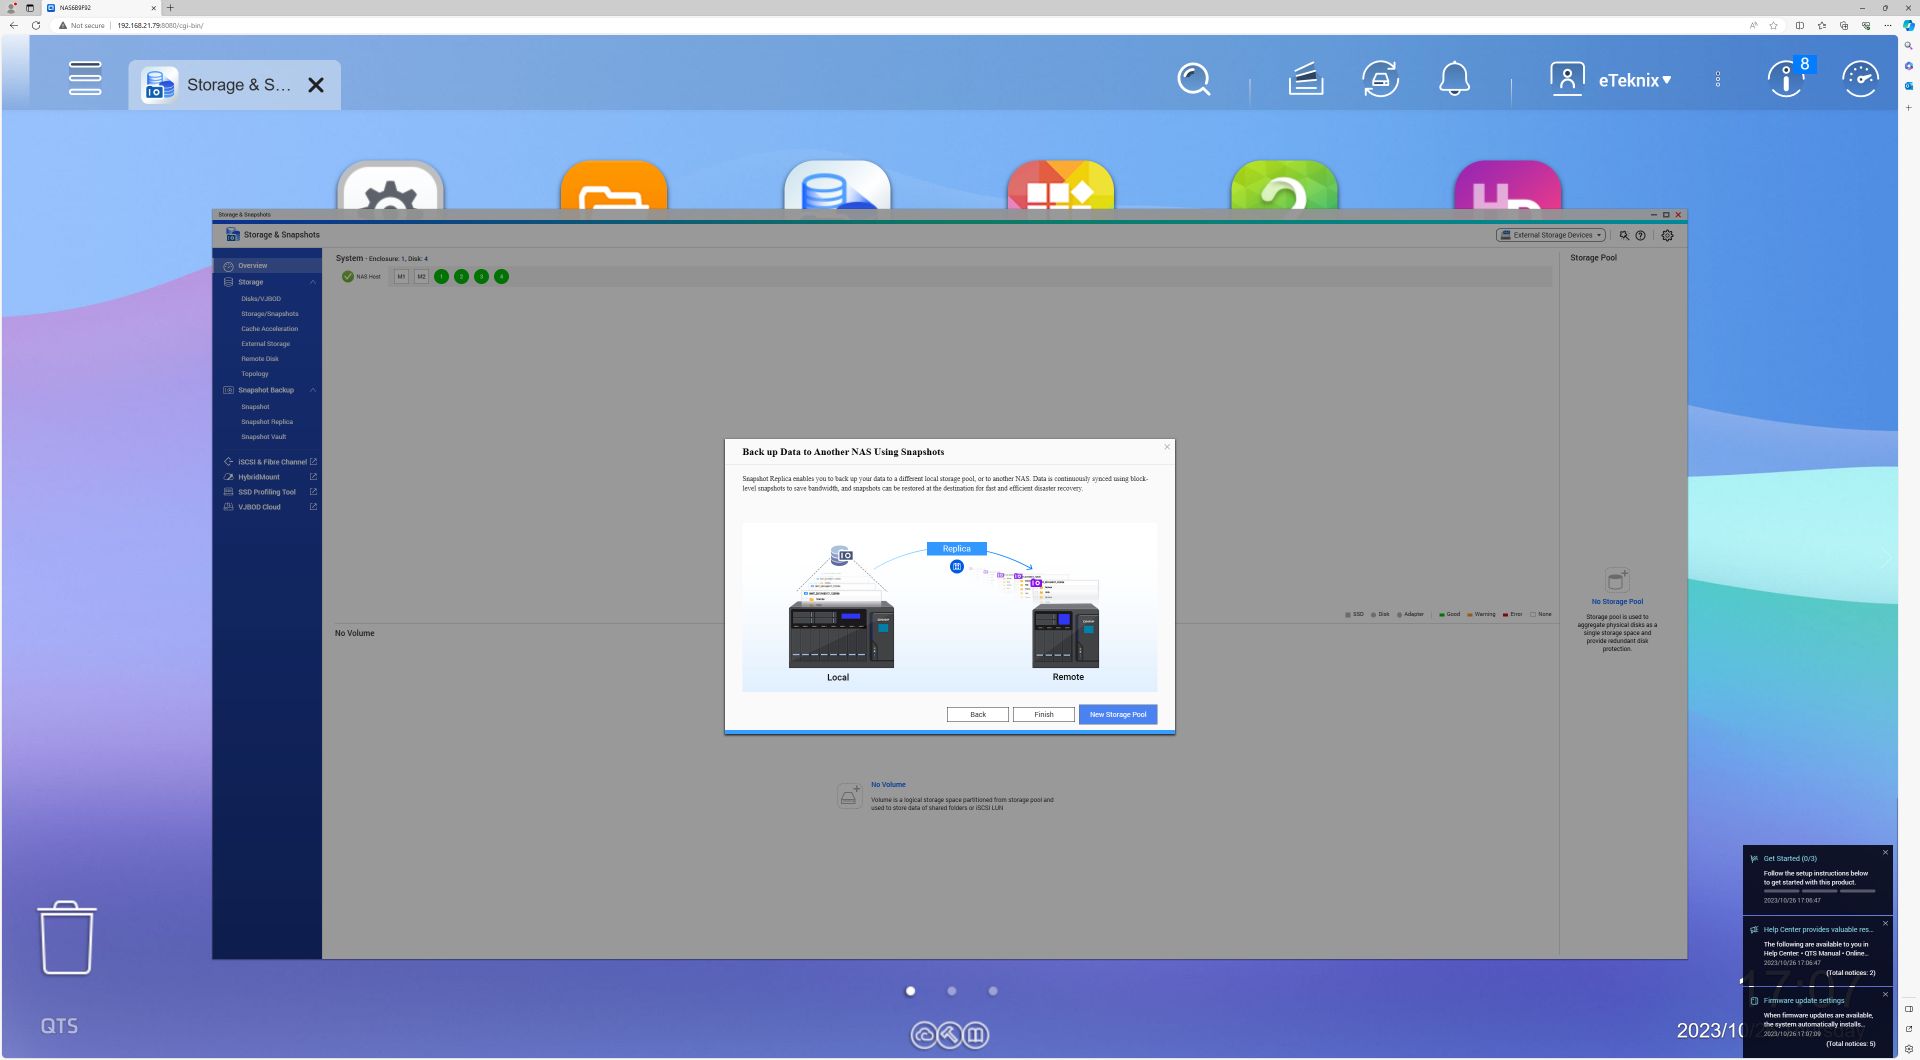
You can backup your data to another NAS using snapshots
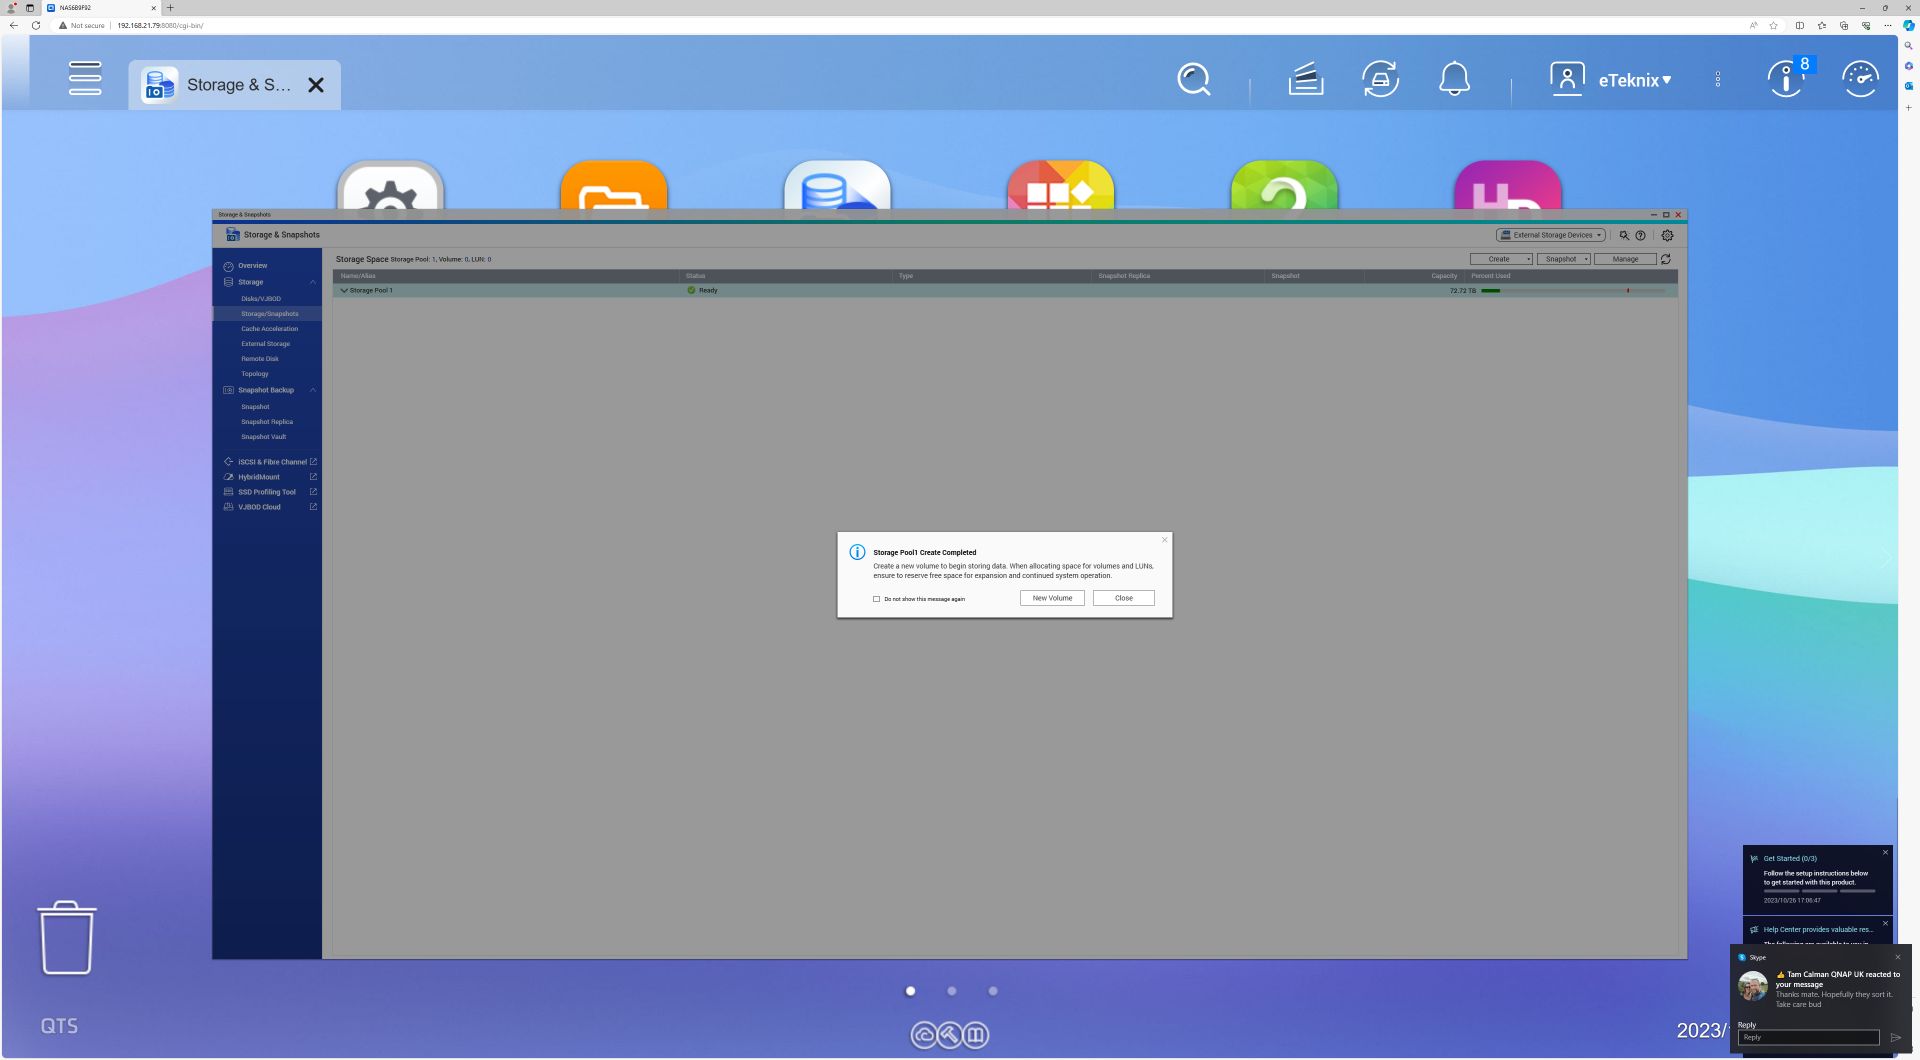
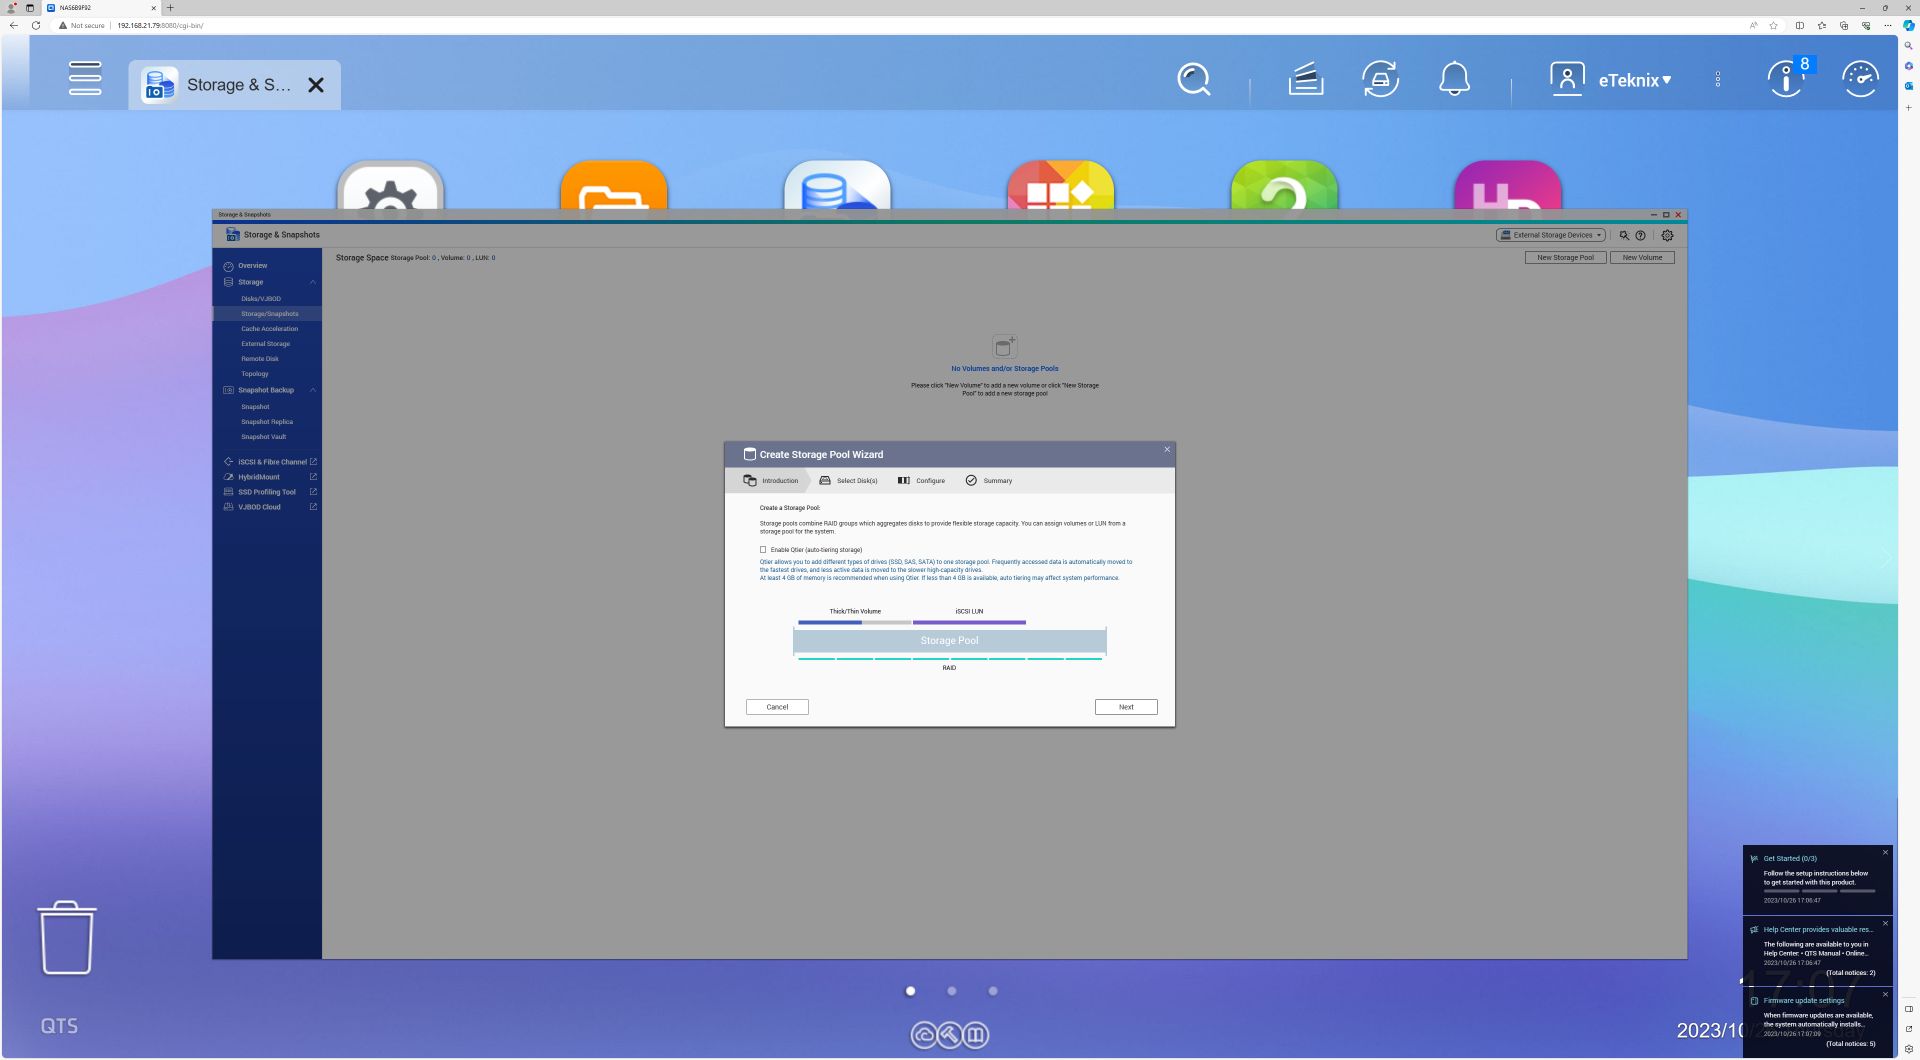
You can create your storage pool.
You can set your disks in either JBOD, Raid 0, Raid 5, Raid 6 or Raid 10
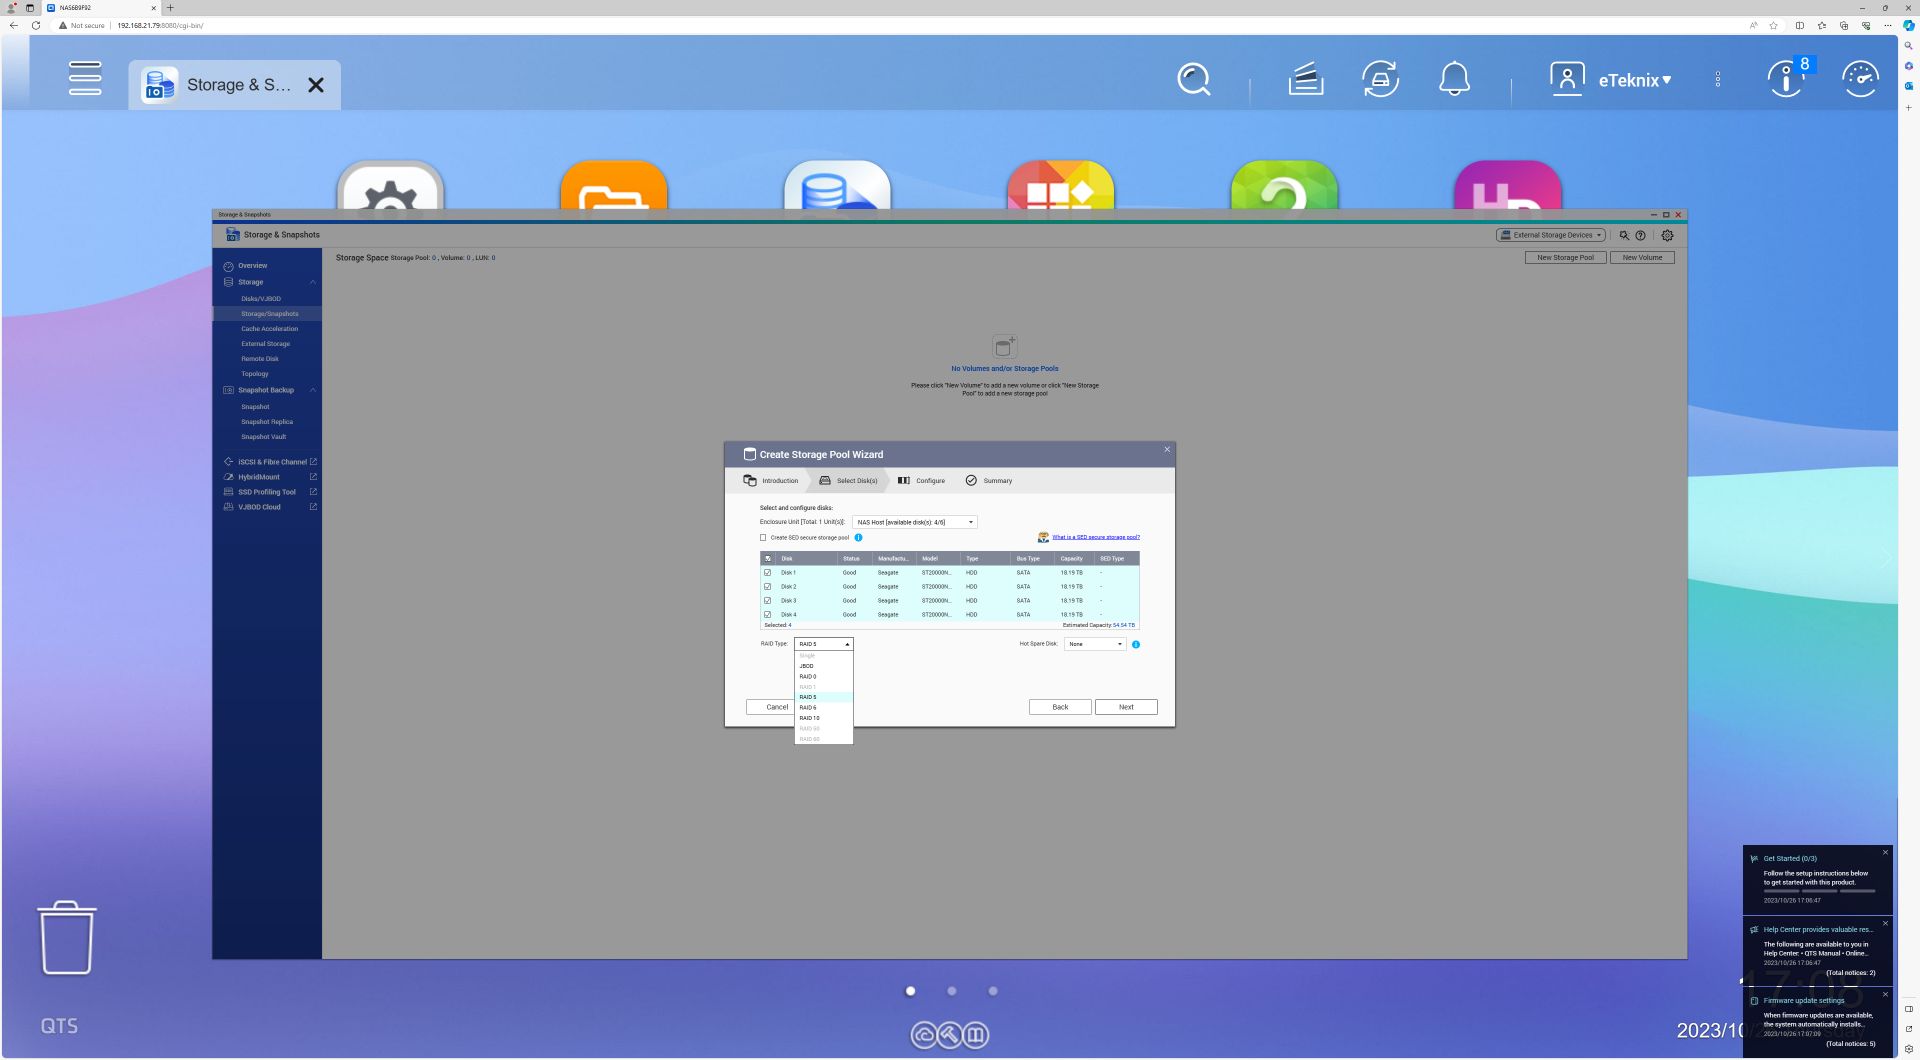
We chose to set ours up in Raid 0.
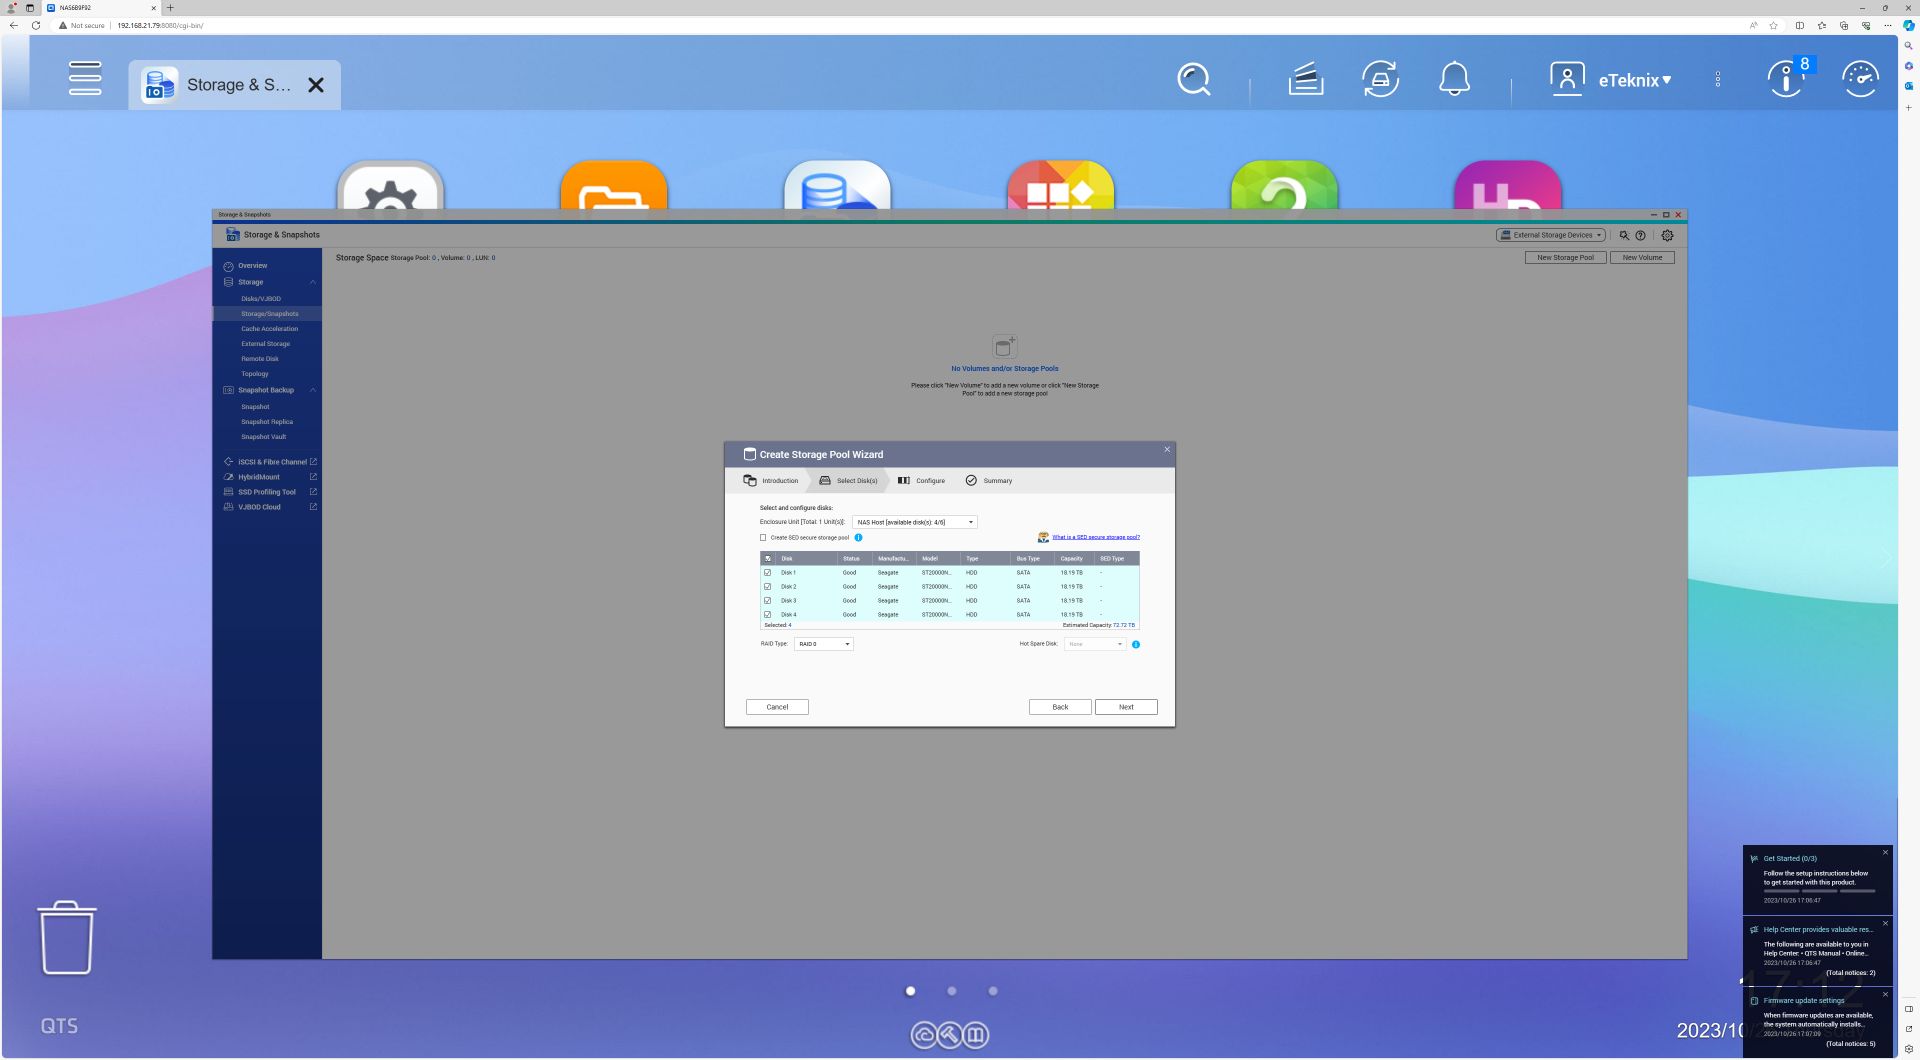
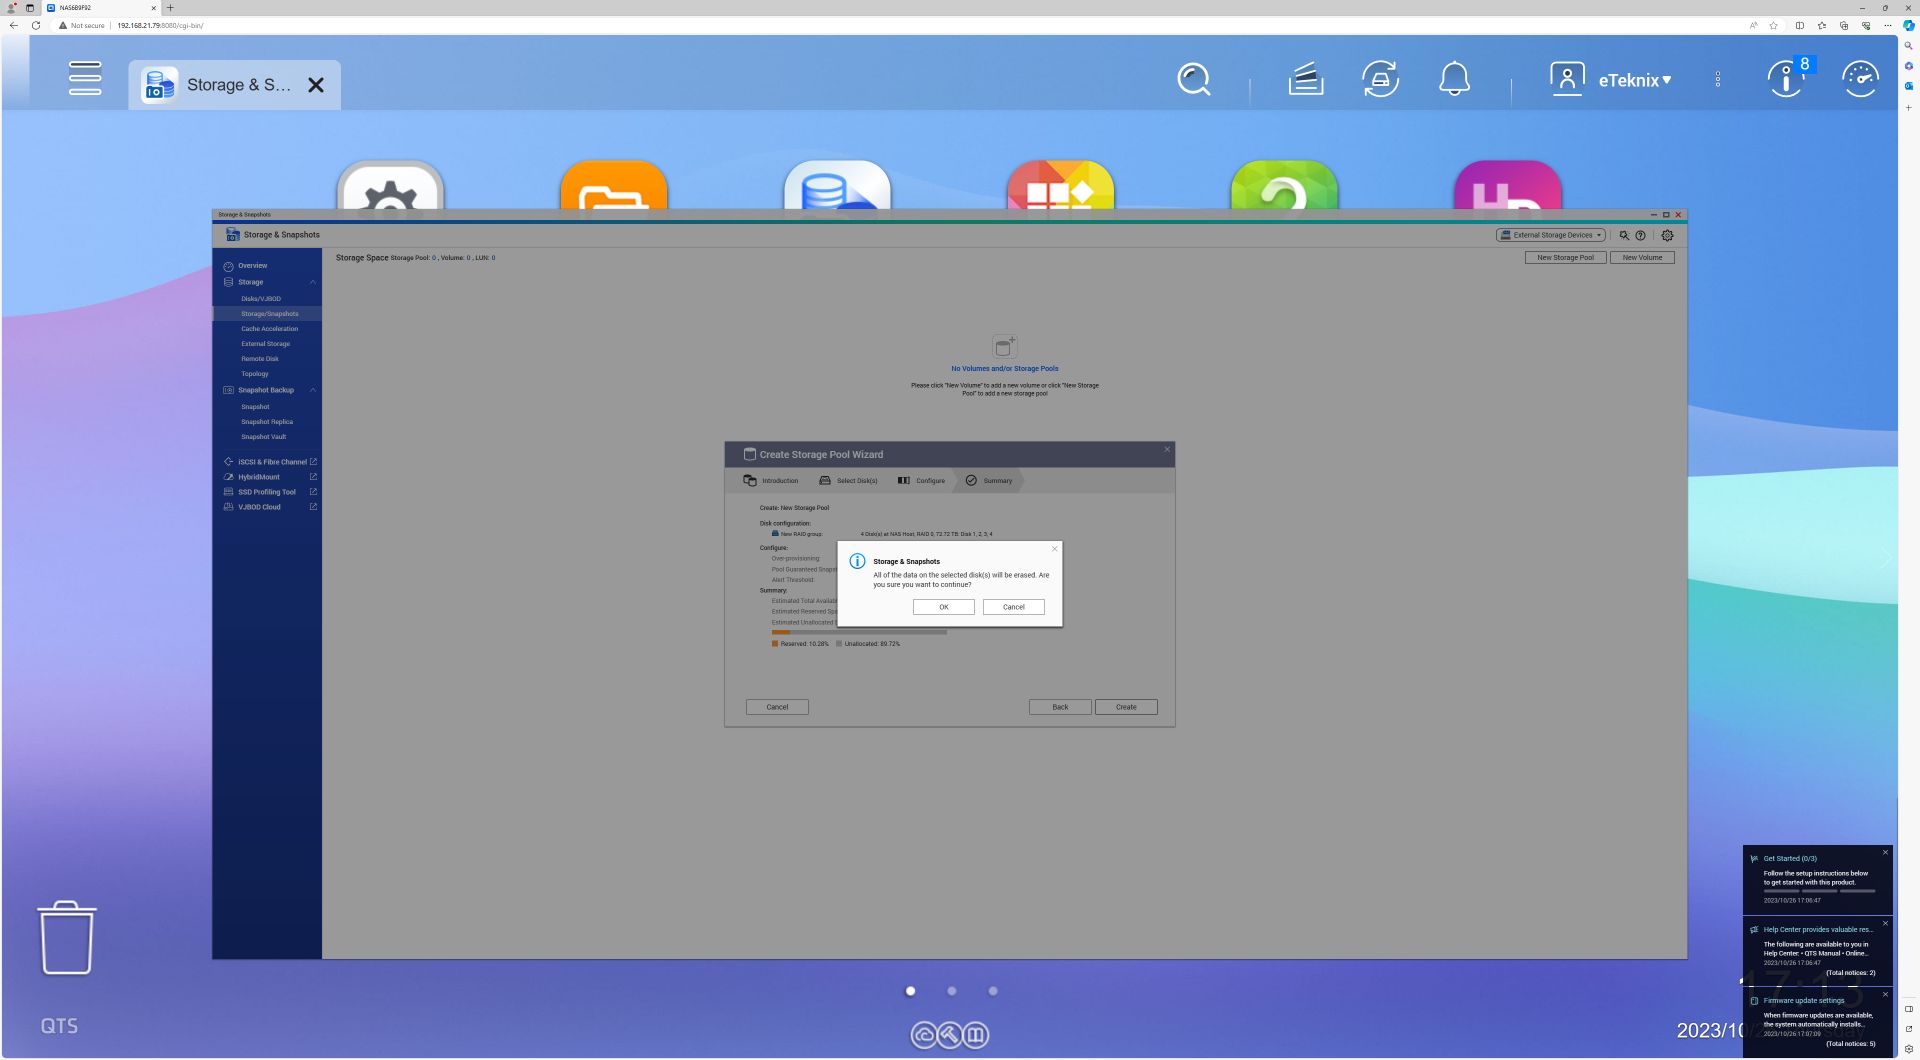
Following that we get a summary of our setup.

Confirming this setup erased all the data on the disks.
And we get a final confirmation of our storage pool creation.