QNAP Turbo NAS TS-453 Pro 4-Bay NAS Review
Bohs Hansen / 10 years ago
A closer look inside
Upgrading the memory in the QNAP TS-453 Pro is a piece of cake. All you have to do is losen a few screws and slide the cover back. It will expose the two RAM slots on the side and it’s just about removing the old and adding now. There isn’t really a reason to do it here as we already have 8GB at our disposal.

But I am not stopping here, I’m taking it all apart to show you what is inside. A word of warning to anyone who attempts the same, it isn’t an easy task with this unit and you will void your warranty. I can also note that the front panel needs to be removed before you try to pull the mainboard out, it is secured with an extra screw at the front.
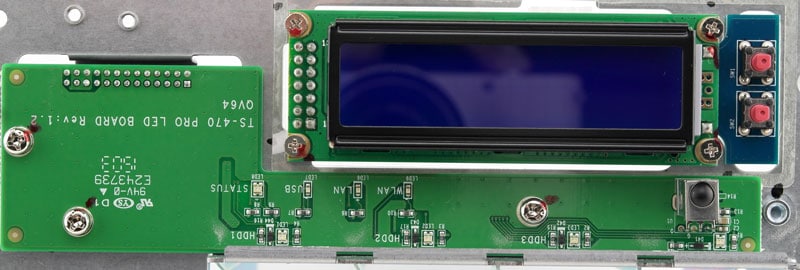
The front display setup is very simple, but it does a remarkable job and works as it should We see a beautiful created PCB that is mounted properly inside the enclosure.
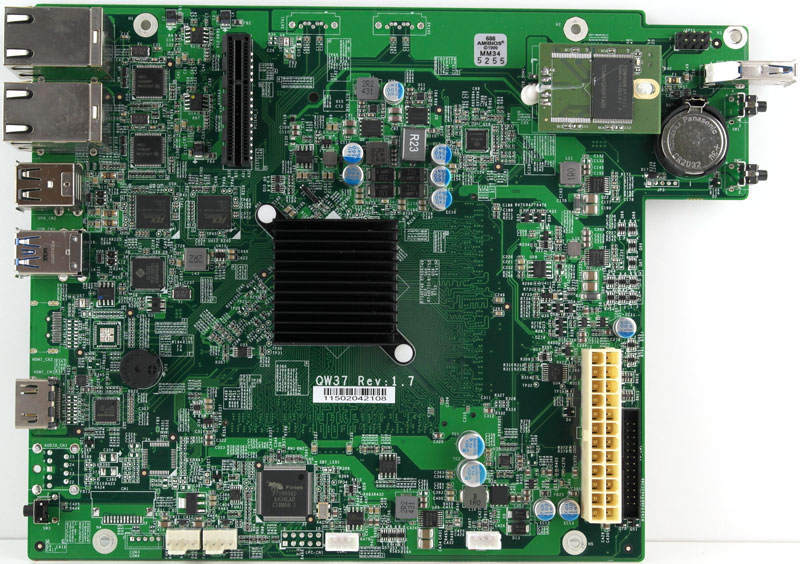
The motherboard looks pretty much like any other NAS board that we’ve seen in other reviews. Ports at the front and back, a PCIe slot for the SATA bridge connection and some chips here and there. What else could it be, it’s a computer board.

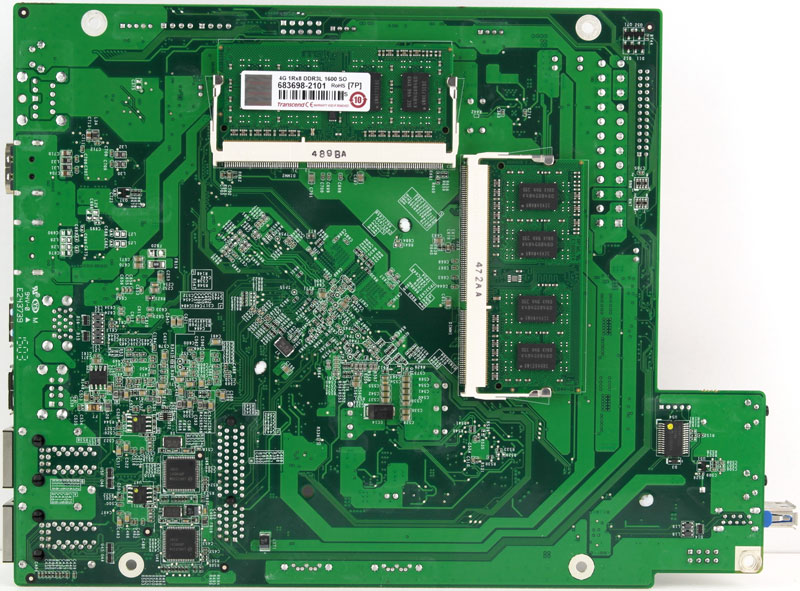
The rear of the motherboard isn’t very spectacular and doesn’t hold much more than the memory modules. There are a few chips present and among them are the two Intel WGI210AT chips for the Gigabit Ethernet ports.
The top side of the motherboard is a little more interesting and covered with a lot more. To the top right we see the 512MB Flash module that uses Toshiba NAND for the QTS system and the rest is equally distributed around the processor that is passively cooled.
There are two more Intel WGI210AT chips located next to the LAN ports, a Genesys Logic GL3522 USB 3.1 compliant 4-port hub controller, an ASMedia ASM1442 HDMI IC, a Fintek F71869AD Hardware monitor chip, and two PLX Technology PEX 8603 that each offers 3 PCI Express Gen 2 (5.0 GT/s) lanes.
The power supply is built in and has its own little 40mm fan as well as plenty of connection to individually power all the components. No bottlenecks anywhere due to this.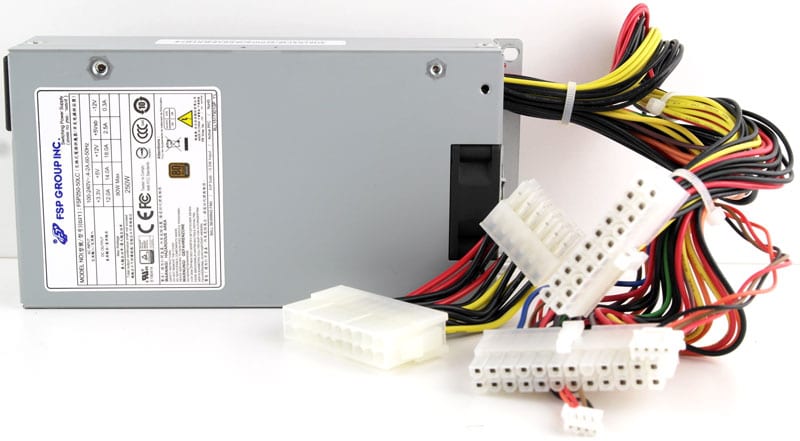
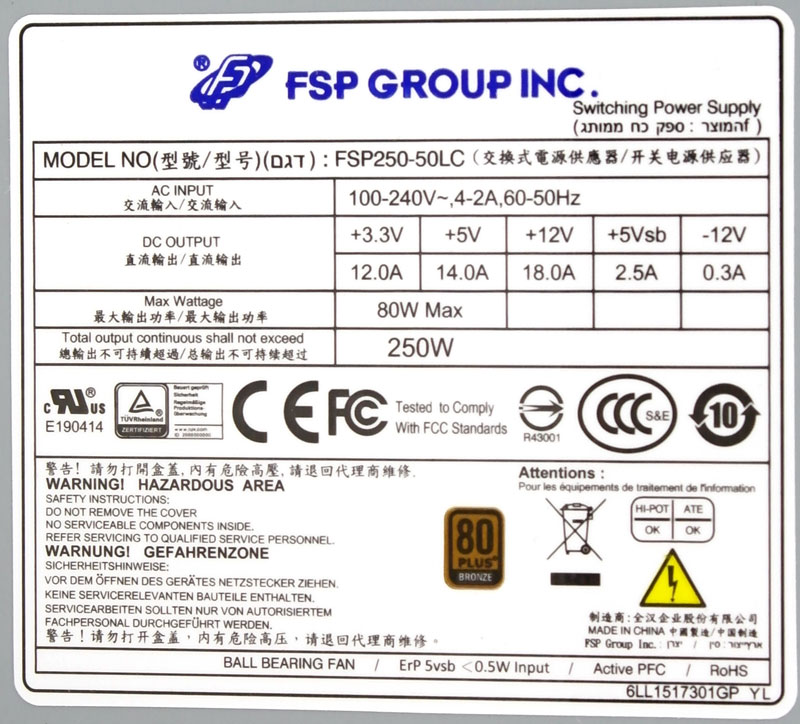
The PSU is made by FSP Group that is known for their great power supplies. This one also comes with an official 80 Plus Bronze certification and can deliver a total of 250W, more than enough for a system like this, even when packed with the most power-hungry drives.
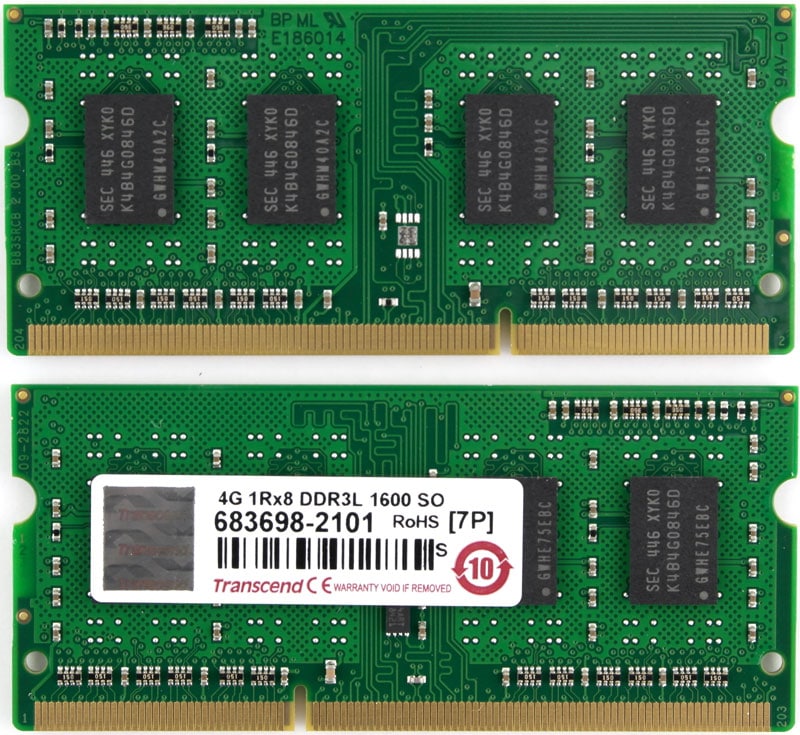
The two memory modules used come from the house of Transcend and each have 4GB capacity and a speed of 1600MHz.
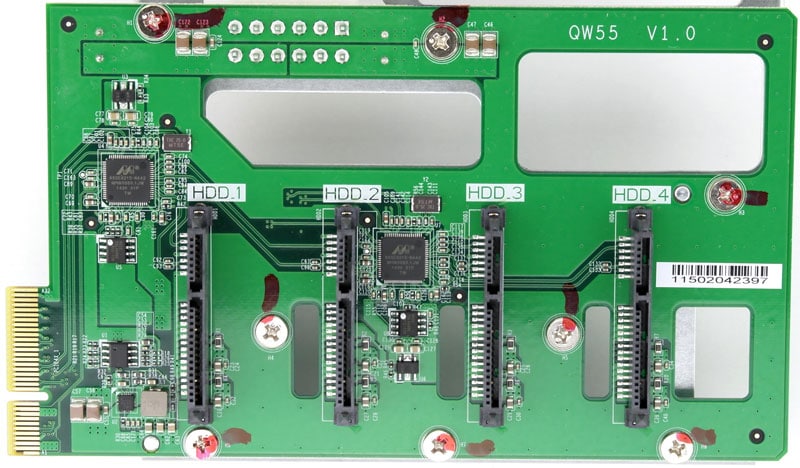
The drive bridge is a little piece of art itself. It has several capacitors on the back to make sure your drives get the best and stable power. It also has two Marvell 88SE9215 SATA to PCIe controller directly on the board.
