QNAP Turbo NAS TS-453 Pro 4-Bay NAS Review
Bohs Hansen / 9 years ago
Setup – Initialization & Storage
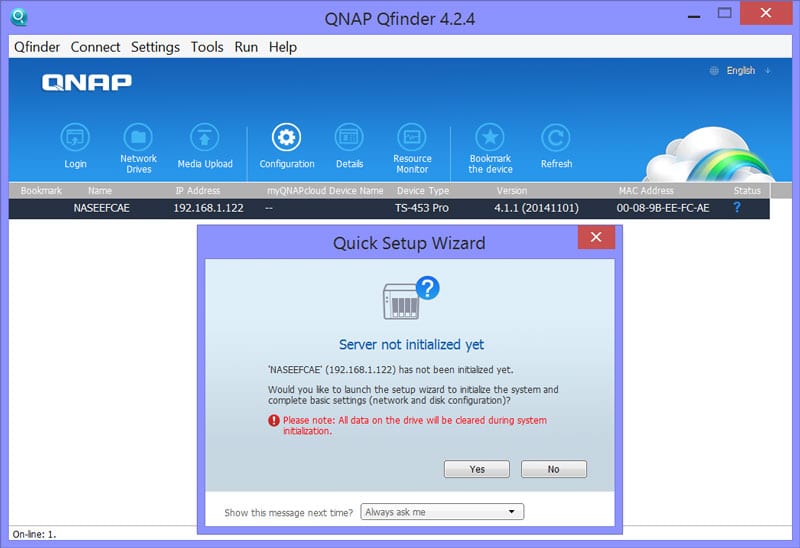
There are multiple ways that you can initialize the units. I’ve previously mentioned the myQNAPcloud setup, but in this case I’ll use the old-fashioned Qfinder windows application. It will quickly detect all connected QNAP NAS on our network and allows us to configure and set them up.
QNAP Qfinder
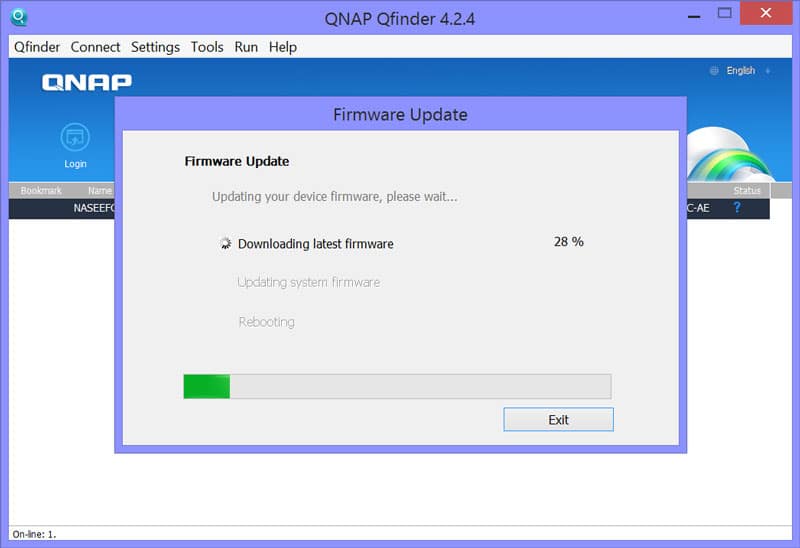
The Qfinder will automatically detect whether a new firmware is available and prompt you to update your device. It is highly recommended to do so and it won’t take long.
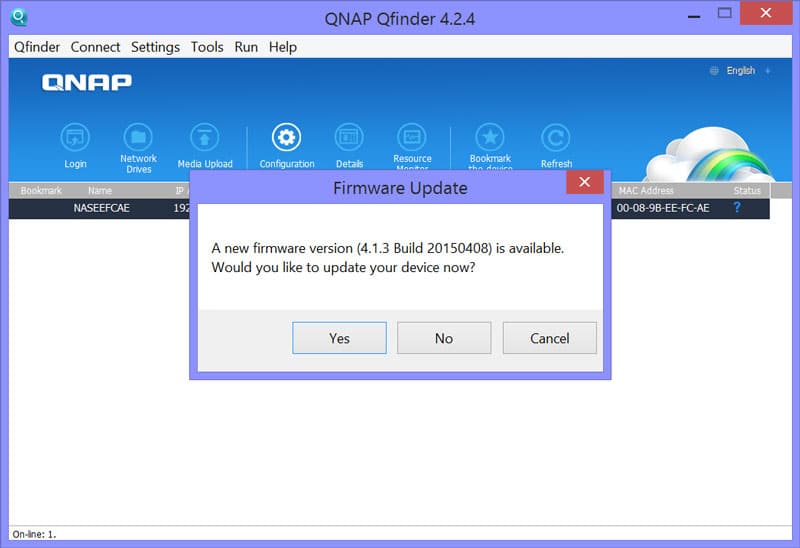
A new firmware doesn’t just plug possible security holes and fixes bugs, it usually also adds a bunch of new features and functionality to your device. So do yourself the favor and update your NAS just as you should any other device on your network.
Initialization
Once we’re through with the update and the unit has rebooted, we’ll be prompted with the actual setup.
We have two options how to initialize the unit, for home or business use. The difference is in what applications and features will be installed by default during the initialization and it can all be changed later. So no worries whether you pick the right or not.
The Home setup focuses more on media and sharing where the business setup focuses on performance.
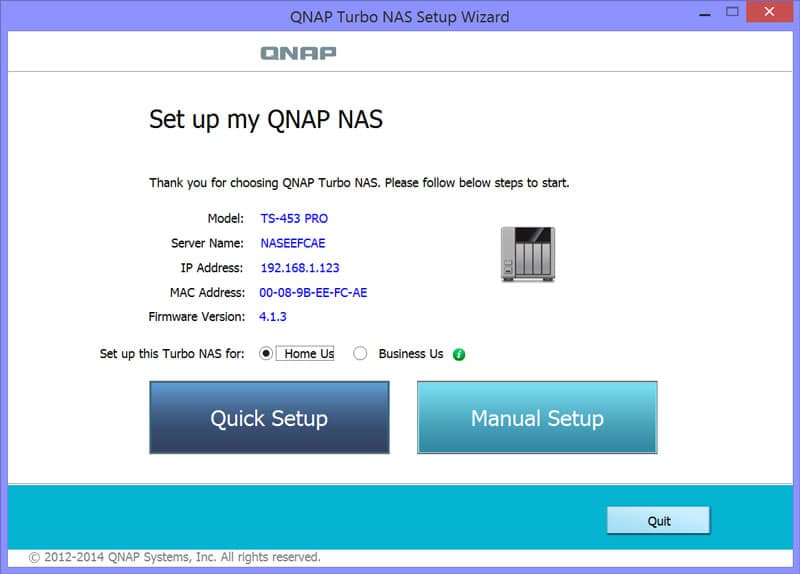
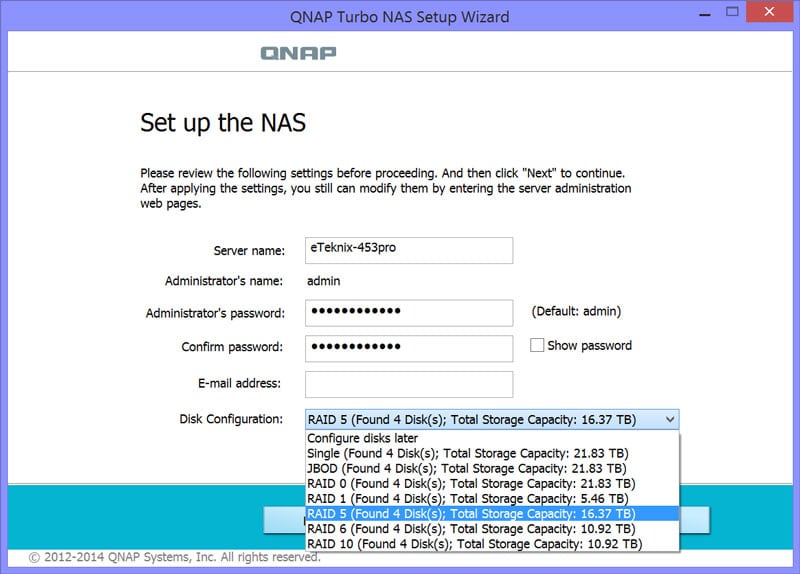
There aren’t many steps to do to get through the initialization, but the unit does need a few information such as unit name, password and disk configuration.
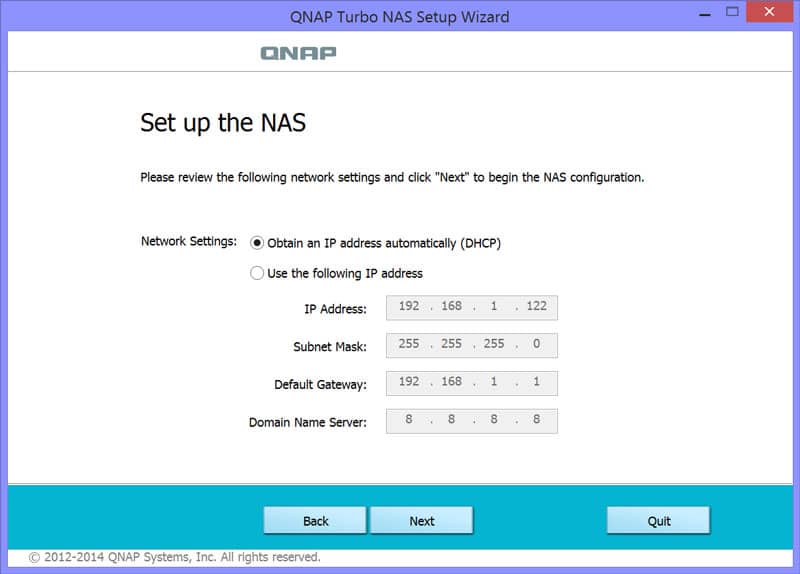
The unit will also need a basic network configuration to allows you to access the administration panel once the initialization is done. In most cases you’ll just leave this on DHCP and let your router manage it.
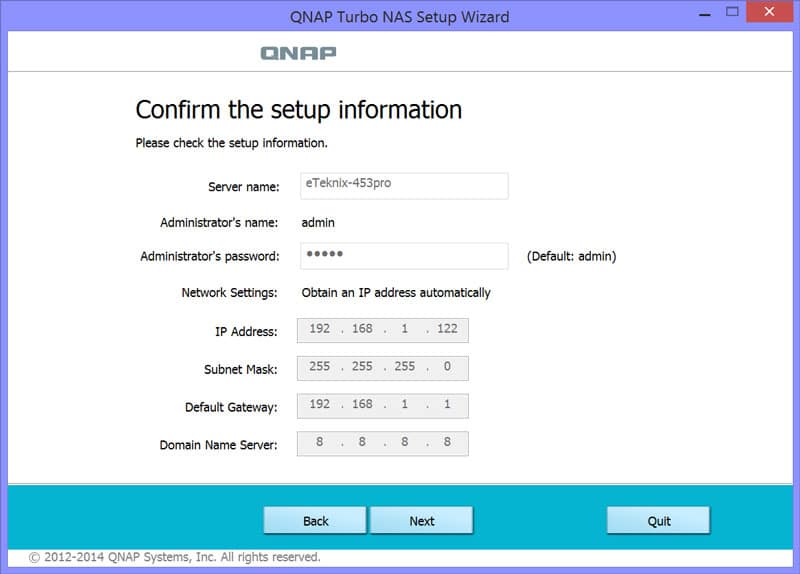
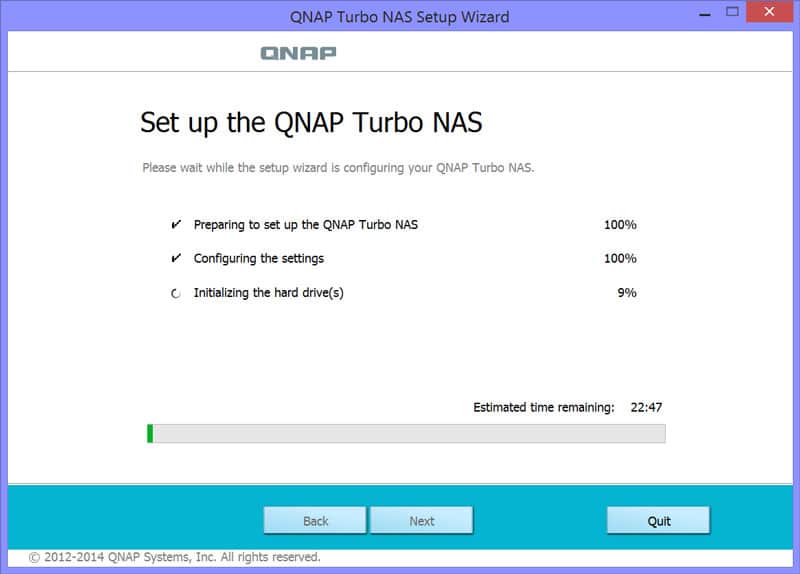
Finally, it will give you summary of the settings before you apply it and the unit starts to set up both the system and your disk
Go get yourself a cup of coffee, do your dishes or just take a breather for about 20 minutes depending on your disk configuration and the unit will create your setup.
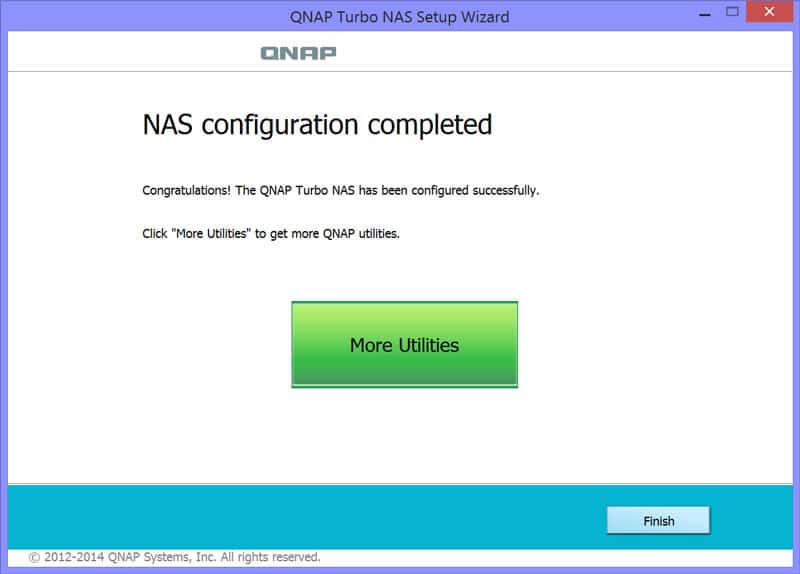
The setup wizard will also give the ability to get more utilities to install on your system before you close the wizard. This is basically just an easy hotlink to their webpage, but it’s convienient.
Login and Web Interface
I quite like the default web interface, maybe it is because I’ve seen it so many times and it feels like coming home. You don’t need to worry if you shouldn’t like it as you can customize and change its appearance once logged in.

Use the administrator details you generated during the initialization and login and you’ll be presented with a Quick Start guide that will explain the basics on how QTS works. You can just close the window if you already know this.

Storage
If you changed your mind about your disk configuration and want to redo it, that’s a piece of pie while you still have lot of options to customize it.
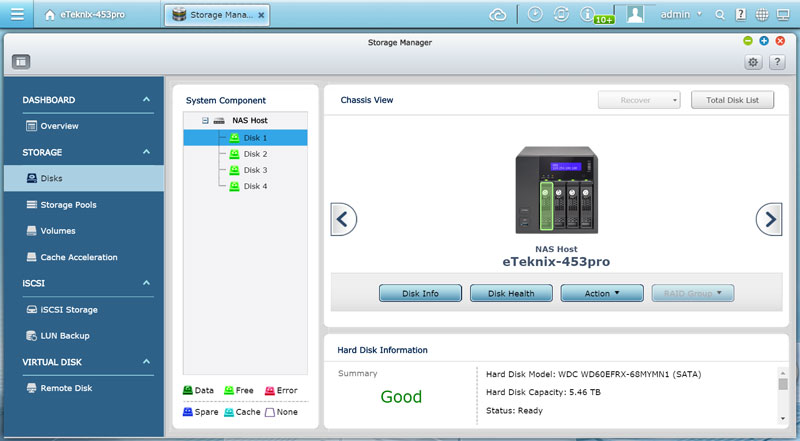
You can’t just create and change you configuration, you can also check up on your individual drives and locate their physical location.
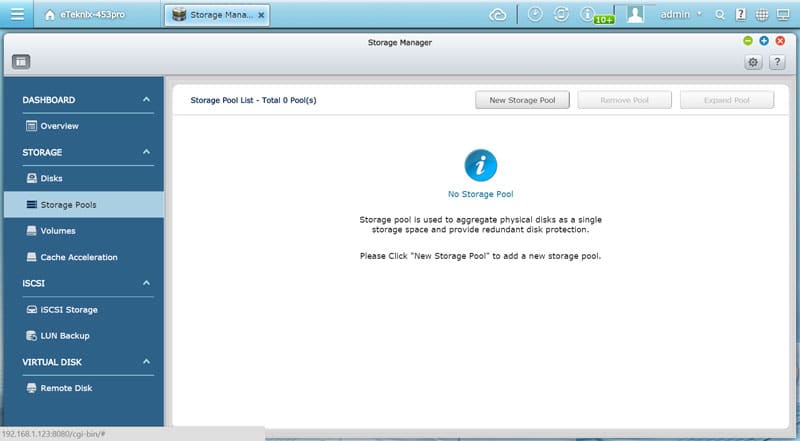
The Storage Pools page isn’t really needed for most people as the Volumes does both, but it does allow for more customized setup for power users and enterprises where everything has to work together.
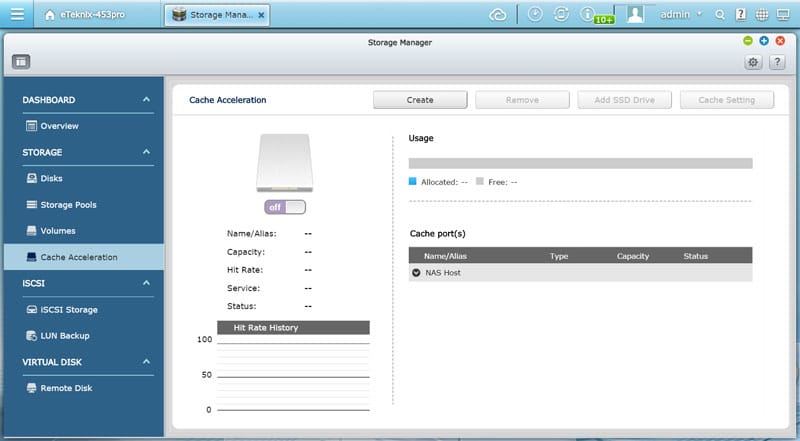
QNAP NAS servers can also use SSDs for caching purposes to heavily speed up operations and access to your hot files. It will however take away drive bays from your storage HDDs, so whether to use this or not is really up to you.
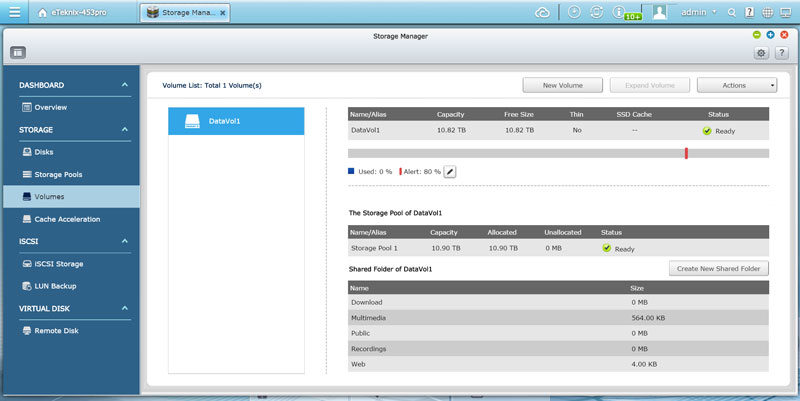
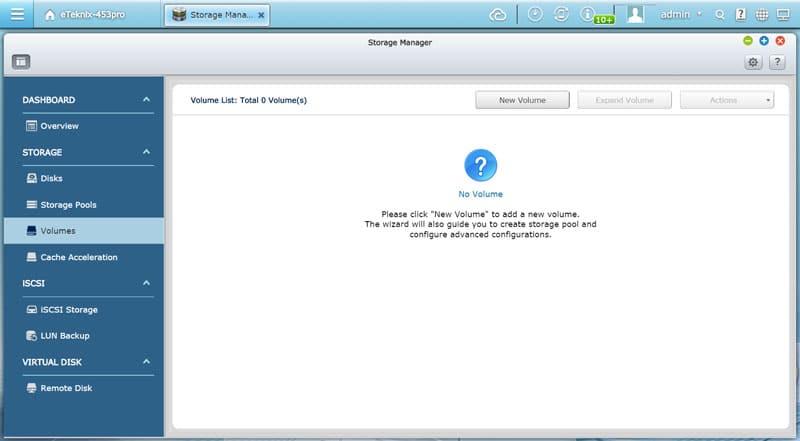
The Volumes page is the one we’ll be using to create our new disk array. I’ve randomly decided that I want to change it to a RAID 10 setup and that’s done in a few easy steps where the first of course is to remove the old storage pool.
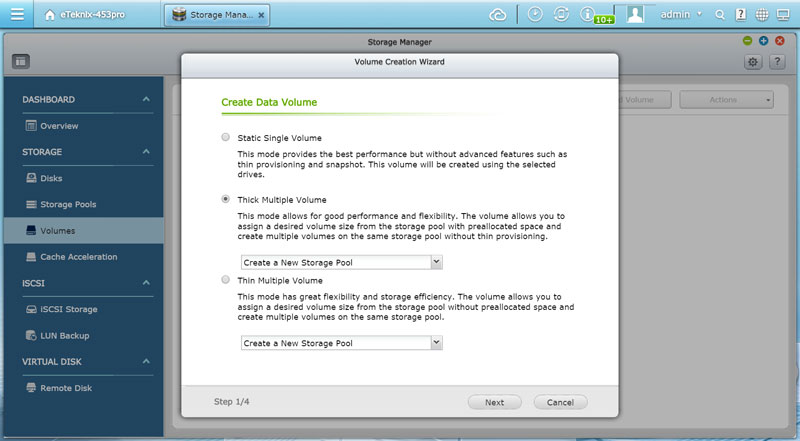
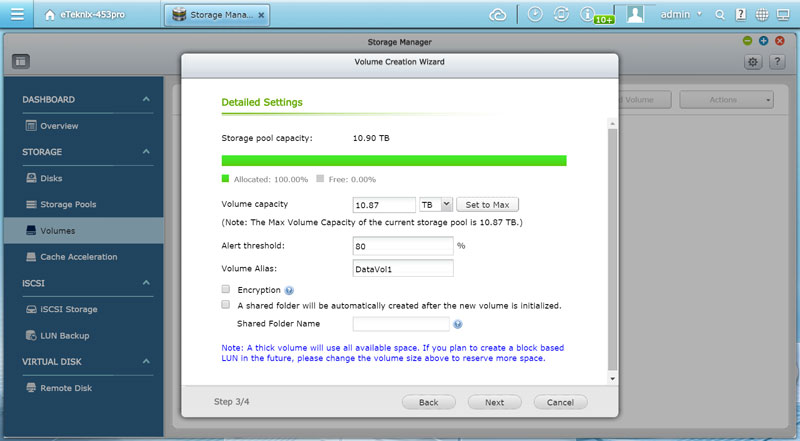
Creating a new Volume is real easy and you only need to select a few things over a four page tuturial.
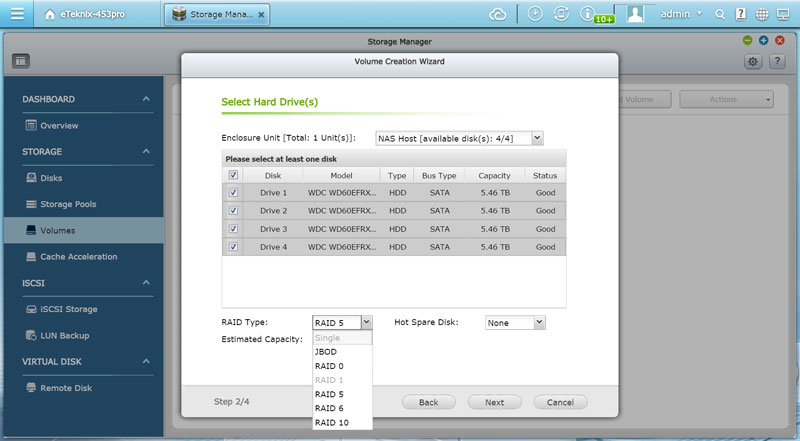
You need to select the drives you want to use in the volume and which raid type you’ll be using.
Depending on your pool choice, you’ll also need to define how much of the pool you’ll want to use for this volume. You can also enable full volume encryption and create an extra shared folder if you want to.
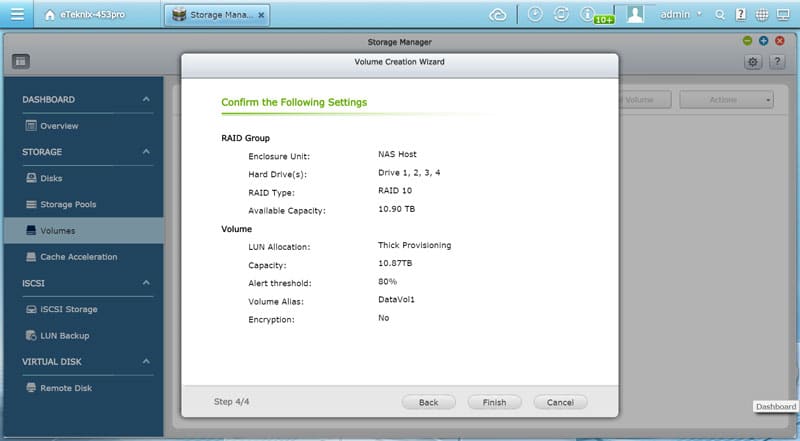
You’ll get one last view at your settings before you apply them by hitting the Finish button.
The NAS will create the pool and volume and you can follow the process on the screen until it’s Ready.
