be quiet! Silent Base 601 Mid-Tower Chassis Review
Peter Donnell / 6 years ago
A Closer Look – Interior
So, opening up the chassis really couldn’t be easier. Just hit the button at the back, and the side panel will pop open, allowing you to lift it out of the way.

This is one seriously chunky side panel, made from thick and durable materials.
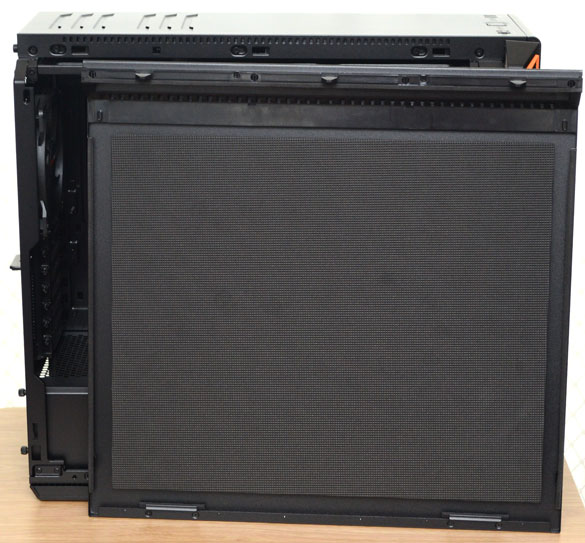
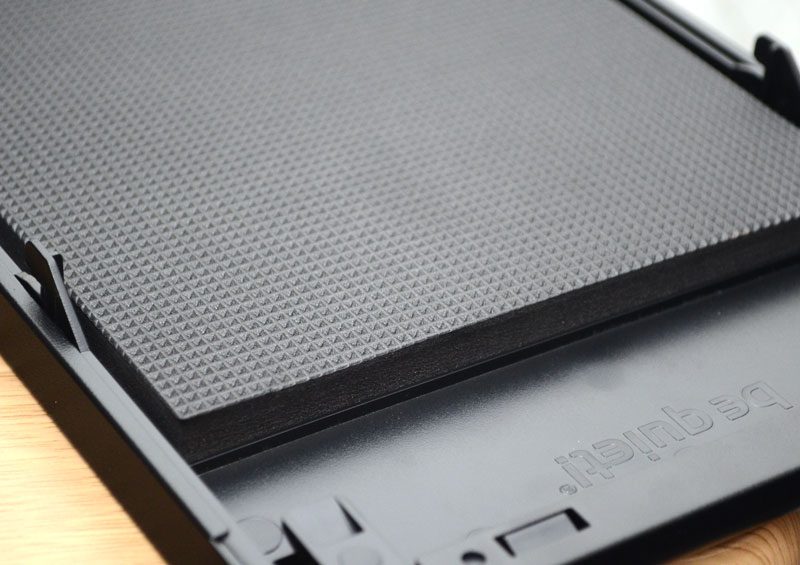
It comes with some of the densest and thick noise dampening I’ve ever seen. Of course, if you want a silent PC, then this is clearly the way to do it.

Huge Interior
Now that we have the side panel out of the way, we can see that absolutely gorgeous interior. It’s almost criminal to hide it out of sight. Of course, if you buy the version with a side panel window, you can show it off. If you want silence, that noise dampened panel is hardly a poor compromise.
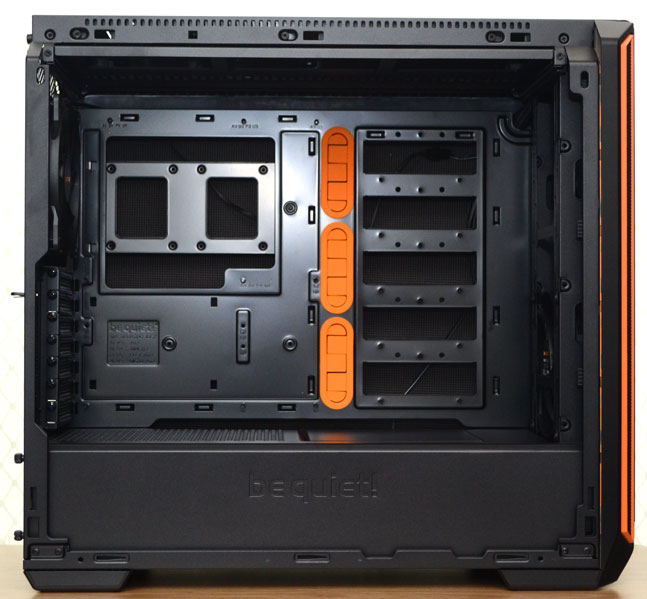
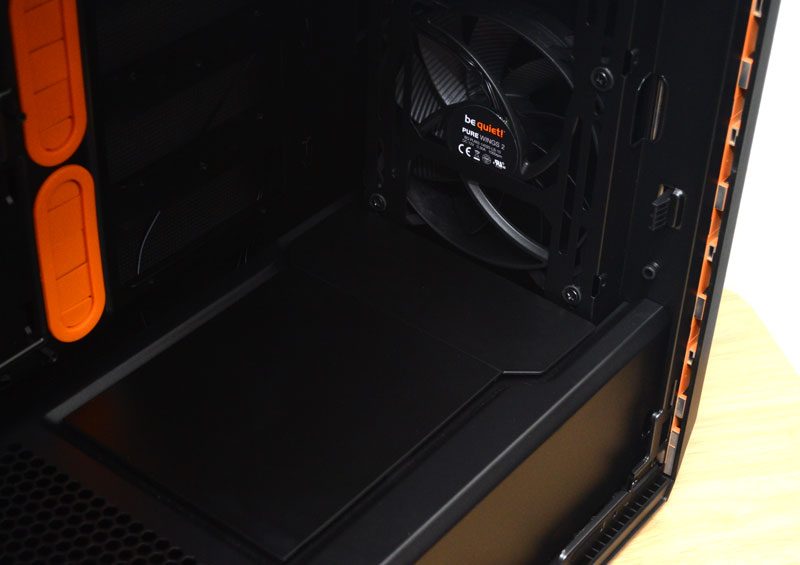
Everything is nicely laid out in here, with loads of room for high-end hardware. There’s a full-size PSU shroud fitted into the chassis, which will work wonders for keeping your cable gore tucked well out of the way. For those wanting more room in the front for radiators and water cooling hardware, there’s also a removable panel on the front half of it.

If you don’t want the PSU to use the bottom air filter, you can mount it upwards thanks to this ventilation. There’s quite a bit of width to the chassis too, so wider GPUs and any surrounding custom loop hardware has plenty of manoeuvring room. Furthermore, you could use a riser cable for vertically mounting a GPU too; of course, not much point if you don’t have the window panel.
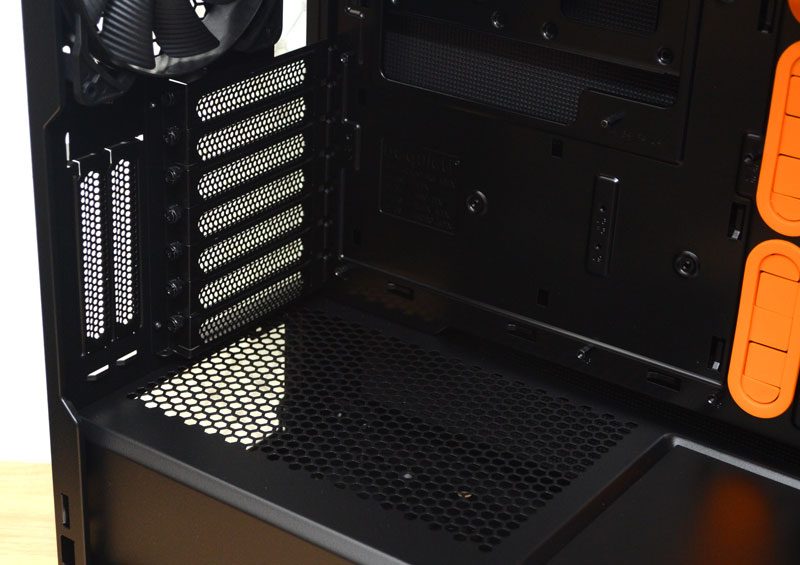
Up in the top, there’s loads of clearance above the motherboard, making top mounted fans and radiators a possibility. Of course, just providing good airflow around you hardware thanks to the extra breathing room is no bad thing.
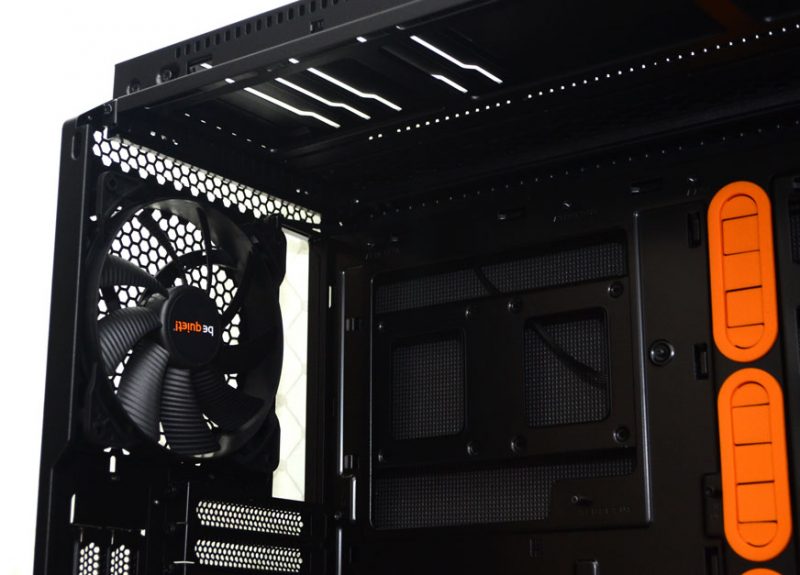
Up in the front section, the good times just keep coming. There are three huge cable routing grommets, which will easily deal with all of your power and peripheral cables.
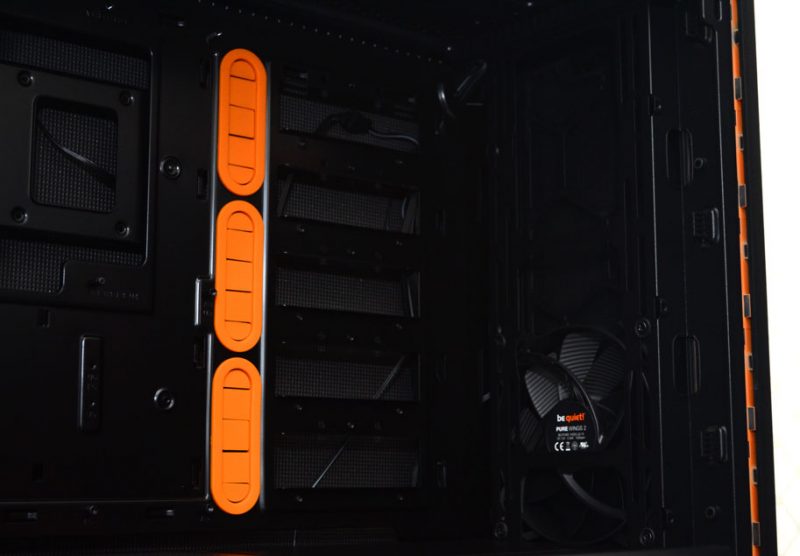
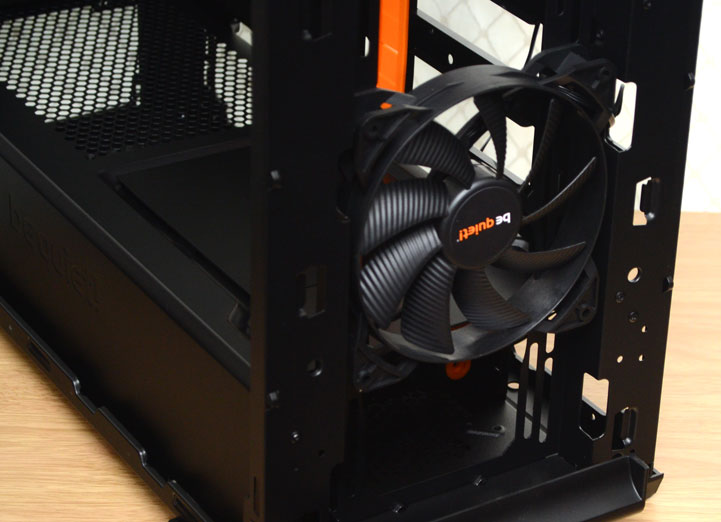
While the front panel supports both 120/140mm fans, there’s a single Pure Wings 2 140mm fan pre-installed. It’s mounted low down to ensure it gets the coolest air possible to your system.
Great Cable Routing
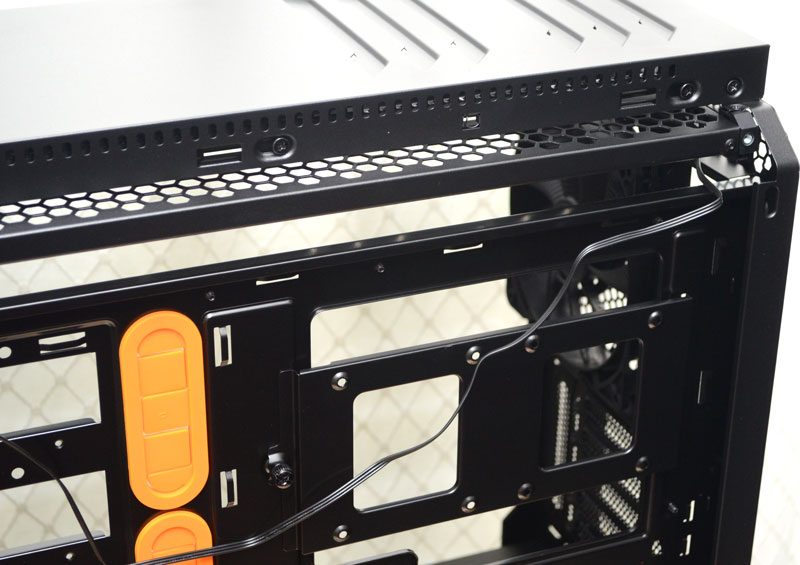
Behind the motherboard, there is truckloads of room for routing all of your cables. If things get out of hand, you can use the cable tie loops to keep things under control too. However, the bulk of your excess cable can be put under the PSU shroud anyway. There’s even room to mount a pair of 2.5″ drives right behind the motherboard.

There’s an open channel above the motherboard, allowing for easy cable pass-through.
A removable 3.5″ HDD bay in the bottom allows you to hide more storage out of sight. It’s fully removable should you need the room. Of course, removing it will make the mounting of your drives a little easier too.
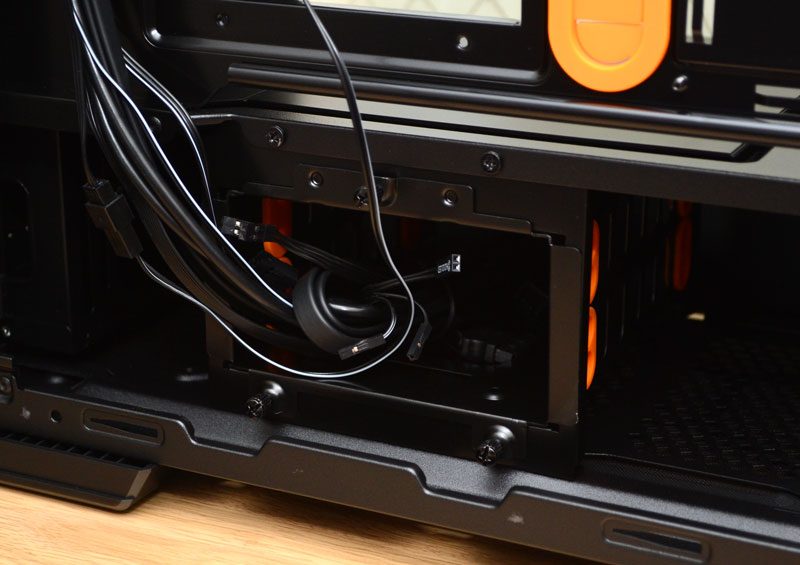
Got a massive PSU? With all this room, that shouldn’t be a problem, and there are long anti-vibration mounts to keep things steady.

The front panel pulls away easily enough, giving you access to the filters.
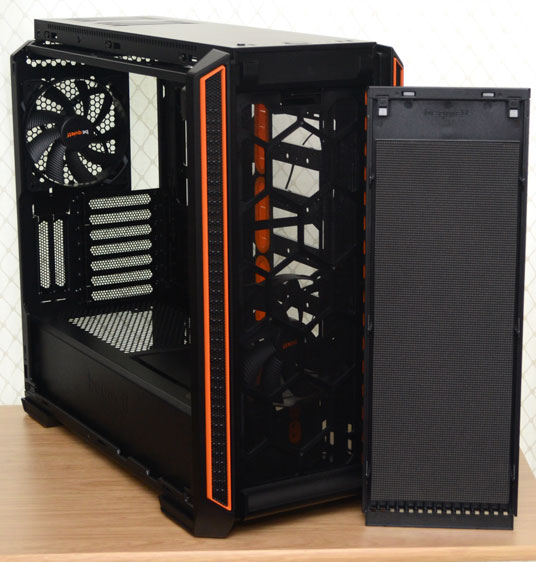
Just like the left and right side panels, you’ll find the same ultra-thick noise dampening materials on the front panel too.
A full-height washable dust filter ensures perfectly clean airflow to your hardware too.
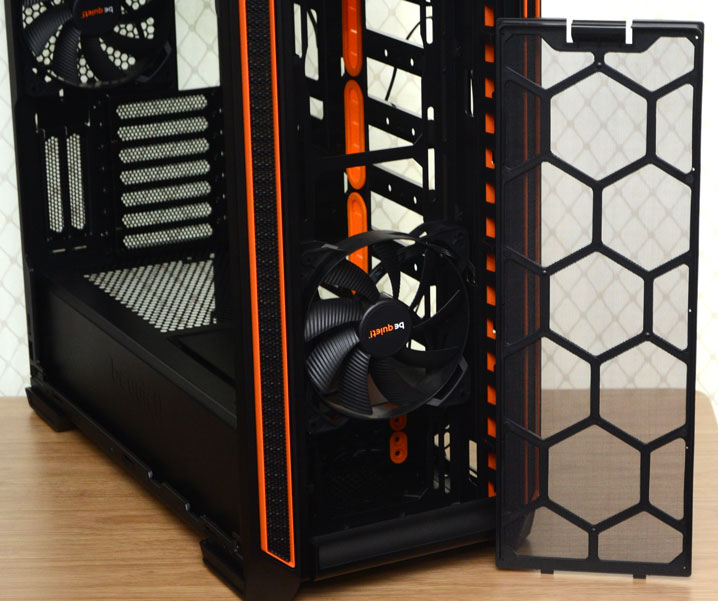
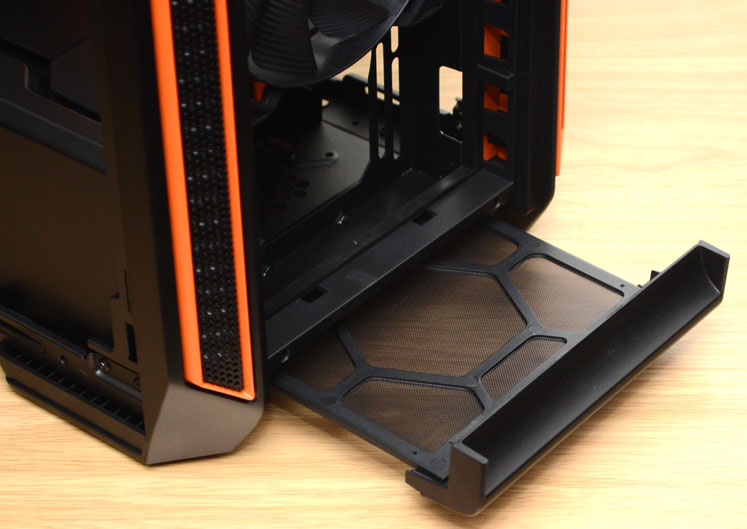
While a full-length filter slides out from the bottom, providing clean air to the PSU and other components.
With everything removed, you’ll also have greater access to the front cooling mounts, easing the install process.
