Raijintek Atlantis Series Custom Loop Water Cooling Review
Peter Donnell / 8 years ago
Installation & Performance
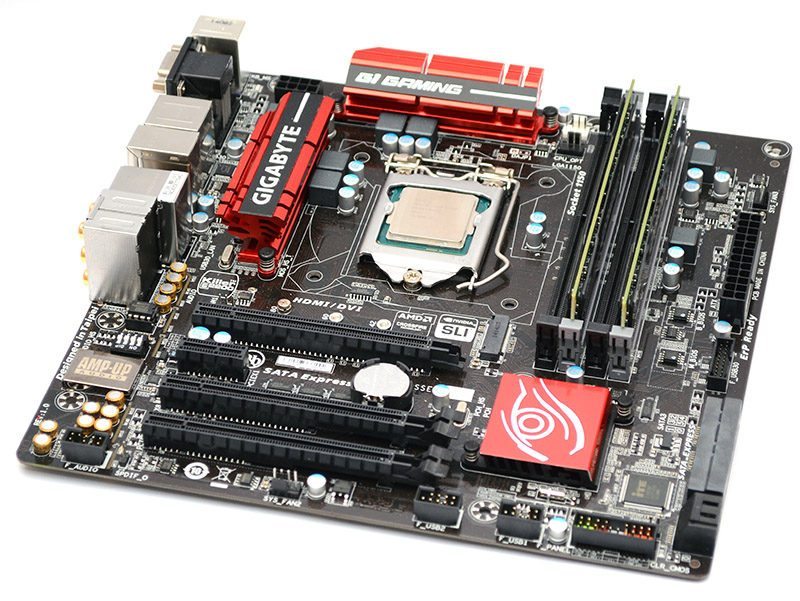
First job, we prepare out motherboard for the installation, CPU nice and clean and everything is ready to rock!
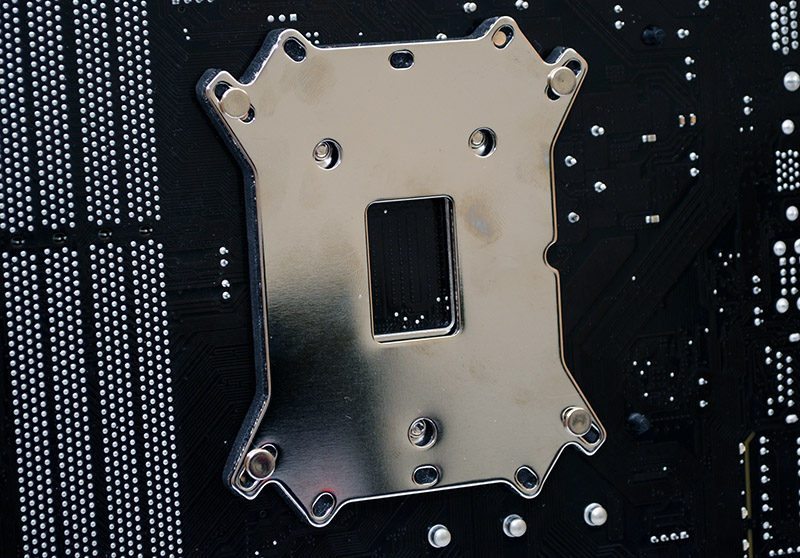
Install the CPU backplate using the included screws.
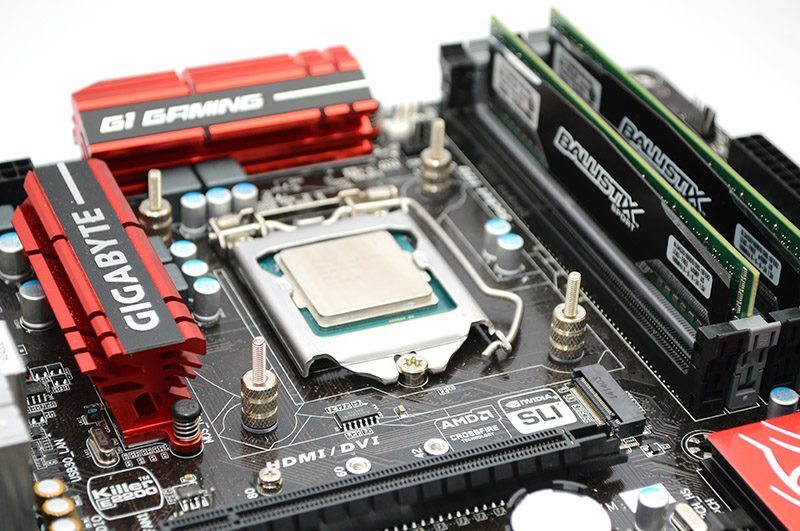
Hold it in place with the retention screws, which only takes about two minutes to do.
Apply thermal paste, the block and hold it in place with the four large thumb screws.
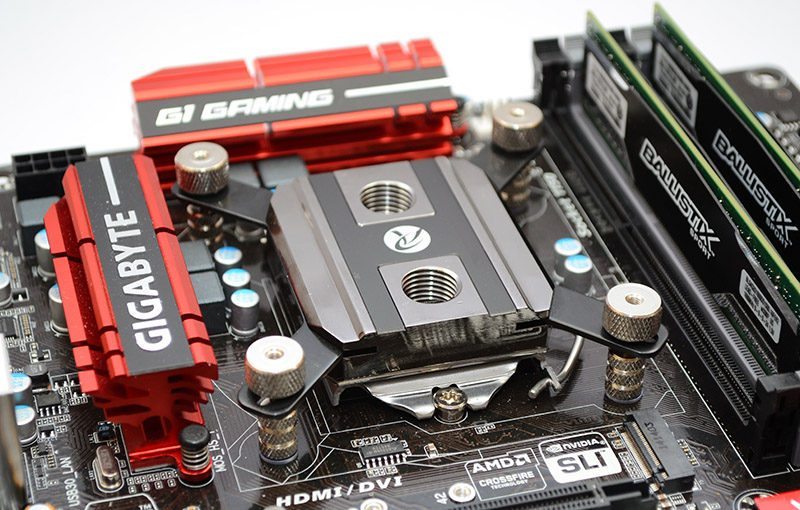
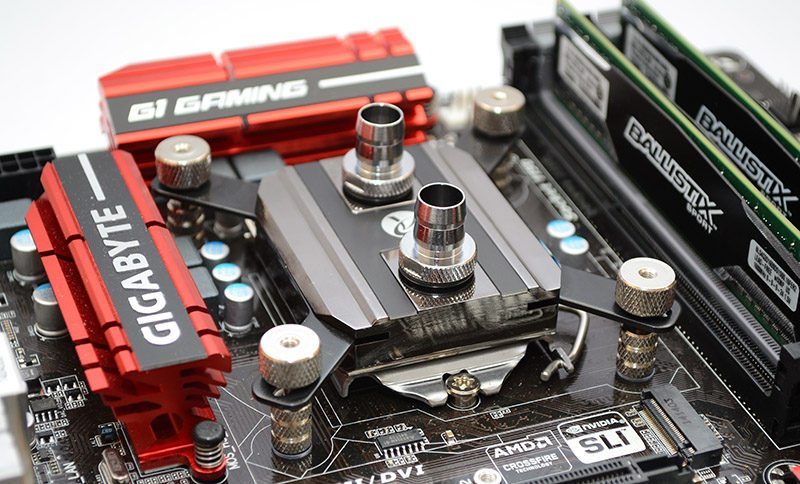
Once that is done, simply add your barbs; we’ve used some compression fittings which were supplied by Raijintek.
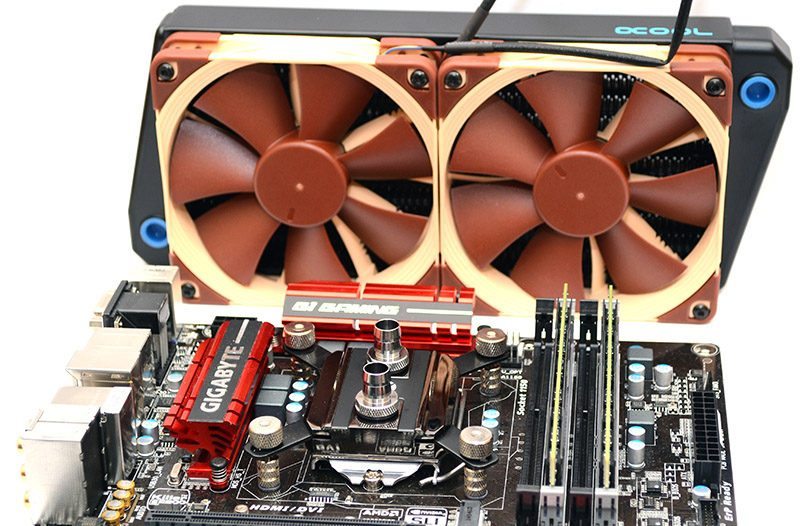
Then it’s time to do other side jobs, such as install radiators on fans, apply screw caps to the radiators, pumps, etc, where required.
The pump and res screwed together with ease, no tools needed and it only took a few seconds to do.
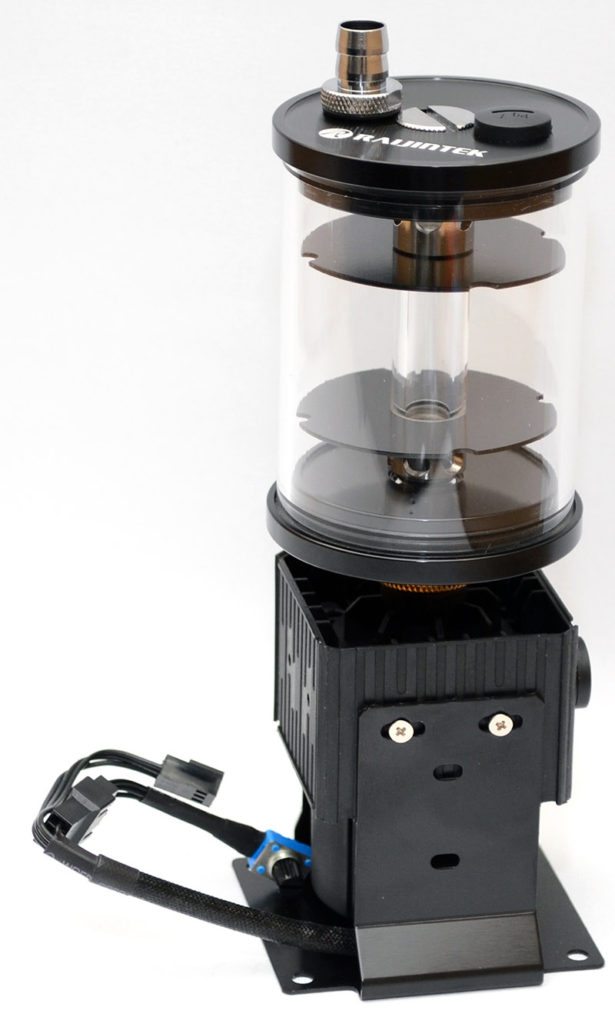
Next, we need to screw all major components into the system. Our pump screwed onto the bottom of the chassis easily enough, motherboard in place, and it was just a case of fitting some tubing.
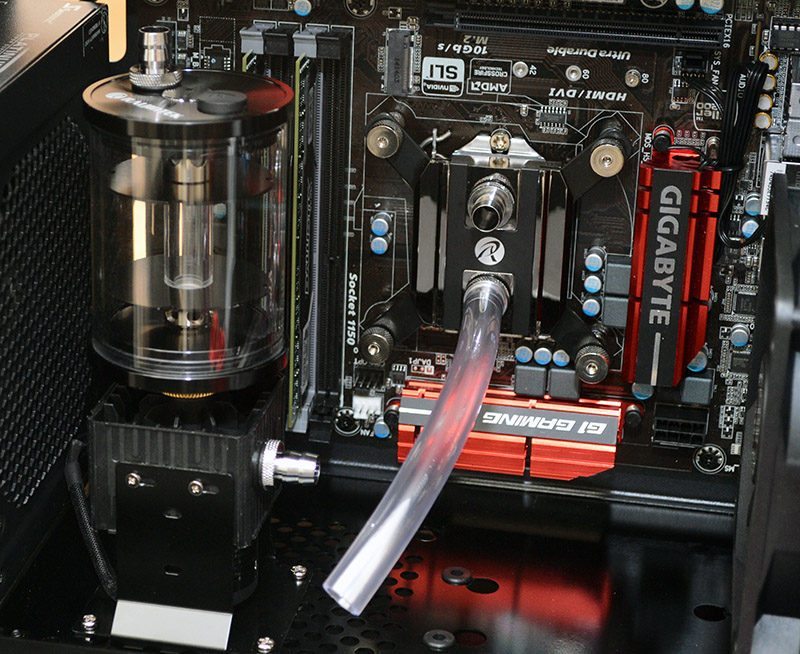
All tubes in place, you can see the hardware fit easily enough and is already looking good. We’ve even fitted some extra tubing to the res for filling our loop.
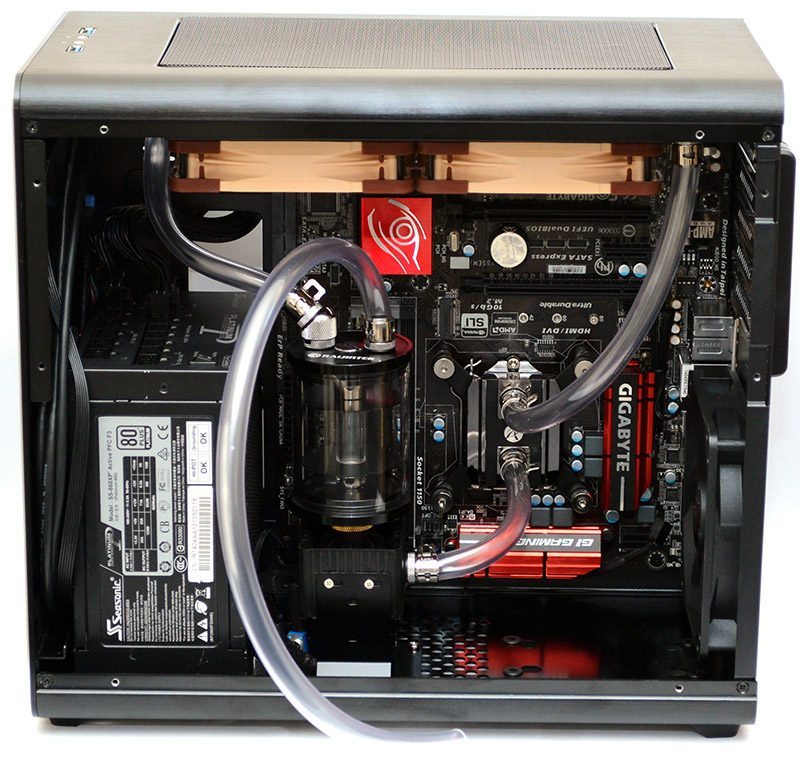
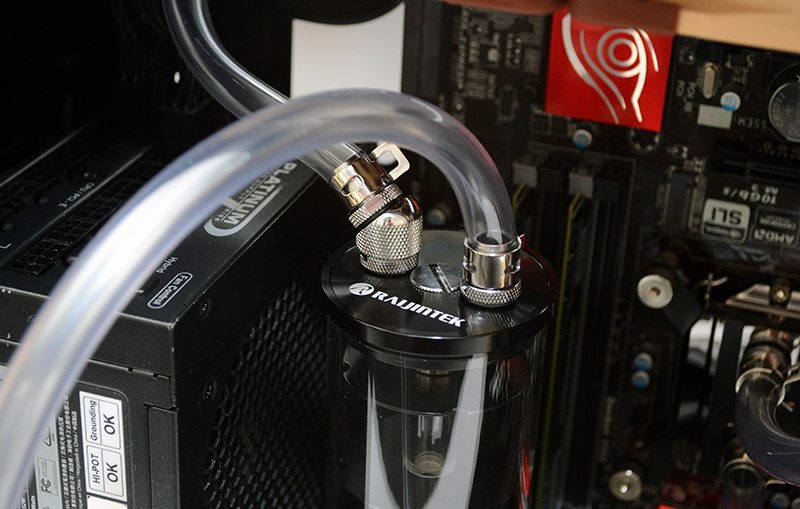
Using an external PSU and jumper to power the pump, it’s time to leak test the loop.
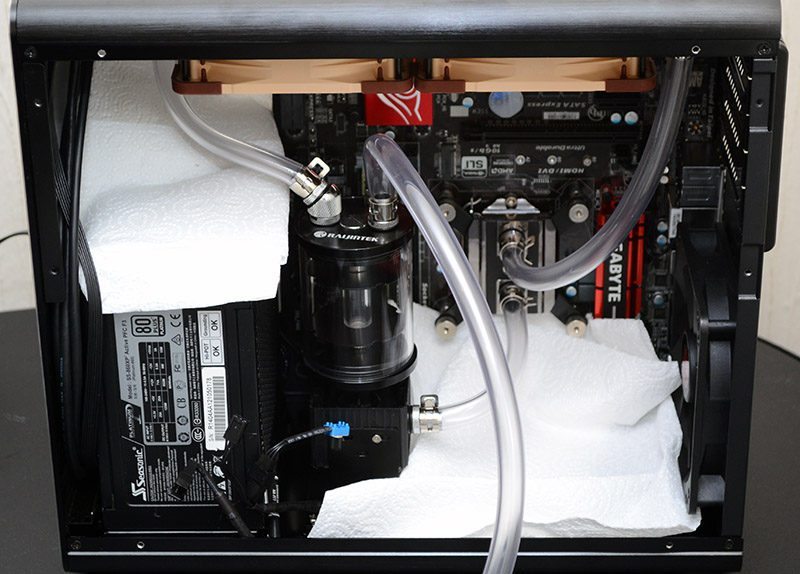
All passed with flying colours, which is obviously a good sign for the Raijintek hardware, as nothing went wrong first time; definitely a good sign!
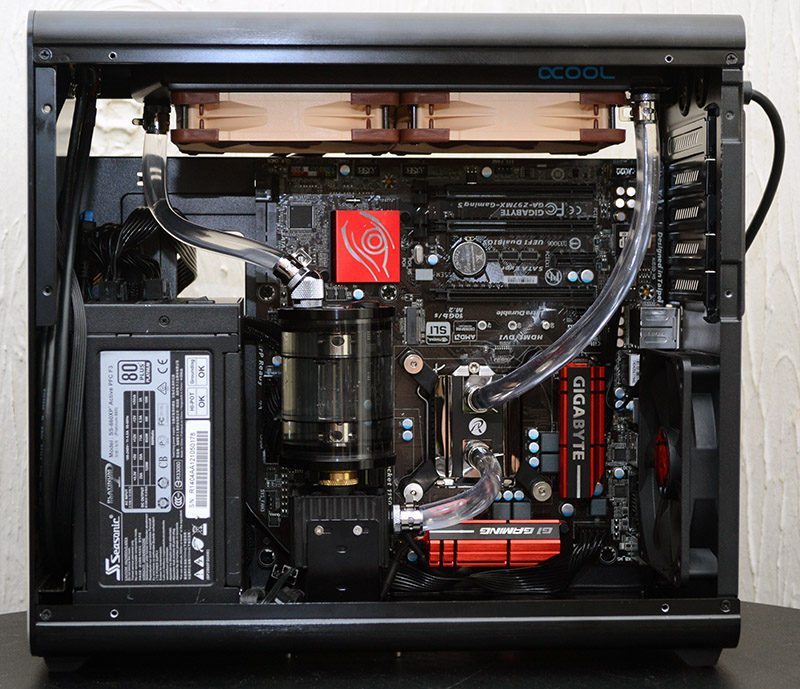
The loops flowing beautifully, and the system is now being powered up as normal, still no problems. The first thing we played around with here is the pump, which has a speed controller dial to tweak the performance. This is a small loop, so 10-20% power seemed to put quite a lot of flow through the setup with the least amount of noise from the pump. Dialled up to max, the pump was quite loud, but it’s unlikely you’ll ever need to push it so hard. We clocked the pump at 44dBa at max but found it had great flow when dialled down to 38dBa.
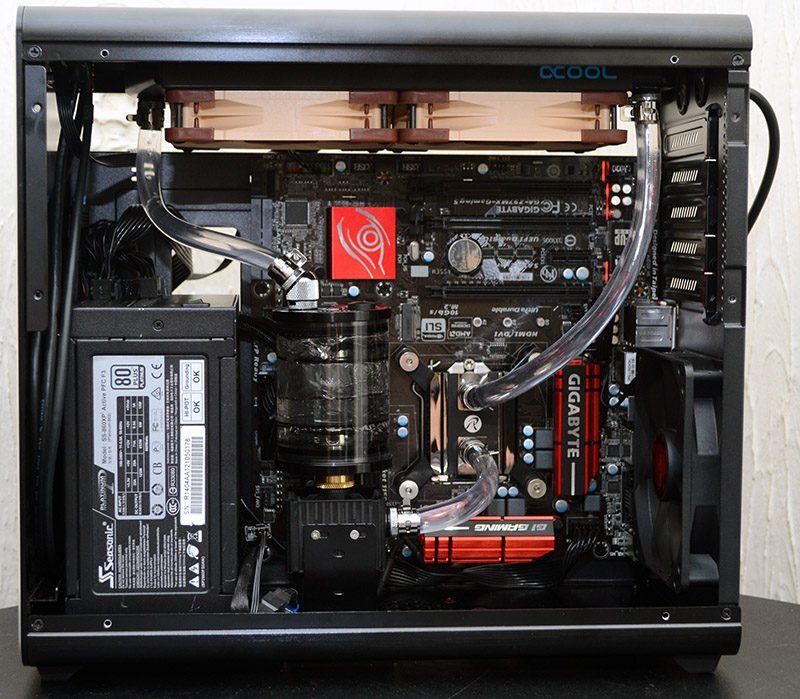
The good thing here is that the pump is the only audible part of the loop. There will be fans required too, but if you make the right choices for good quality fans, that’s not going to be a problem and good acoustic performance can be easily achieved.
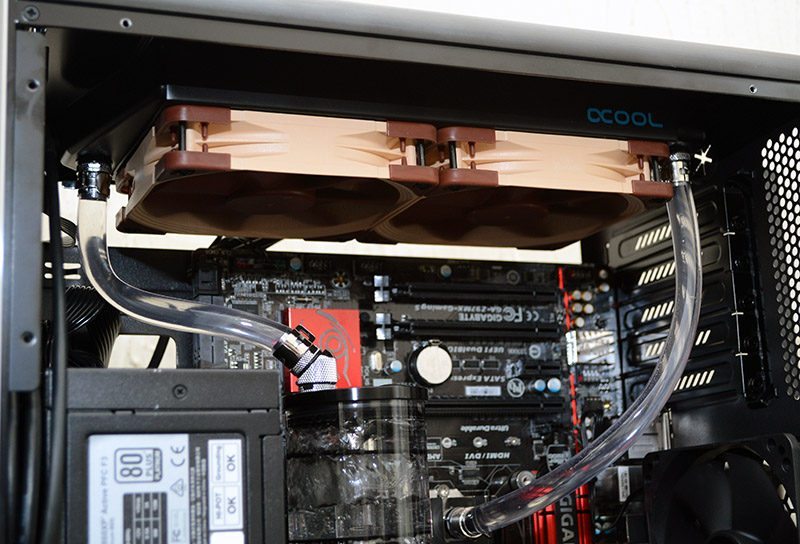
Now to tailor the design a little bit. We’ve opted for the red dye in the Raijintek box, and you can see we’ve added it directly to the top of the reservoir.
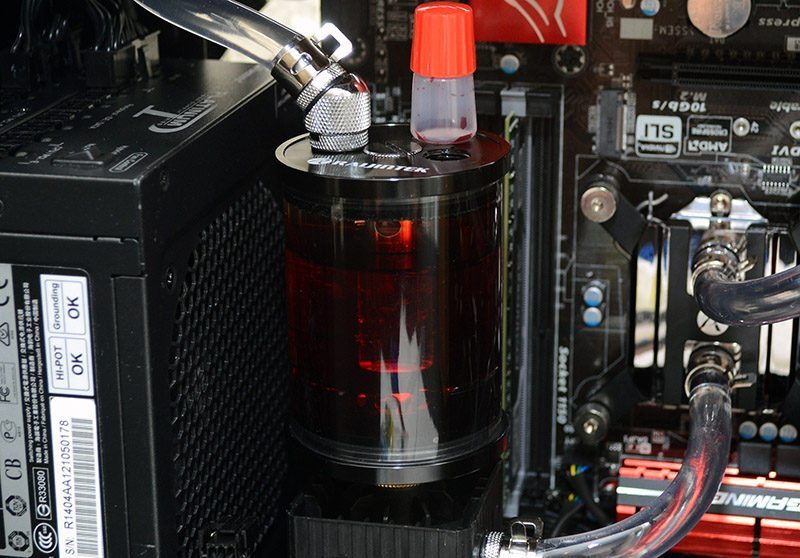
Power up the system and it mixes through the system very quickly, which is another solid indicator that our water flow rate is very good; helped partly by our short tubing runs, as the longer they are the more pressure you require.
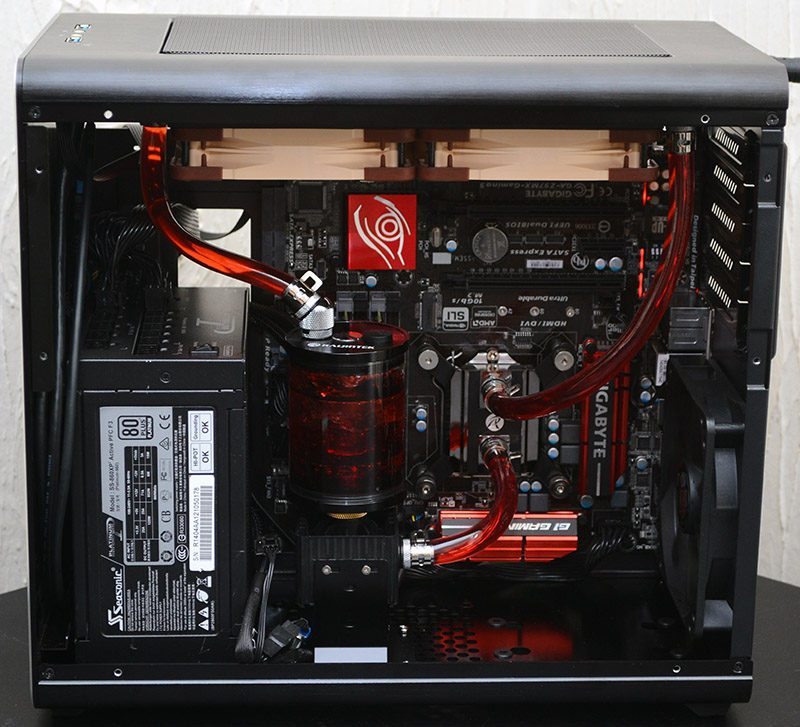
The red certainly looks nice and matches up well with our components. Of course, with other colours in the box, you can easily customise them to your liking.
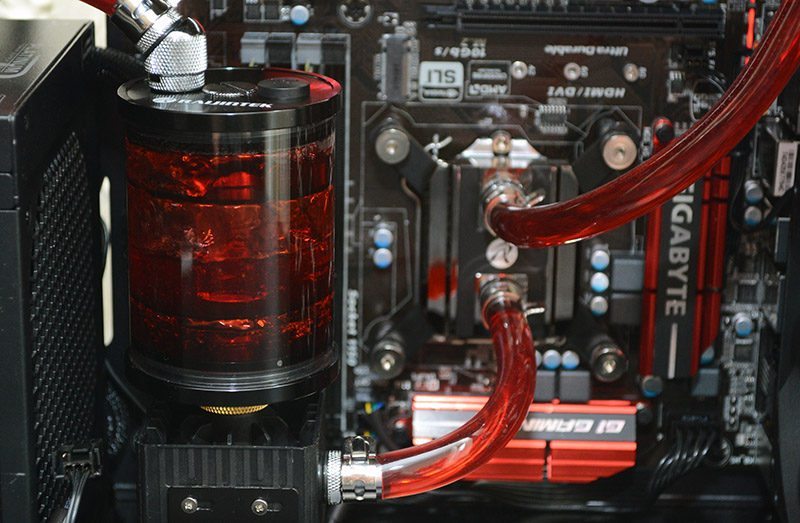
Overall, we’re a little bit in love with the Atlantis kit. The blocks look great, the installation is straight forward and as we’ll get to in a moment, the performance is spot on too.
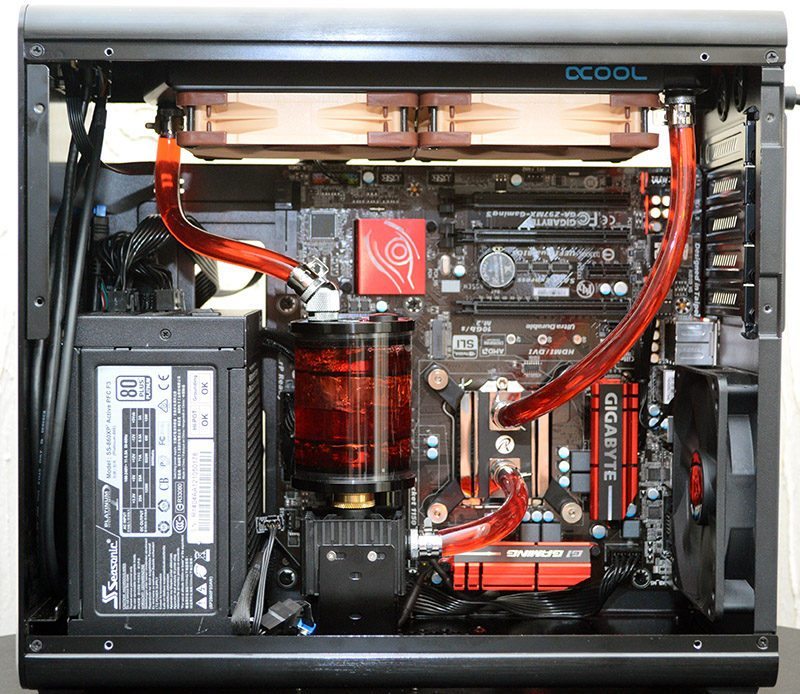
As I said earlier, the performance depends on the CPU, the volts, the fluid used, the size of the radiator, the fans, and so many other factors that it’s hard to compare this unit to say, an H110. We’re here to review the Raijintek hardware, not the Alphacool radiators and Noctua fans (but we will another day). With this block and a simple loop, with a slim 240mm radiator and two fans in push configuration, we clocked the CPU at +22c stock, +28c overclocked, while both have an idle of +7c. These are certainly good temperatures for such a low-noise cooling system and beat the pants off any AIO system for overclocking. Although I must stress again, these results simply tell us the Raijintek hardware is doing its job, and doing it very well I might add, but there are so many ways to alter the cooling performance of this loop; increasing fan speed, bigger/more radiators, etc.
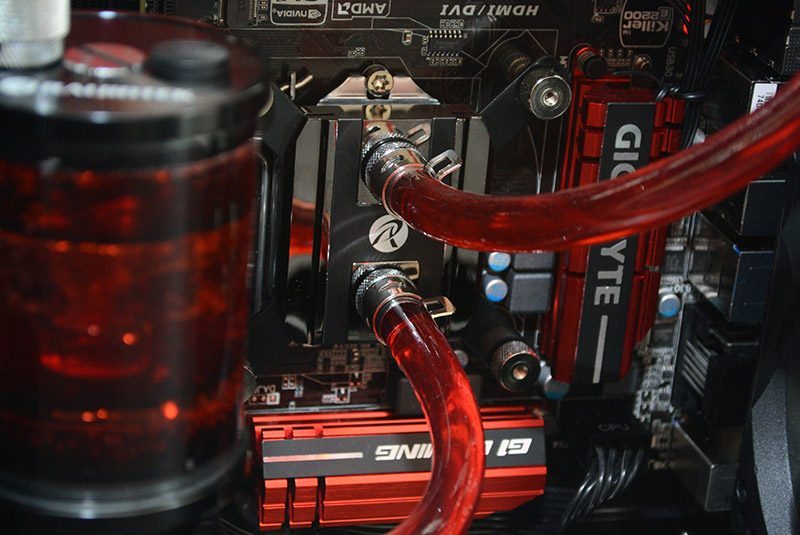
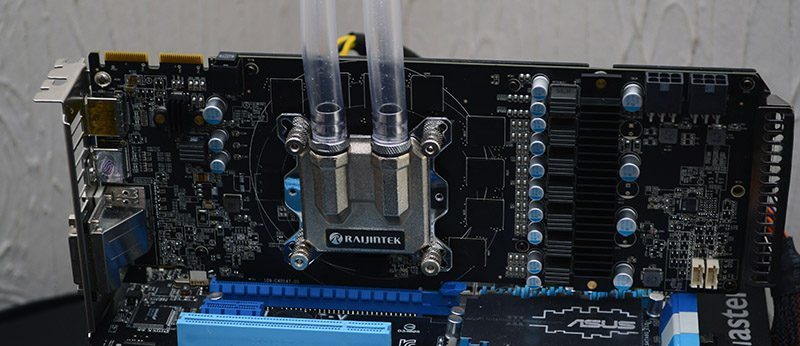
Testing the GPU was a little trickier, as the huge PCB of the Sapphire 270X wouldn’t fit inside our build, but that’s OK, we can get creative here. First things first, install the mounting place, by adding some screws through the back of the card.
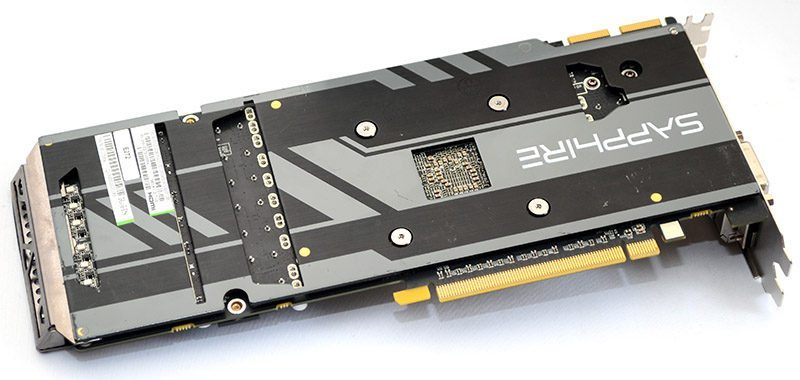
A perfect fit, didn’t even have to take off the backplate!
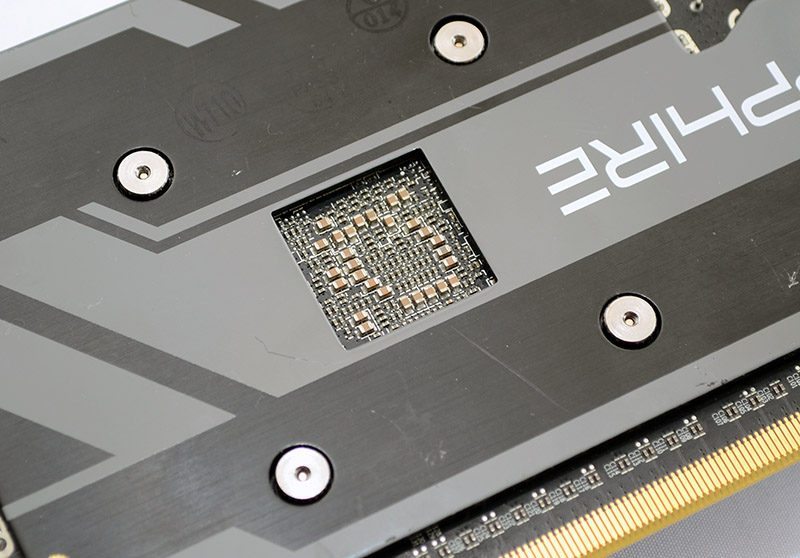
Thermal paste in place, screw the block down onto the GPU, this was honestly much easier to configure than I expected.
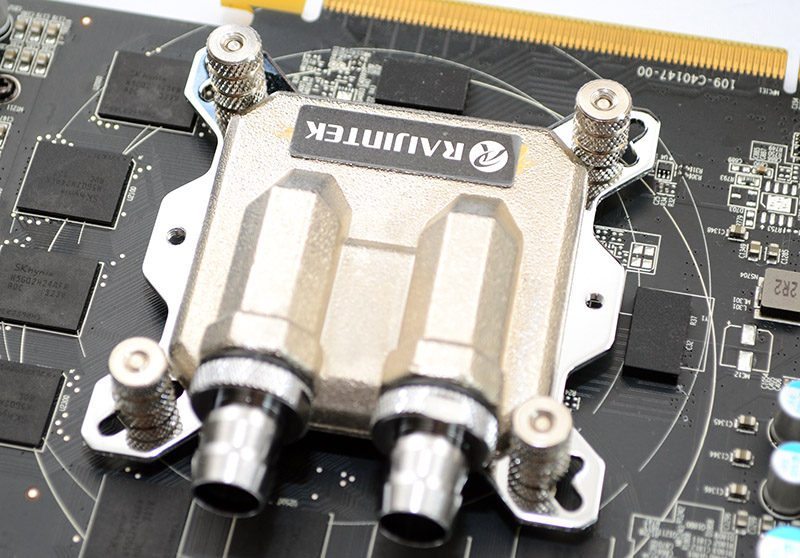
Now that the card is ready, time to plug it into our loop. As you can see, the card already has some good cooling on the VRM, but I’d like to see good airflow in a chassis before using a block like this that doesn’t cool the entire card.
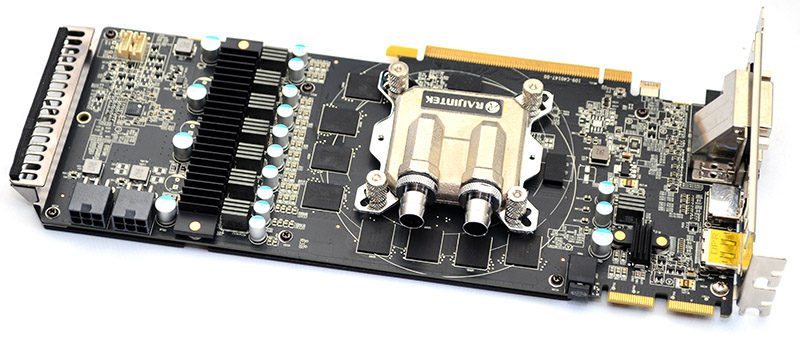
We stuck the card on our usual cooling test bench, as we’re not testing gaming performance, just relative stock vs water cooled temperatures when stressed. I plumbed the card into the same points in our loop that we have the CPU on, that way it uses the same pump, radiator and fan configuration we used above. Air cooled, the card was knocking out +29c idle and +57c load, not bad, but at 54dBa, it’s getting a little noisy. With the water flowing, we literally cut that load temperature in half! Just a smidge under +29c and we destroyed the acoustic performance, dropping it down to 40dBa, as the only noises were the quiet pump and the two Noctua fans on the radiator.
