Raijintek Metis Plus Aluminium Mini-ITX Chassis Review
Peter Donnell / 8 years ago
A Closer Look – Interior
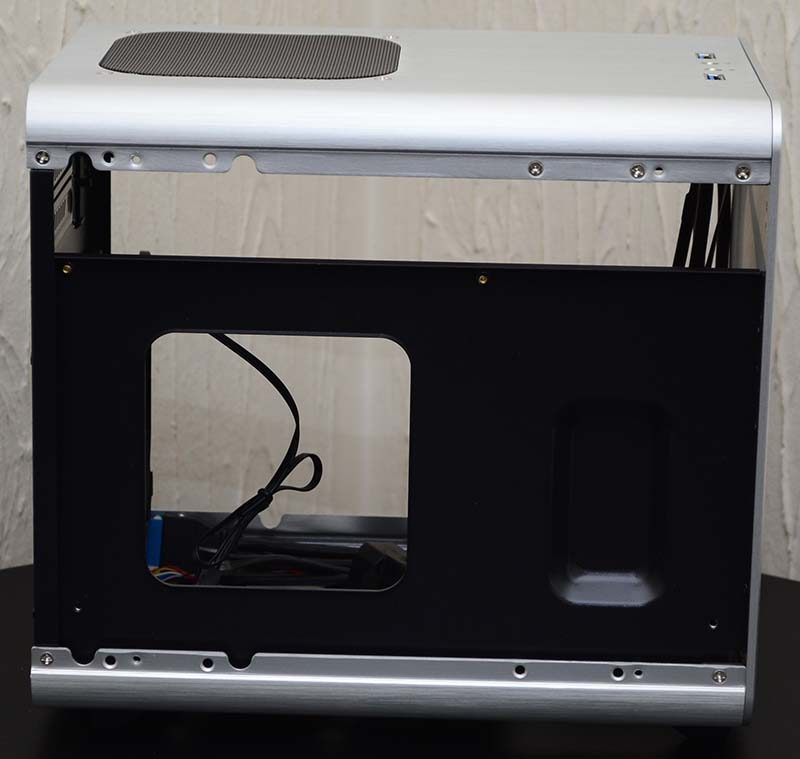
The side panels attach with four small screws, but they open up easily enough. With the panel out of the way, you’ve got easy access to the interior to install your hardware. It is a little small though, so nimble fingers may be required when it comes to building time.
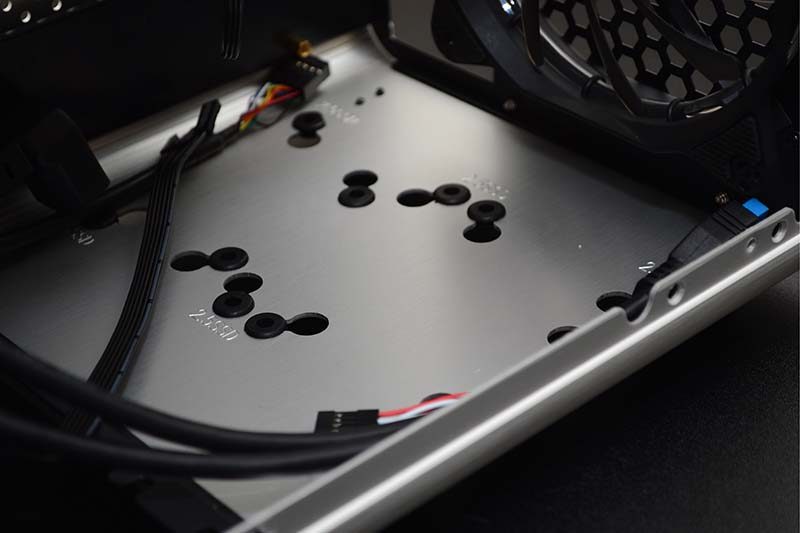
The HDD bays are right in the bottom of the chassis and come with rubber grommets to prevent any vibrations, and they are labelled so you can tell which type of drive goes where.
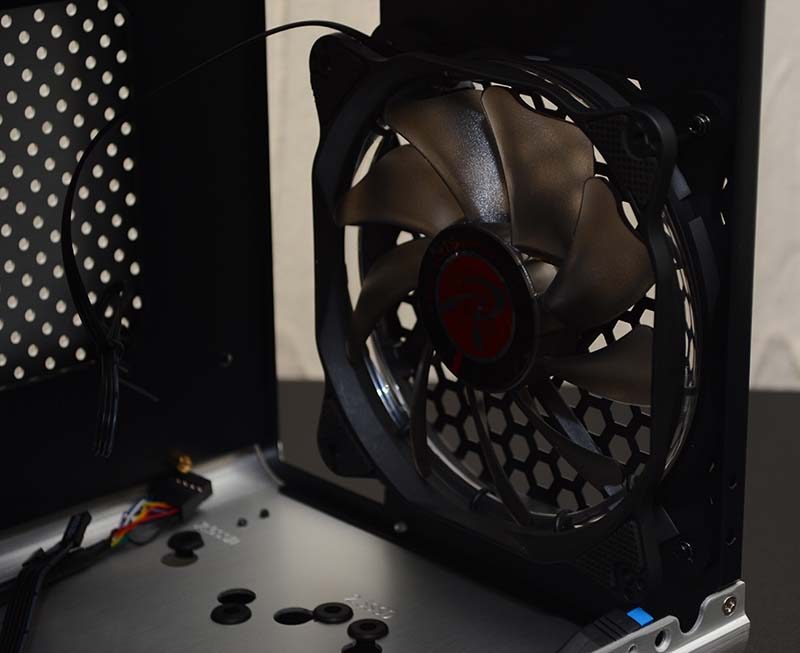
One of the coolest features of this upgraded model is that it now comes with this lovely Raijintek 120mm fan. It features white LED lighting around its edge and should look stunning through the side panel window when the system’s powered up.
Up top, you’ll find a few cables for the front I/O; there’s nowhere to route them, so get ready with the cable ties when installing your system. Also, there’s a small bracket up here that can hold an extra storage drive.
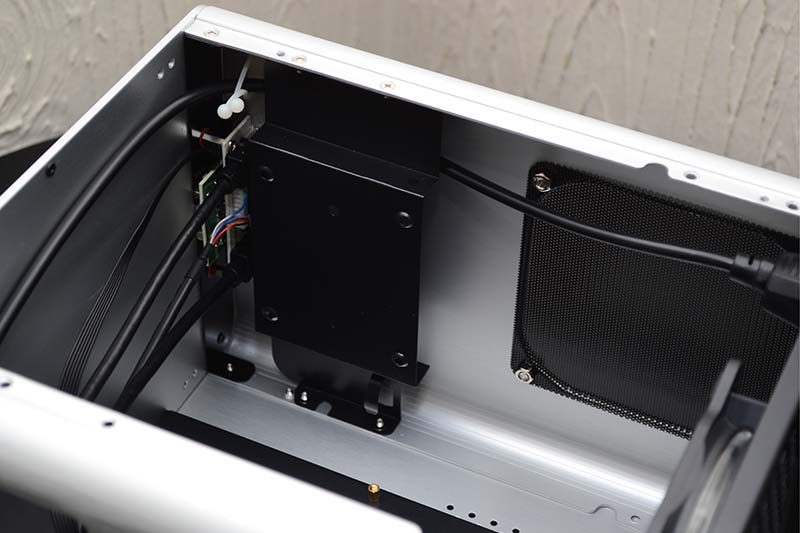
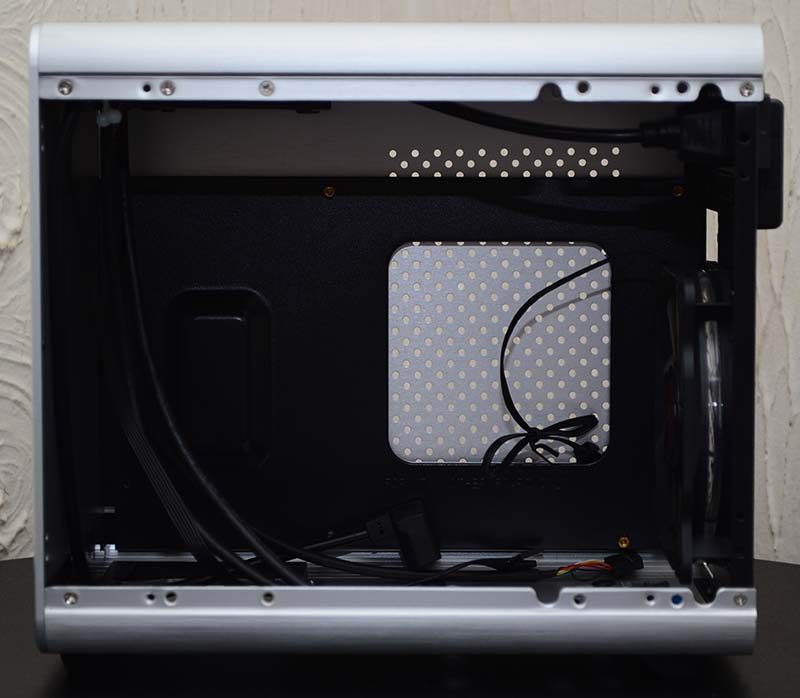
Behind the motherboard tray, there’s just about enough room to route a SATA or fan cable, but not much else. The real use with taking this panel off is you can quickly reach the CPU cooler mounting backplate on your motherboard, and maybe get a little extra room to hook up any cables from your PSU while installing your hardware.
