Raijintek Metis Plus Aluminium Mini-ITX Chassis Review
Peter Donnell / 8 years ago
Complete System
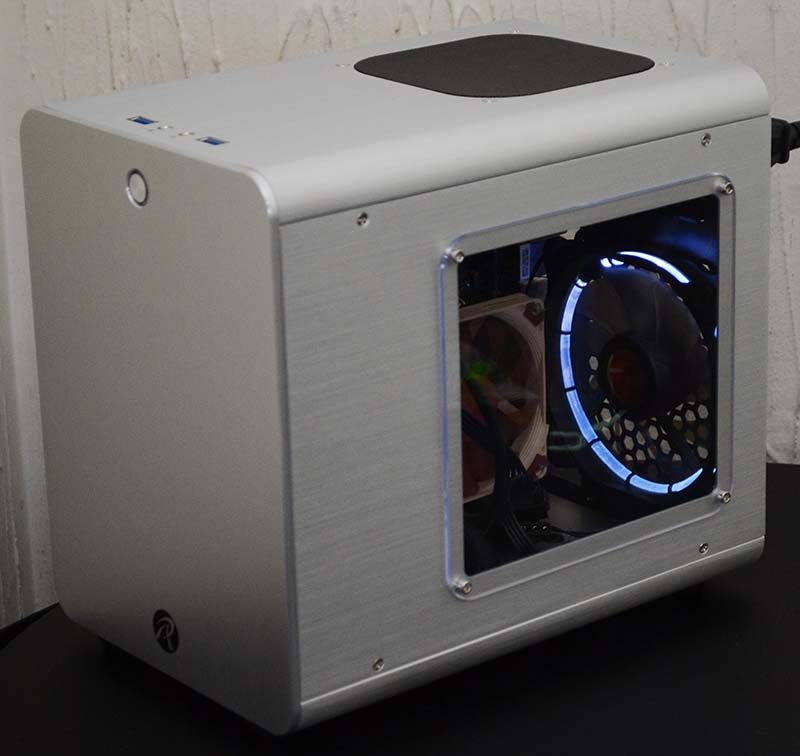
This chassis is freaking tiny, and while that’s nothing but a huge headache while connecting your components, it’s going to payoff when it’s complete. The PSU we used is a little big, so I couldn’t get a graphics card installed. It isn’t a big problem though, as not everyone will be building a system like this for gaming, and you could use an iGPU for a small office rig, workstation, or HTPC, quite happily.

There’s a good amount of clearance in here for a CPU cooler, and you could even get a 120mm AIO in the back if you’re motivated to do so. However, I quite like my compact CPU cooler, it opens up a lot of airflow space within the chassis and lets me keep that 120mm fan exposed, so we’ll be able to enjoy its bathing white light when the power is turned on.
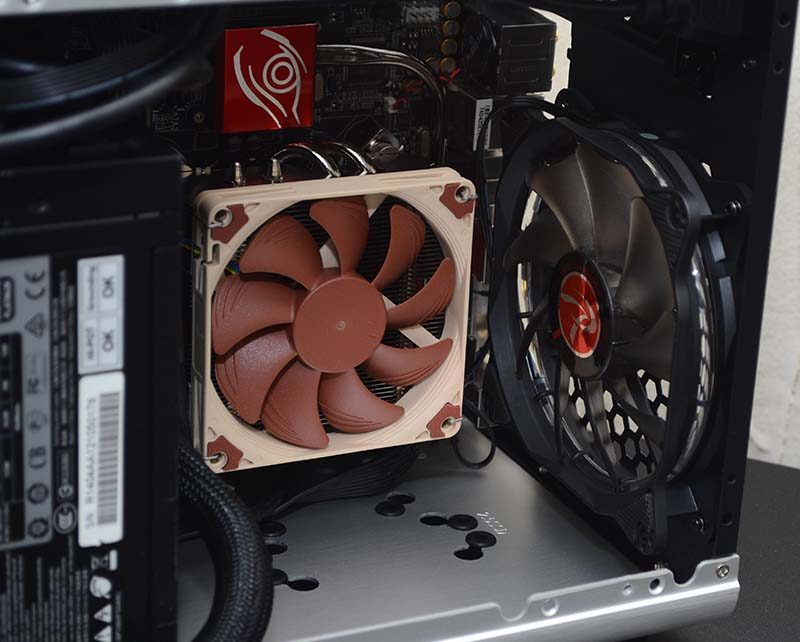
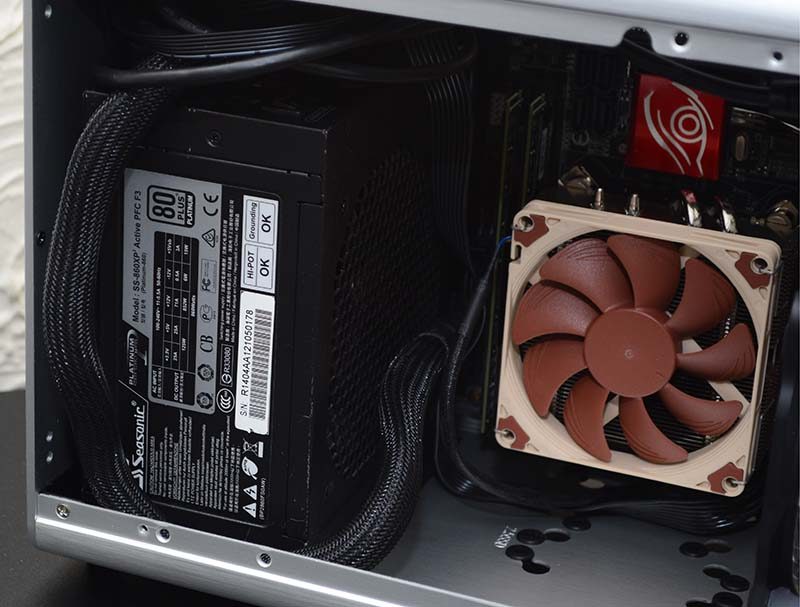
Boy, was this a squeeze! The PSU mount was tricky. I can’t recommend strongly enough that you get something around 140mm or less, with flat modular cables too, it’ll make like so much easier.
With all panels back in place, the struggles and chaos of installing hardware in such a tight space are forgiven. This is one beautiful looking box, and the window is giving us a great view of the system interior.
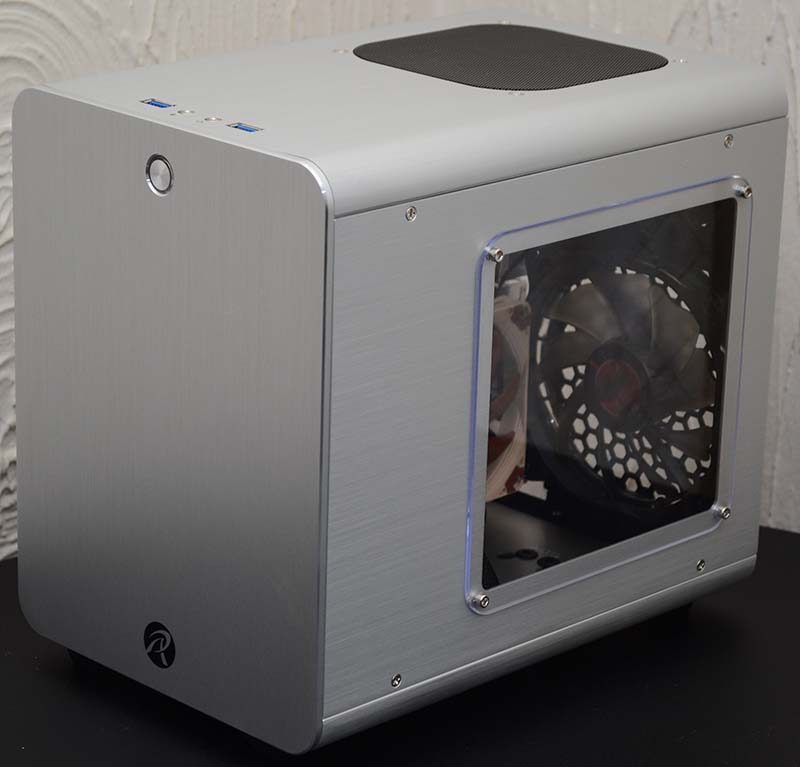
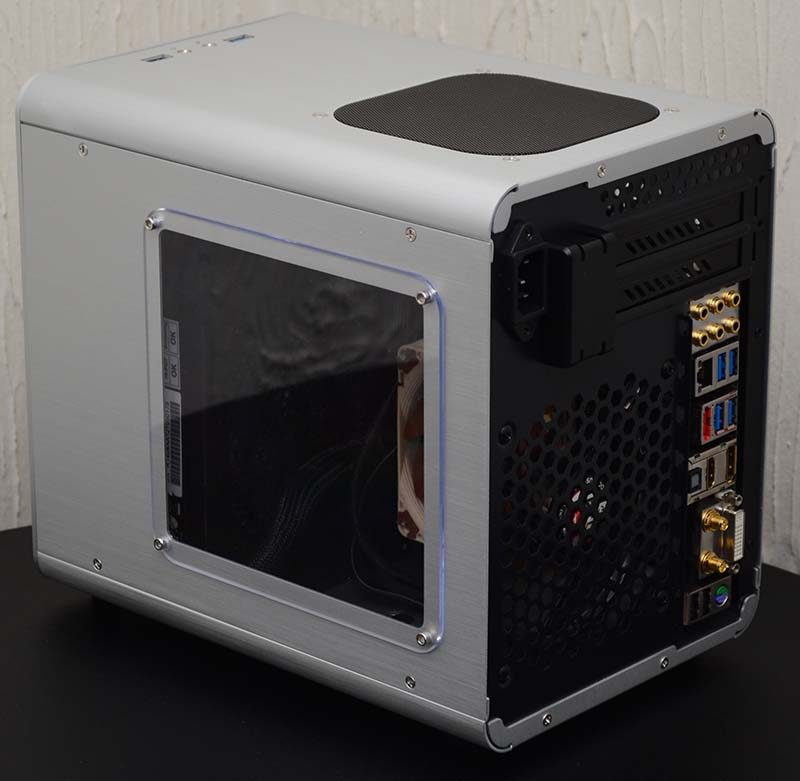
Choosing a CPU cooler with a design you love is important on this build. It’s certainly going to display prominently through the window. Fortunately, I love the Noctua’s colours, so I’m happy I can see the cooler here.
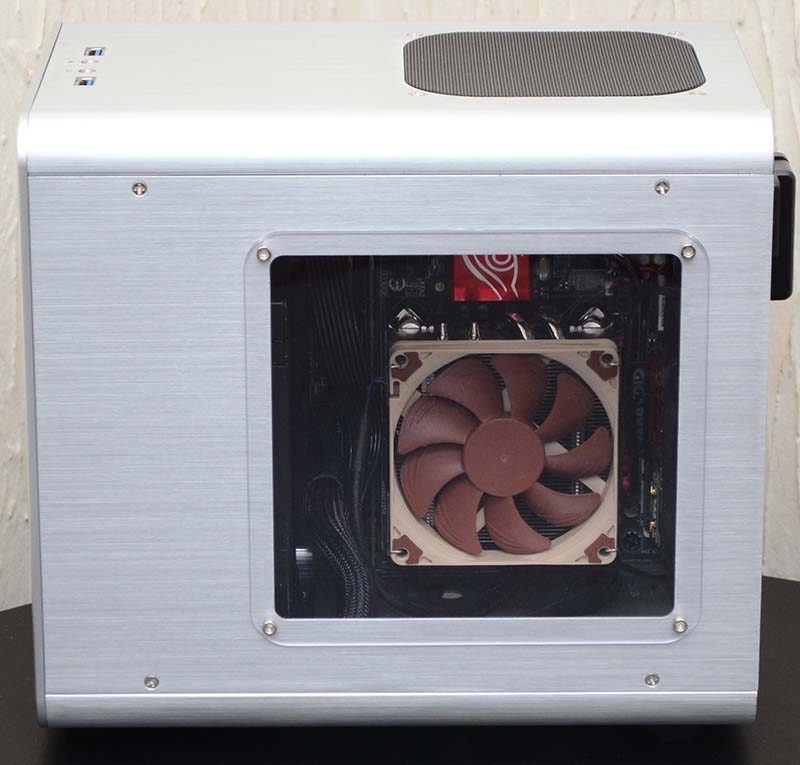
Finally, we hook up the power and click the switch. That lovely LED ring around the fan sparks into life and just gives the Metis Plus that extra bit of flair.
