Raijintek Ophion M Evo Case Review
Peter Donnell / 4 years ago
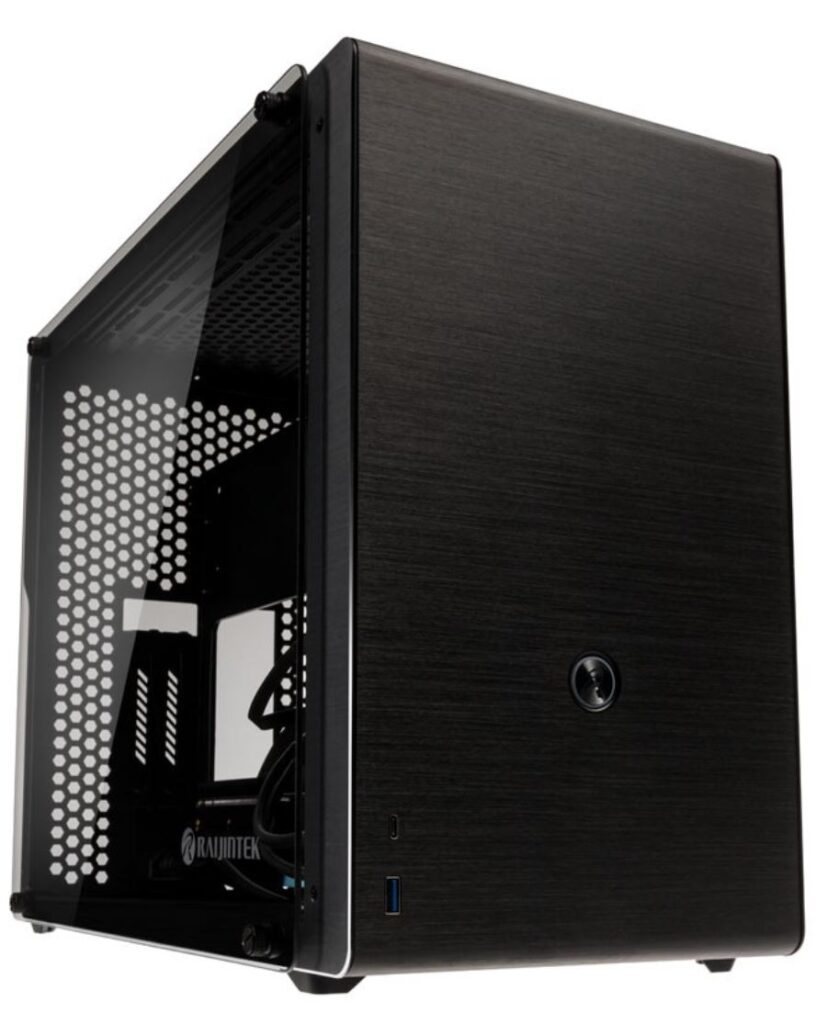
It seems there just aren’t as many Micro-ATX cases on the market these days. The motherboards just don’t seem to come in the numbers that they used to, with more focus going to ATX, and even mini-ITX boards are thinning out too. Alas, for those of you (like myself) who love mATX as a form factor, Raijintek has got us all covered, with an impressive range of small form factor cases. Today, I have the Raijintek Ophion M Evo, crafted lovingly from brushed aluminium on a solid iron frame, and 3 mm thick tempered glass side panels. Sure, it’s a formula that’s been done a thousand times before, but you won’t hear me complaining about that.
Raijintek Ophion M Evo
It’s certainly well-equipped, with support for a decent amount of liquid cooling should you need it. Of course, that means custom or AIO solutions, and there’s room to mount a pump and tank too. Of course, it has good fan support, and room for a pretty large air cooler, large graphics cards, and much more, so fitting a decently powerful gaming or work system in the Ophion M Evo shouldn’t be too much trouble. It comes with dust filters, tool-free fittings and best of all, a GPU riser cable for vertical mounting! Oh yeah.
Features
- Support Micro-ATX / Mini ITX
- 2 mm aluminium & 0.8 mm SPCC solid iron
- Matte full black coating
- 3.0 mm tempered glass side panel
- Water radiator support up to 120/240/280/360, 28 mm thick water radiator
- Super air flow, support up to 3×200 mm fans in total (2×200 fans at top, 1×200 fan in bottom)
- Support up to 410 mm full-length graphic cad
- Maximum CPU cooler height up to 82 mm
- Capable of install motor/water tank to achieve real /DIY water loop system
- Magnetic dust filter for both top & bottom
What Raijintek Had to Say
“Design Art in its best by RAIJINTEK – New SFF chassis of OPHION series. The OPHION series case is designed to fulfil a smallest case built with max. Possibility high-end, gaming and standard components, such as Intel i9/i7, AMD AM4/TR4 CPU, and especially powerful full –length VGA card, RTX2080. OPHION M EVO case supports up to M-ATX motherboard, Amazing compatibility of maximum three fans including 212025 or 214025 or 220030 fans on top, 112015 fan or 114025 or 120030 fans at bottom. Not only cooling from fans, it also support DIY component such as 120/140/240/280/360 28mm thickness radiator and also enough space for pump and reservoir as well. OPHION M EVO Superior features includes elegant Alu. Hair-silk front panel, 3.5”3 HDD or 2.5”5 HDD/SSD, full-length VGA card compatibility, tool-free for the easy installation, ATX / EPS PSU compatibility. Looking for a best of best? OPHION M EVO is the one for Gamers and SFF DIY water cooling enthusiasts.” – Raijintek
Exterior
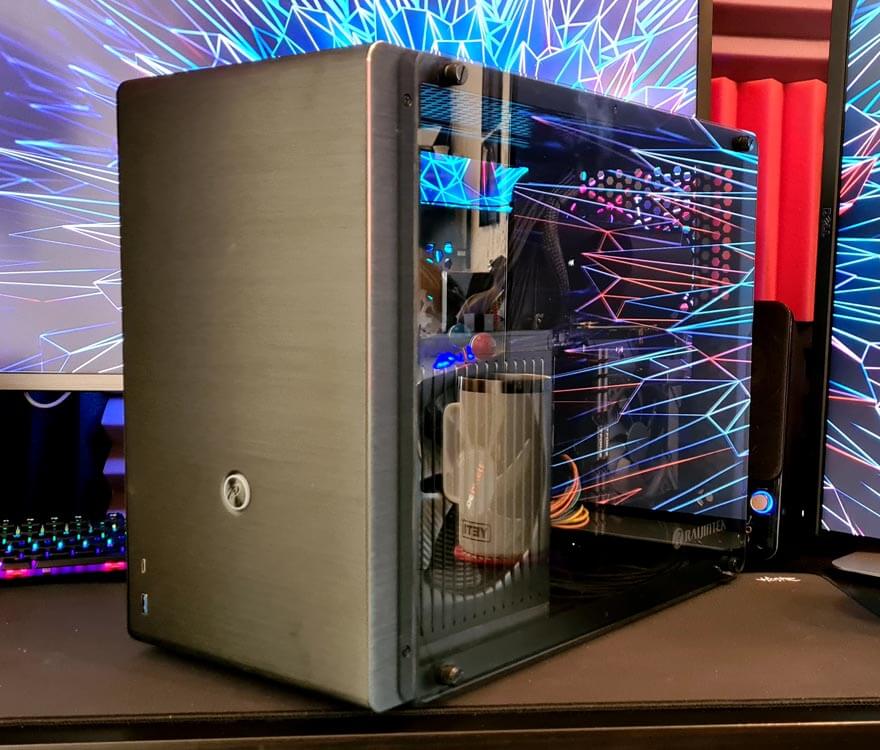
One thing I do like about this case is that it lends its design from a lot of previous Raijintek cases, as I really like the designs they’ve used in the past, and this is a nice evolution of that look. That being said, the look is pretty sleek and understated. It won’t draw much attention by its self, but when you do look at it, you can see it’s a quality product.

The side panel is 3 mm tempered glass, which is a little thinner than most, but that does save quite a bit of weight too. There is plenty of ventilation towards the front too, with a full-height intake on each side of the case.

No need for tools to open it up either, just use these four thumbscrews and you’re good to go.

I love the overall finish of this case, though, the brushed aluminium looks stunning, especially with this rounded and polished silver edge.

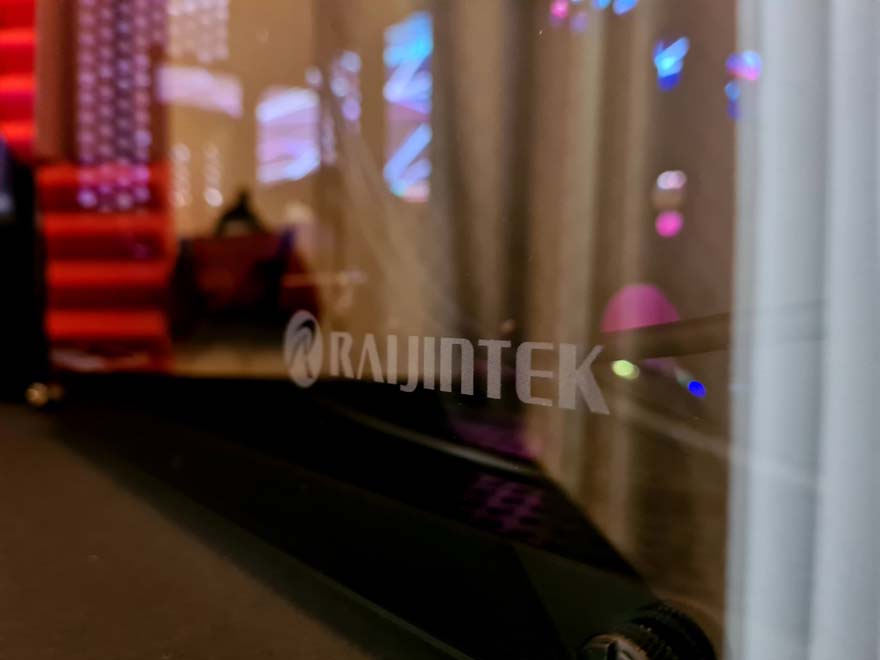
A tasteful Raijintek logo is etched onto the glass on the left side.
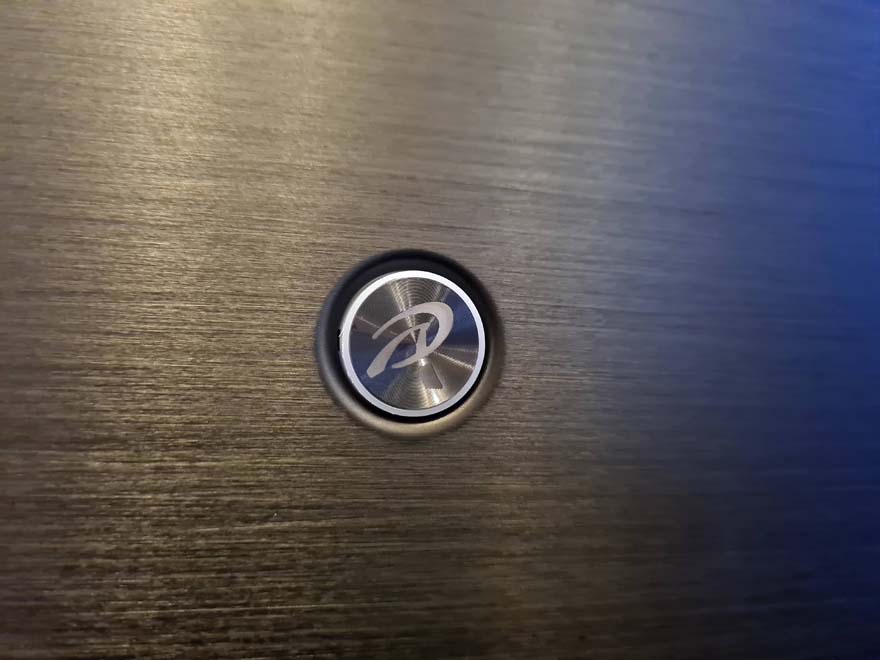
Rather than put their name on the front too, they just have an LED lit power button with their logo on it. I like how it’s been slightly recessed too, it’s the little details like this that take a case to the next level for me.
Tucked into the bottom left corner, a single USB 3 port, and a USB C port. That’s not a lot, but for a headset or controller, it’s really all most of us will need.

It’s certainly a case you’ll want up on top of your desk rather than under it. At least, off to one side though, not slap bang in front of your monitors like I’ve got it, that’s just impractical.

Up on the top, you’ll find a huge dust filter. It’s magnetic too, so just pull it off and give it a quick clean when required.

Below it, you’ll find a plethora of mounts to ensure compatibility and avoid fans or radiators conflicting with your motherboard.

On the right side of the case, you have another tempered glass window. But why? Well, this case is quite clever, as the motherboard and cooler are on this side, while the other side of the case is for the graphics card. That means you can show off all your hardware from multiple angles. It’ll look pretty interesting once I’ve got my test build in here.

Around the back of the case, you’ll see there’s a lot of ventilation, so getting rid of heat at the back of the case should not be difficult.
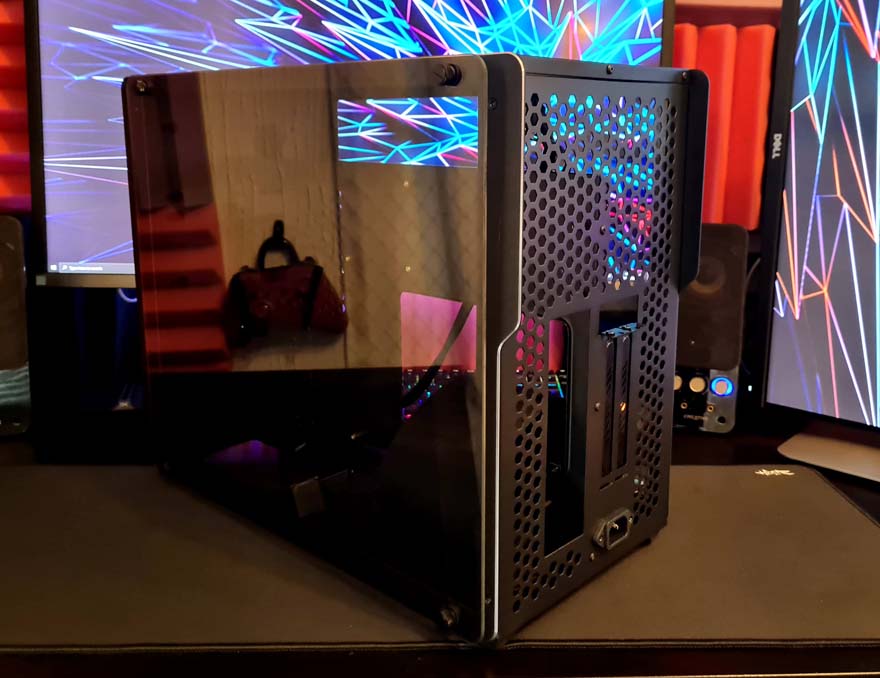
As you can see, the motherboard is on one side of the case, and the GPU mount is on the other side, which should have an interesting impact on the airflow and overall temperatures.

On the bottom of the case, you’ll find even more ventilation, as well as a large dust filter for the bottom fan mounts. There’s a PSU mount here too, as well as some sturdy rubber feet to ensure if all gets enough airflow.

Interior
With the glass removed, you’ll see that there’s quite a lot of space on the interior of the case. It has a two compartment design.

This side have the GPU mounting bracket, and as you can see, it features a long riser cable too.
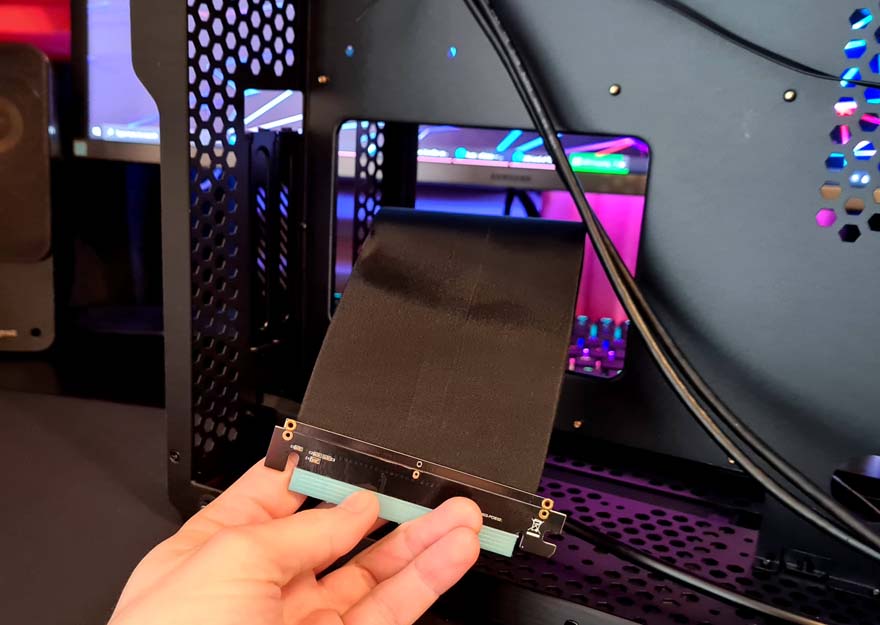
Towards the front, there are a few key-hole mounts, allowing you to mount your hard drives and SSDs. Plus, there are cable routing holes dotted around to ease the build process.

On the other side, you’ll find the other side of the PSU mount, as well as a PSU cable extension so you can plug your kettle lead into the back of the case, and it’ll pass through to the PSU this way.

All of the motherboard stand-offs are pre-installed, so you can drop your mini-ITX or mATX motherboard right in and you’re good to go.

Complete System
While this is a small form factor case, it is surprisingly spacious on the interior. Because you have separate chambers for the graphics cards and storage, it’s very easy to work inside the case. As you can see, I went with a mini-ITX board, but there’s certainly room for mATX too, and I think both options would look good. Alas, the only mATX board I have is a battered X299 one, hence my choice of this Z390 one. Plus, I wanted to match the colours of the case, rather than go for anything with RGB on it.

Cable management is surprisingly good, as there are a lot of little recesses and areas to take cables through. At least, it could be done to a better standard, but the be quiet! cables that I’m working with are notoriously stiff and stubborn. I’ll tidy it up a little more with cable ties as we progress here.
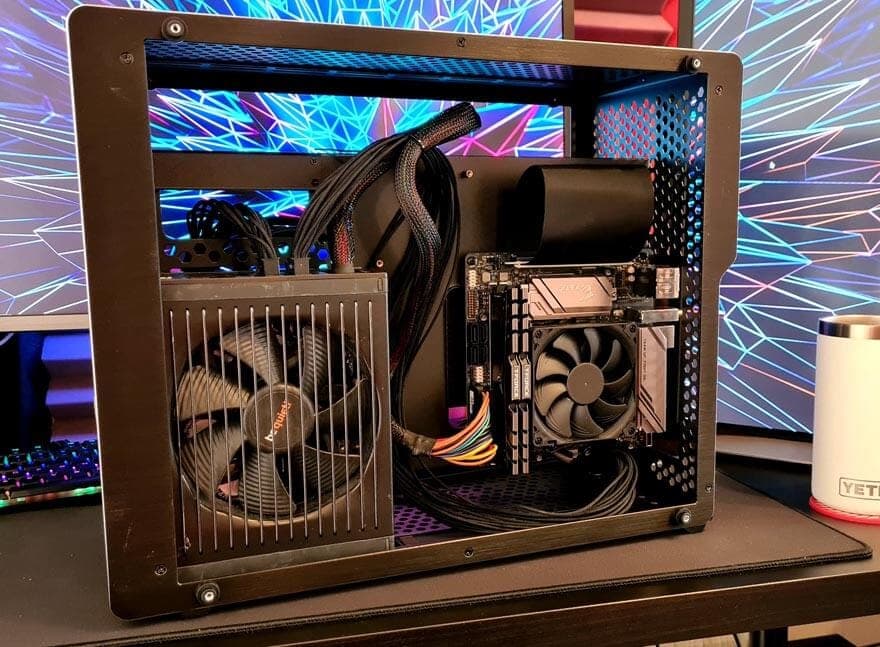
While this little Noctua cooler is more than capable for what I need in this build, there is room for something bigger. Albeit, it’ll still be a low-profile cooler rather than a tower cooler. You can opt for a AIO liquid cool or even custom loop solutions too, as there are mounts and spaces for all the appropriate hardware.

The riser cable is pretty enormous, and would actually run over the entire motherboard, but there’s just enough room to route it between the motherboard and the case. Just remember to do that BEFORE you screw the motherboard down or you’ll be going back two steps. It does look neat and tidy though, and I love that it’s all pre-installed and ready to rock.
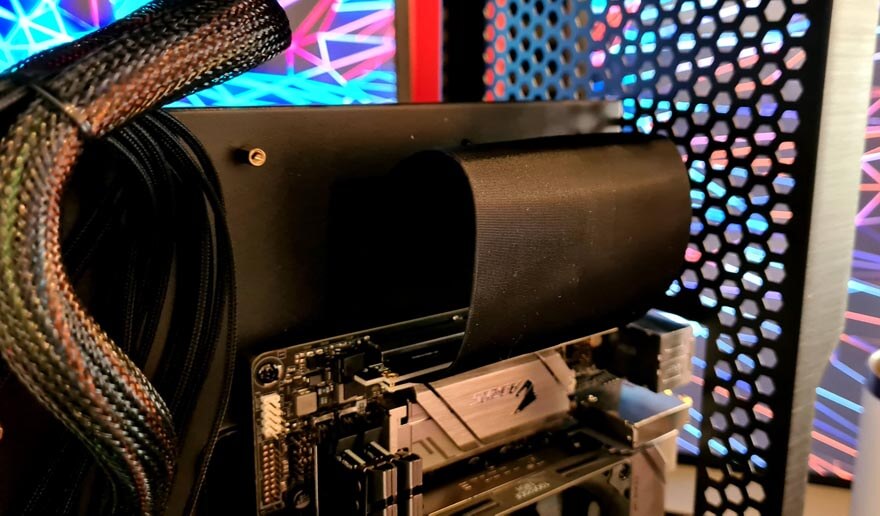
Keep in mind, with two windows on this case, all your cables and hardware will be on show from one angle or another, so keeping it tidy can be vital. Of course, the case has zero fans or RGB hardware as standard, so it’s all dark in there at the moment, but you can always add your own to suit your style and needs.
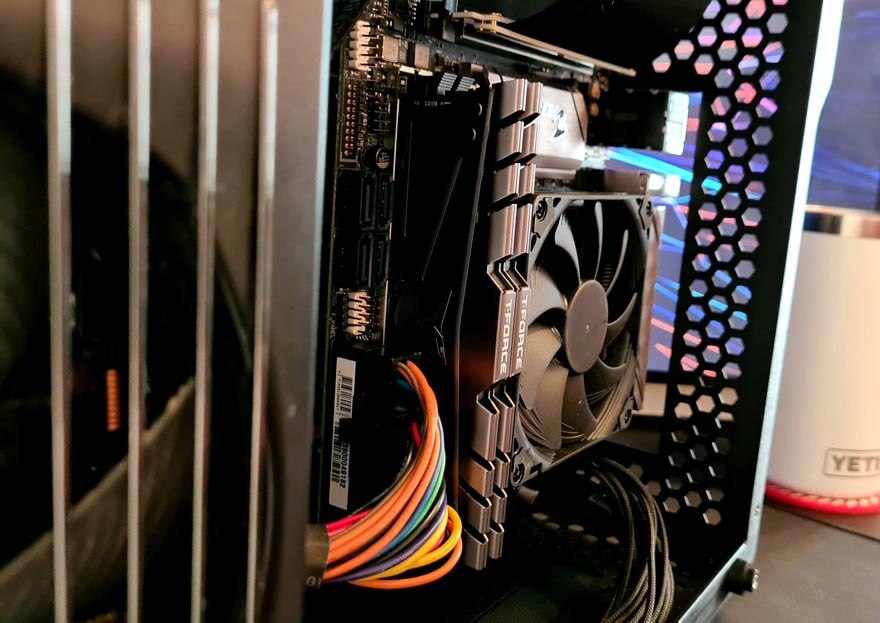
One of the most impressive aspects is the PSU clearance, as even a massive be quiet! unit barely takes up the available space. If you wanted something really beefy in here, it honestly shouldn’t be an issue.
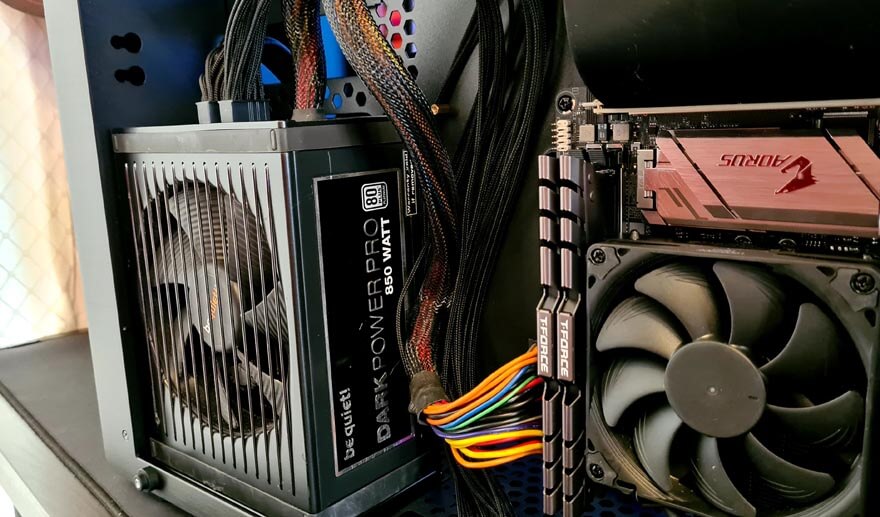
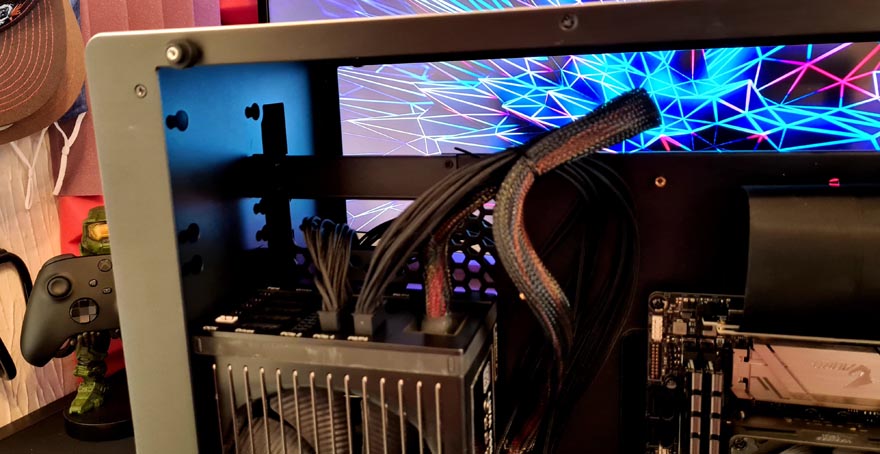
As you can see, there’s a HUGE amount of room in the top. Of course, you can fit some SSD in the front there, radiators in the top, route liquid tubing through the gap and much more. There’s a lot of options available to you for this space, and I really like that.
So what about the other side? Well, it offers up a vast amount of room for a graphics card. Even some of the titanic sized flagships should fit in here with room to space, and clearly, width will never be an issue either.
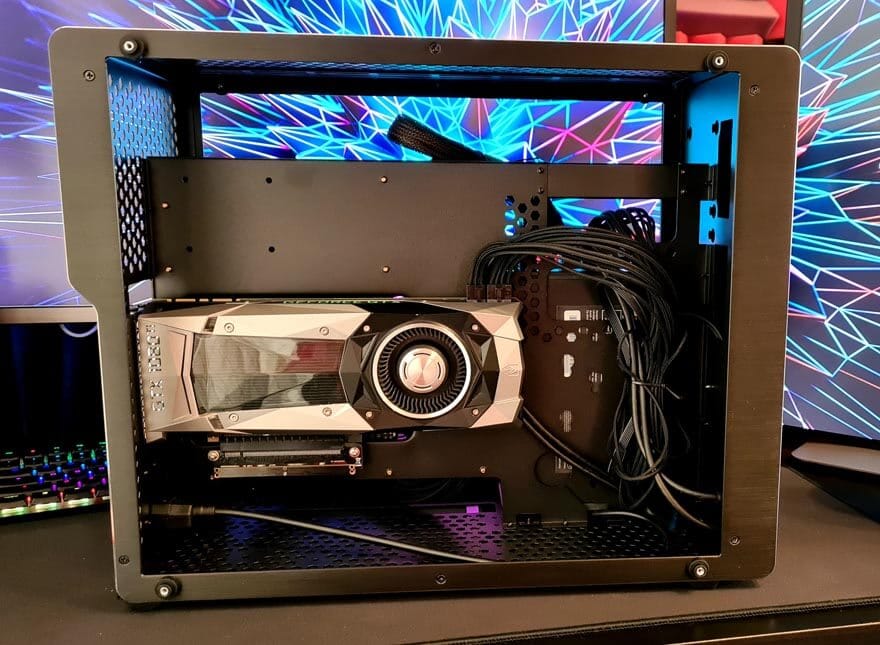
It’s an interesting way to show off the GPU, but again, it also keeps the airflow and heat from the CPU cooler and the GPU cooler fairly separate, and should help with overall temperatures.
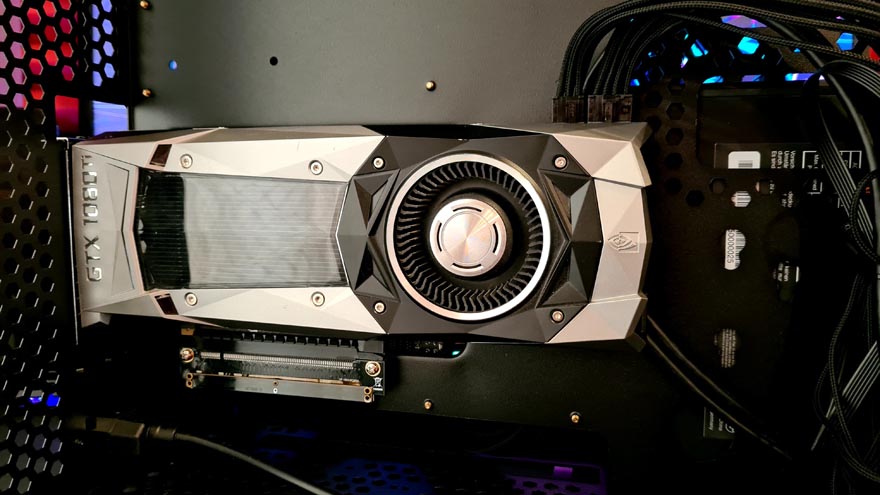
I’ve used the forward space for a bit of cable routing, but again, there are more storage mounts here also.
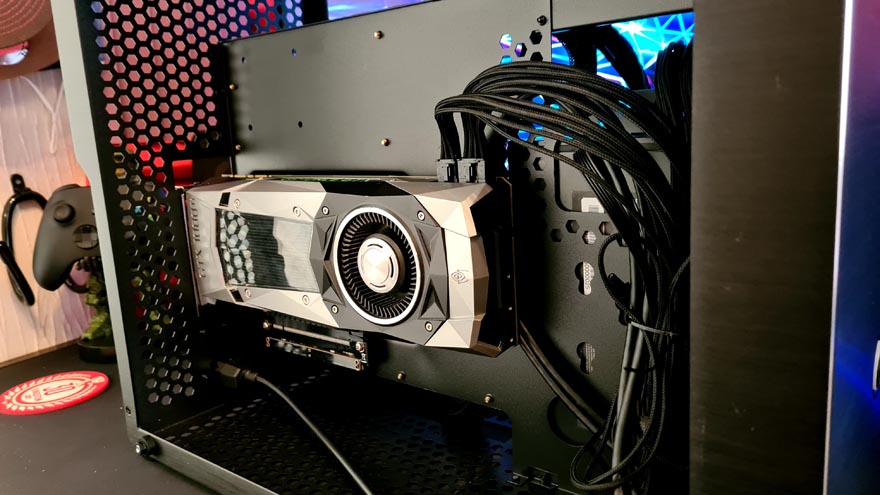
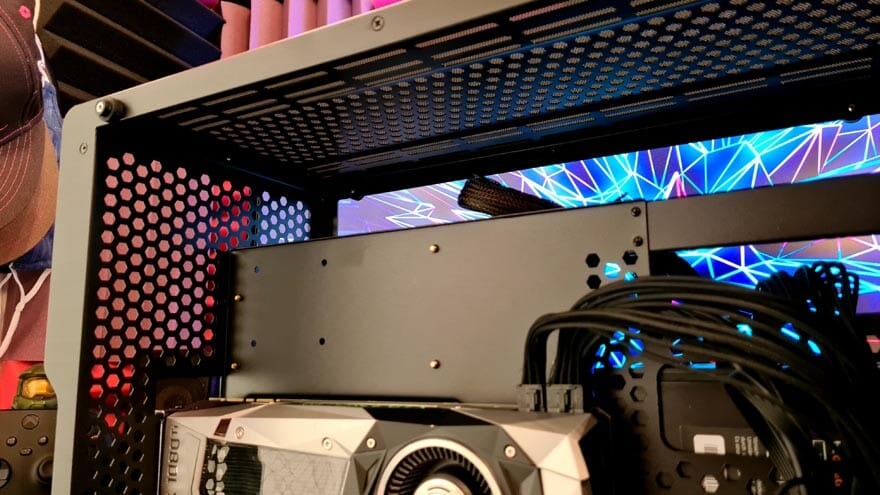
With the glass back in place, you can really see the GPU very well. The glass is crystal clear. Again, all the more reason to take your time with the cable routing.
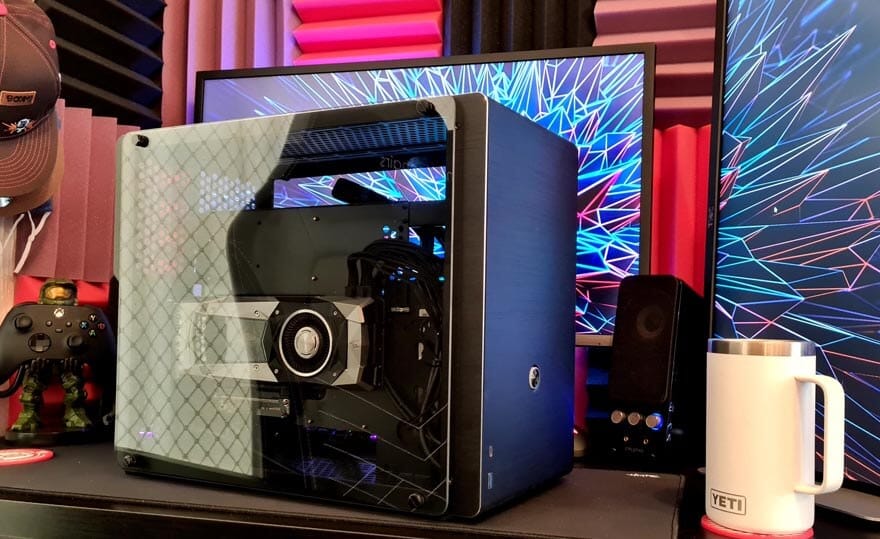
The other side looks great, as all the black cables blend in to the shadows well enough, allowing you to enjoy the view of the hardware easily enough.
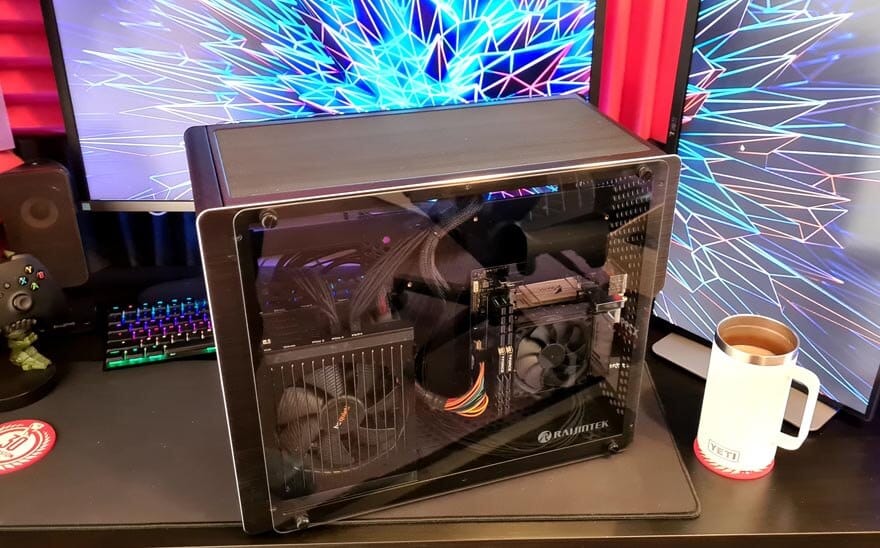
I rather like it with zero RGB and lighting in there, it looks slick, and leaves it rather reflective too.
How Much Does it Cost?
The Raijintek Ophion M Evo micro-ATX is available new with a price around £140-160. That’s quite a lot of money, I know, but keep in mind the case is made from loads of lovely premium quality black brushed aluminium, and that PCIe riser cable is pre-installed too, which certainly adds a lot to the price. It’s a premium priced product and the quality reflects that. There are few variants too, such as a slightly smaller mini-ITX model, and even one without windows, all of which look rather fantastic. They even sell the metal side panels separately should you need them later! You can check for up to date stock and price from their Amazon store here.
Overview
There’s a lot to love about this case, and it’s clear that Raijintek has been listening to their customers over the years. This design is nothing new from this as a brand… well, sort of. It still looks like a few other products in their range, but it’s a more refined evolution of that design. The interior layout is particularly clever, offering all kinds of ways of integrating custom cooling hardware, more storage, or just having a more refined cable routing setup.
Lightweight
What surprised me the most about this case was the overall weight of it. It’s very light, but that shouldn’t be surprising given it’s made from aluminium. Furthermore, even the tempered glass is a little thinner than it is on most PC cases. I actually think it feels a little fragile as a result, but it’s really not, and everything here is made to a very high standard.
Quality
The build quality shows in end product though, and the black brushed finish of the metalwork, and those lovely trimmed silver edges really gives it a premium quality look and feel. I like that the side panels are all tool free, and you get manetic dust filters too, so the whole thign is very easy to work with and maintain.
Hardware
Compatability is impressive on this case, with room for even the biggest of graphics cards, and with the riser cable and bracket pre-installed, they’re super easy to install too. There’s room for up to an mATX motherboard, and you can get a pretty decent cooling setup in here, be that air or liquid. There are plenty of storage mounts, and most impressively for a case this size, a huge PSU can be installed and doesn’t cause any compatability issues.
Should I Buy One?
There’s no shortage of small and affordable PC cases these days, but it’s clear that with a little extra investment, you can get a lot in return. The aluminium construction, lightweight design, stylish and modular design, as well as that pre-installed riser cable make the Ophion an extremely tempting option for those wanting a high-performance build in a desktop friendly form factor.


