Sharkoon Bulldozer ATX Chassis Review
Peter Donnell / 11 years ago
Interior
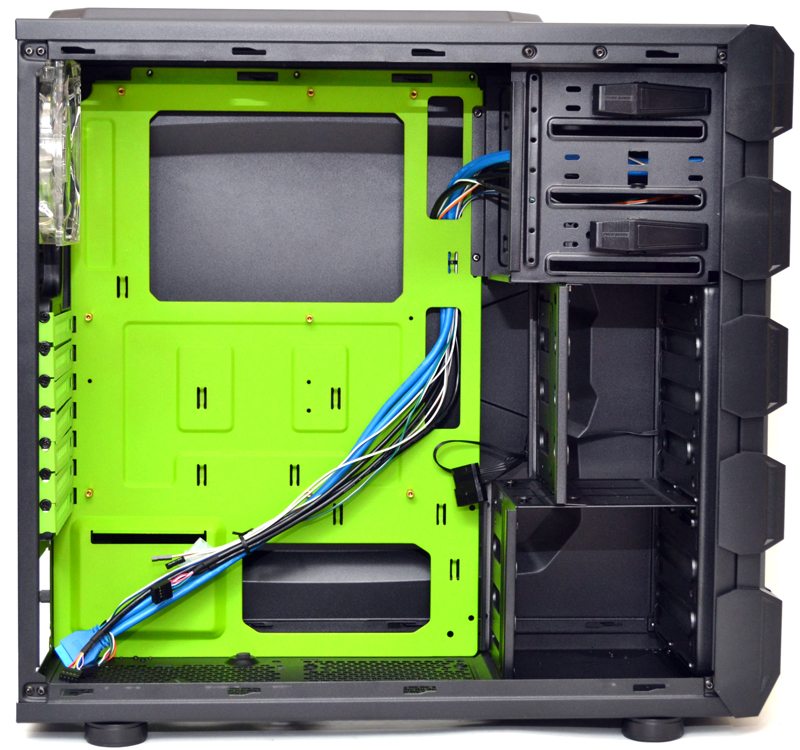
With the side panel off we can see that bright paint job on the motherboard mounting plate. This is colour matched to the model so the blue and red LED editions of the chassis have matching interior colours. There is an extra wide CPU cooler mounting cut-out and a few cable routing holes. The cable routing option do not have grommets, but they do have round edges, so no chances of cable snagging here.

At the top we have a clear fan which is fitted with green LED lighting, while at the bottom we see four rubber pegs that provide a stable base for the PSU.

The front has two quick release clips for the 5.25″ drive bays, and there is even a pre-installed 5.25″ to 3.5″ bracket installed on the lower 5.25″ bay. The hard drive bays are semi modular and the middle bay is currently configured for 2.5″ drives and the lower is configured for 3.5″ drives.

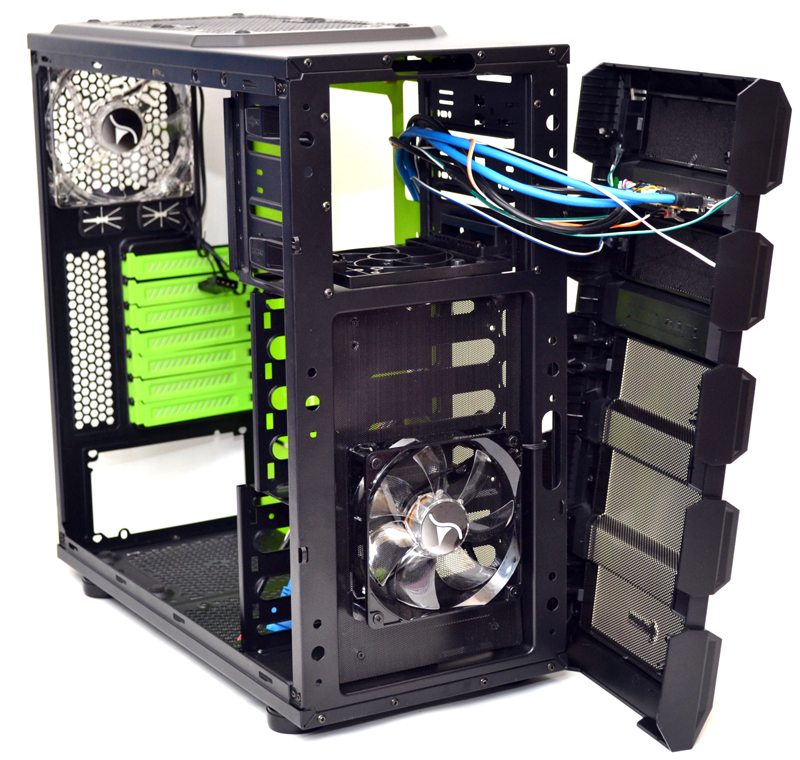
The top of the chassis features a simple mesh filter and some pre-installed rubber grommets on eight of the screw holes, although these can be relocated or removed if needed.

Around the back we see that there are a few cable tie loops that will help keep cable routing neat and tidy, space is limited but the side panel should allow a little extra room.

The front panel was not easy to remove and has quite possibly one of the hardest to maintain dust filters I’ve ever seen as it is located behind the fan! Not perfect, but certainly better than nothing. Fortunately there is also space here to move the fan and fit in a second intake fan should you wish.


