Sharkoon REX8 Value Chassis Review
Peter Donnell / 12 years ago
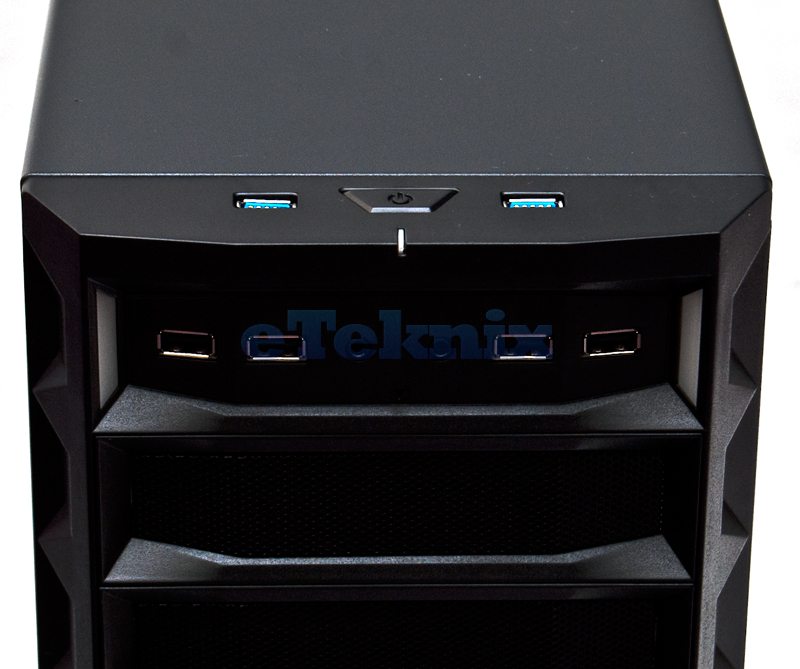
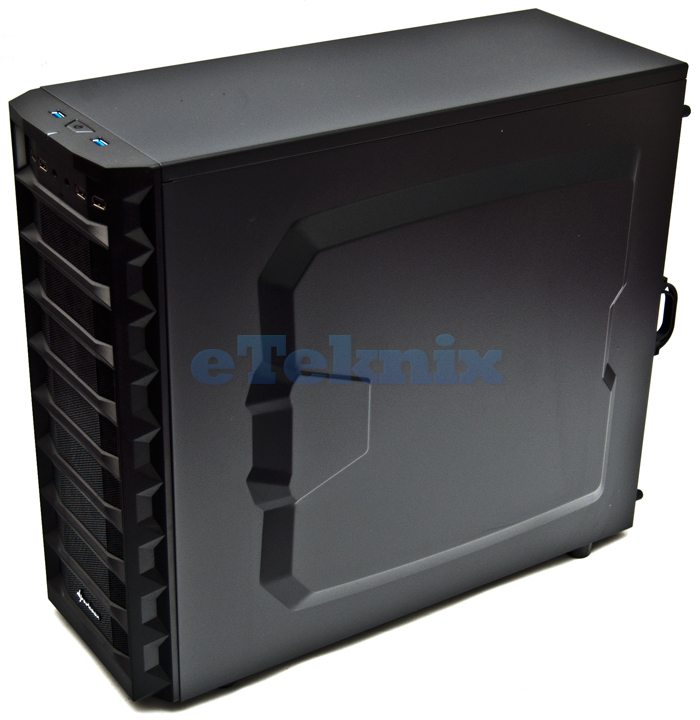
The front of the chassis has a meshed design with 8 bays, the first bay is taken up with 4 x USB 2.0 and the headset/microphone sockets, the next four bays are fitted with re-usable covers and can hold 4 x 5.25″ drives, the rest are locked in place and act as the main air intake for the front mounted fans.
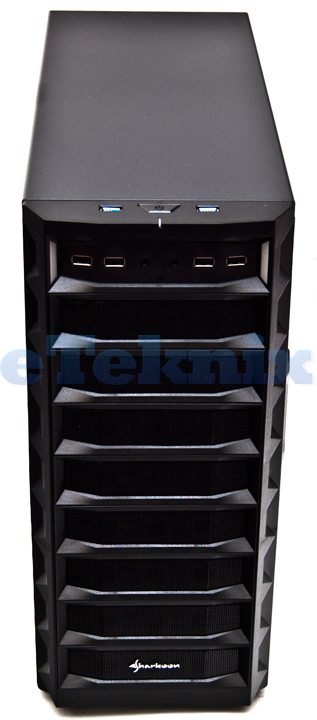
The front panel is very well equipped, we have six USB ports in total (2 x USB 3.0 + 4 x USB 2.0) that should serve up more than enough ports for controllers, headsets, flash drives and other devices.
The left side of the chassis is held in place with two quick release thumb screws and also features a plastic handle to assist with removing the panel from the chassis. As you can clearly see it also features a large, vertical, tinted window that should provide an excellent view of our components once the system is complete.
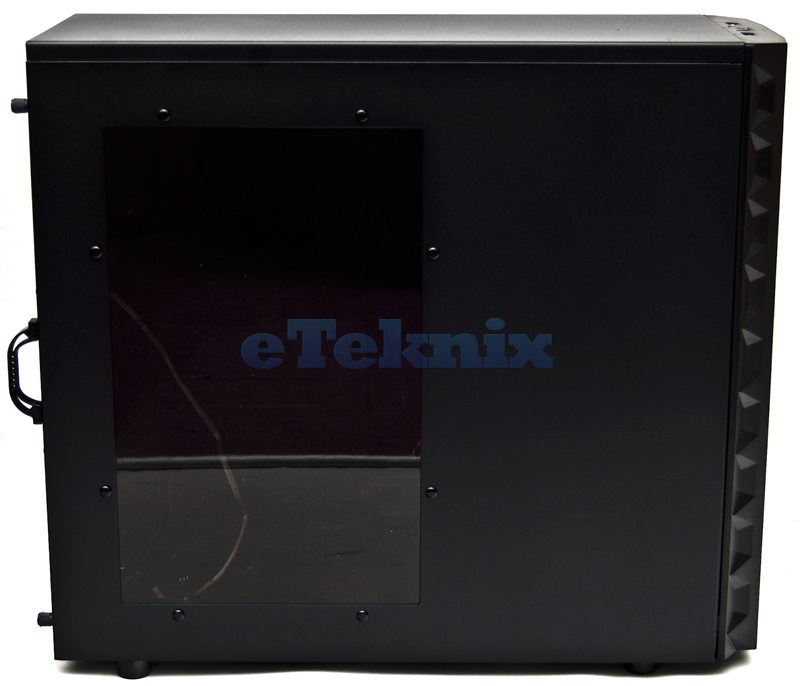
The right side features a recessed panel that will provide us with room for some cable management, it also looks pretty cool and it’s nice to see a chassis that doesn’t just feature a blank panel on this side. The right side panel is also held in place with two quick release thumb screws with a plastic pull handle, just like the left side panel.
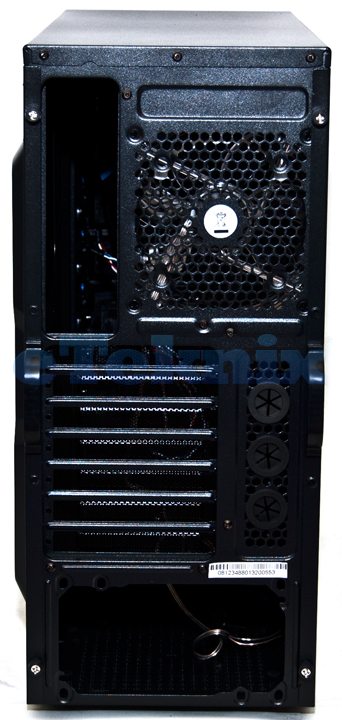
Around the back of the chassis we have a pre-installed 120mm exhaust fan, or you can swap it out for an 80mm thanks to the pre-cut mounting holes. Further down the chassis we have 7 expansion slots, each fitted with re-usable and ventilated covers. To the right of those we have three water/cable routing holes in a vertical arrangement and a few extra ventilation holes. Lastly we have a bottom mounted PSU cut-out.
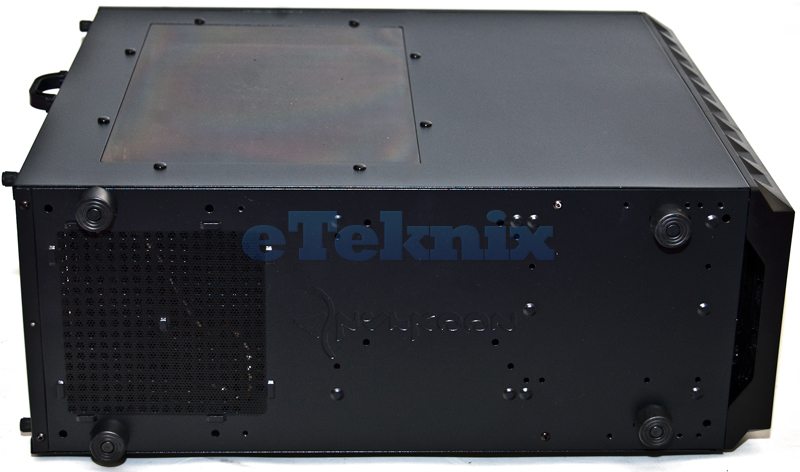
The underside of the chassis comes fitted with four rubber feet that should provide just enough clearance for the PSU air intake, which comes fitted with a basic slot-in piece of mesh dust filter, not the best filter ever as it can be a pain to remove and re-install, but certainly much better than no air filter at all.
