Shuttle XH110V Barebones System Review
Peter Donnell / 9 years ago
A Closer Look – Interior
The system can be quickly accessed by a pair of thumb screws at the back, allowing you to easily get in there and install your hardware. With the cover removed, we can see there is a mounting tray on the left, which pairs up with the open slot on the front panel we saw a few moments ago.
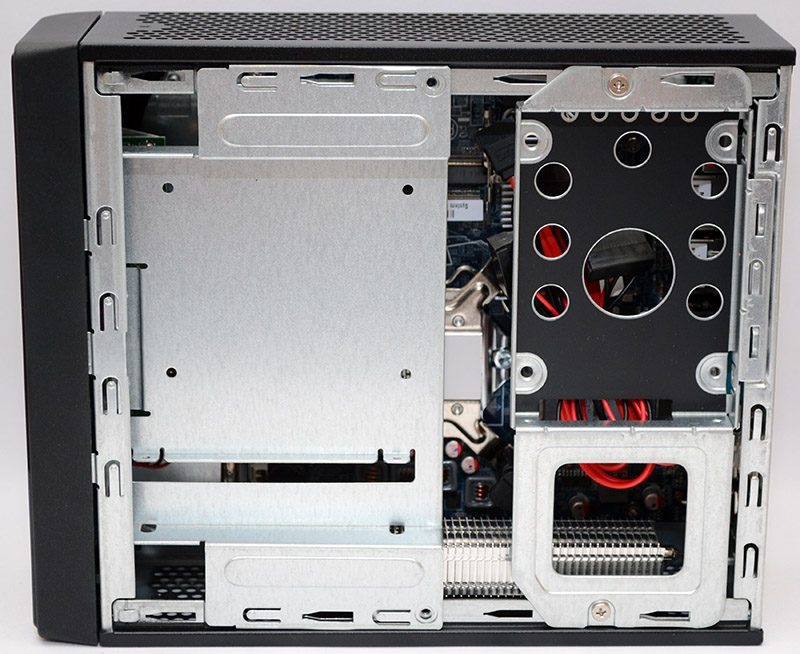
Remove the two screws holding it in place and it can be easily removed, allowing you access to the motherboard components underneath it.
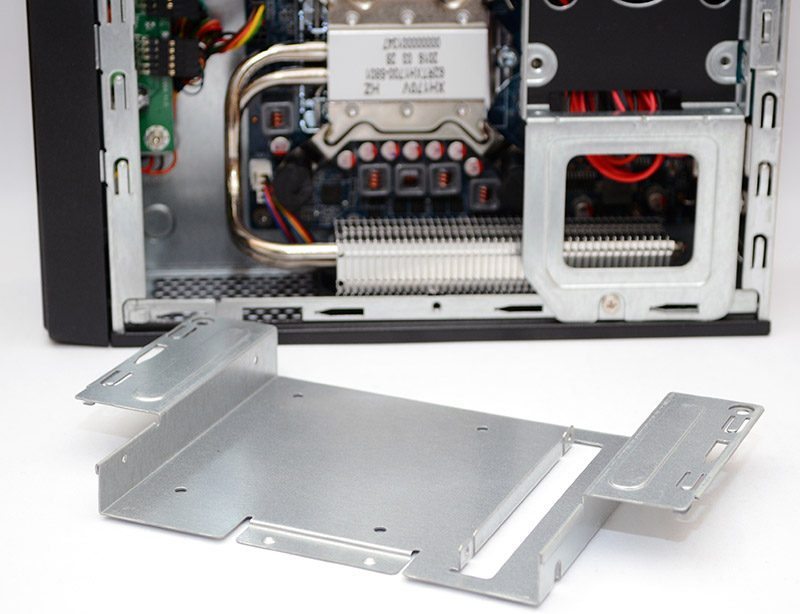
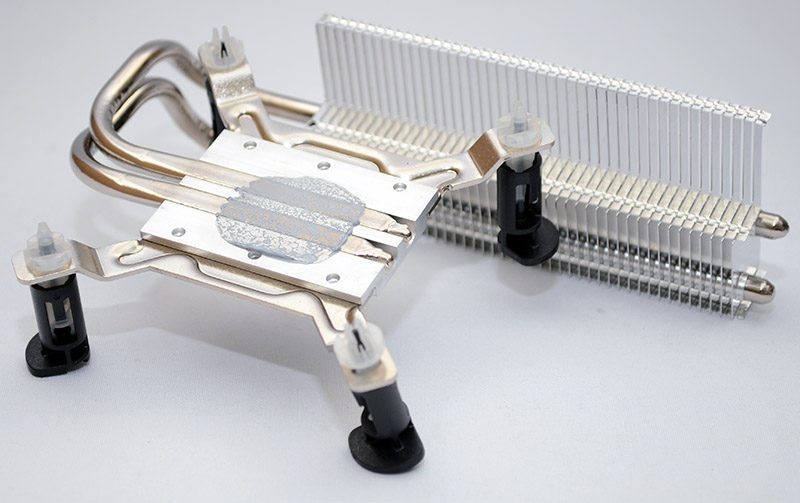
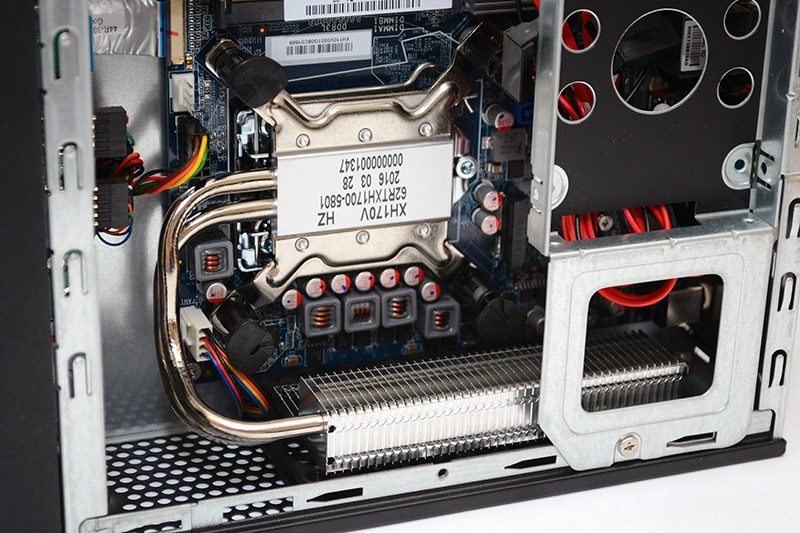
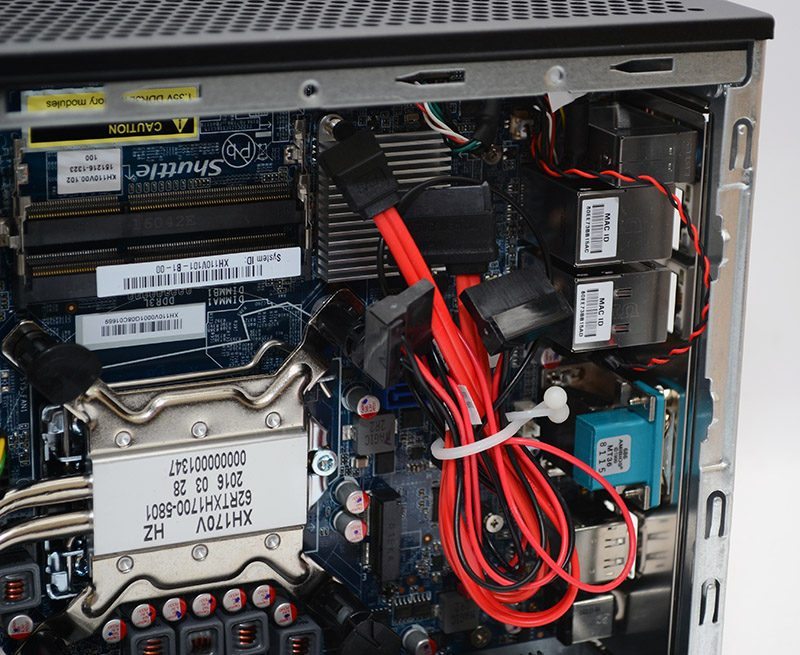
The CPU cooler is pre-installed and uses push-lock clips for easy installation/removal.
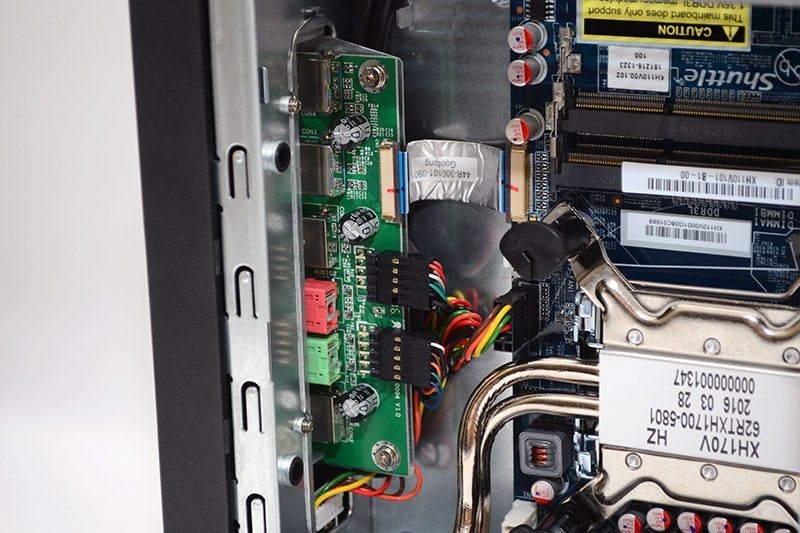
A super slim bridge cable for the USB 3.0 and two standard header cables for the USB 2.0 and HD Audio running from the front I/O to the motherboard.
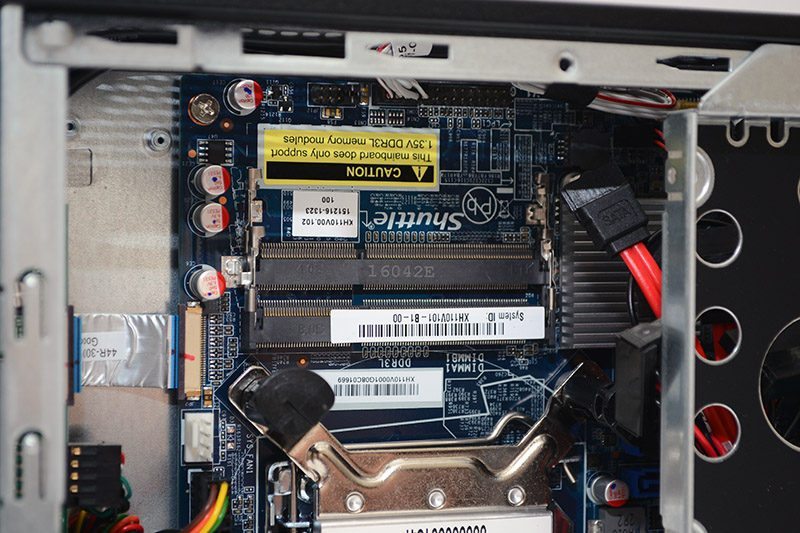
Two SO-DIMM slots at the top, both easily accessible.
In the top right, an easily removable bracket which is obviously tailored for a 2.5″ hard drive, and there is even a cut out on the bottom edge to allow power/SATA cable pass through, keeping things neat and tidy.
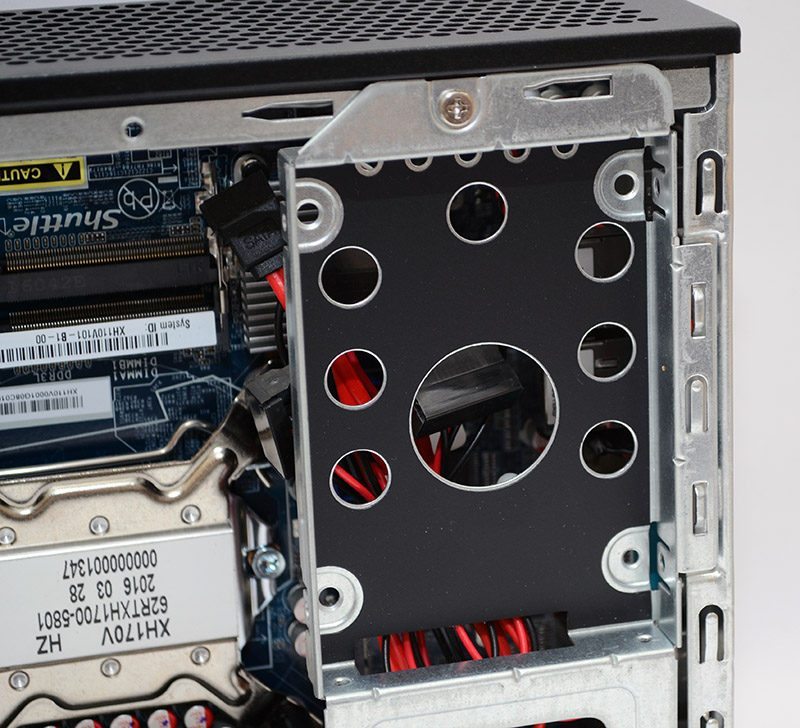
Behind the HDD mount, you’ll find a small bundle of cables, with the SATA headers and power connectors ready to hook up to your drives and go, no fussing around on the motherboard side of things.
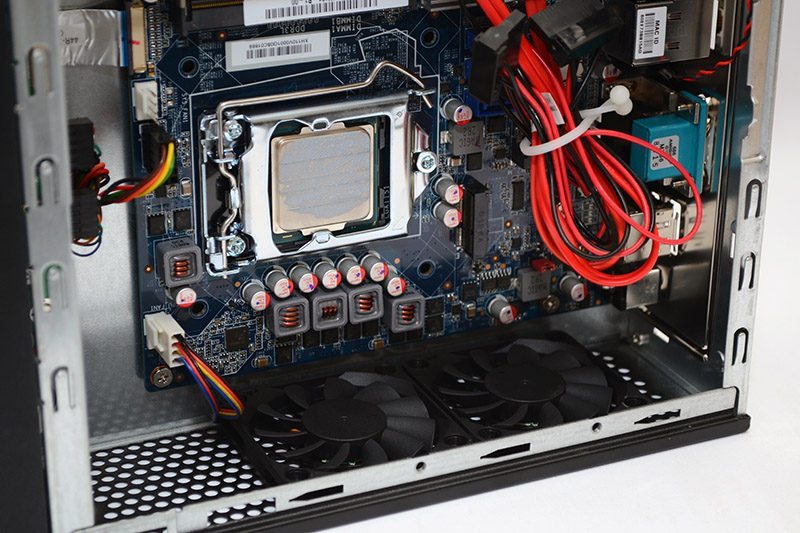
With the CPU cooler removed, we can see those two slim fans, perfect for getting heat out of the system and keeping the CPU cool. Please ignore the installed CPU, this isn’t how the item is normally shipped and was included for the review.
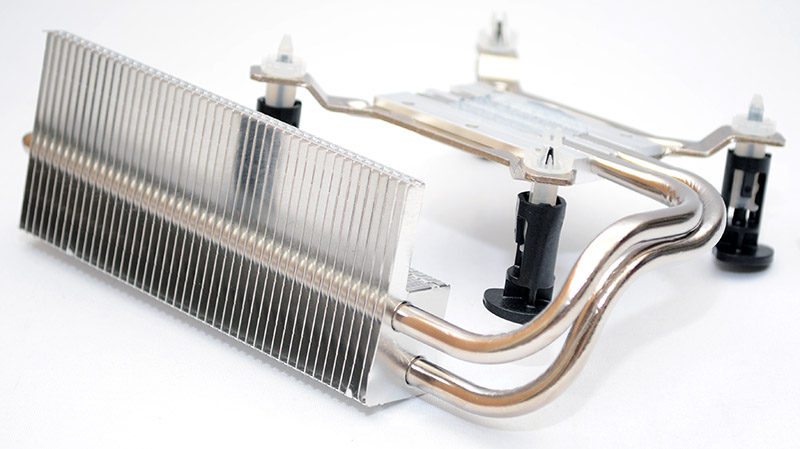
The CPU cooler its self is very nicely designed, with a slim block that breaks off to two curvy heat pipes, bringing the heat through to a wide fin stack on the side of the chassis, where it can benefit from the airflow of those side panel fans.
