Shuttle XPC Slim DH110 Barebone 4K Signage Player Review
Bohs Hansen / 8 years ago
A Closer Look
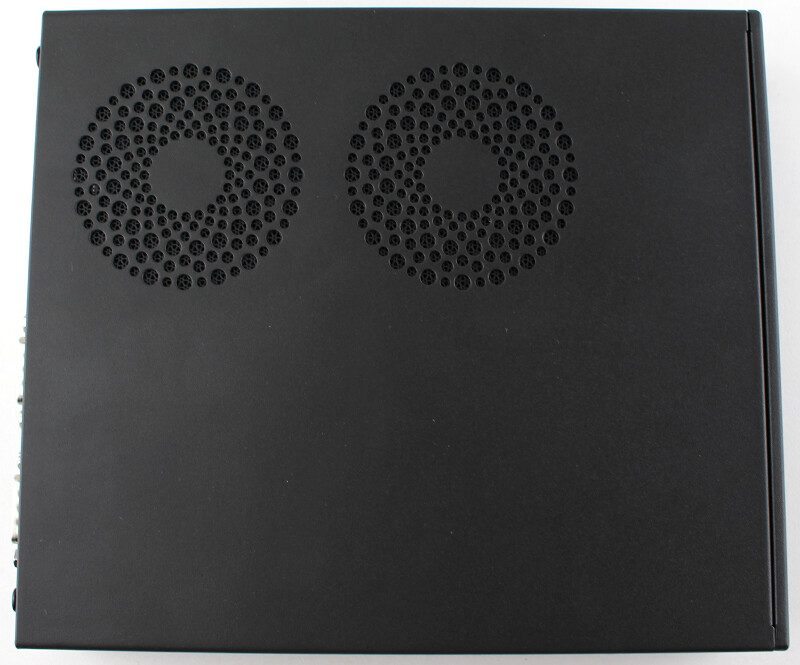
It is time to take a closer look at the Shuttle DH110, starting with the top. We see two vent areas for the system fans that already reside inside the system. They’re covered against dust from the inside, so you shouldn’t experience a lot of dust settling this way when the system is turned off.
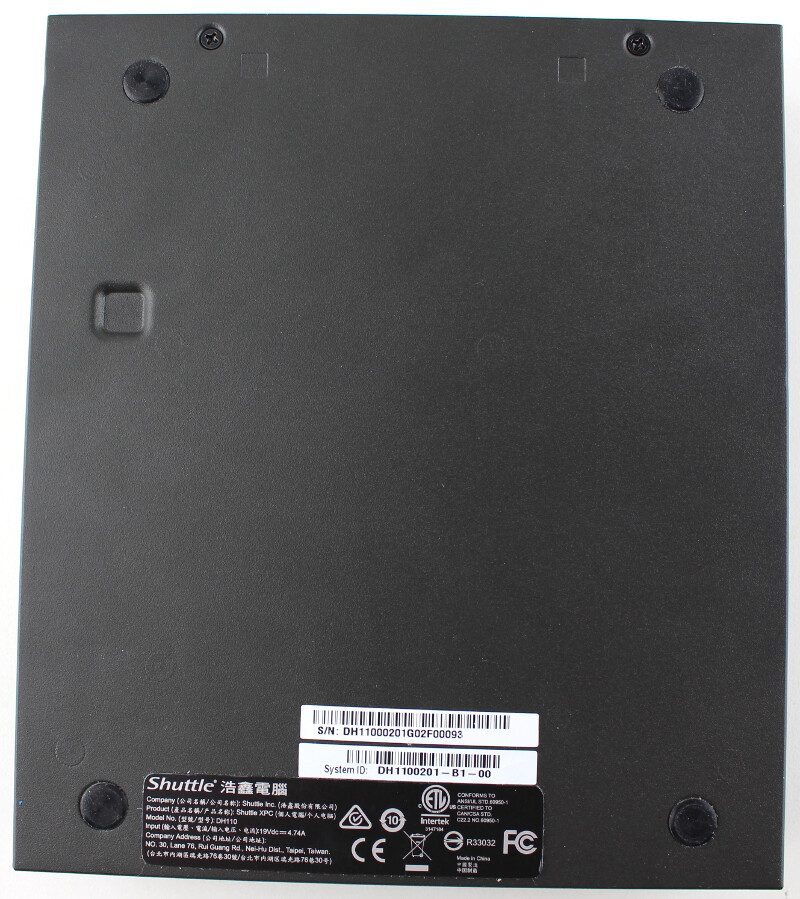
Turning it over and looking at the bottom, we see the four small rubber feet that make sure that the system stays where you place it and doesn’t transfer possible vibrations between the surface it has been placed on and the system.
Both sides feature air vents and both sides also feature a Kensington lock to secure the system against theft and tampering. It’s great to see this on both sides as it increases the possibilities of placement.


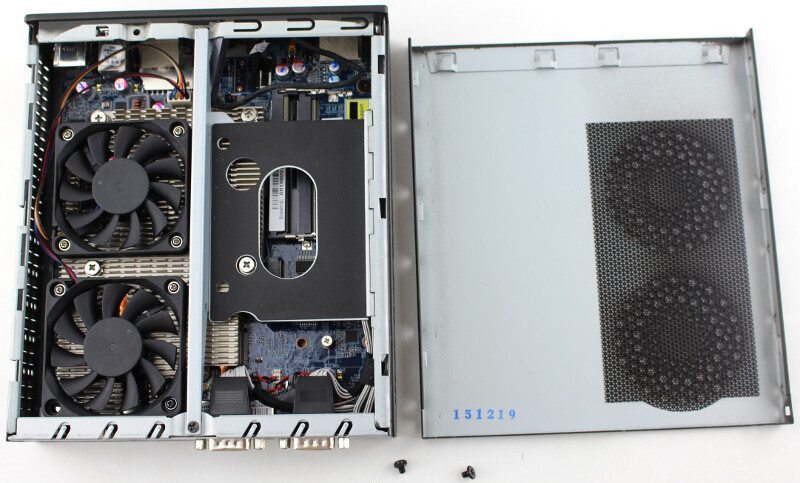
Opening up the DH110 and we get a look at what’s inside. The first two things that we notice is the dust filter on the cover and the two fans in the unit itself.
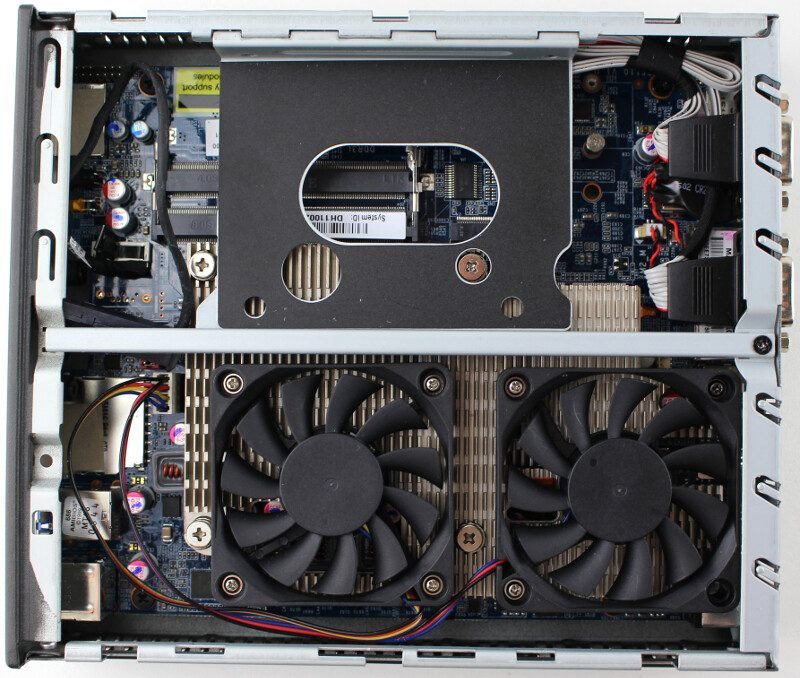
Another thing that’s hard to miss is the 2.5-inch mounting bay located on one side of the chassis.
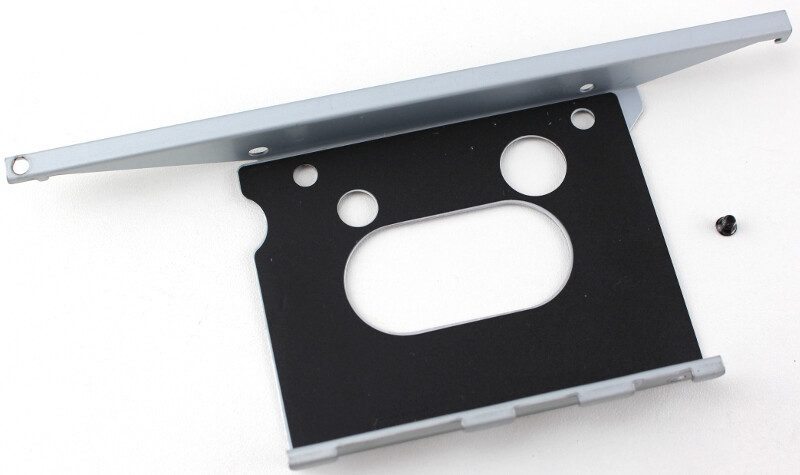
This drive bay is easily taken out by removing a single screw. Overall, the tiny chassis has been cleverly made in a way that makes it sturdy while it allows for quick disassembly and setup.
Now that the drive tray has been removed, we get a clear look at the two SO-DIMM memory slots. With support for up to 16GB DDR3 memory per DIMM, this system can pack a lot.
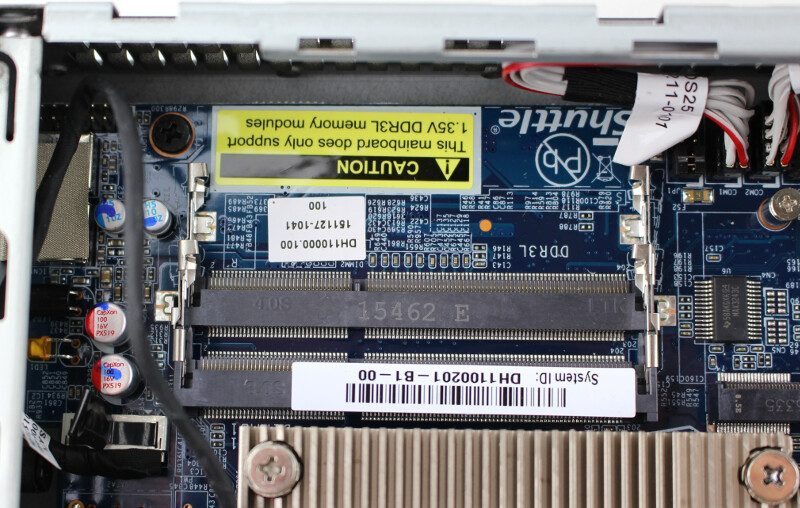
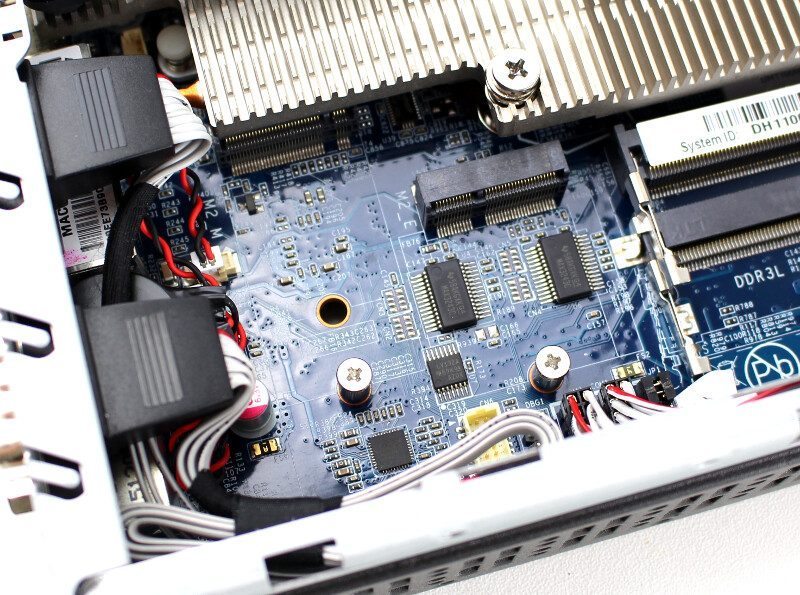
Next to the two SO-DIMM slots are the two M.2 connectors. To the left in the photo below is the connector intended for storage and to the right is the one intended for wireless network or Bluetooth modules.
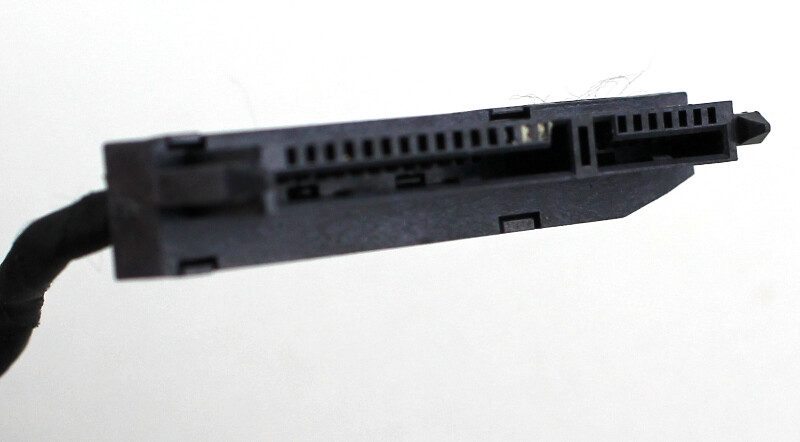
Normal 2.5-inch drives used will be connected with the already included SATA cable. A single short cable will connect both power and data cables to your drive.
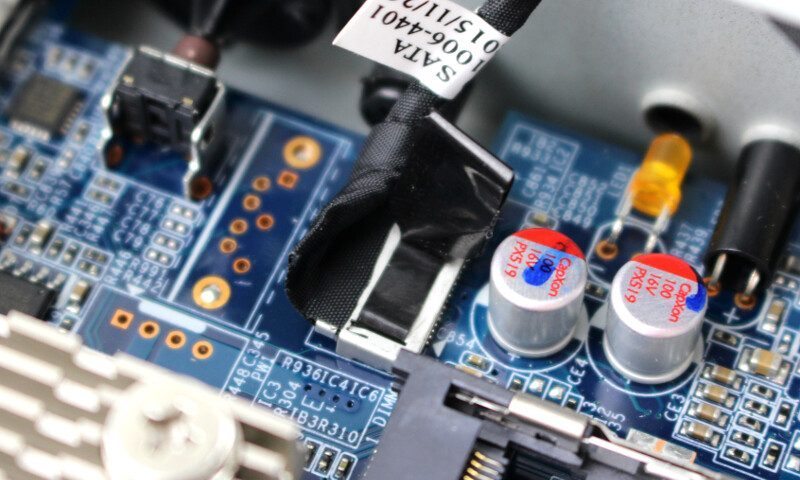
That SATA cable is then connected directly to the motherboard.
We get a much better look at the motherboard when we remove the heatsink.
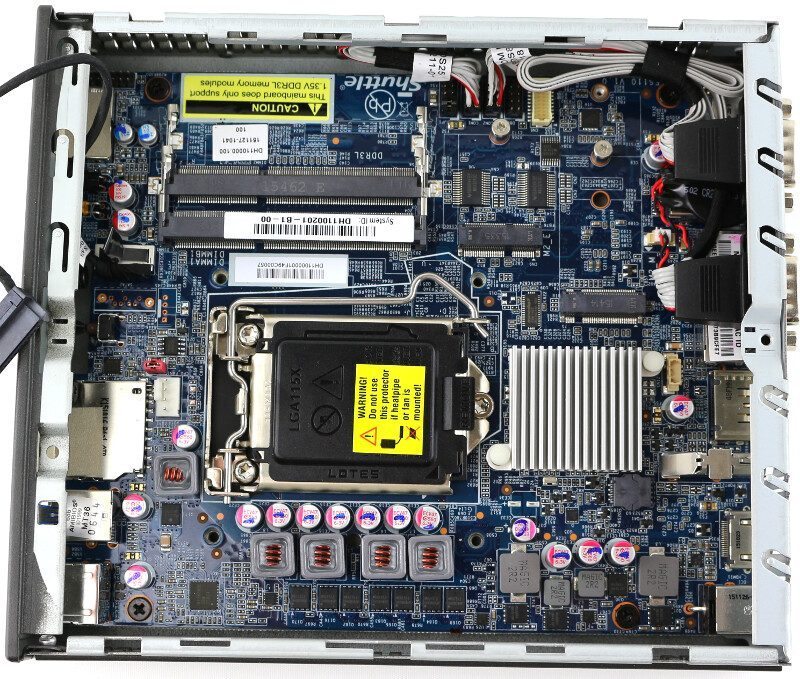
Overall the motherboard is well built and Shuttle used quality components such as solid capacitors all the way through.
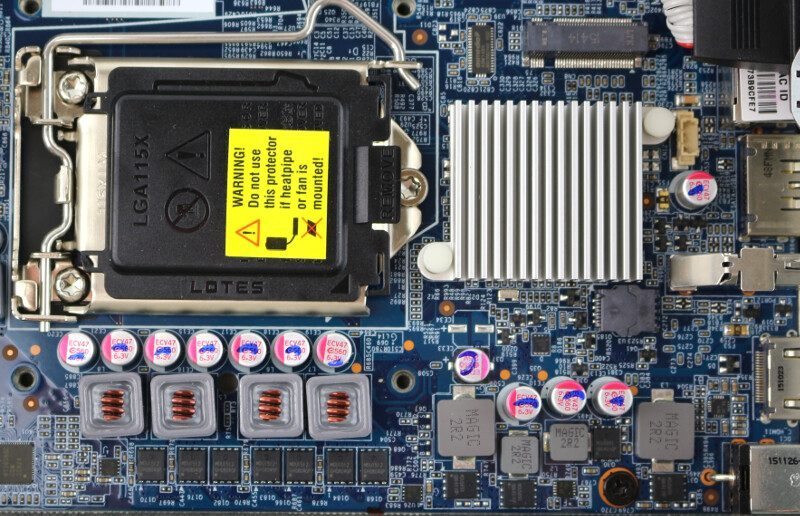
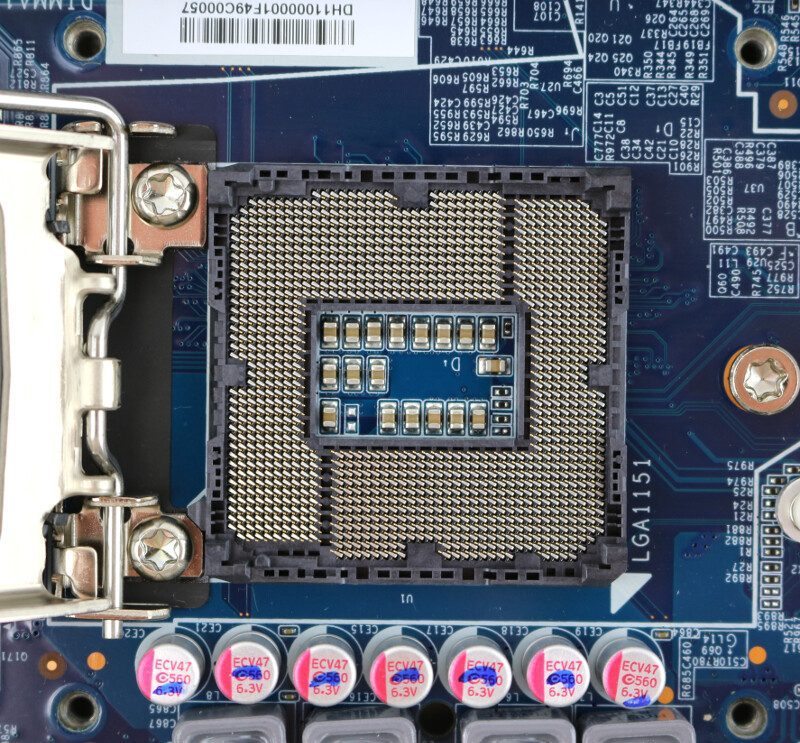
The socket is a normal LGA 1151 narrow socket that will take any Skylake CPU, but the cooler can only handle up to 65W CPUs.
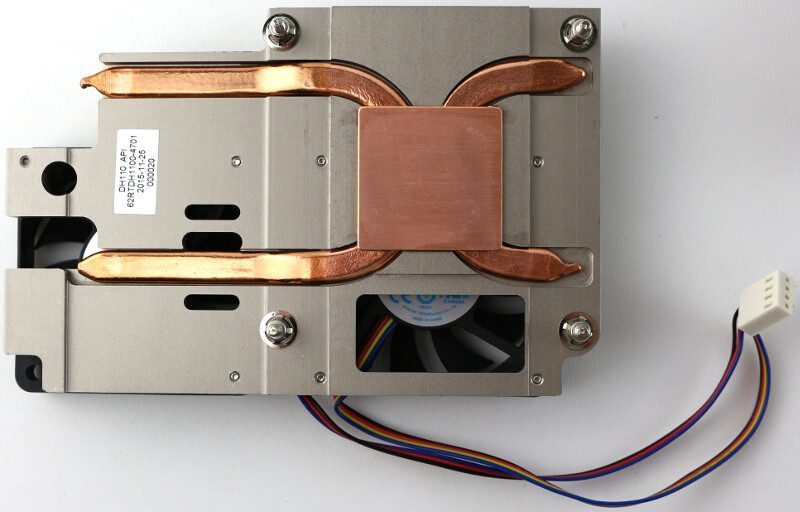
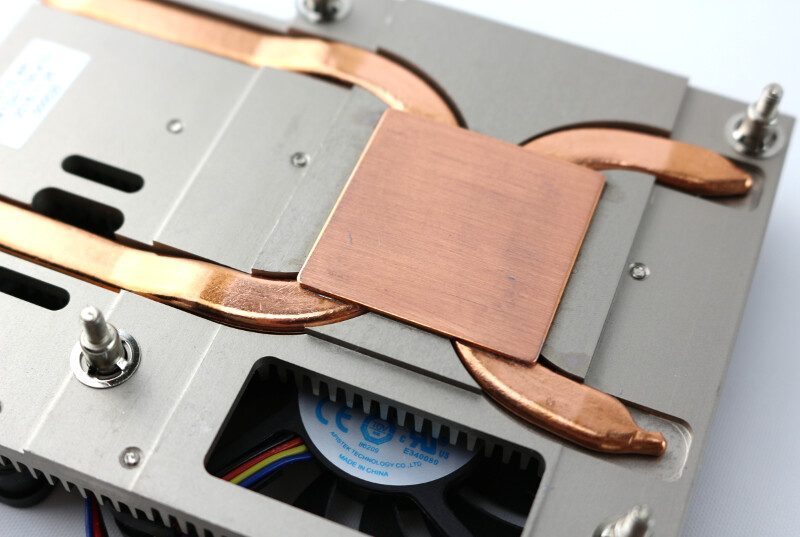
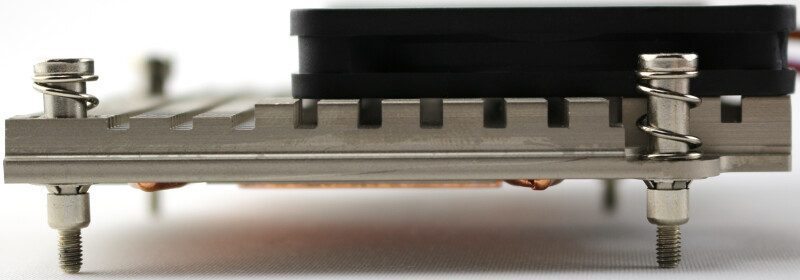
The cooler in itself is a simple but effective design. The large size and two fans help to dissipate the heat generated by the system.
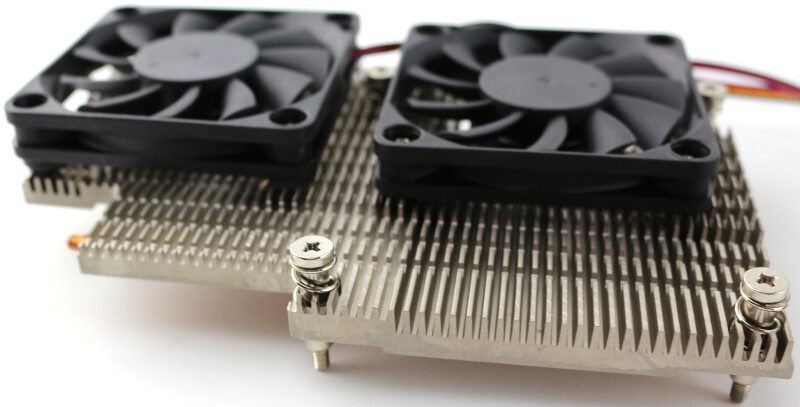
Two copper pipes connect the CPU itself with the heatsink.
