Shuttle XPC Slim DH110 Barebone 4K Signage Player Review
Bohs Hansen / 8 years ago
Test System & Methodology
Testing a barebone is a lot like testing a motherboard. We don’t really test the system itself as much as we test its ability to use the components that we equip it with. Since the kind of systems that we’re testing here are designed for medium workloads, we will equip them with medium rated hardware as well. This will simulate a highly likely setup in the real world.

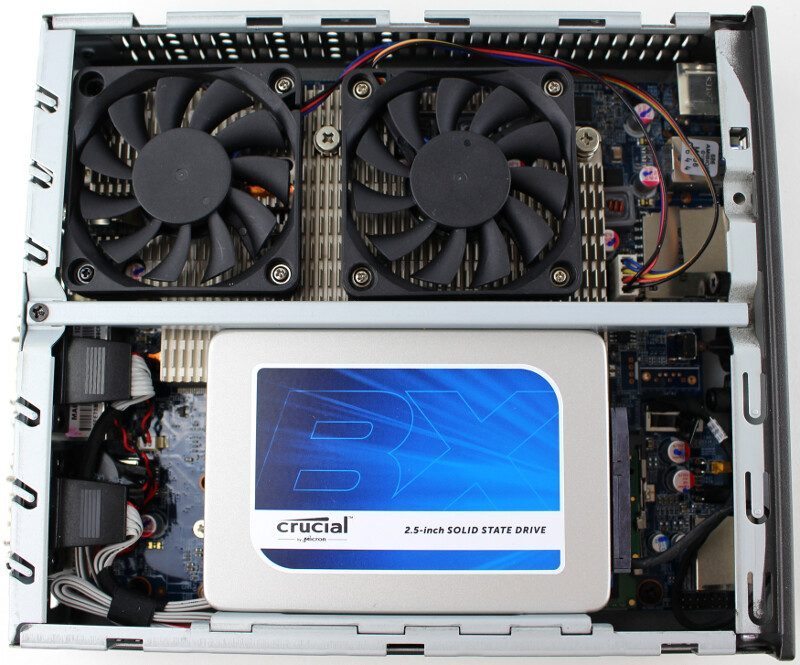
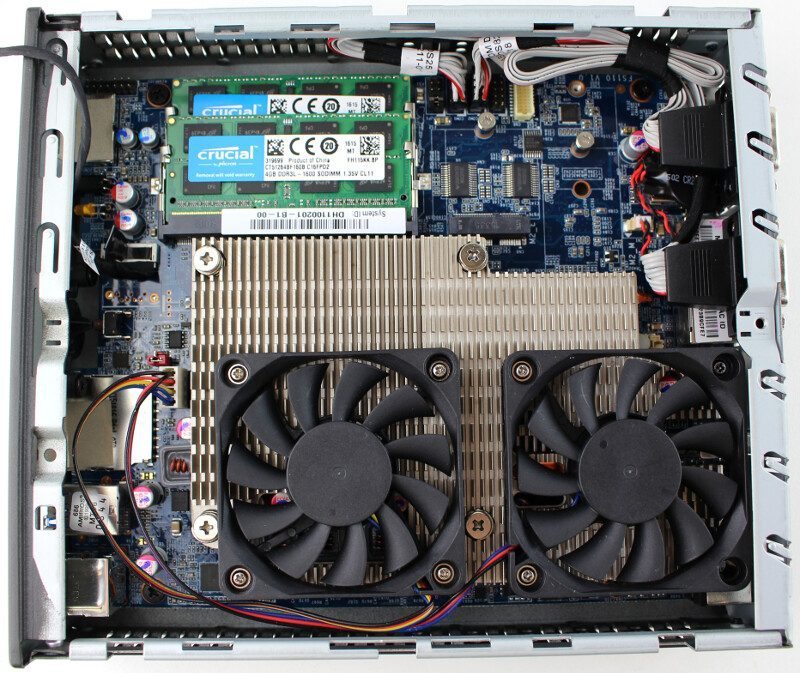
As CPU we got an Intel Core i3-6100. It is a dual-core CPU with four threads and a clock speed of 3.7GHz. The 51W TDP rating makes it compatible with the system and its a really good CPU. The storage drive in a system like this needs to read more than it writes and TLC-based drives are great in that respect. That’s why I asked Crucial for a BX200 SSD for operating system. Again, a highly likely choice by the end-user. The same goes for the memory, I’m using the maximum speed that the system supports, but I’m only adding 8GB of the 32GB supported.

The entire system will then be connected through our 10Gbps network setup and benchmarked with a wide variety of apps to give as clear a picture of the systems performance as possible.
Hardware
- Intel Core i3-6100 Processor
- Crucial BX200 240GB SSD
- Crucial SO-DIMM 1600MHz (2x4GB)
- Angelbird SSD2go Pocket 512GB USB 3.0
Network
- D-Link DXS-1210-12TC Websmart Switch

Software
- AIDA64 Engineer Edition
- Cinebench 11.5 and 15.0
- GeekBench 3
- PassMark 8
- PCMark PerformanceTest 8.0
- SiSoft Sandra
- Super Pi
- wPrime
- RightMark Audio Analyser
- DPC Latency Checker
- Windows 8.1


