SilverStone Argon Series AR01 CPU Cooler Review
Ryan Martin / 12 years ago
The SilverStone AR01, like many small tower heatsink CPU coolers, is largely dominated by the appearance of the fan. The fan looks very nice opting for more fan blades than we often see on budget fans, 9 versus 6 or 7. The blue frame very much makes the white stand out quite firmly.
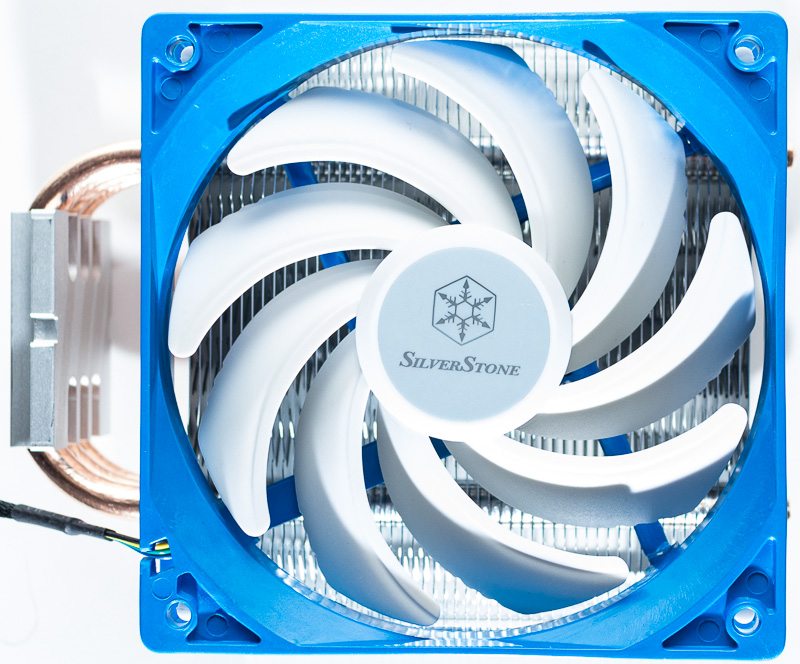
From the top we can see the three uncapped 8mm heatpipes and the 120mm blue fan attached with its anti-vibration rubber mounts.
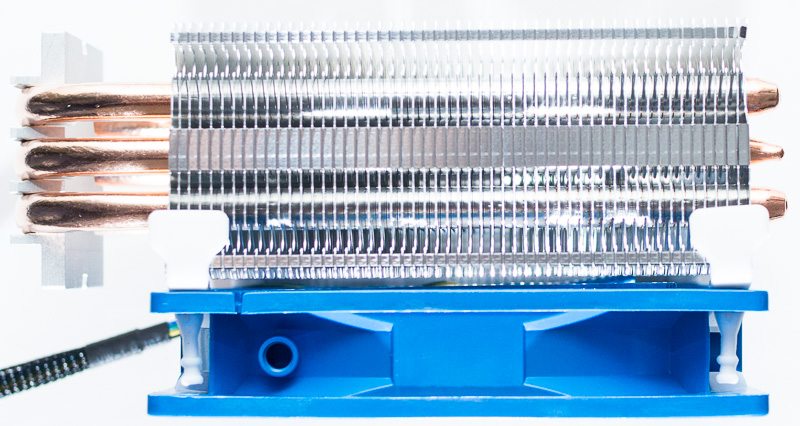
The design is very thin and on our motherboard we saw 100% RAM compatibility AKA no obstructions to any RAM modules on our LGA 1155 board which has four DIMM slots.
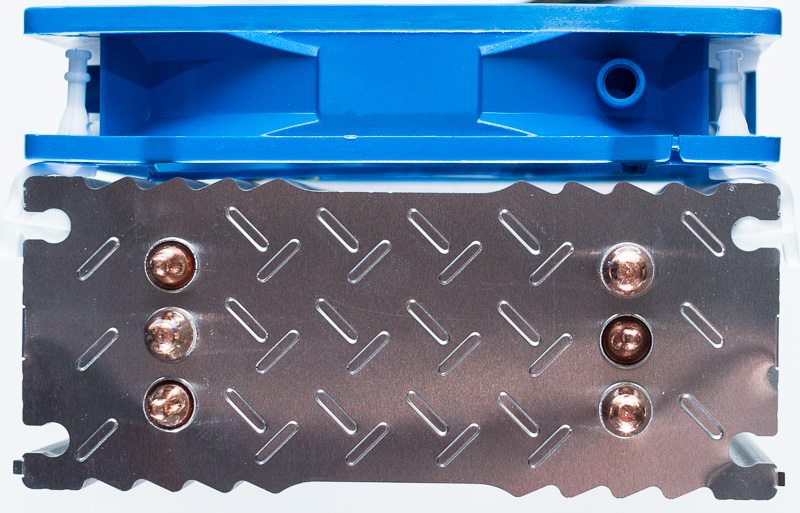
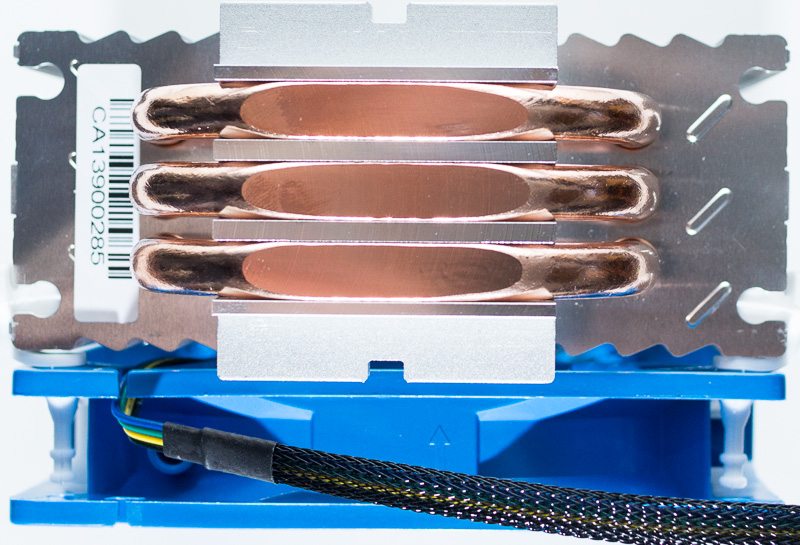
The base features three direct touch copper heat pipes which are 8mm thick. You can also see the cable is fully sleeved which is nice for a budget CPU cooler.
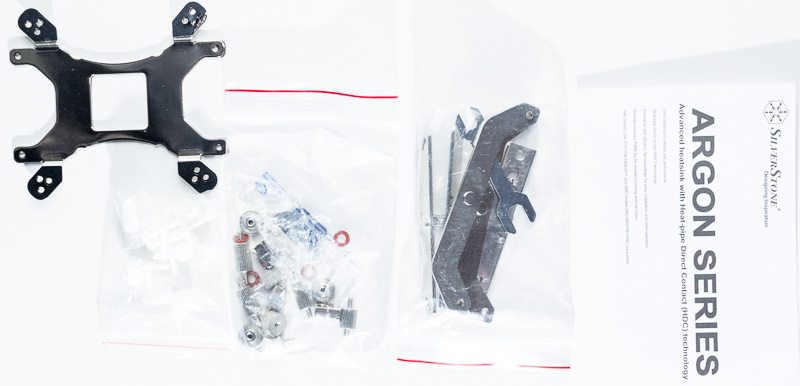
The mounting kit is very firm and gives an incredibly solid mount. The fan mounting system is also excellent and SilverStone include enough to allow you to mount a second fan.
The manual is generally very helpful, although I found the diagram that points out which holes to use for which socket confusing. The backplate doesn’t have the sockets written next to the holes so it is slightly tricky as all the holes look the same once you start turning the backplate around. I’d recommend opening up the manual, orientating the backplate so it is how it appears in the manual then putting the first mounting screw in the correct slot using the manual. Once that is done, turn the backplate round and do the same again in the diagonally opposite corner. Once that is done you will have the correct mounting screws in the two correct holes and from there it will be easy to fit it to the board by using the two other mounting screws and gradually replacing them with the ones you pre-installed as indicators. With two out of four installed the other two will just line up. Remember the ones you install for indicators and replace need to be installed on the wrong side of the backplate so that you can actually put the backplate on.
