Silverstone DS380 NAS Chassis Review
Bohs Hansen / 10 years ago
Completely Built System
It’s time to build the system, a thing I’ve been waiting for ever since the postal service dropped the case off. Actually I’ve been wanting to build it ever since the case was announced. I’ll be using a mixture of components that have a long and proven running time in DIY NAS environments.
Test Build Components:
- Asus F1A75-i Deluxe mITX motherboard
- AMD A6-3500 3-core, base clock 2.1GHz but OC’ed to 4.9GHz
- 8GB G-Skill ARES 1866MHz CL9 memory
- Noctua NH-L12 Low Profile CPU Cooler
- LSI LSI9271-8i MegaRAID Controller
- BeQueit 300W SFX PSU
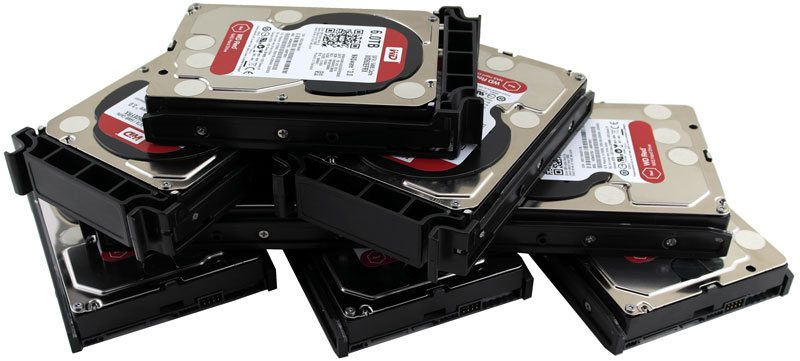
- Western Digital WD RED 3.5″ 6TB x8
- Western Digital WD RED 2.5″ 1TB x4

Having added the motherboard and power supply, I found myself amazed how much room this tiny case facilitated. The fan positions and the natural space in the case allowed for a surprisingly good cable management of the basic front panel and fan connectors.
There isn’t any screw or tool-less mounting solution here, but that’s totally okay. We don’t change our NAS drives that often that we can’t handle to screw a little bit. Though I have to say, mounting 12 drives with 4 screws each puts some strain on the wrist.

Once we have added our RAID controller and connected the power supply to the motherboard, the available space tightens a little bit more. It’s starting to become clear that both the choice of hardware parts and the cables for this build will matter. While the space is filled a bit more now, there is still plenty of room for decent airflow.

Having mounted the drive cages, we see that the area between the two drive cages is very tight, but you can still make it work with normal SATA cables. I would have used 90° angled cables, but the ones I have, are too stiff and have too long a connector to be used with so narrow-mounted drives. They are designed for 3.5″ drive size and distance and not 2.5″. Another thing to consider while picking your parts.
Not really visible above, but depending on the cabling on your PSU, the SATA power cables for the rear drives could cause some headaches. You can make it work and there is enough room, but it is tight.

While speaking of power supplies and their cables, you’ll most likely have too few SATA ports on your SFX PSU or the cables are too big, long or stiff to fit in this narrow space. Silverstone has come up with just the right ones, with the CP06-E super flexible multi-SATA power connector with capacitors. They provide stable power to your drives and are a worthy consideration.

While we’re talking about cables and what ones to select. I’ve mentioned a couple of times already how important it will be with the right cables in this tiny case. The photo above shows me using my normal SFF-8087 to SATA cables that are about a meter long each. I could make it all fit in there and I would have been able to squeeze the panel shut like on a gaming PC – if it shuts, it’s okay. But not only is there a high chance that I’ll push something into the fan with the amount of cables in here, there isn’t room for any airflow either and the system will run very hot very fast.
Not only is there a high chance that I’ll push something into the fan with the amount of cables in here, there isn’t room for any airflow either and the system will run very hot, very fast.

Not to worry, I have shorter and more practical cables for such a situation and as you can see above, it certainly looks a lot better. There is plenty of space for airflow and almost decent cable management. At this point, I haven’t used the included cable clip nor any cable ties, which again goes to show that picking the right parts for this build is very important.

Both the LSI 9271-8i and the LSI 9240-8i MegaRAID controller I have required me to changed the bracket and sacrifice one of the front bays. It was a matter of 2 millimeters, but if it doesn’t fit, it doesn’t fit. A carefully selected controller wouldn’t cause this issue I’m having due to just using what is at my disposal.
The supplied exchange bracket for the drive enclosure is cleverly designed and prevents a drive from being inserted and possible damage the expansion card used.

Silverstone also supplied a front cover for the drive bay when isn’t used for a drive. Modders will instantly see plenty of room for either a 2.5-inch drive or other fancy parts with the bracket and cover in place.