Silverstone Fortress Series FT04 Chassis Review
Peter Donnell / 11 years ago
Exterior
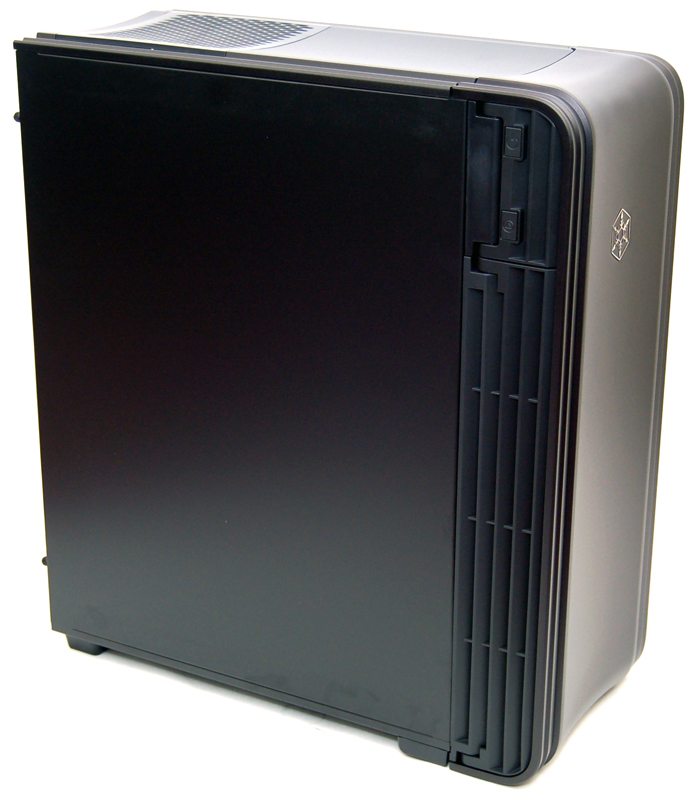
The chassis features a solid black panel on the left side which is held in place by a pair of thumb screws on the pack of the panel. There is also a huge ventilation area near the front that allows airflow to the front mounted fans.
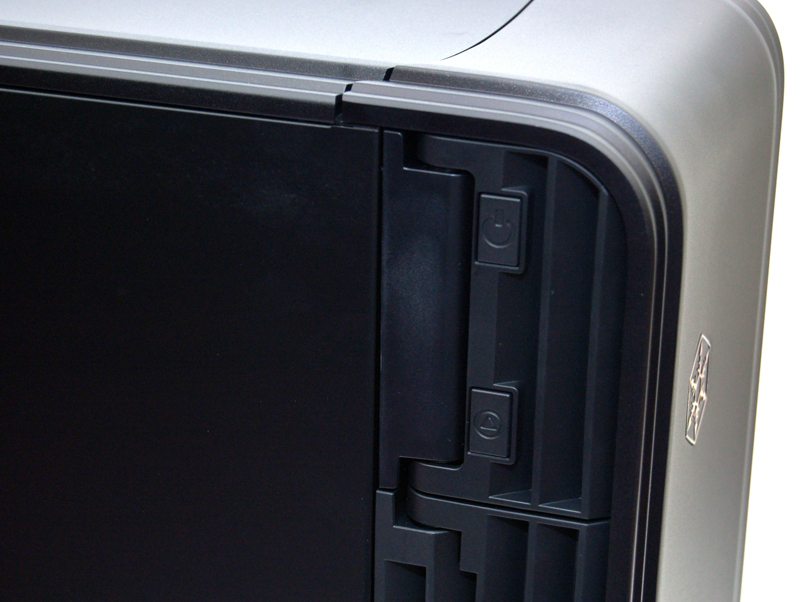
At the top right you’ll find the all important power and reset buttons nicely moulded into the chassis.
The right side panel features a huge window to give us a clear view of the chassis interior.
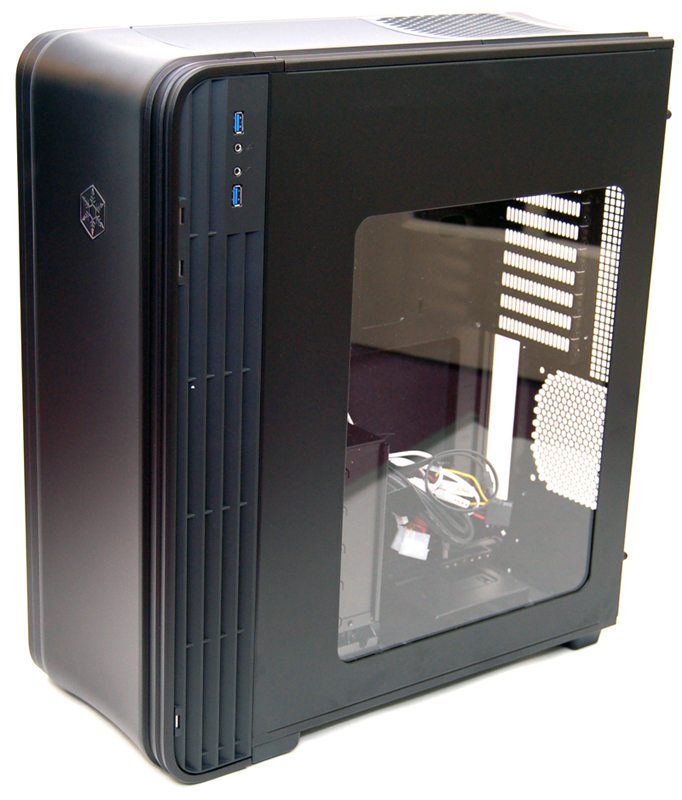
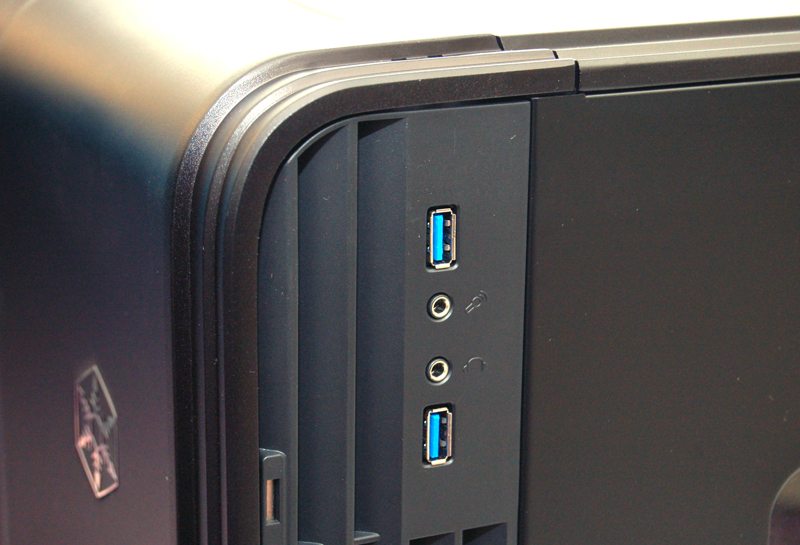
The top left corner features a pair of USB 3.0 ports and HD audio connection.
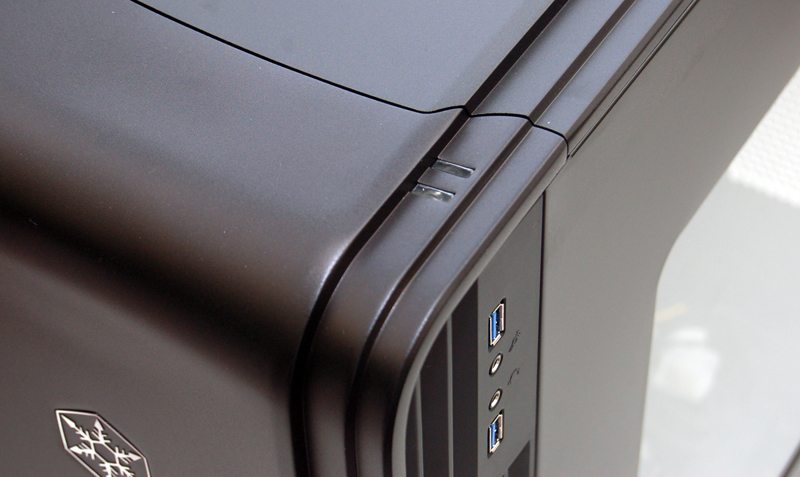
While the top edge features two LED indicators for power and HDD access.
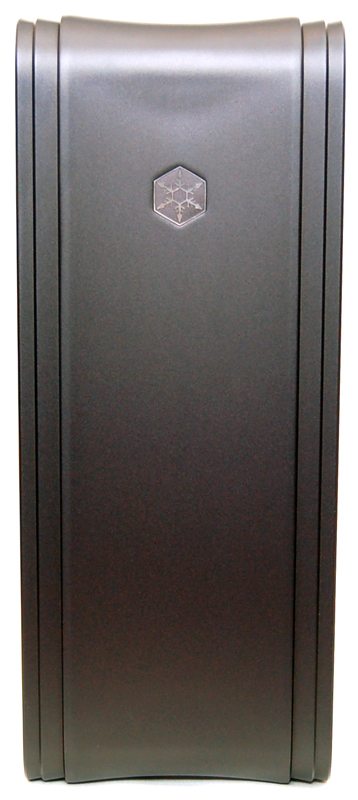
The most prominent feature of the chassis exterior is a huge, heavy and rather stunningly curved aluminium front door. It has a logo set into the middle but the detailed edges give it an almost steam punk vibe, it looks like a large building from Bioshock’s Rapture.
The door is held shut by strong magnets and is mounted on a robust hinge, which is needed due to the weight of the front panel door.
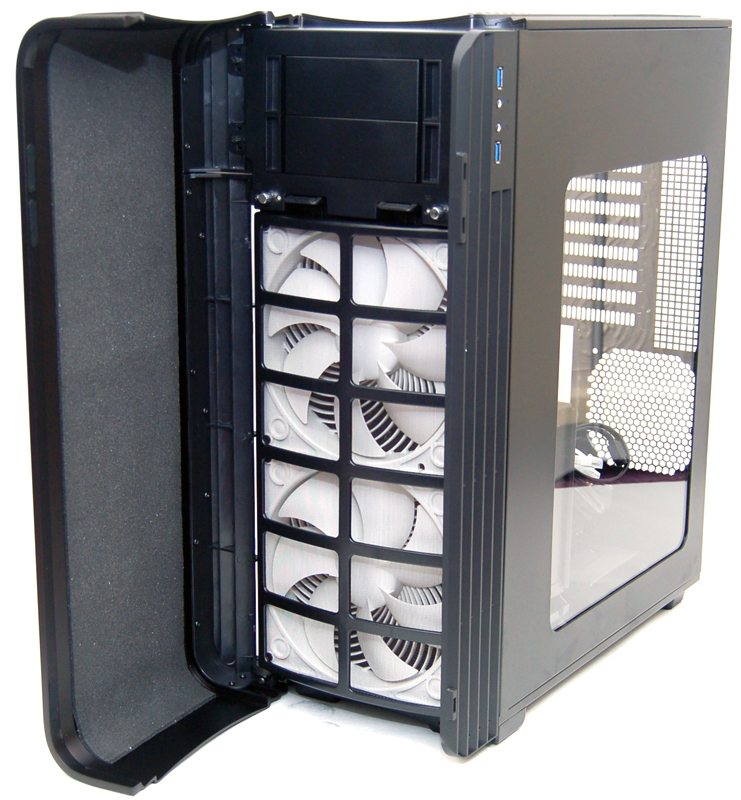
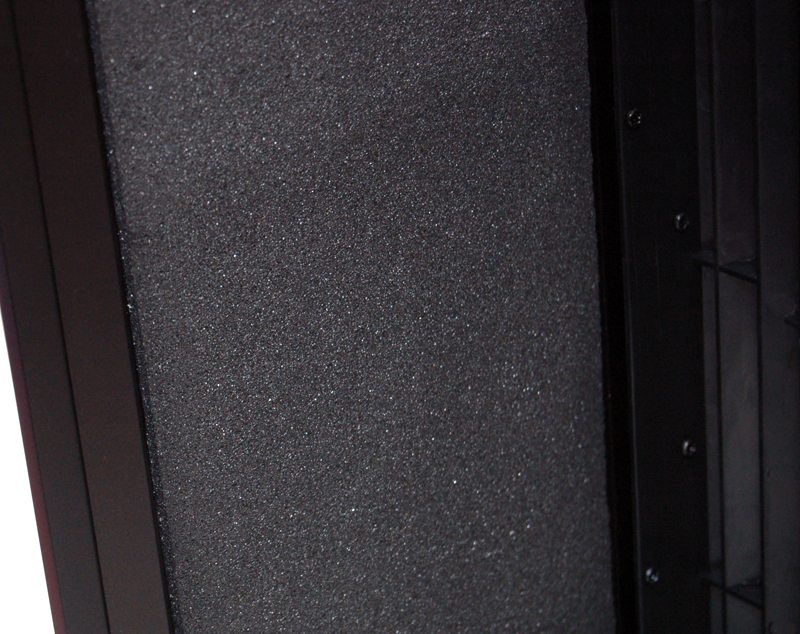
The interior side of the door is lined with heavy padding, this will help reduce any excess noise and vibration from the front fans.
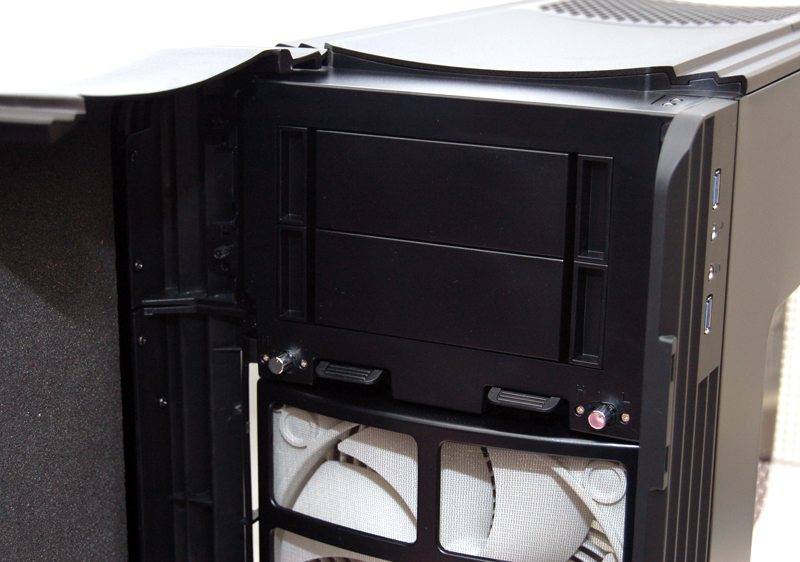
At the top we have two clip-in 5.25″ bay covers, and two silver colour dials that are both separate fan controllers!
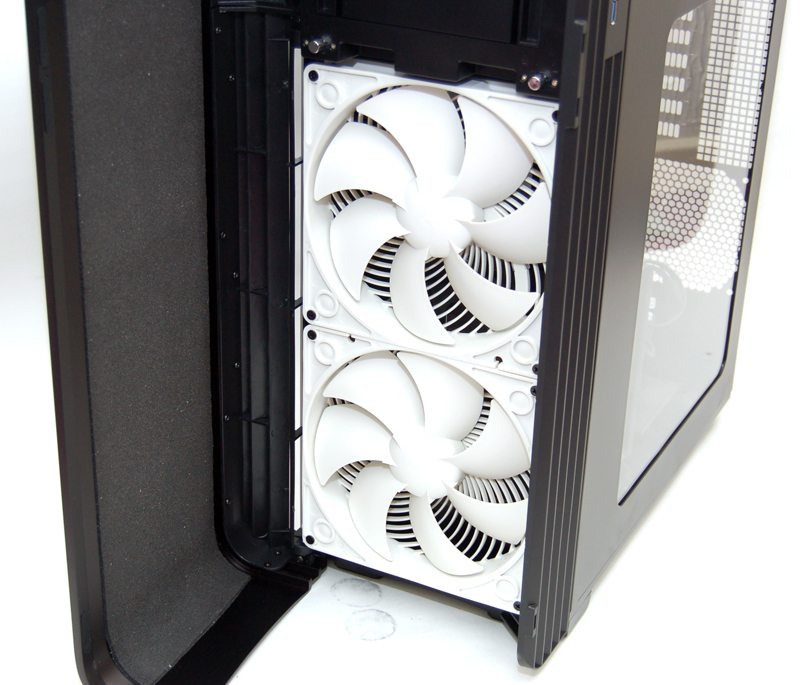
The bottom fans are huge 180mm Air Penetrator fans, these can shift some serious air and I can’t think of anything better to have in the front of a chassis. Plus in pure white they look absolutely stunning.
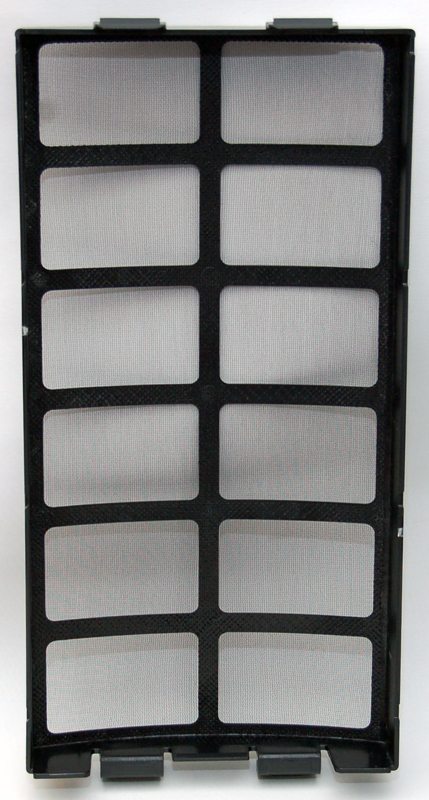
The filter is easy to remove, features a soft fine mesh and can be washed clean.
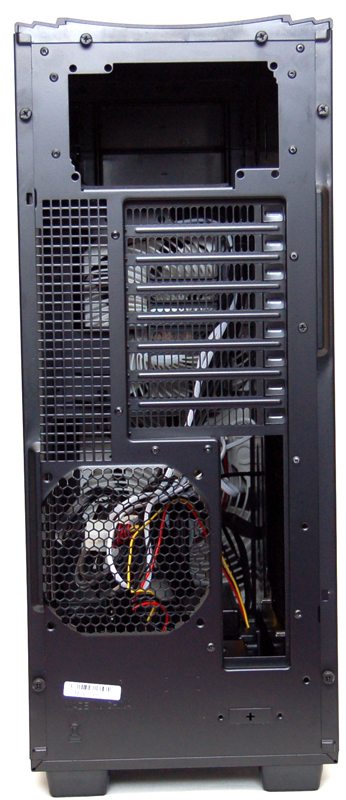
Around the back we see that the PSU is mounted in the top, although if you look again, the entire layout is inverted. The PSU draws air from above the chassis, not the interior. There are eight expansion slots, so more than enough room for a multi-GPU configuration, and finally we see there is a spot for a 120mm exhaust fan at the bottom.
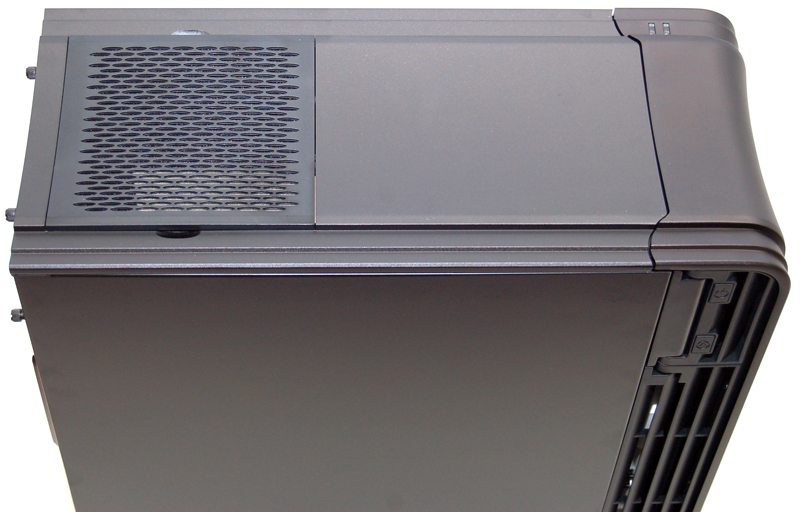
The top of the chassis has a filtered panel on it, this provides the top mounted PSU with clean filtered air.
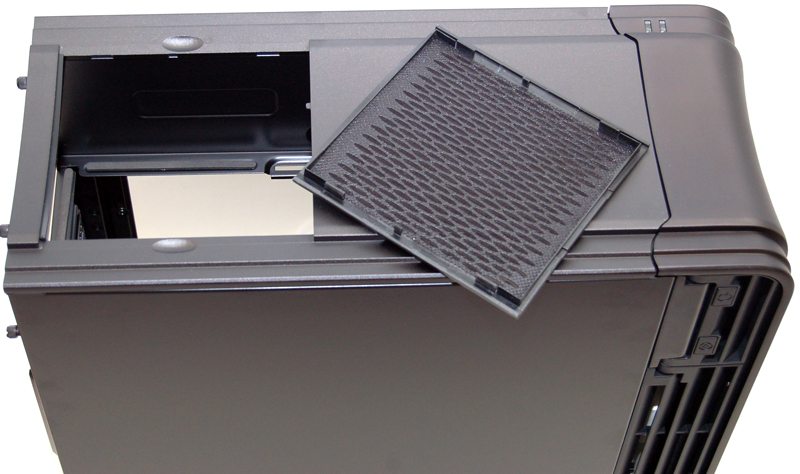
Since most PSU filters are on the bottom of the chassis, maintenance can be a real pain, however this one just pops off and can be easily cleaned and replaced with relative ease.
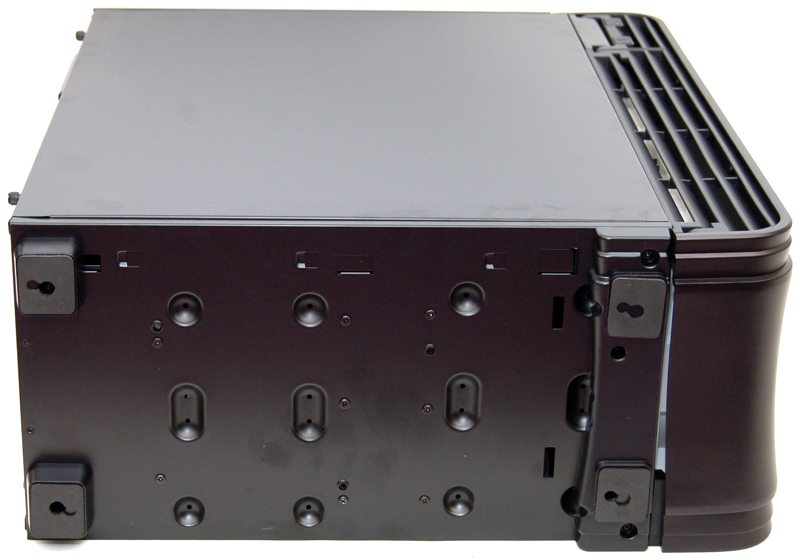
On the underside we have two durable feet at the back and a full bar at the front that act as the main supports, all of which features firm rubber pads. There are many screw holes on the base of the chassis, which are used to mount and adjust the interior fittings and fixtures, all of which we will take a look at in a moment.
