Silverstone Kublai KL04 Mid-Tower Chassis Review
Andy Ruffell / 13 years ago
To follow on with the black colour scheme of the exterior, the interior is matching with quite a quirky layout. Though everything looks quite normal, the bottom of the motherboard tray has a slight ledge which is represented on the other side for cable management tidying. A few small differences are noticeable with the addition of certain storage aspects, but we will touch on these as we look closer at the interior of this case.

Turning the case around, we get to see the various cut-outs for cable management including the area located at the bottom for hiding cables away. The space here is quite generous and should find that making things neat and tidy should be a painless task. A view of the included 120mm fan is seen here, with room for a further 120mm fan beneath it, or a slim line 240mm radiator if you wish to go down the custom loop route.

There are a total of four 5.25″ optical drive bays which house your drives through use of the Silverstone locking mechanism which allows for a tool-less installation and removal of your relevant optical drives.

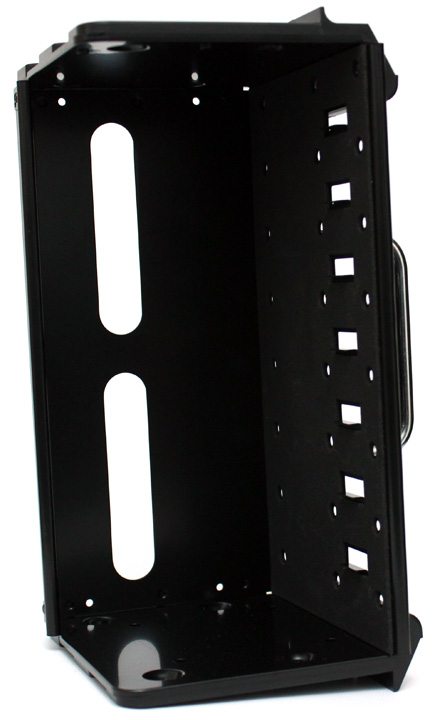
This is where the case starts to get interesting, as this drive cage houses a whopping nine 3.5″ drives. Sadly, no tool-less operating is included with this part of the case and will involve some manual work through use of the included screws and your trusty screwdriver. The cage does include a metal handle for removal, for easy installation of your drives.

If you don’t require the use of nine 3.5″ drive bays, you can easily remove the cage to give extra space for other components including watercooling pumps/reservoirs.

The removable drive cage includes a foam insert that protects your various drives from being marked and damaged. It simply adds further protection and also assists in keeping noise to a minimum as mechanical drives do vibrate a lot which in turn can lead to excess noise.

Once removed, we can see how much room is available for the different components you may have, though you may just want to remove the cage to fit your drives in and then simply install it back into place once completed.

For those wanting to install 2.5″ drives such as Solid State Drives, you’ll find the smaller drive cage a blessing as this will hold up to six drives in total and can also be removed if you need the extra space.

At the rear of the case, we find a total of eight ventilated expansion slots which require a screwdriver to release. Just to the side of these are more ventilated panels to increase airflow in and around the case. The maximum size for graphics cards is 12.8 inches with the hard drive cage installed, or 17 inches once removed allowing for all current AMD and Nvidia based graphics cards to be installed.

The power supply is installed in its usual location at the bottom rear. There are ventilation holes beneath the power supply location and a removable dust filter is located beneath. Due to the case having raised rubber feet, there is sufficient room for the power supply to exhaust any heat out of the bottom of the case.

At the top there is a pre-installed 120mm fan with space for a further 120mm or 140mm fan next to it. Obviously the 120mm fan can be removed and exchanged for a watercooling radiator.

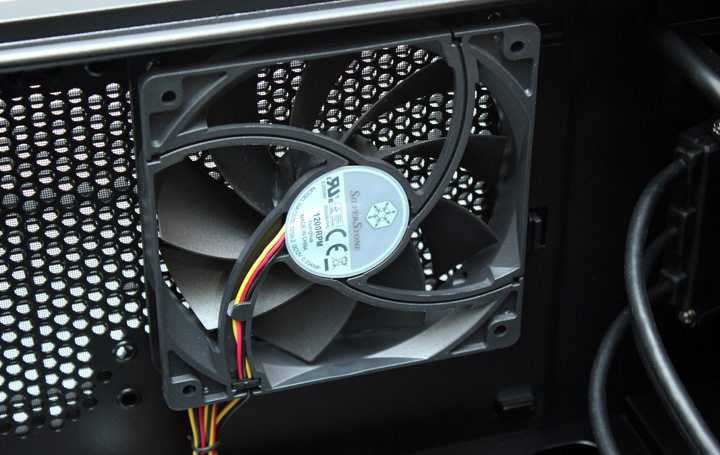
A quiet 120mm fan is pre-installed into the rear of the case for exhausting hot air away from the internals and out to the rear of the case. The fan comes with a 3-pin fan header connection but with a 3-pin to Molex adapter which can be bought separately, you can choose to use Molex if you wish.

The last fan that comes included with the case is 120mm and assists in cooling the hard drive cage and its relevant drives. There is space for a further 120mm fan below or can both be removed to allow for watercooling options, such as a 240mm radiator.


