Silverstone Raven RVZ01 Mini-ITX Chassis Review
Peter Donnell / 11 years ago
Complete System
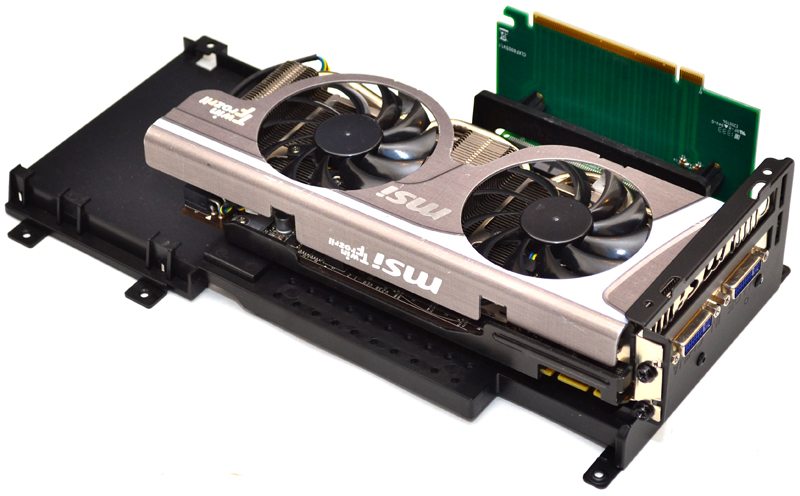
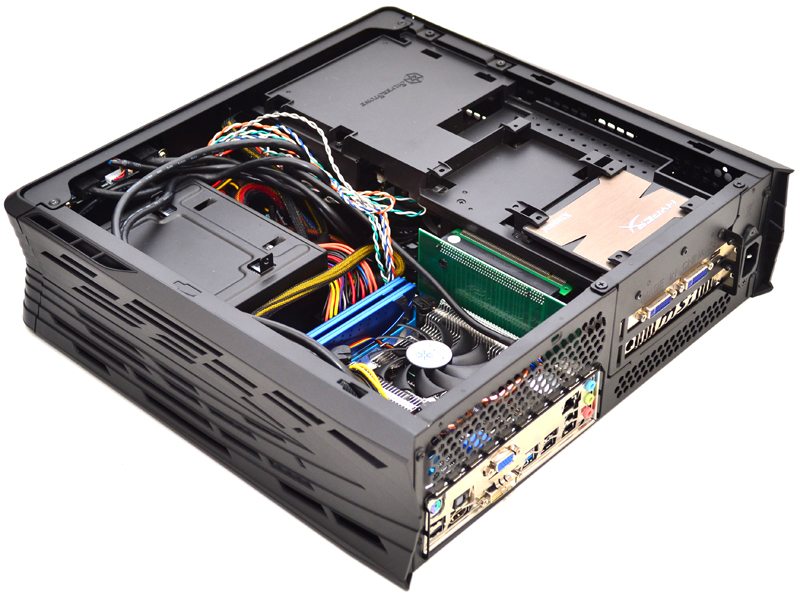
The first thing I did was install my GPU to the removable bracket, as it is literally impossible to install the GPU while the bracket is installed in the system.
We’ve used the new Silverstone AR04 cooler for this build thanks to its ultra low profile design, leaving us with plenty of headroom for airflow around the motherboard.
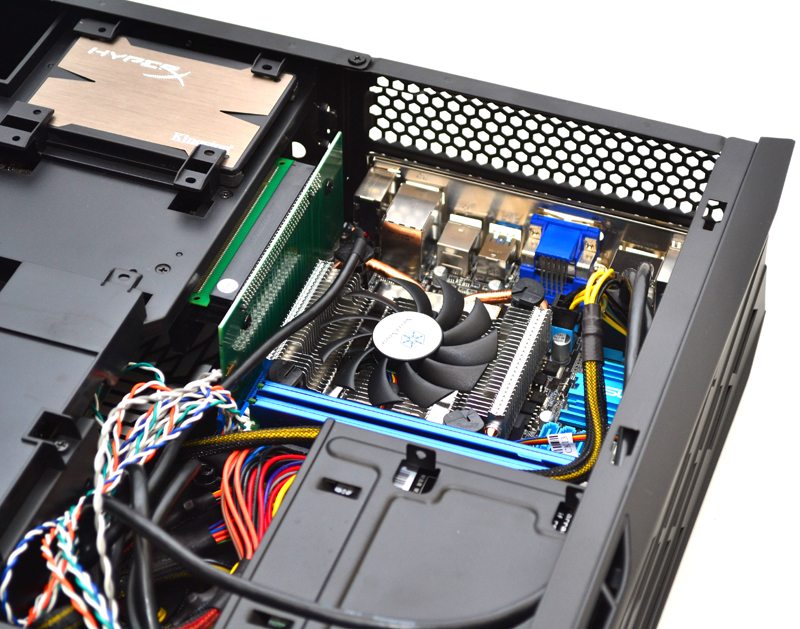
Cable routing was fairly tricky in this case, but extensive use of cable ties could easily make it a little neater. Despite being tricky, there are no cables in the way of airflow or the top panel fan.
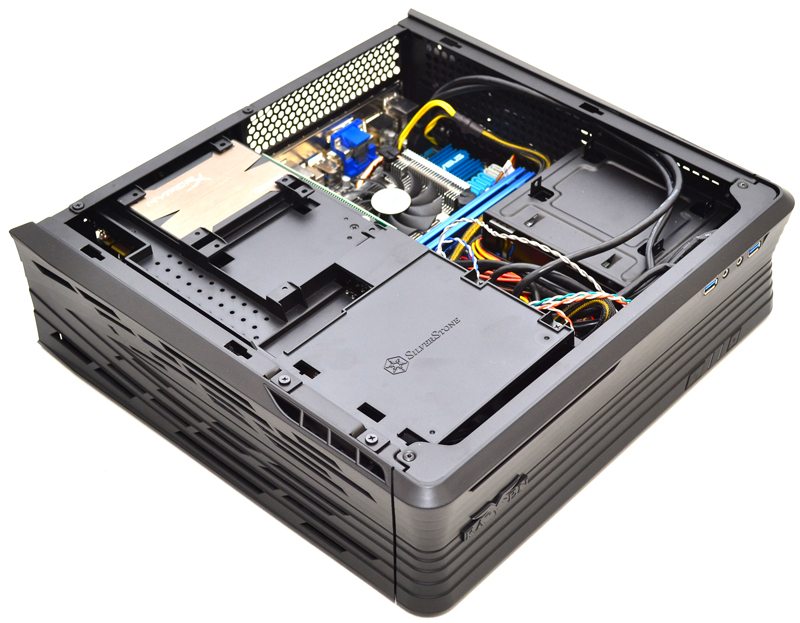
Here you can see that the GPU bracket adaptor plugs directly into our motherboard, this is the neat trick that Silverstone use to allow us to lay the GPU at 90 degrees to the motherboard, allowing the case to be a lot slimmer and to be able to take a card as big as our GTX 560 Ti.
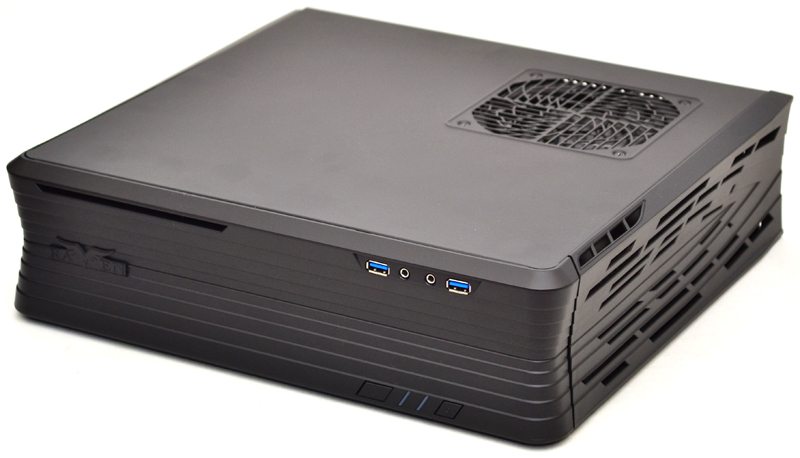
Top panel back in place and the chassis looks as clean as it did when I took it out of the box.
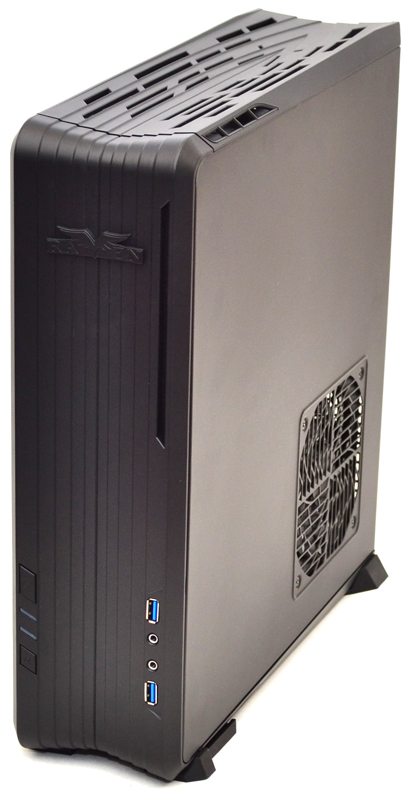
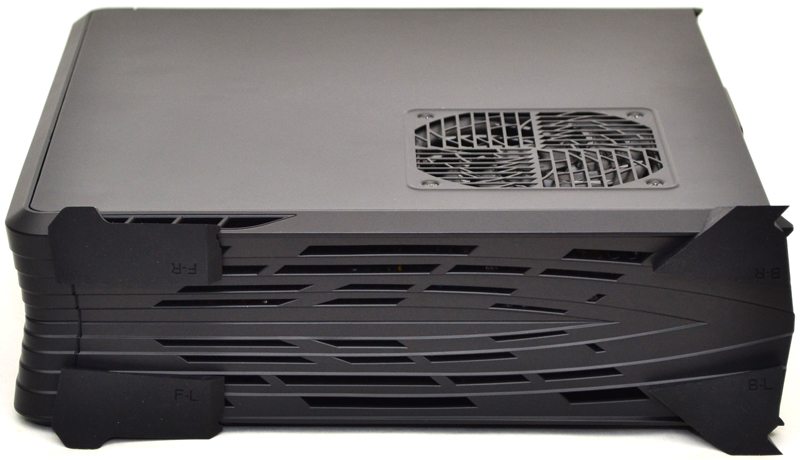
The rubber feet are designed to clip into the left or right side of the chassis, allowing you to stand it up on its side.
I stood the chassis on its side, but also took this opportunity to clip on the extra Raven badge so that the logo didn’t look like it was on sideways.
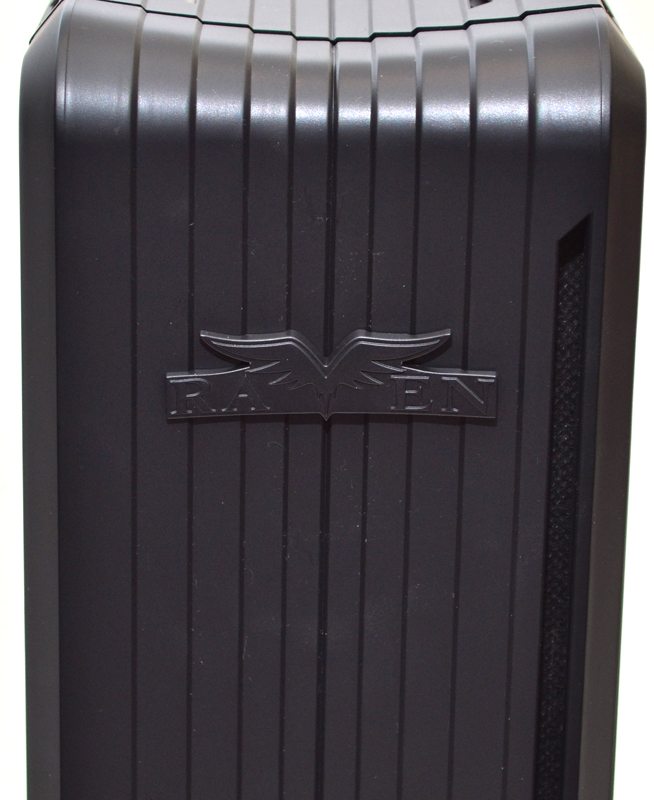
Ta da! The case in all its glory and yes, this really is its final form. I personally prefer it laid flat, but I have to admit that it does look pretty epic in vertical mode. Depending on where you plan on mounting the chassis, having the chassis stood vertically could also allow better airflow to the bottom fans (or side fans, dependant on how you look at it).
