Silverstone Raven RV01 ATX Chassis Review
Peter Donnell / 11 years ago
Total build time on the RV01 was about 25 minutes and if I’m honest I could have done it much quicker, but I actually took my time to read the instruction booklet to ensure the installation process wasn’t as crazy as the design, it wasn’t, it all installed much like any other PC case.
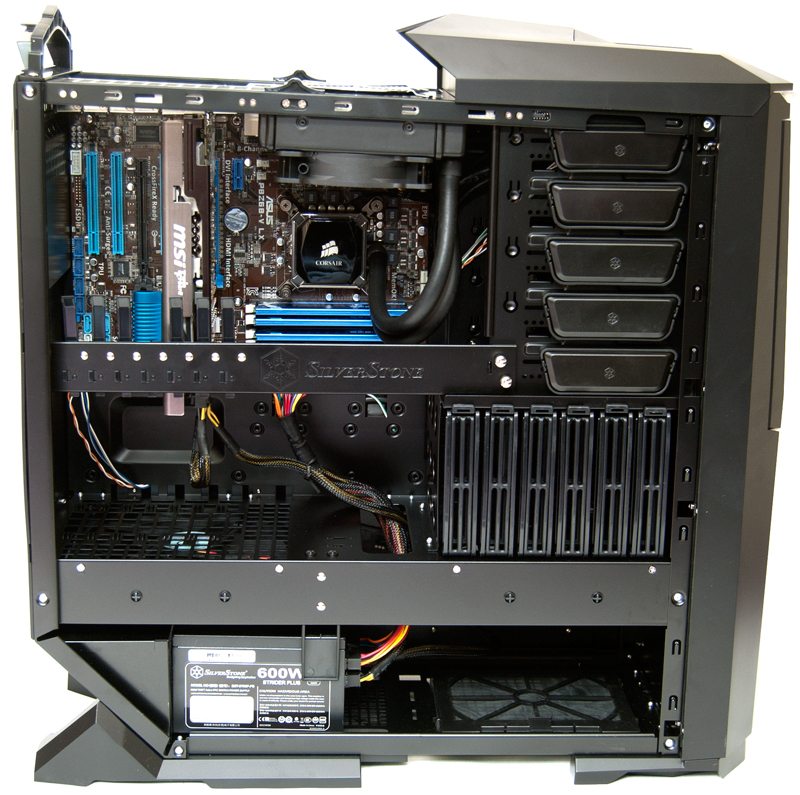
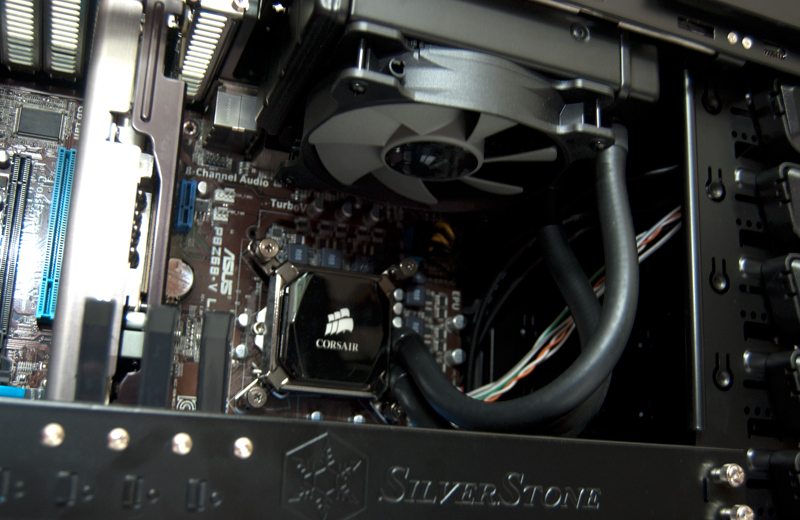
I’ve stripped out the top 120mm exhaust fan and replaced it with a 120mm radiator from the Corsair H80i, although I was also still able to use the fan guard on the top which may not be needed, but it does look cool.
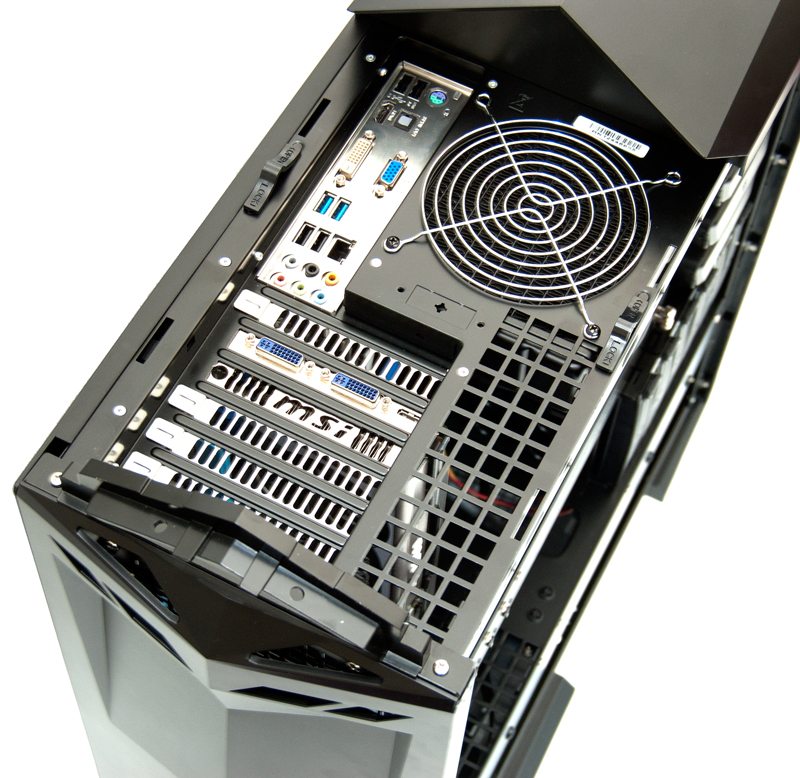
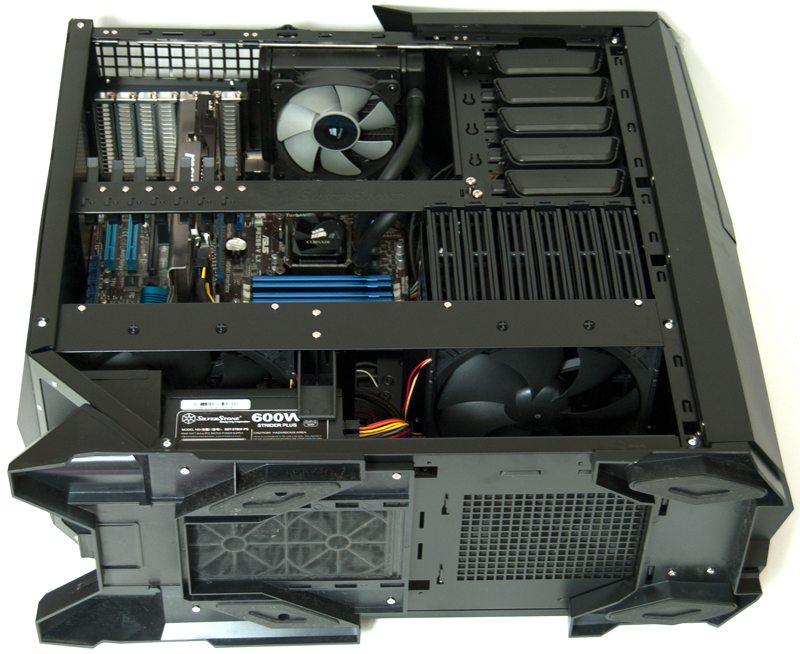
A large cutout to the left of the HDD bays allows you to feed cables from the PSU to the main compartment, it’s not elegant, but it gets the job done.
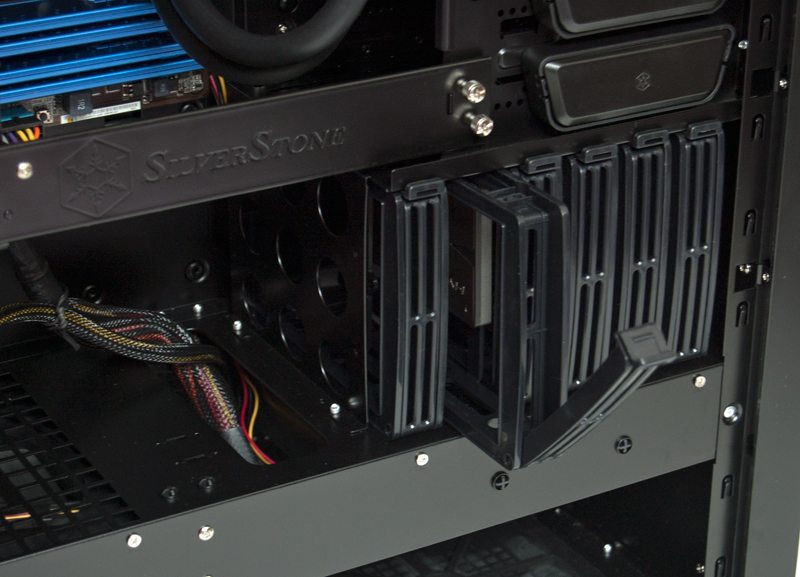
The H80i fits quite nicely and there is also more than enough room here for a multiple GPU setup without any conflicts.
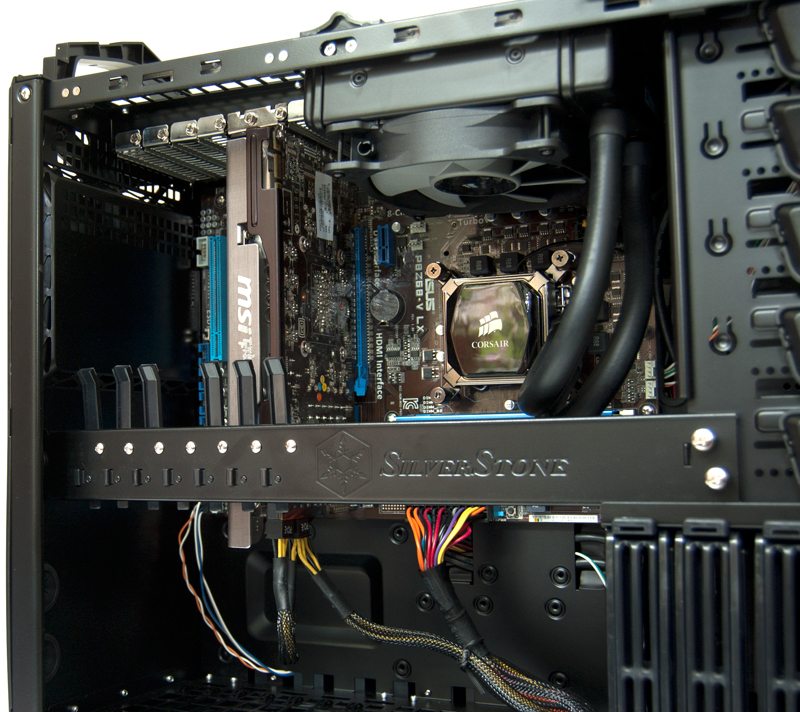
There are a lot of cables running from the front panel that could have been better routed, as they take up a lot of space from the top 5.25″ bay and it looks a little scruffy cramming them all through those cable management cut-outs.
From the base of the chassis to the top we see plenty of unobstructed air flow, those two large fans carry a lot of air at low RPM and there is plenty of room for the heat to exhaust at the top of the chassis.
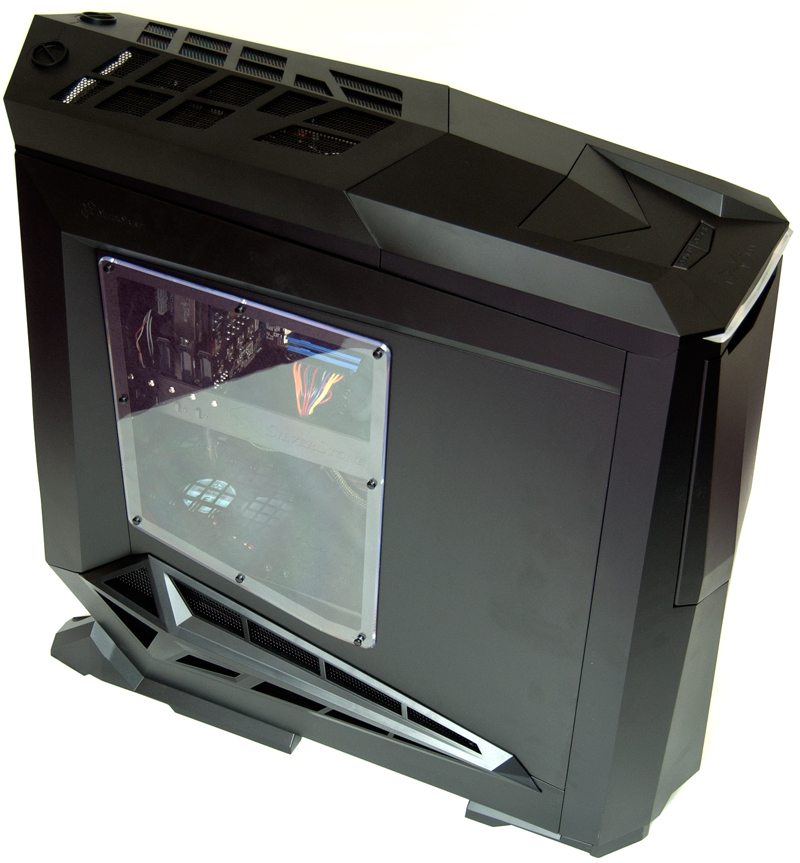
With the side panel back in place we get a great view of the chassis interior thanks to that clear window panel.
you can just about make out the back other motherboard through the heavy mesh panel on the top.
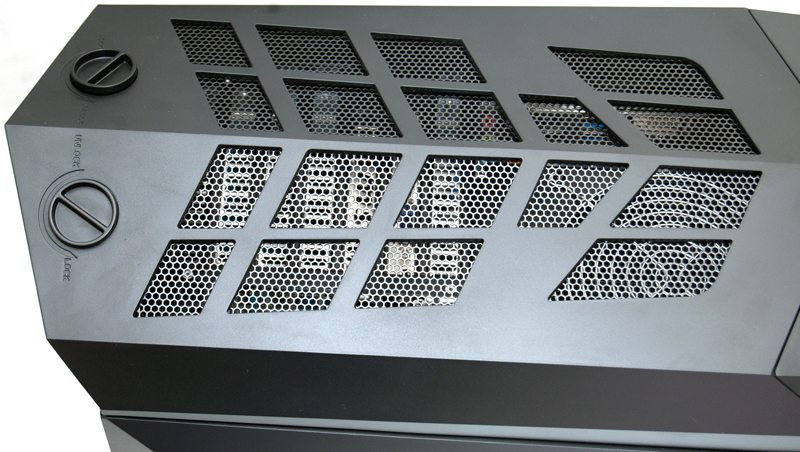
At the back of the chassis you can see there is a small opening at the top, just enough to run your cables to the back of the motherboard while keeping a clean look thanks to the top panel cover.
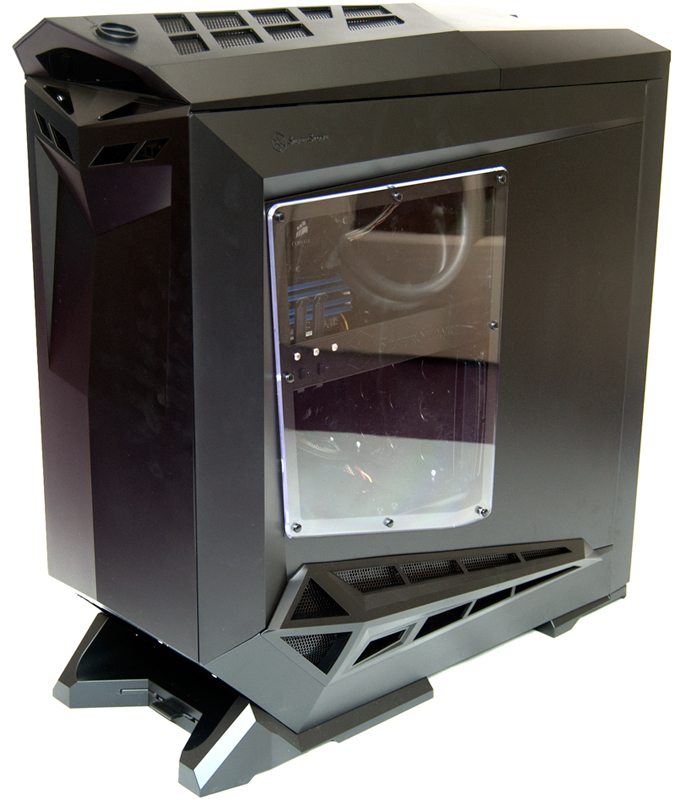
Finally we see that from the front the build looks as great as it did when I took it out of the box, all the major features tucked away under those big panels.


