Silverstone RV04-B Raven Full Tower Chassis Review
Peter Donnell / 11 years ago
Exterior
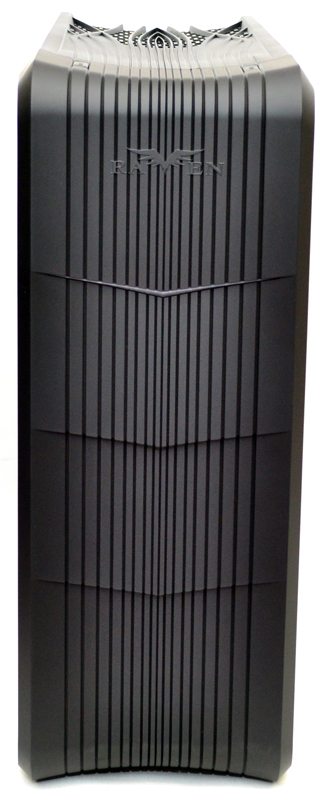
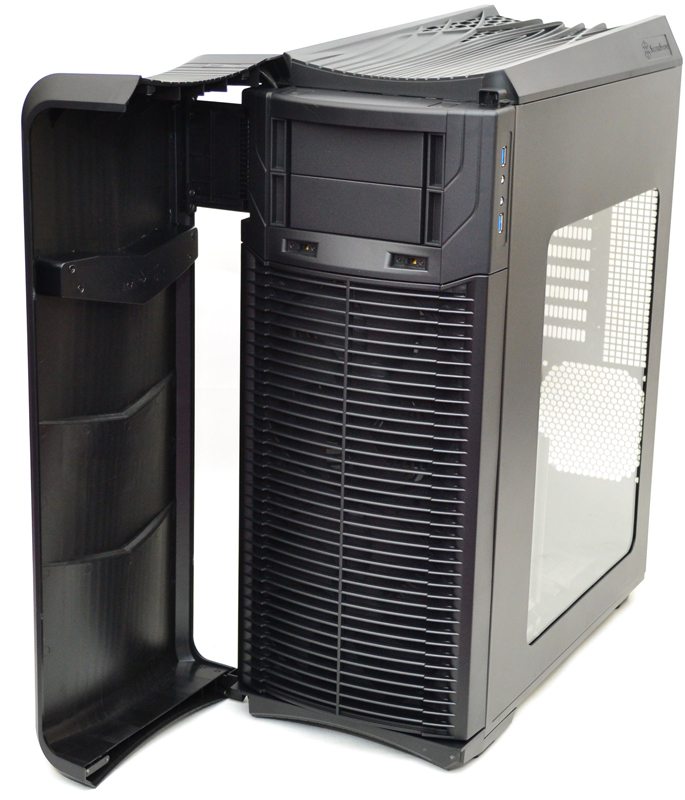
Since this chassis features an inverted motherboard layout, the left side is actually the back panel; it consists of a heavy-duty black panel held in place with a pair of quick release thumb screws. As you can see, the front panel features a single piece and somewhat aggressive front cover with a large gap behind it, this allows airflow to the chassis front fans, but still leaves an otherwise clean look from the front of the chassis.
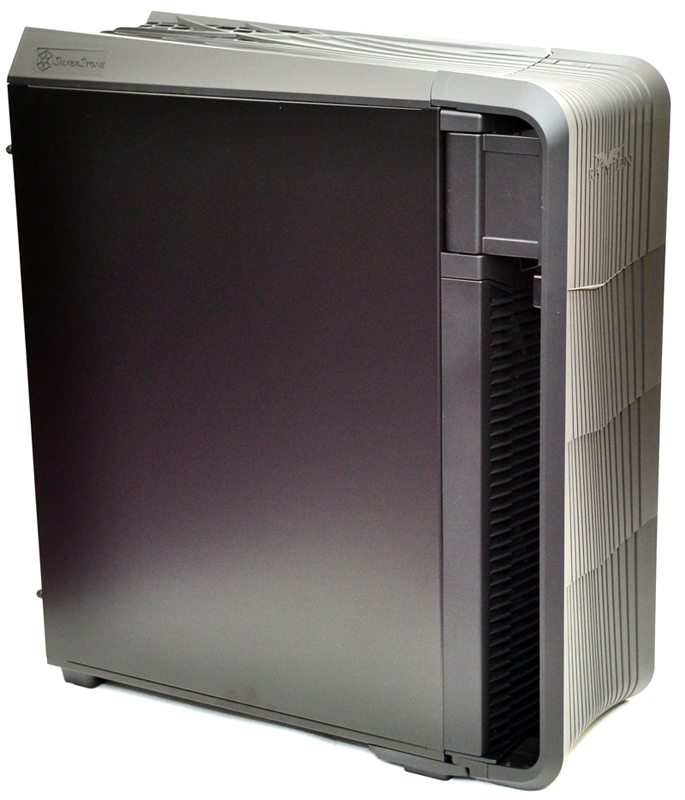
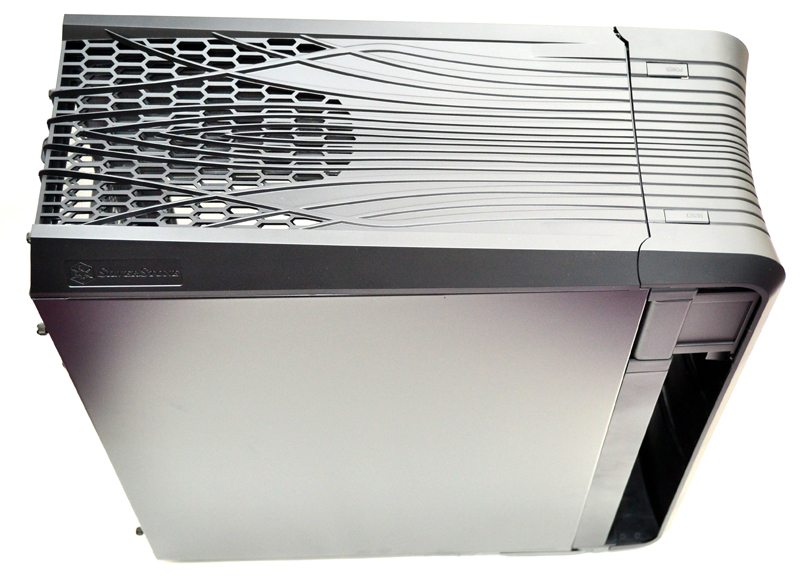
The top continues the aggressive lines of the front panel with a plastic cover; this is ventilated towards the back to allow airflow to the top mounted PSU section.
The right side panel features a huge crystal clear window section, perfect for showing off your rigs interior.
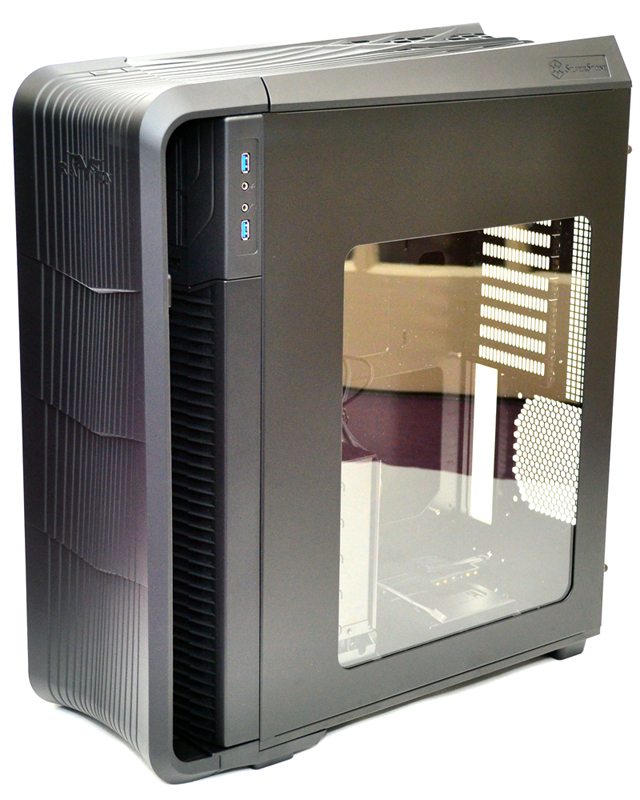
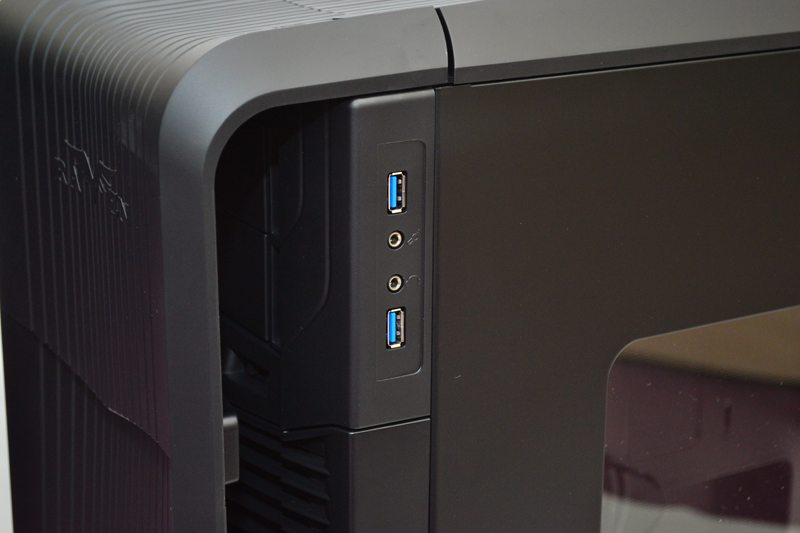
In the top left you’ll find a pair of USB 3.0 ports and HD audio connection ports.
The front panel design is very unique; full of strong lines and deep curves that really make it stand out.
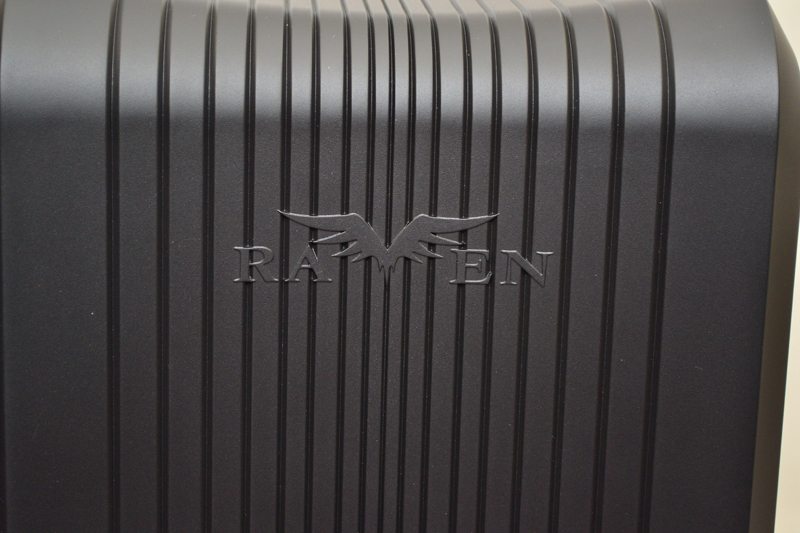
The Raven logo is at the top of the front panel cover, with the wings of a raven forming the “V”.
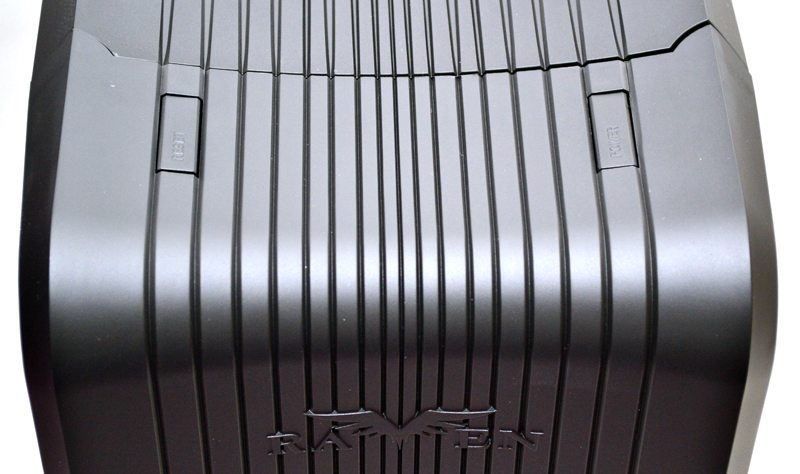
On the top part of the front cover you’ll find the master power and reset switches.
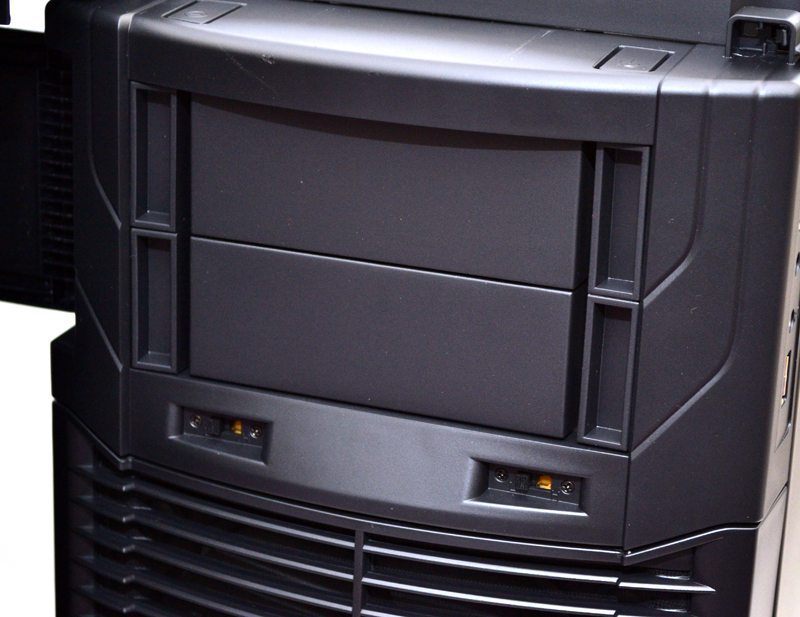
Behind the cover are two 5.25″ drive bays, and a huge ventilation cover.
There are also two toggle switches that allow you to switch each of the pre-installed front fans between low or high-speed mode.
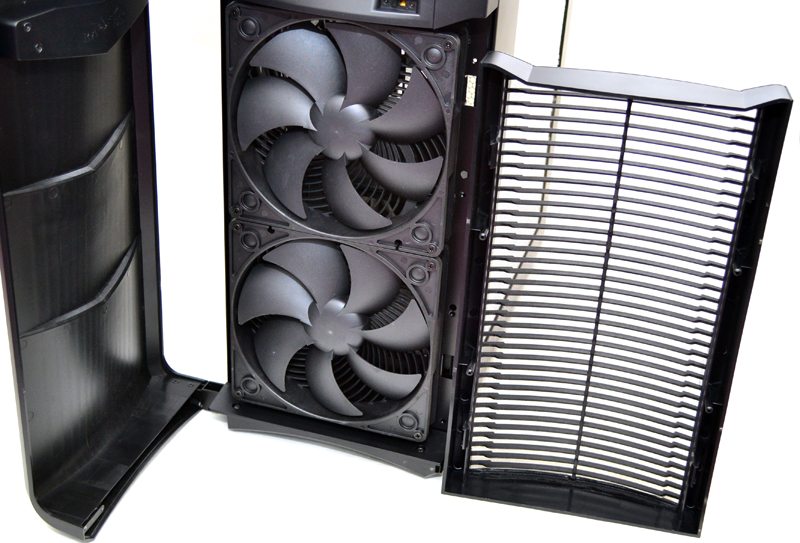
The front cover easily clips off, making it very easy to wash and maintain the dust filter, but more importantly it lets me show you these two spectacular 180mm air penetrator fans. This is going to generate some incredible airflow even at low RPM.
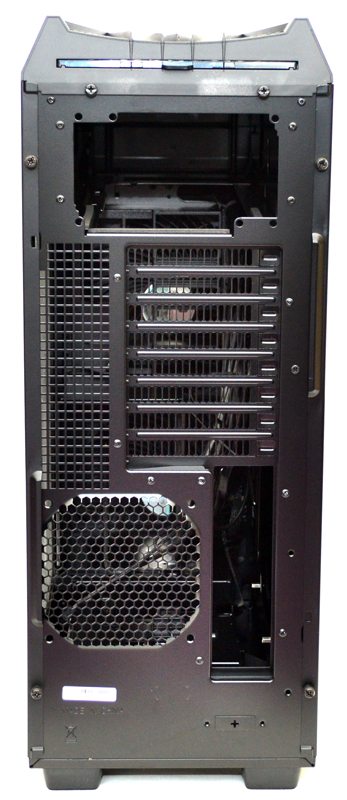
The back really shows you how inverted the internal design really is, with the PSU at the top, and motherboard IO at the bottom. There is plenty of ventilation on the expansion slot covers as well as to the side of the expansion slots, then a further 120mm fan/radiator mount below that for even more airflow and cooling.
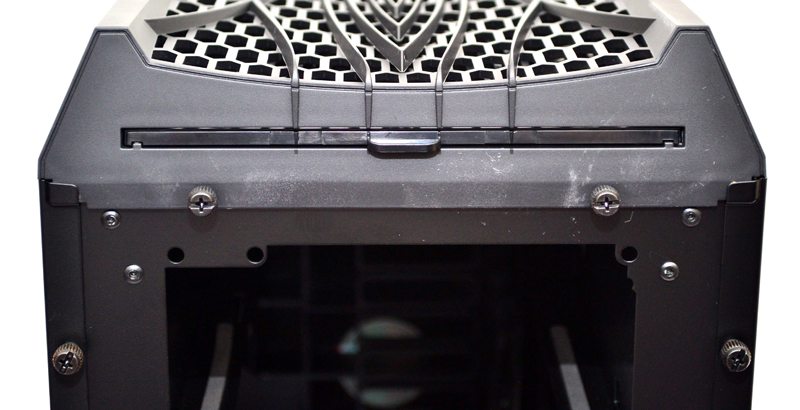
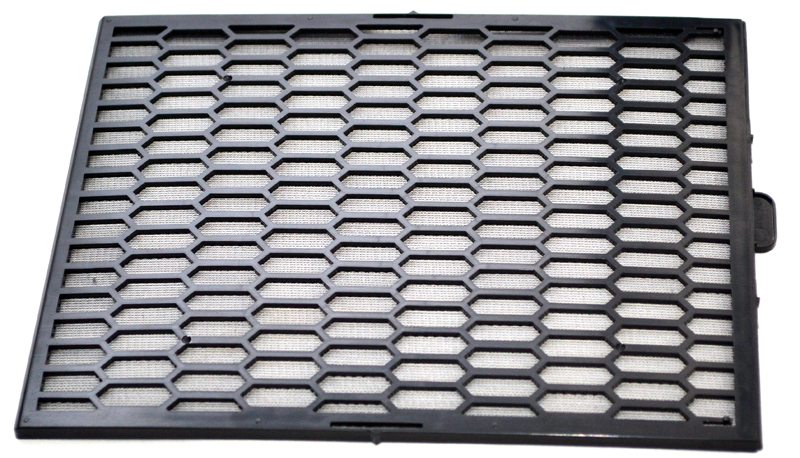
At the top is a slide out dust filter; this is for the PSU airflow as the PSU will be mounted to draw air in from above the chassis.
The PSU filter is washable for easy maintenance.
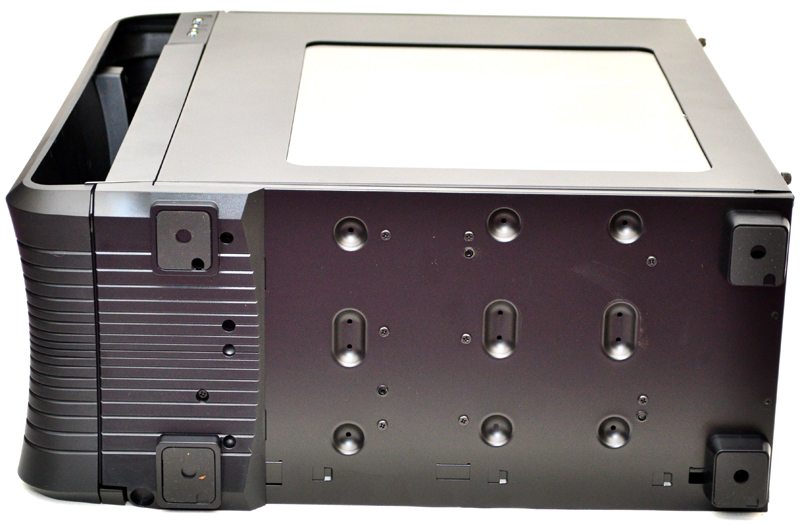
On the underside you’ll see plenty of screws and screw holes. The holes are for mounting drives to the base of the chassis interior while the screws that are currently in place can be removed to uninstall the internal hard drive bays completely, which is great for those who love to mod their products, but it can also make maintenance a little easier.
