SilverStone SST-AR06 Low-profile CPU Cooler Review
Dave Alcock / 10 years ago
Installation
Mounting the cooler is relatively easy, especially if like most people you are going to be putting it on and only occasionally taking it off.
First you put the long hex screws into either the AMD or Intel bracket and use the smaller nuts to hold them in place. the Intel bracket has 3 holes so that it can fit multiple sockets.

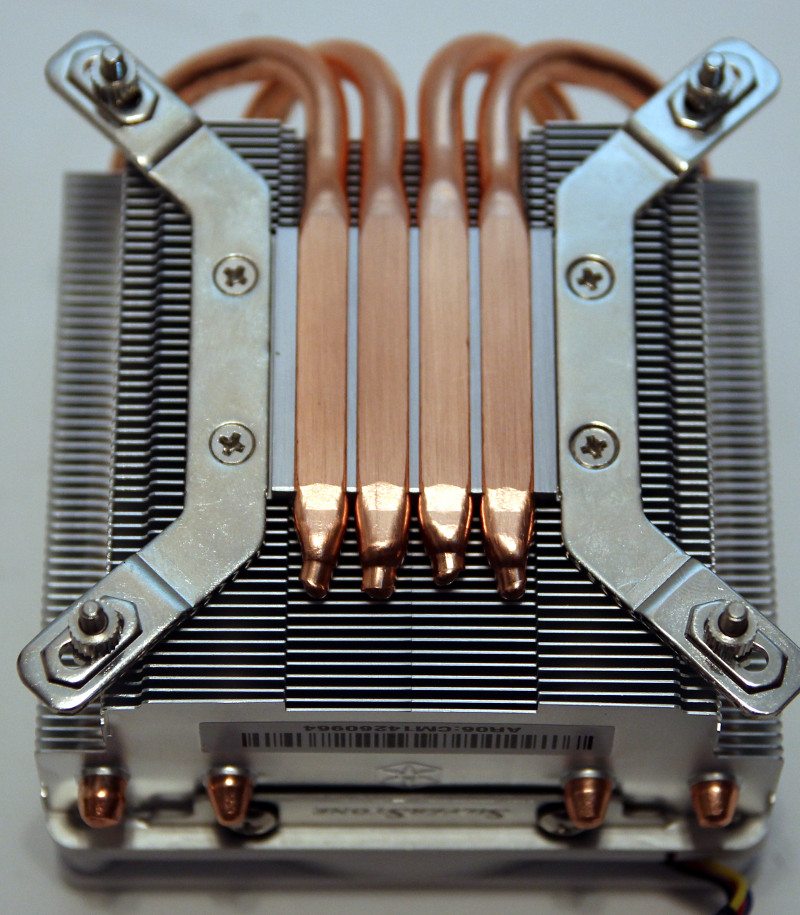
Then use the 4 small screws and attach these 2 brackets to the heatsink, ensuring that the screws point away from the fan.

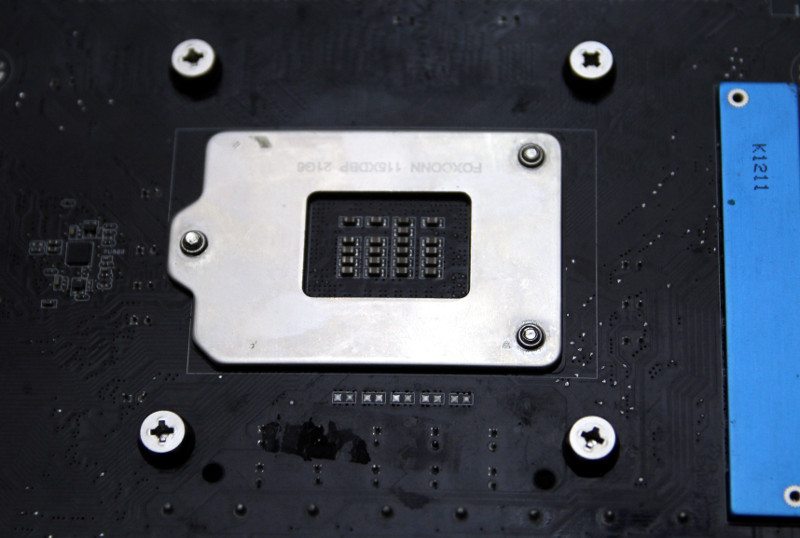
After you have added your thermal paste, you then proceed to put the cooler on top of the processor ensuring all 4 screws have gone through the motherboard and are visible at the back. Once you have done this, put the rubber washers over the hex nuts and then finally use the hex nuts to hold the bracket in place.

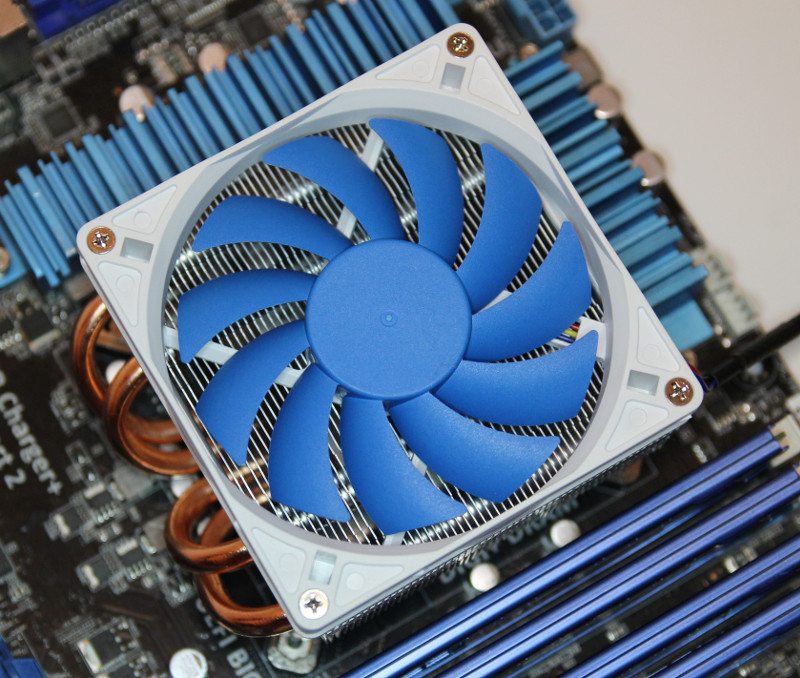
As you can see, there is plenty of room between the heatsink and motherboard once it’s installed. As an end user I’d be really happy with the installation method and how well it is secured once it’s installed, it’s not loose at all and there is a definite feeling of a quality product. As a reviewer, however, the installation method does become a bit more tricky. When reviewing, we remove and attach the cooler numerous times, and due to this cooler having no fixed backplate and just coming with the nuts it did mean removing the whole motherboard from the test bench, flipping it over and then undoing the nuts. It’s not a massive problem, nor is it only limited to this cooler, but it would have been nice to perhaps have some kind of system to enable the removal of the cooler from the front.


