Turning Simple Things into Smart Home Things with Energenie
Peter Donnell / 7 years ago
A Closer Look
MiHome Light
In the box for the Light, you’ll find the general instructions for setup and installation, as well as two mounting screws and some screw caps to give the faceplate a clean finish.

The unit is pretty standard regarding design, so anyone who’s fitted a lightswitch before will feel right at home here. There’s a single push button on the front which can toggle the on/off, as well as a small LED indicator.
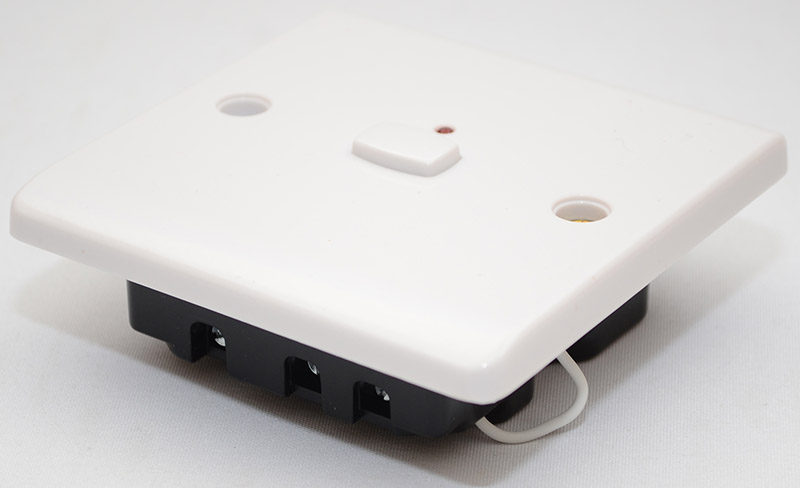
Around the back, the housing looks pretty standard, with an Earthing cable, as well as screw in ports for the power cables from your lighting ring wires.
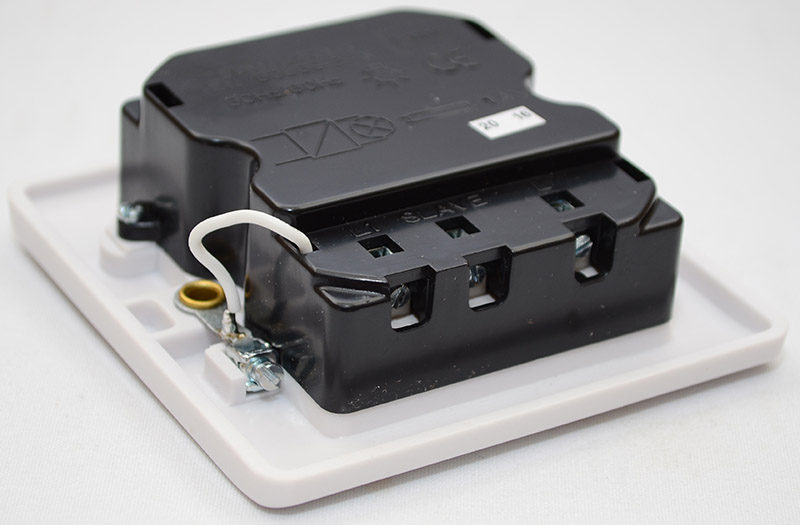
The fittings look robust too, which is obviously a good thing, and they’re clearly labelled for easy installation.
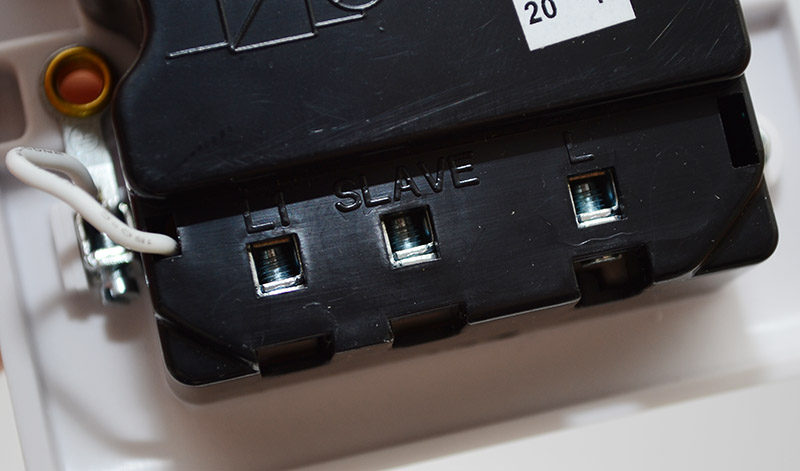
Be sure to take a switch off your wall and measure the depth before purchase, some older units only use 25mm, while this is 35mm, and you may need to get an adaptor box to allow it to fit.
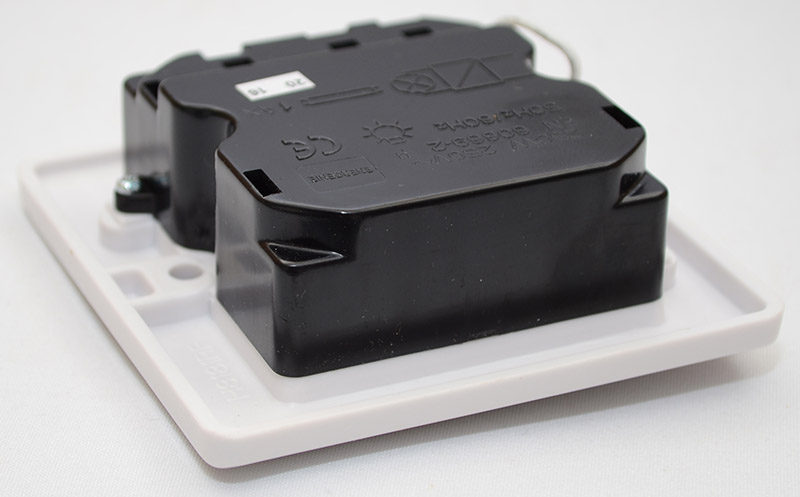
MiHome Double Socket
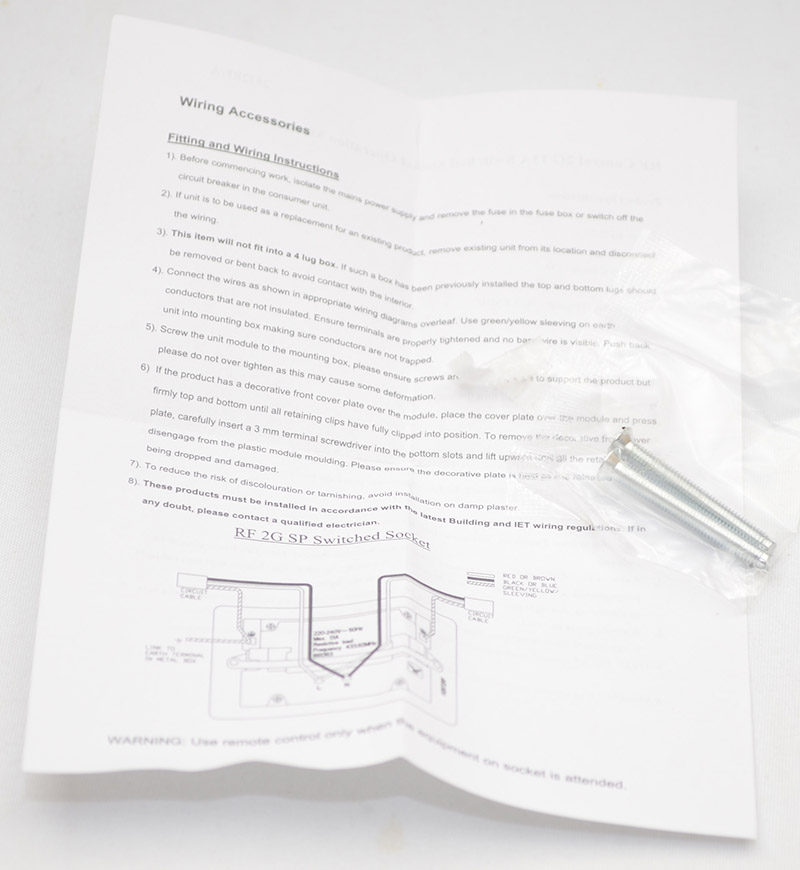
Just like the light switch, this also comes with the usual documentation, as well as two high-quality mounting screws.
The faceplate looks pretty standard, with the obvious change being that the power switches are push buttons rather than the more common up/down toggle switch. There’s an LED indicator above each, and overall, it looks pretty neat and tidy. It’s not going to have people saying “Hey, interesting plugs!” but it’s not going to raise “why do you have ugly plugs?” either.
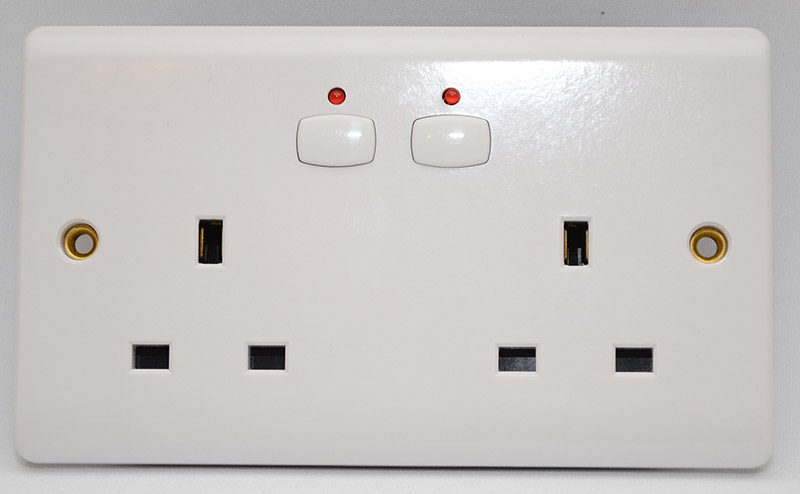
The faceplate is nicely finished and should blend in well with existing plugs.
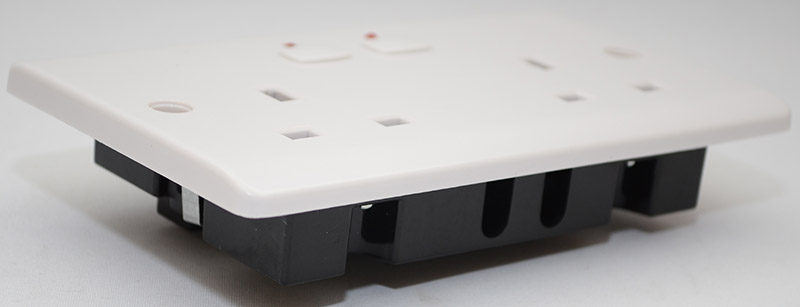
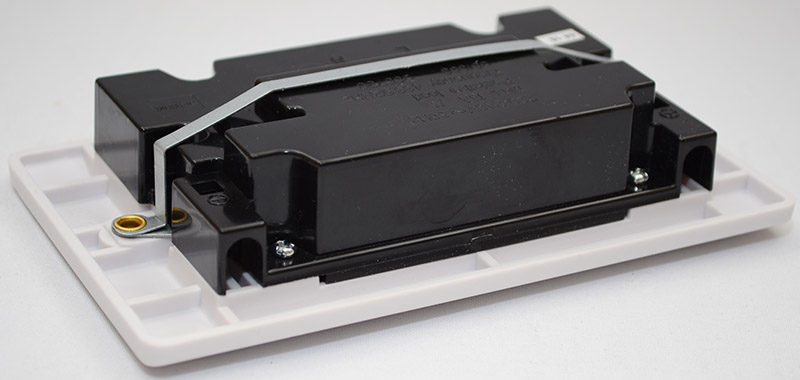
Around the back, a durable black housing with a metal strip across the back which earths the two screw holes and braces the whole unit.
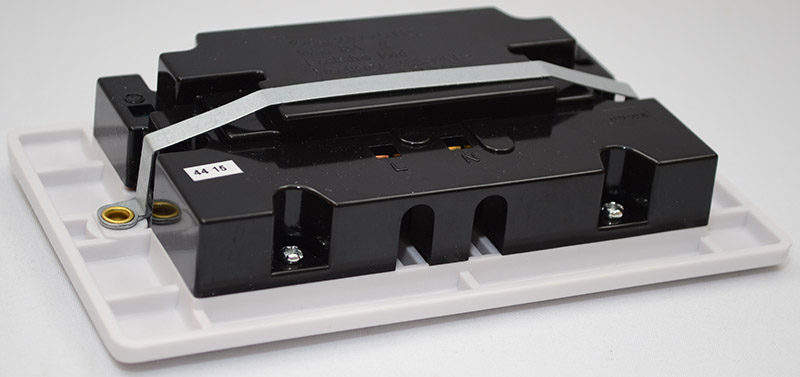
Towards the base, the live and neutral ports, with the same screw in design as the light switch.
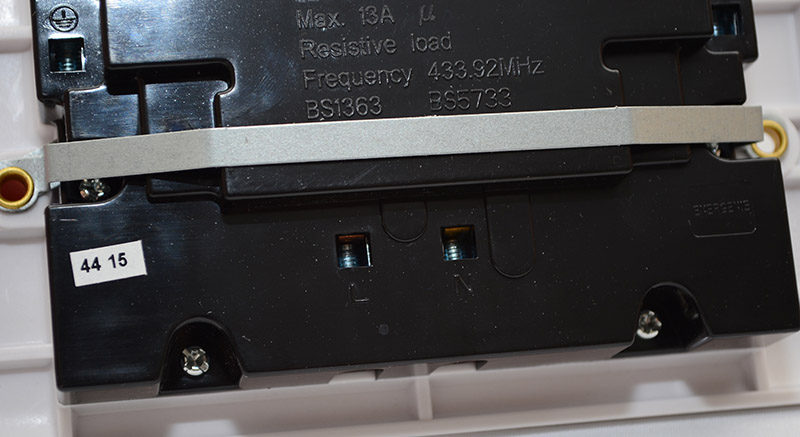
Again, the unit does feature a thicker depth of 35mm, so check your mains switches before purchase as some older units fittings may only have
MiHome Radiator Valve
The valve is pretty much a single piece, with the motor built into the housing. It comes bundled with two fitting rings and two spacers, as well as two batteries; everything you need to get it installed and running in just a few minutes.
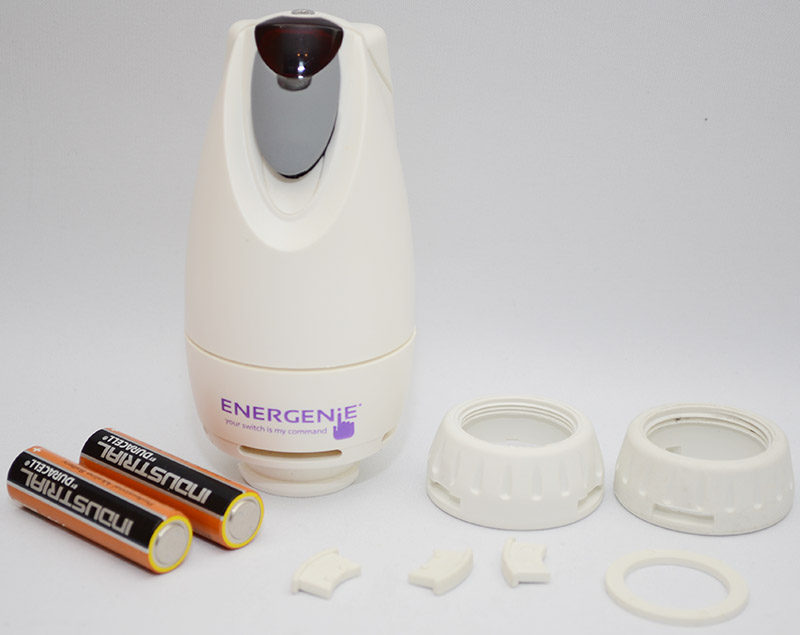
The main unit is a little taller than most of the conventional hand-twist valves I’m used to seeing, but it’s very nicely designed and should blend in very well with most heating designs.
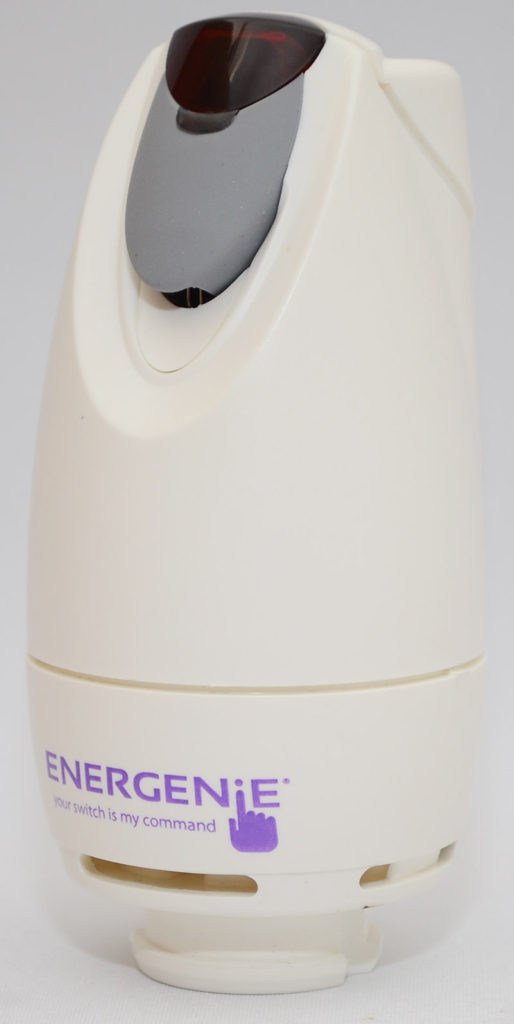
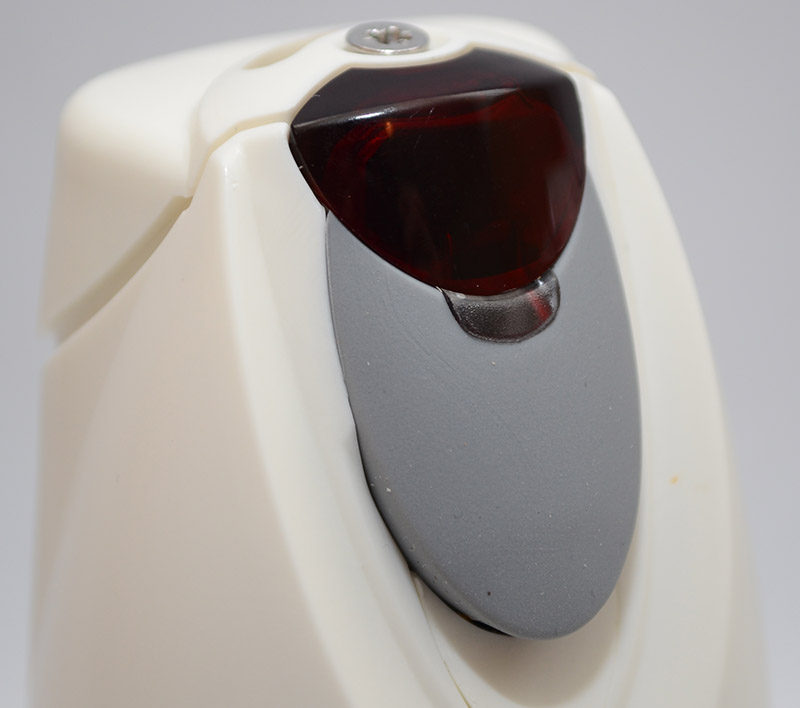
There’s a single control switch (in grey) toward the top which can be held to pair the device or pressed to turn it on or off.
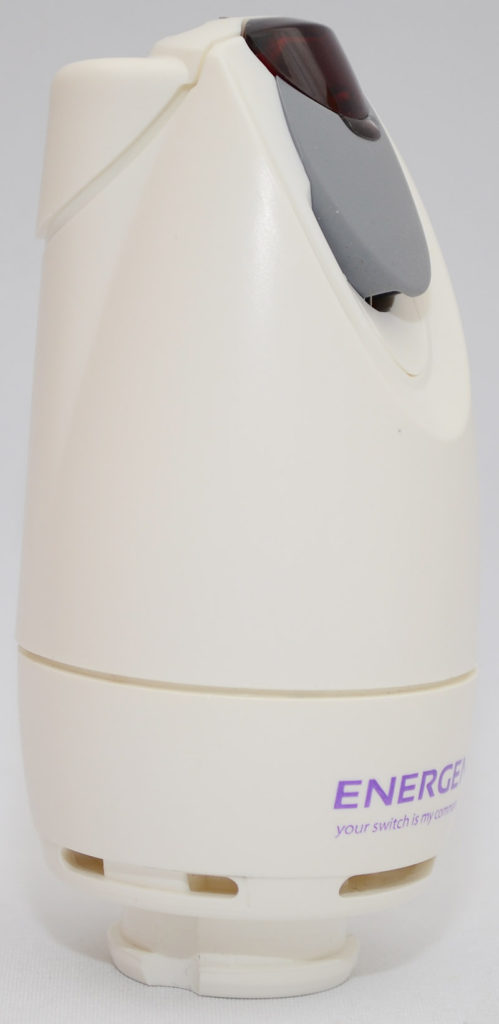
A small area at the top houses the control LED lights while light when the device is working. There’s a small screw on top too, where you can insert the two included AA batteries, and these are said to last around 18 months between changes.
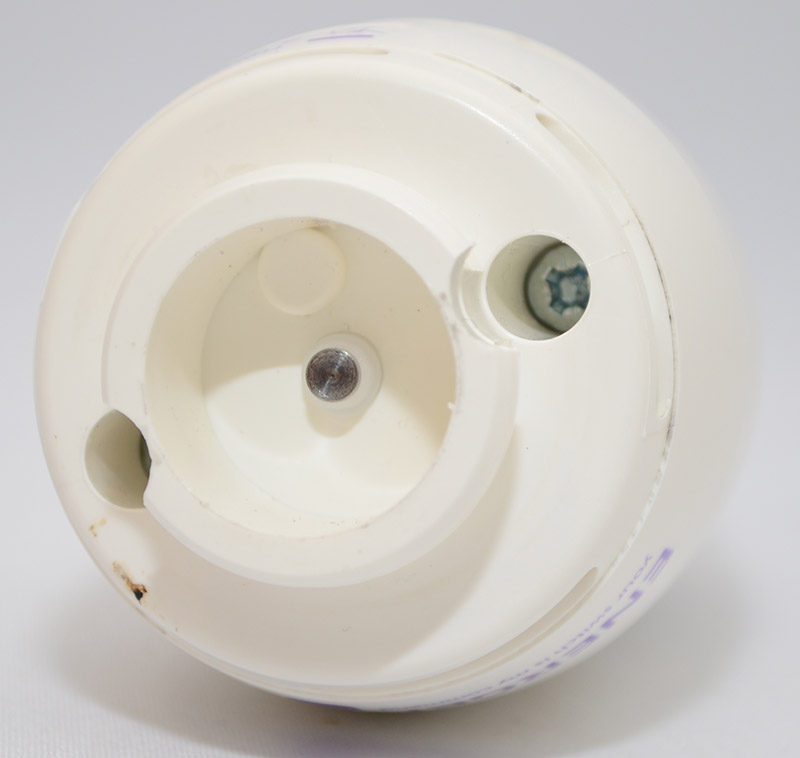
On the base, a heavy-duty pin in the middle, which retracts into the housing when powered on so you can fit the device. Of course, this moves up and down to lock/unlock your radiator valve when in use also.
MiHome Adaptor Plus
You’ve likely seen similar devices to this in the past, as they’ve been around for years with big dial timers, remote controls and no, they’re WiFi controlled. The main unit is quite compact and has the usual 3-pin socket on one side, as well as a small LED indicator and an on-off button.
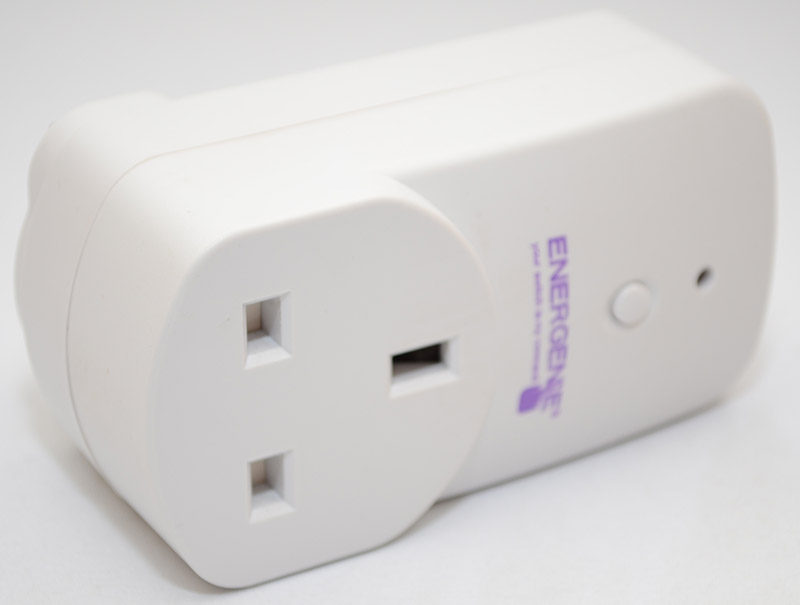
The switch certainly looks neat and tidy, with all the technical WiFi and energy monitoring hardware tucked away on the interior, so it’ll easily blend in with its surroundings.
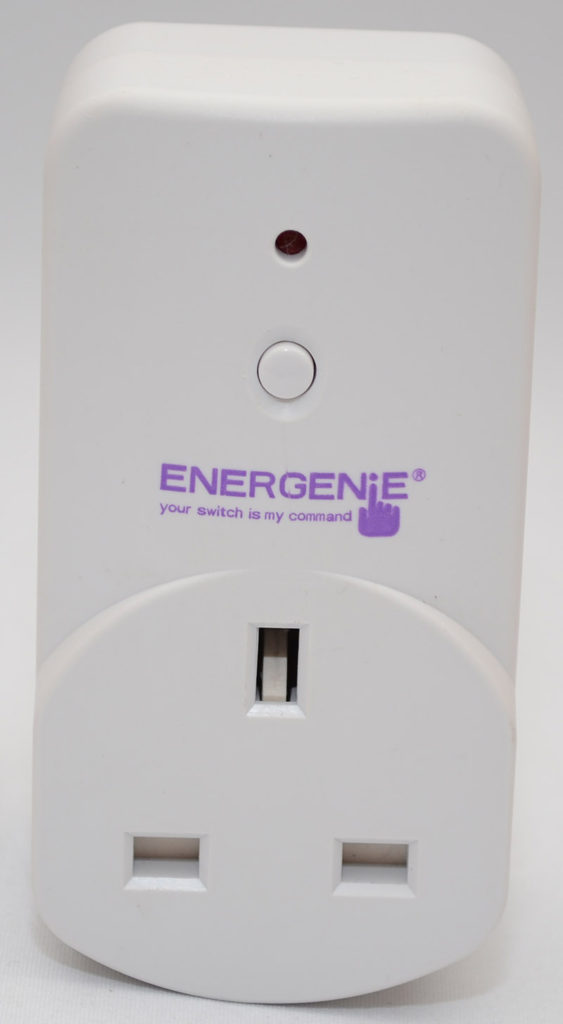
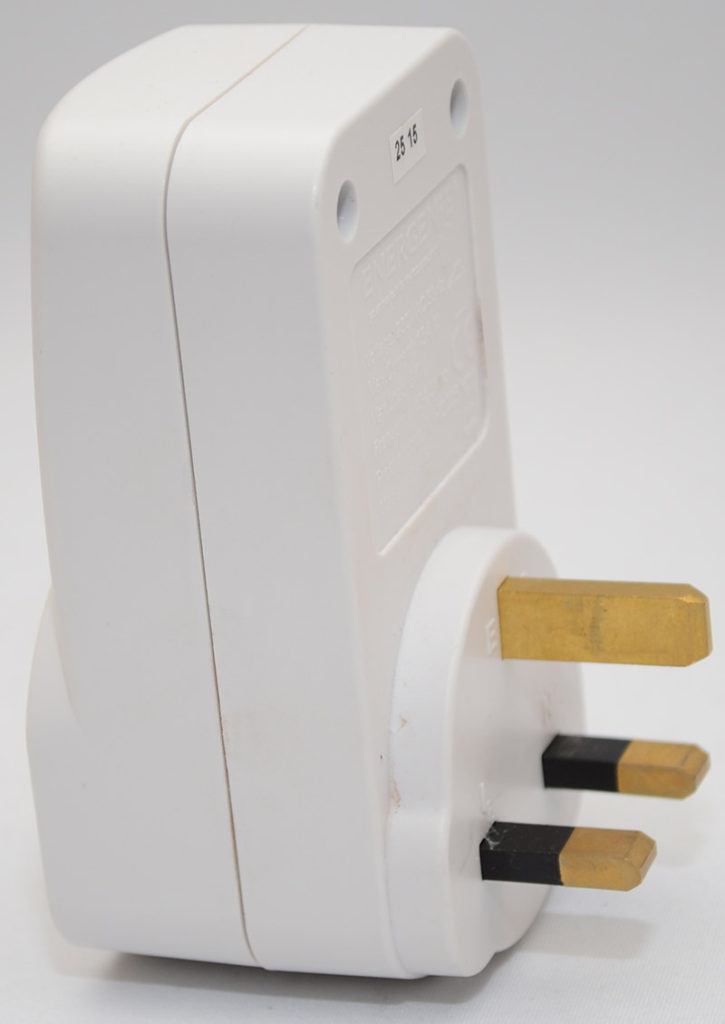
On the other side, just a standard 3-pin plug, just plug it in, and you’re pretty much ready to go. Of course, to use the WiFi and monitoring features, you’ll need to pair it with the Gateway, but that’ll only take a few moments to sort.
