Supermicro 4U Active CPU Heat Sink (SNK-P0070APS4) Review
Bohs Hansen / 6 years ago
A Closer Look
Before we get to the actual testing, let us have a look at the CPU cooler in all its glory.
With the Fans Installed
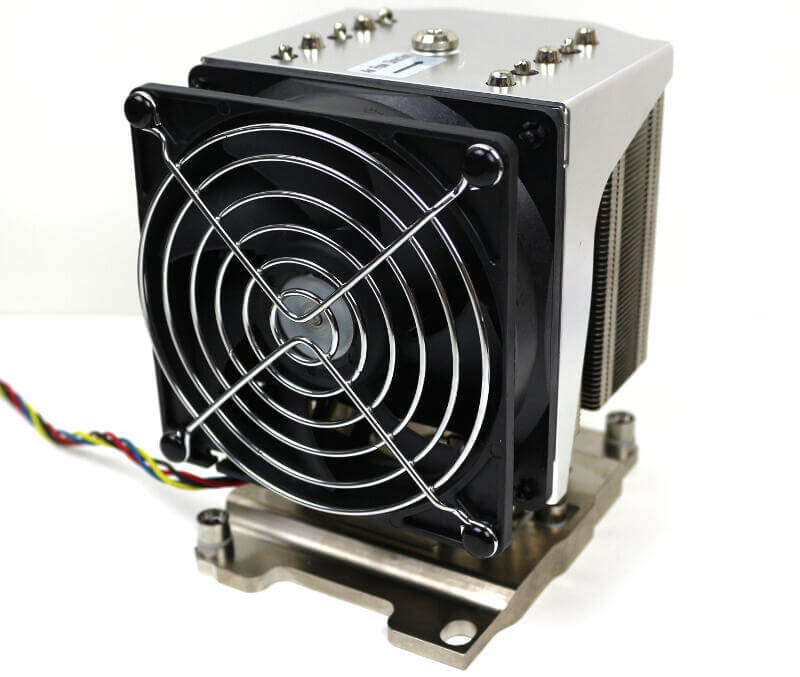
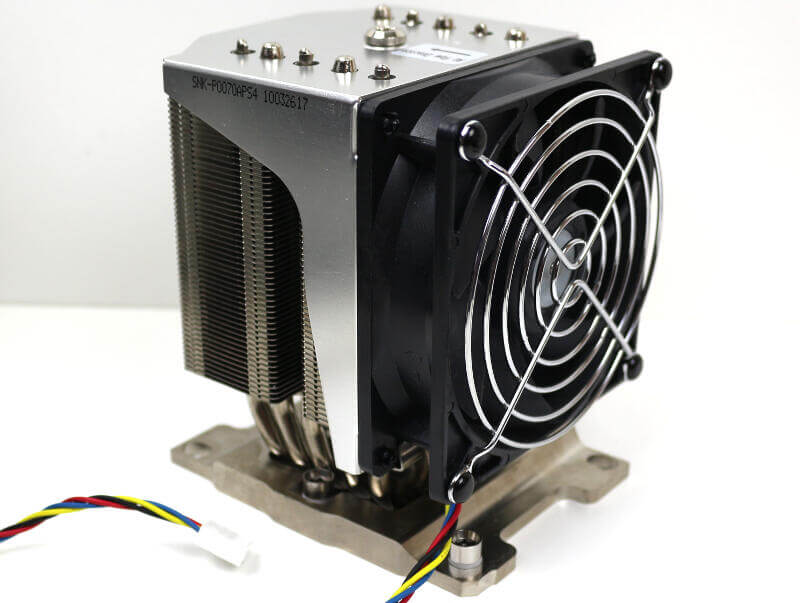
The Supermicro 4U Active CPU Heat Sink (SNK-P0070APS4) is built to work and not be an object of desire. That said, it doesn’t look bad at all. At least not for a server cooler. The fan is attached to a shroud which goes over the heatsink.
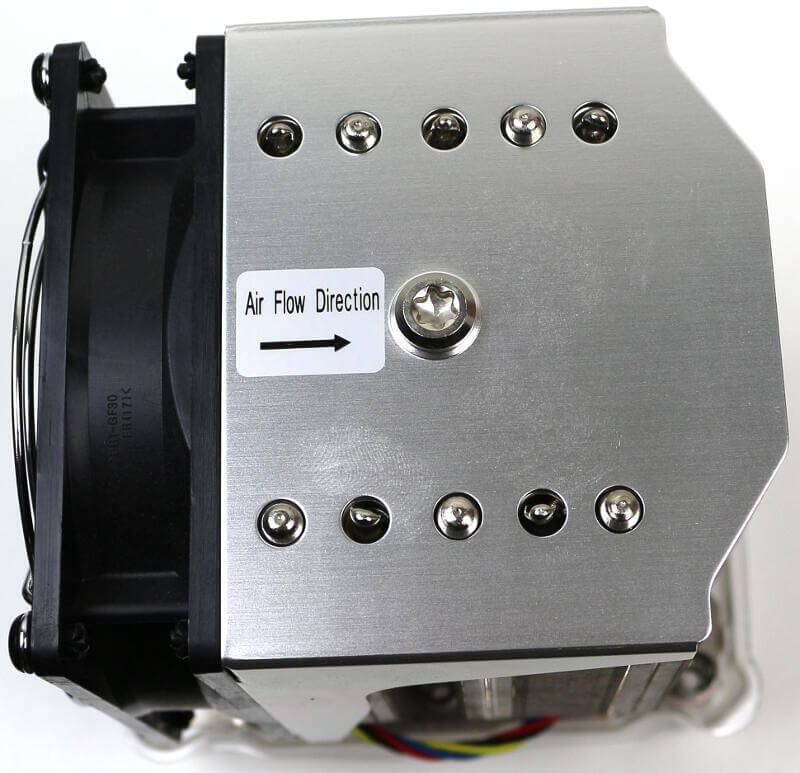
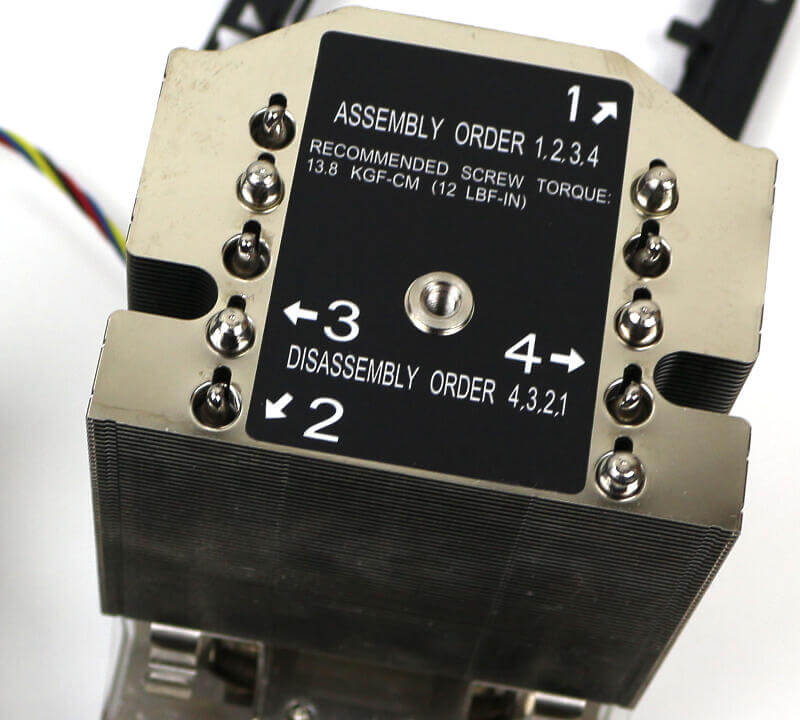
Supermicro helps us make the installation perfect right away with a little sticker on top. It shows which way the airflow goes, hence we know which way to turn in on the socket. The screw in the middle will allow us to take the cover off and install the cooler.
We can also spot the five heat pipes poking through in this photo.
Looking from the other side and we see that the shroud doesn’t cover the whole cooler. It’s only the top and a little on the sides for stability. And it does feel very sturdy; it isn’t some thin crap. Quality!
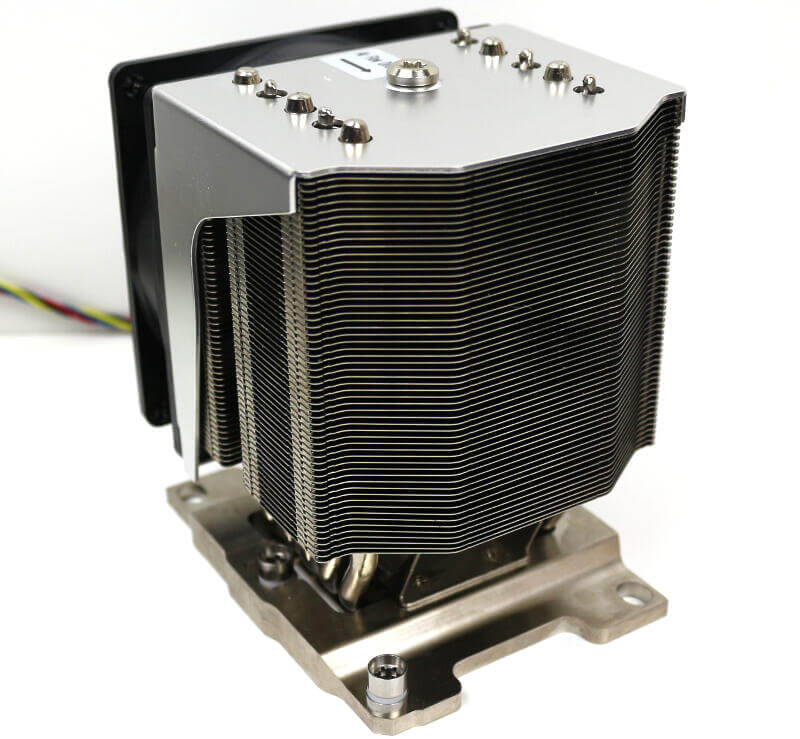
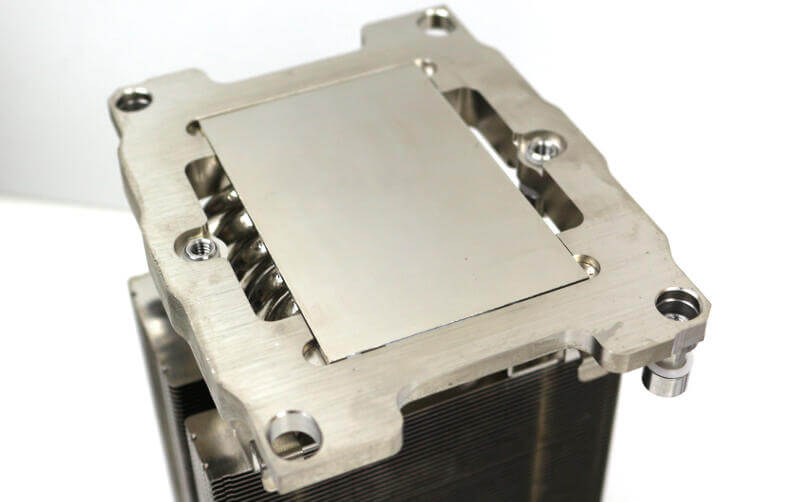
The base seems extremely sturdy too and goes beyond what’s needed.
Just the Heatsink
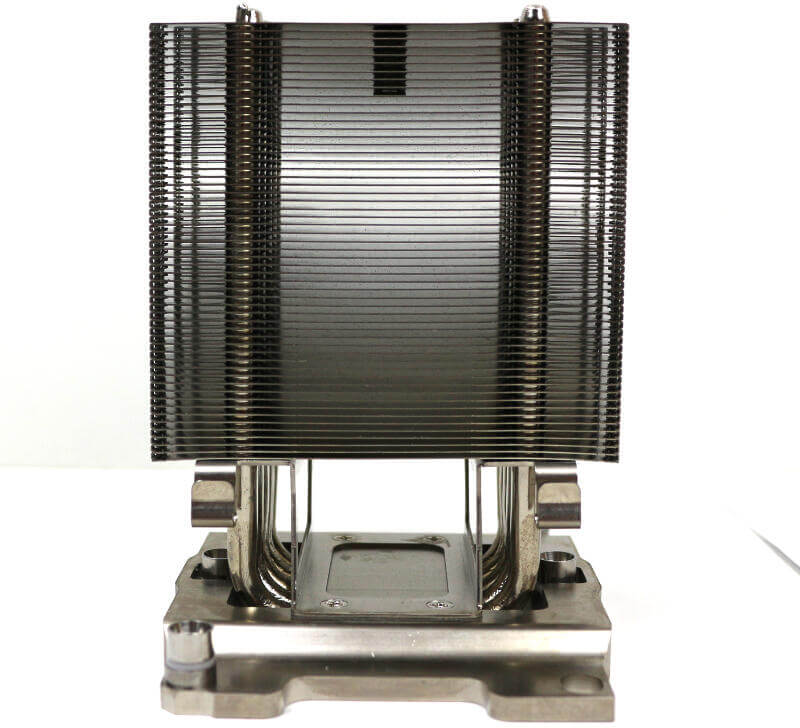
We’ll also have a brief look at the heatsink itself. There can be no doubt about the quality by just looking at it. All the fins are perfectly aligned as they should be.
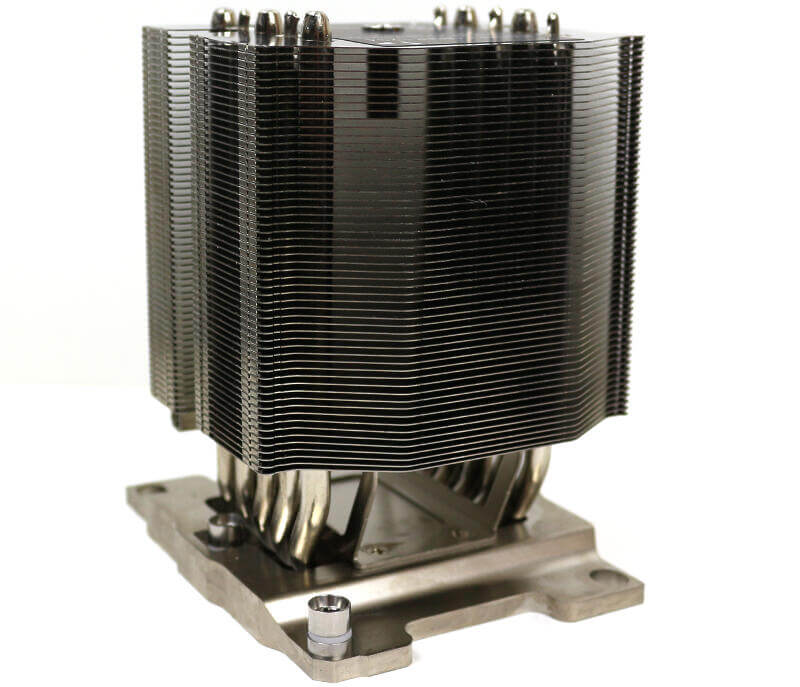
The fin stack is stabilised in the middle between the heat pipes which connect it all.
Into the Details and the Installation
To install the SNK-P0070APS4, you need to take it apart. As said above, that is done with a single screw. Once it is taken apart, you have these two pieces; the heatsink itself and the fan attachment.
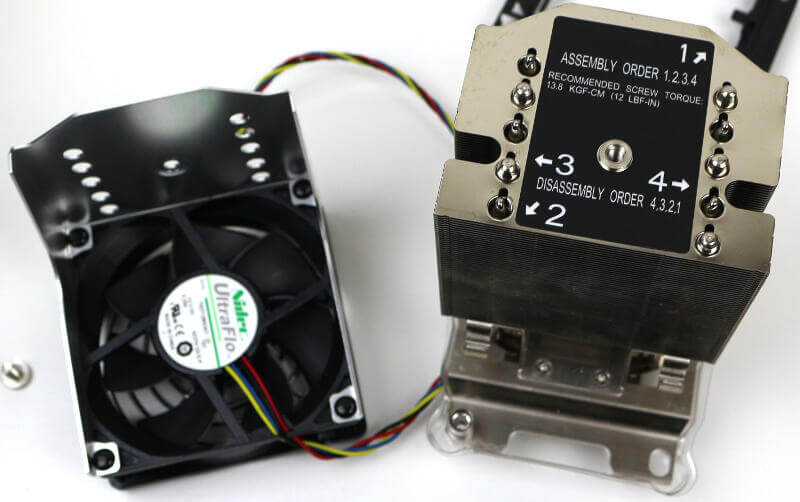
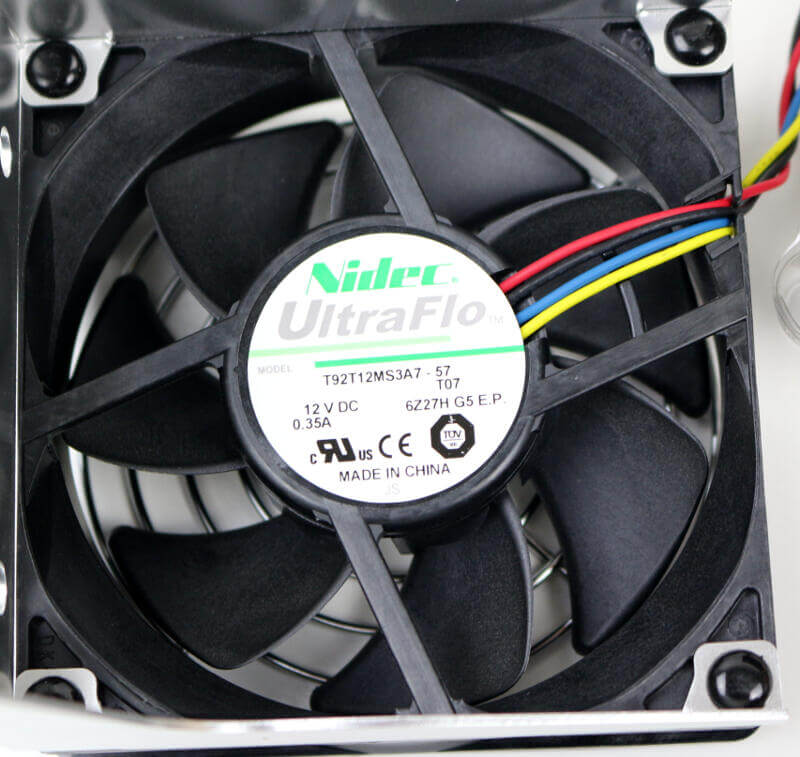
The fan is a Nidec UltraFlo 12V fan which I described in more detail on the first page.
The heatsink is the highlight here. I love how Supermicro labelled everything. It utilises a large and easy-to-read font which makes it easy to install. There is no doubt of the order or force to use.
The base is very solid, all around; Not just the contact area. But speaking of the contact area, it is naturally large enough to make contact with and cool the entire CPU.
Installation
The LGA3647 installation is quite a bit different than your average desktop processor. It might seem odd in the beginning, but once you’ve done it a few times, you’ll wonder why all sockets aren’t made like this.
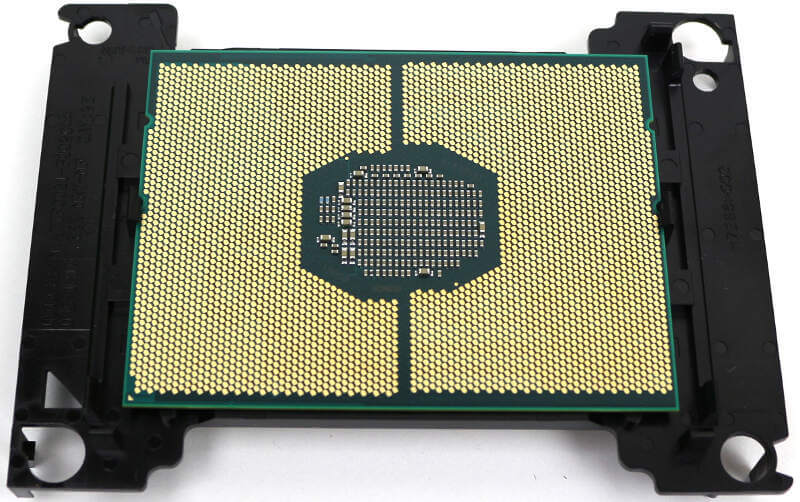
First, you mount either the narrow or square side brackets. Next, you secure the CPU in the plastic retention bracket. Then you snap the CPU onto the heatsink and install the whole shebang into the CPU socket.
