SuperMicro C7H170-M (LGA 1151) Motherboard Review
John Williamson / 9 years ago
A Closer Look
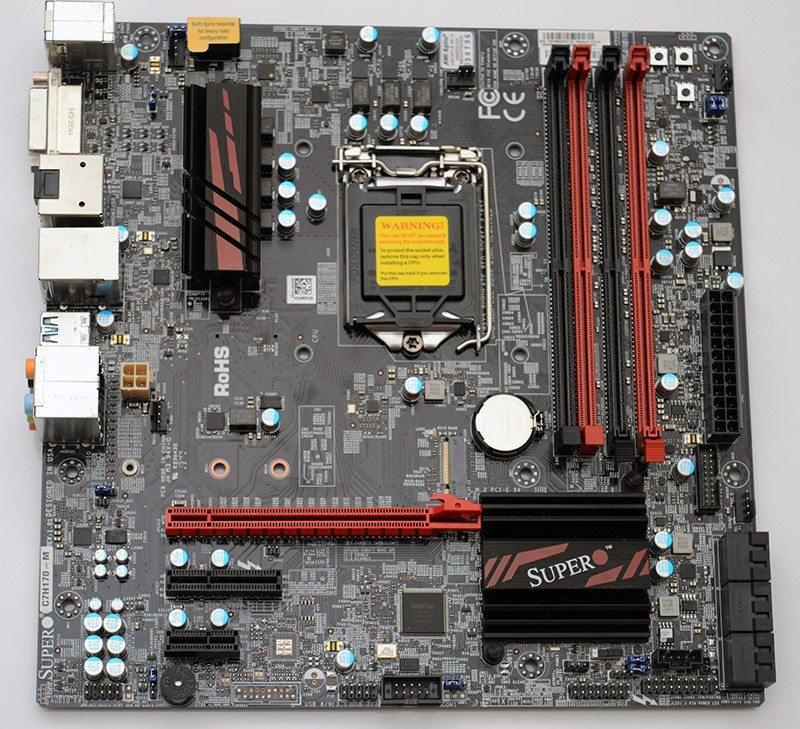
The motherboard adopts a mATX form factor which makes it a suitable choice for compact gaming builds. Aesthetically, the red and black colour scheme suits a traditional gaming setup and should maximize the motherboard’s appeal in this market. Personally, I wish more motherboard companies would move away from this overdone theme and try to create something more inventive. On the other hand, the heatsink design is sophisticated and relies on subtle branding instead of gimmicky LEDs. Overall, the motherboard layout is very clean and relatively easy to work around.
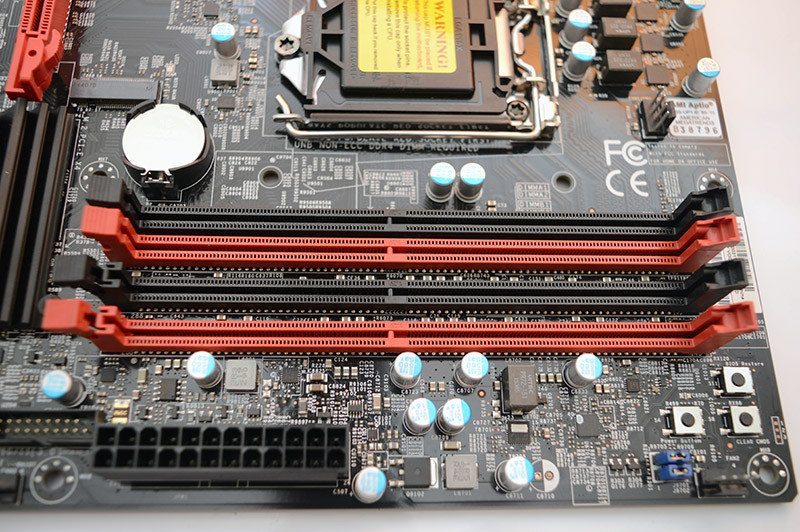
Here we can see the 4 DIMM slots supporting up to 64GB of DDR4 memory. Please note, the H170 chipset only allows for a maximum memory speed of 2133MHz compared to the huge frequency potential on Z170. Typically, H170 motherboards are compatible with kits exceeding 2133MHz and limit the memory speed to the chipset’s maximum capabilities. I did encounter some problems in this area, so I wouldn’t recommend paring this motherboard with anything but 2133MHz DIMMs. Although, this could easily be fixed in a BIOS update and it seems pointless to purchase memory speeds which the chipset is incapable of utilizing.
The 24-pin power connector is housed in its ideal position just next to a USB 3.0 header. Personally, I’d like to see this header closer to the PCB’s edge to improve cable management. This isn’t going to cause any problems though and just a small recommendation for the future.
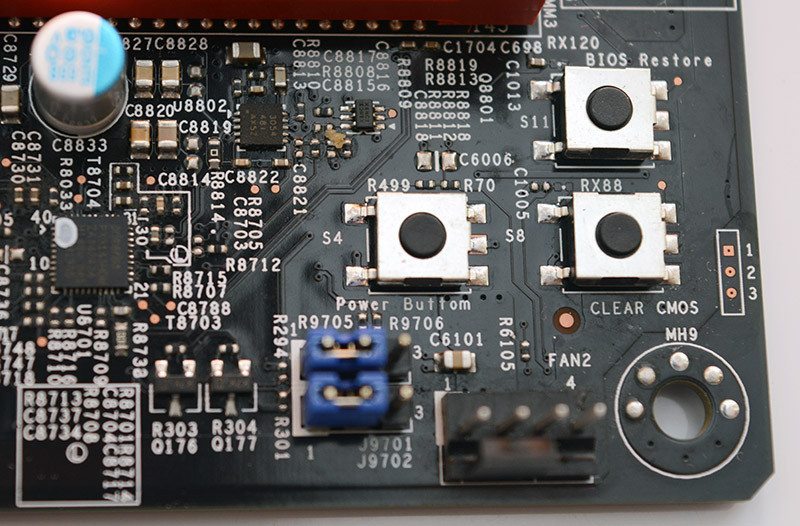
A closer up image of this section shows three incredibly useful buttons; the BIOS Restore, Clear CMOS and Power Button. Even though it wasn’t necessary during the review, the BIOS Restore offers peace of mind when flashing the BIOS. The Clear CMOS feature is so important when working with any overclock and having a manual button makes it so much easier than relying on a jumper. It’s ideally placed for using on a test bench, but quite difficult to reach in a large chassis. The Power Button is a godsend for someone like me who changes motherboards on a regular basis and wants quickly perform stability tests without plugging in the front panel headers.
SuperMicro integrated a Realtek ALC1150 codec and premium audio circuitry. This isn’t the best on-board solution I’ve seen but it should be more than good enough for the typical consumer.
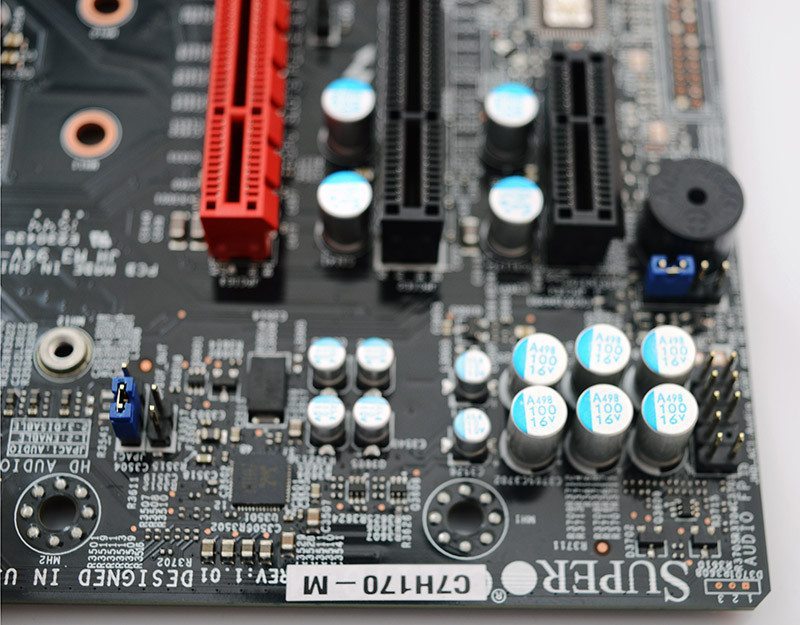
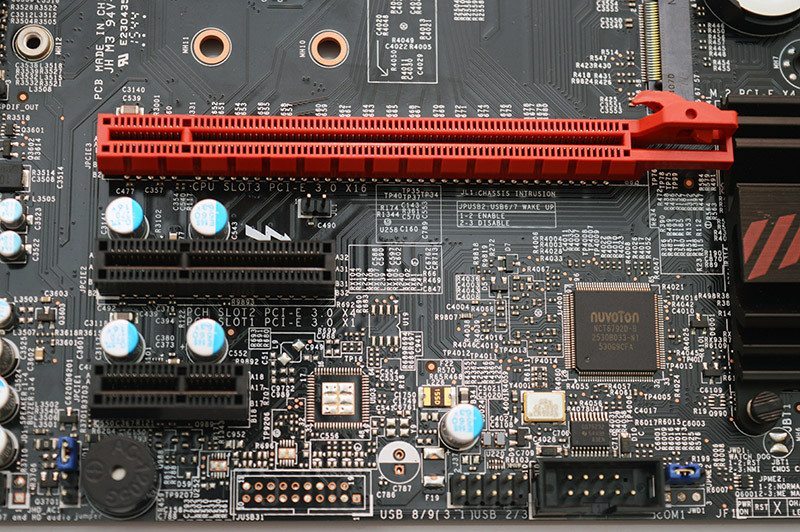
Here is the PCI-E layout which includes a x16, x4 and x1 slot. Just above the main PCI-E graphics slot is a Turbo M.2 connector supporting 32Gb/s. As a result, you can attach ridiculously fast M.2 SSDs and maximize their potential. Towards the bottom, there is the usual array of connectors and a hefty speaker. This helps to diagnose problems and provides information to the end-user. Sadly, there’s no documentation whatsoever explaining what each beep sequence means. SuperMicro really needs to do this or they might become inundated with questions about booting issues.
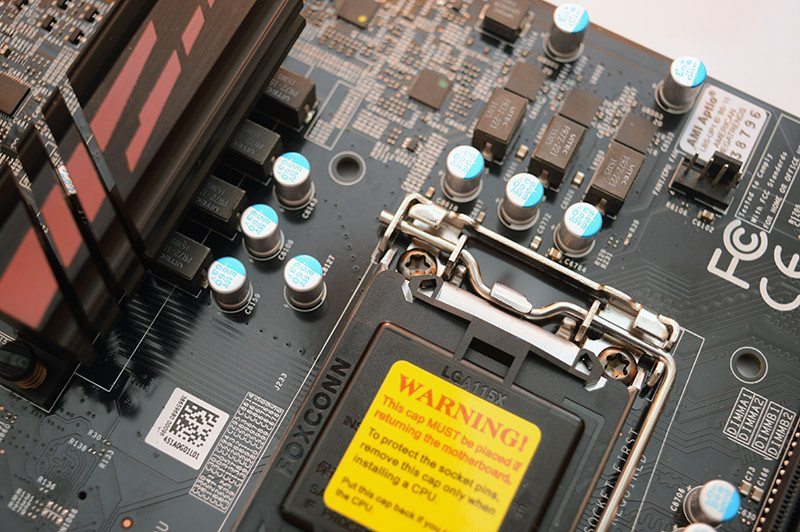
The motherboard’s power delivery comes via server grade Vitec PR72-221 inductors capable of supporting the system in extreme overclocking circumstances. Furthermore, the phases have an operating thermal threshold between -40C to 125C and an a maximum range of 2MHz.
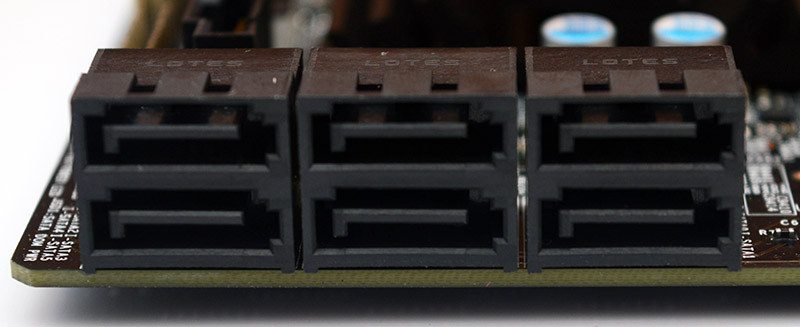
From this image, we can see the PCB’s thickness and six SATA 3 connectors. I’m a little disappointed by the lack of SATA Express, but then again it’s not a format I’ve used very often.
The Rear I/O includes a PS/2 port, two USB 2.0, DVI-D, SPDIF, HDMI, DisplayPort, Ethernet connector, four USB 3.0 and 6-channel audio.


