Swann DVR8-4550 8-Channel Full HD Security Kit Review
Bohs Hansen / 8 years ago
Direct Usage – Available Settings
When you got direct access to the DVR, then that’s definitely the easiest way to control it and we don’t have the page alignment issues as with the browser plug-in. So I’ll use this to show the settings instead of doing it through the browser – also for the simple fact to show you how it looks on the DVR.
Display
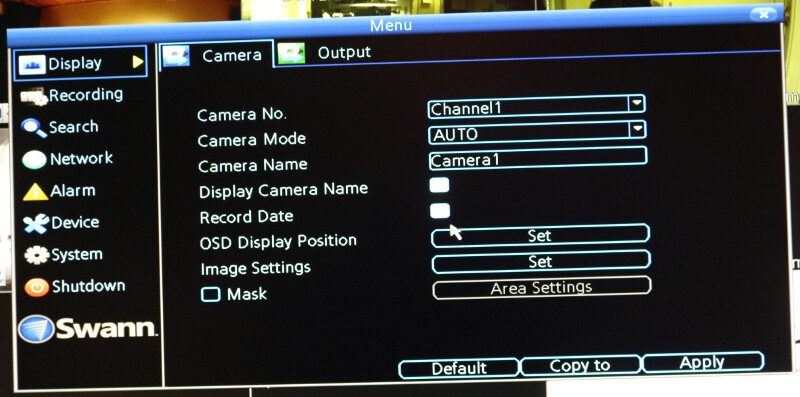
Using the included USB mouse, changing the settings is as easy as clicking. We have access to the camera and output settings for the video display. Drop down menus let you select what to control and the rest is quickly changed from there.
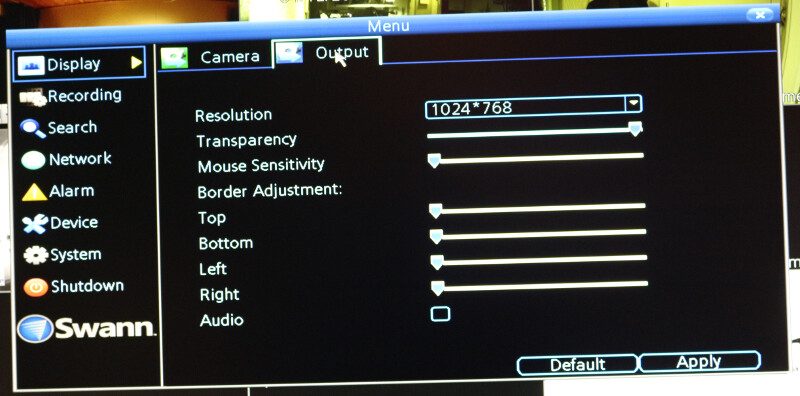
We might, for example, change the video output to full-HD, but the mouse sensitivity is another vital point here that can make the usage a lot easier. It’s nice to see that they also considered such small things.
Recording
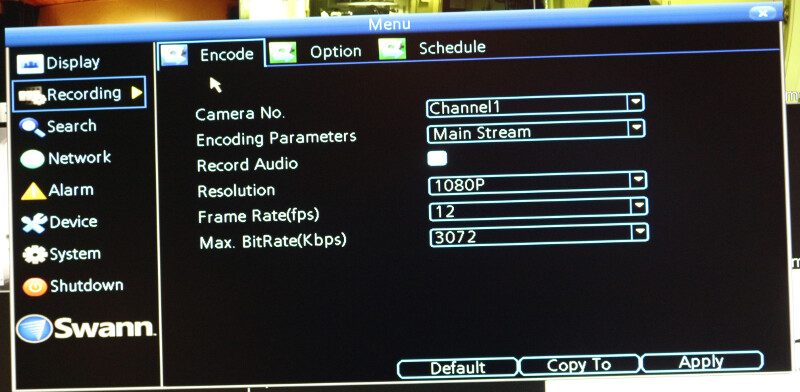
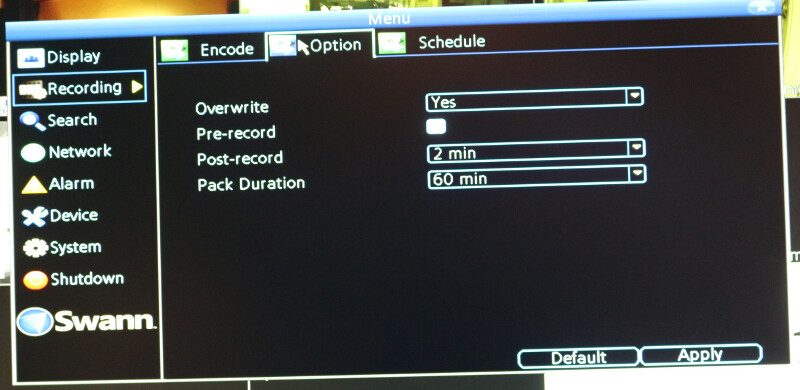
Within the recording settings, we can change the quality of our recodings, the frame rate, and the bit rate along with the storage settings
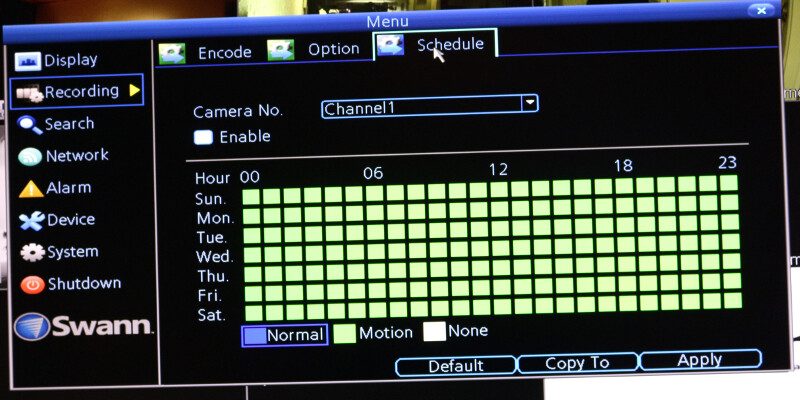
The scheduling system is the same as we saw through the web interface on the last page.
Search
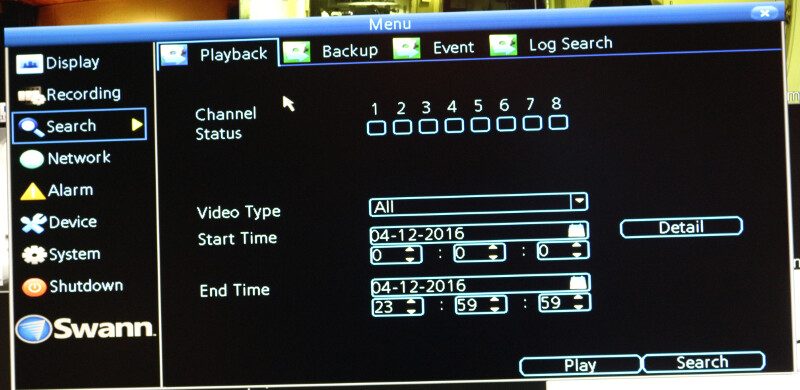
The search section is used for the playback of recorded video. You can specify which channels to search and the time frame to perform the search within. Then just hit the play button and you’ll get a similar view as we saw previously through the web interface.
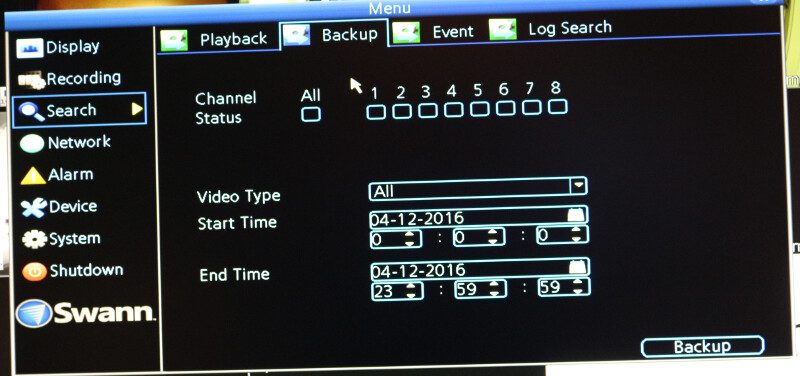
The same way we can backup files from the internal storage
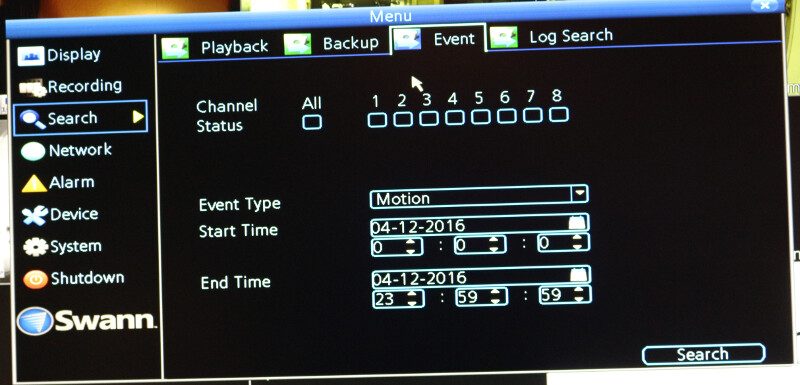
Or check for events within a specified duration.
Network
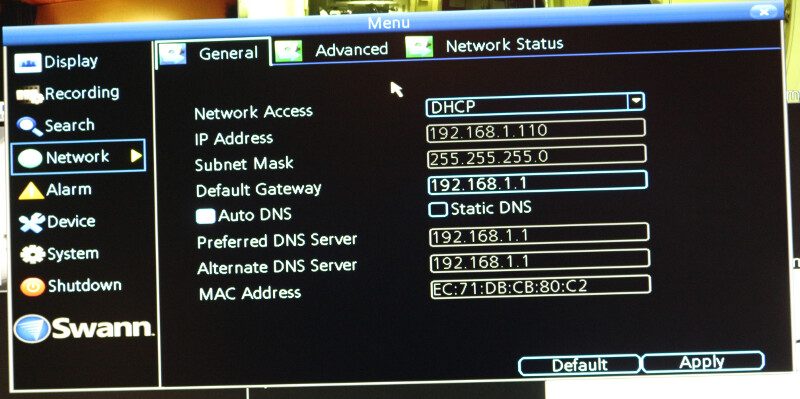
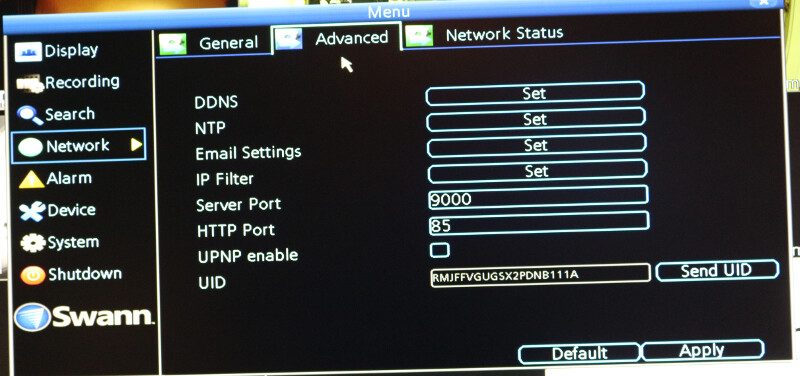
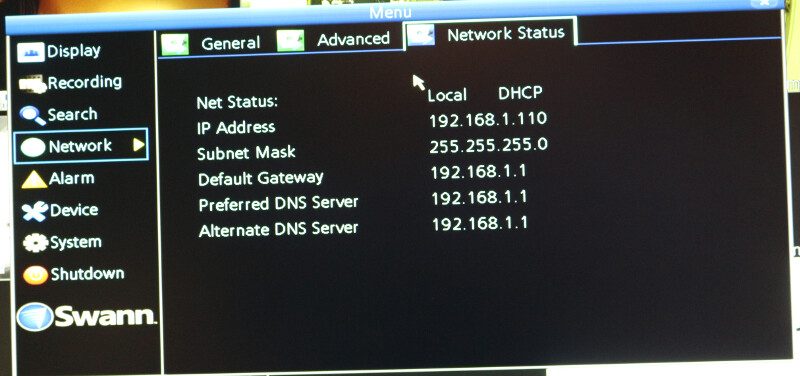
The network settings are probably not settings that you’ll change a lot, but we have access to all the individual settings should we need to.
The Alarm section is one of the most important ones as it contains our rules on when to record what and how.
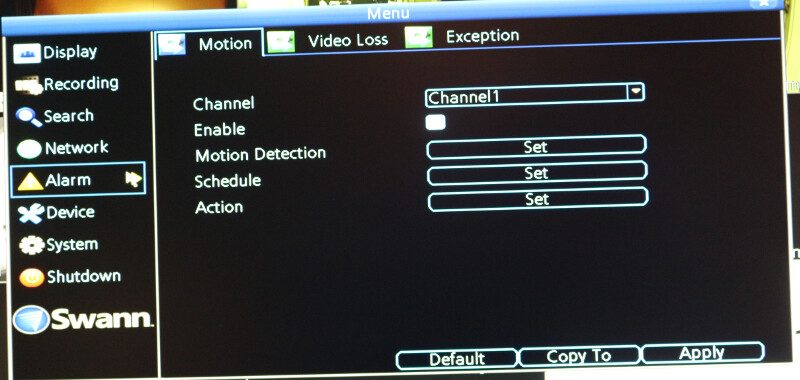
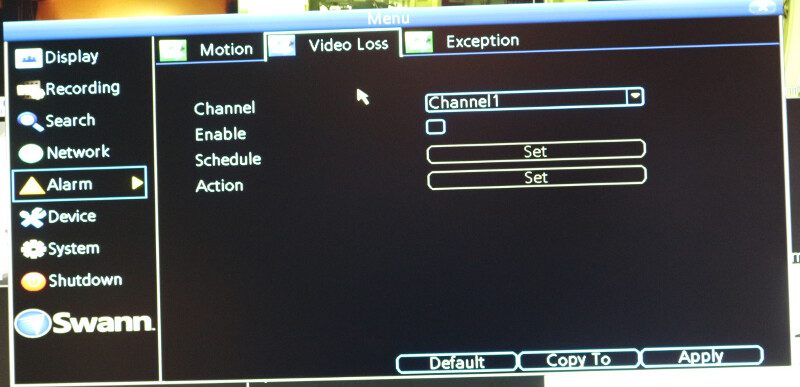
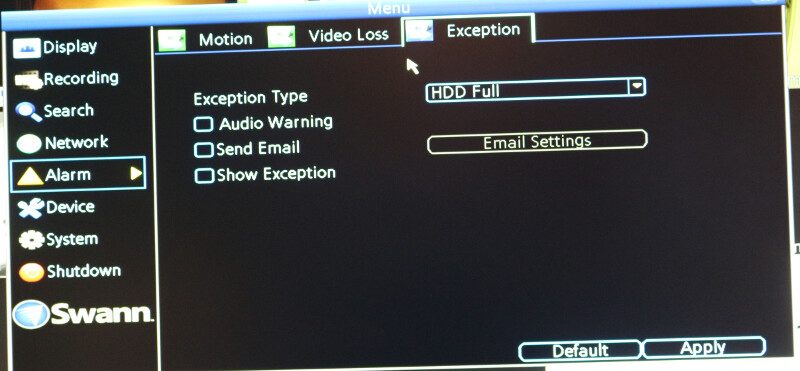
We can also set action should we lose the video on a channel, such as sending an email to the administrator or watch personnel.
Device Settings
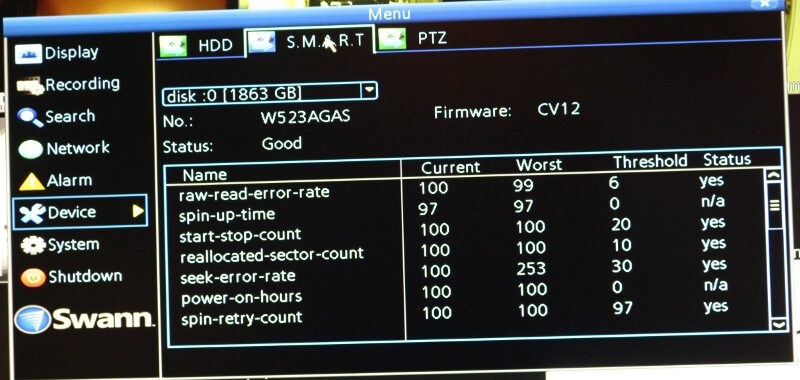
The device settings page contains both hard disk and camera features.
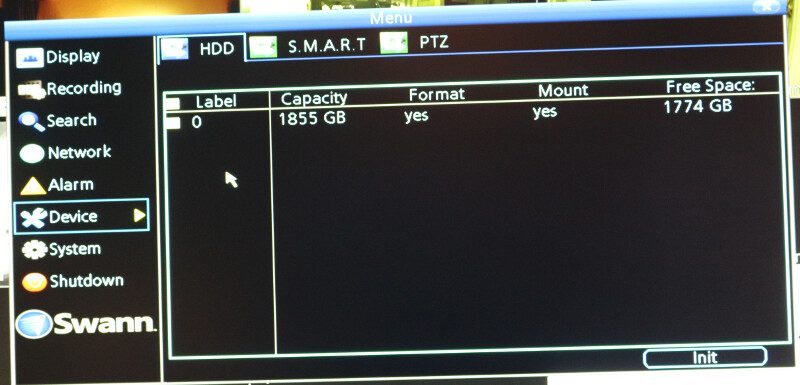
We can check up on the health of our installed drive.
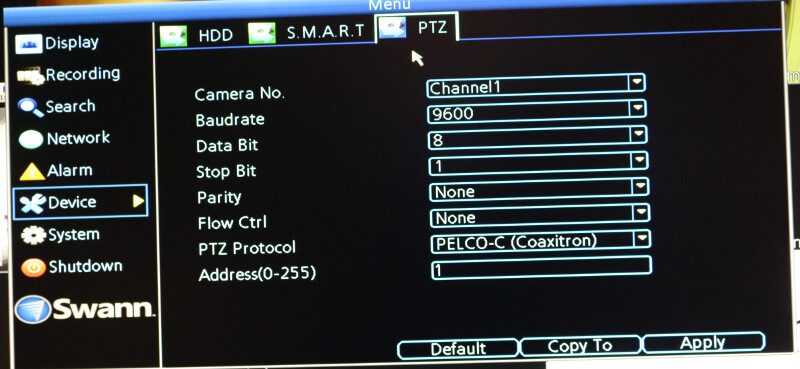
And we can change the PTZ settings.
System
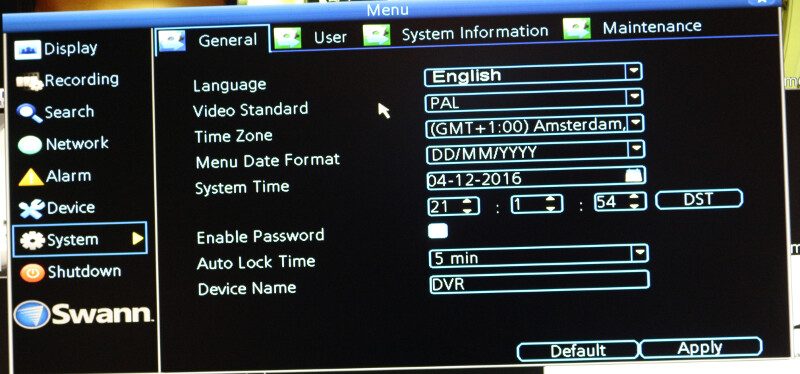
The last page with settings is for the system itself and this is where we can change the time, date, video standard, language and so forth.
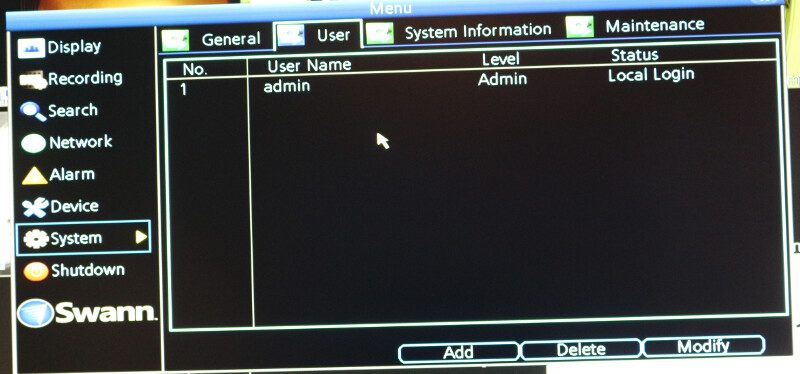
We can check up on our users with access to the DVR.
But one of the most important features here is our UID which you need in order to connect mobile devices to it. Simply enter the code or even better, scan the QR code, and you’re good to go.
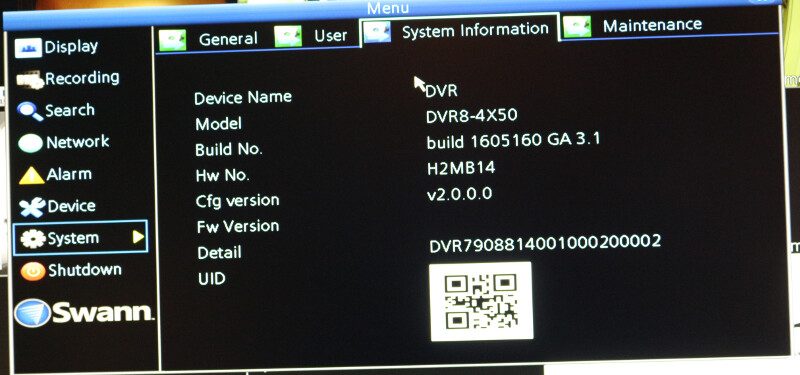
An automatic reboot schedule can prevent hick-ups from prolonged power-on times and as such be a great thing.
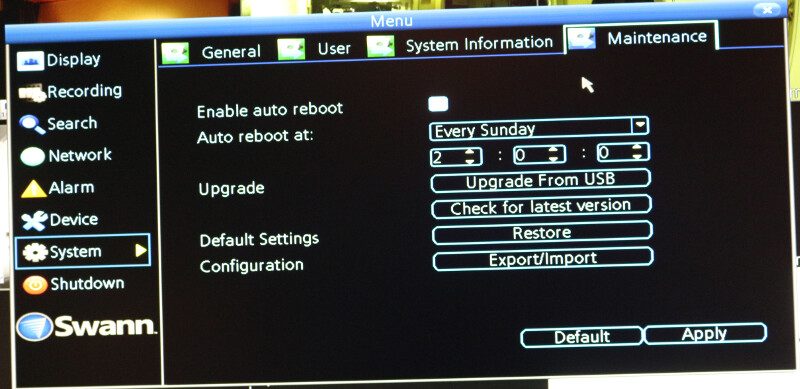
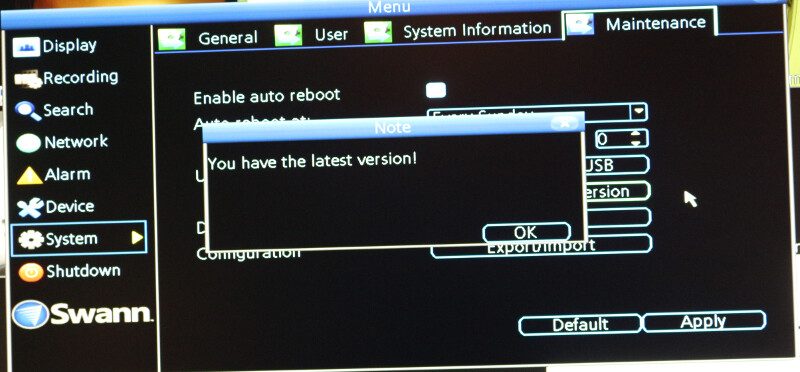
But this is also the place where we can check for a newer firmware and upgrade it.
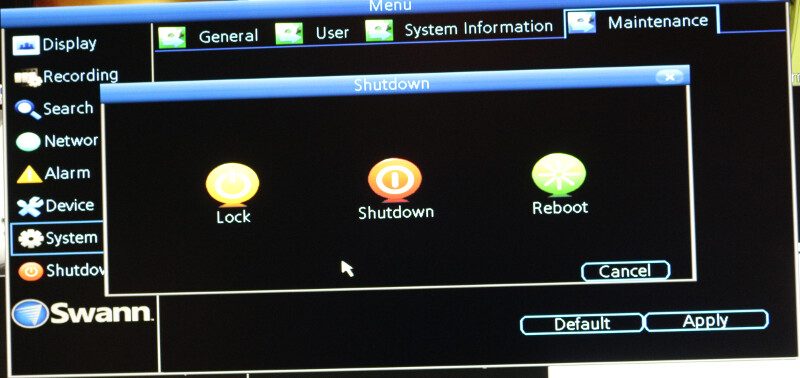
The last point controls the lock, shutdown, and reboot features.
